
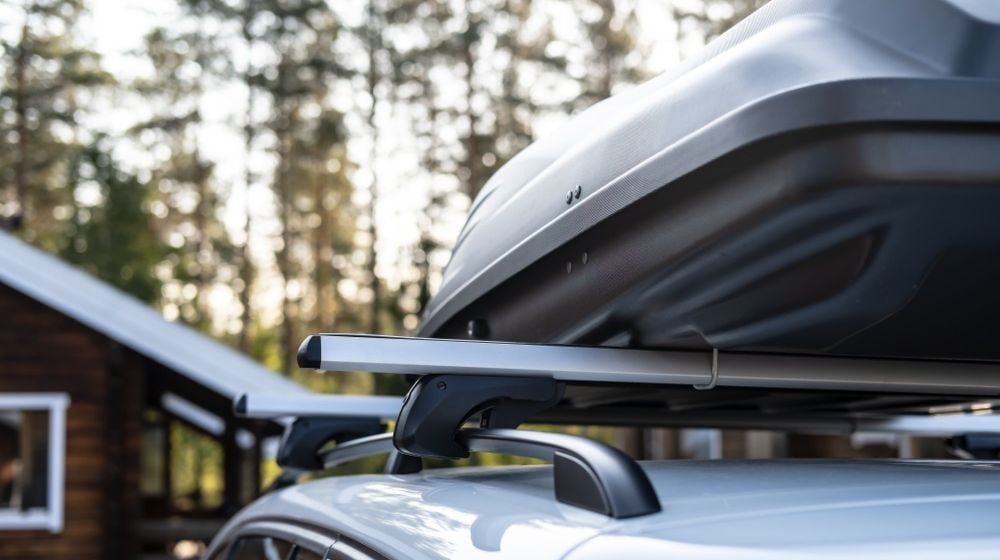

A nice, sturdy DIY roof rack can add a ton of cargo space to your vehicle. It only requires a few basic hand tools and materials you can easily get at your local hardware store.
RELATED: 25 Smart DIY Hidden Storage Ideas For Every Corner Of Your Home
How to Build A DIY Roof Rack and Add Even More Storage
What You Need:
- 2 in. x 0.25 in. aluminum tubes (for the sides)
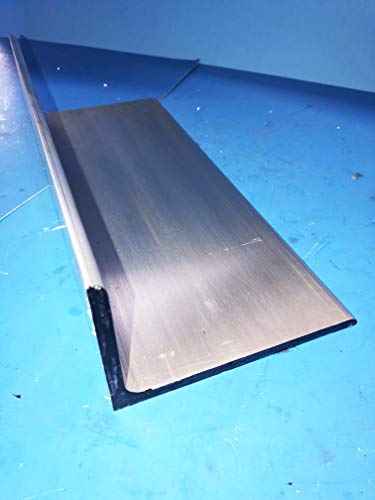
- 3 in. x 3 in. x 0.25 in. aluminum angle, cut into 3 in. sections (for the feet)
- 1 in. x 2 in. extruded aluminum (for the crossbars)
- Aluminum spacers (for the roof mount holes)
- Black truck Bedliner spray
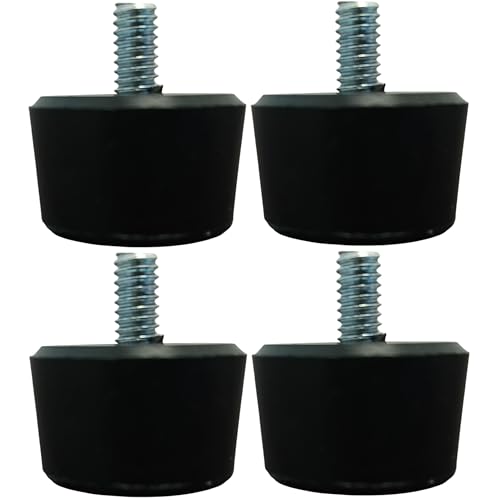
- Threaded rubber bumpers

- Unpolished,Mill Finish,Extruded,T6511 Temper
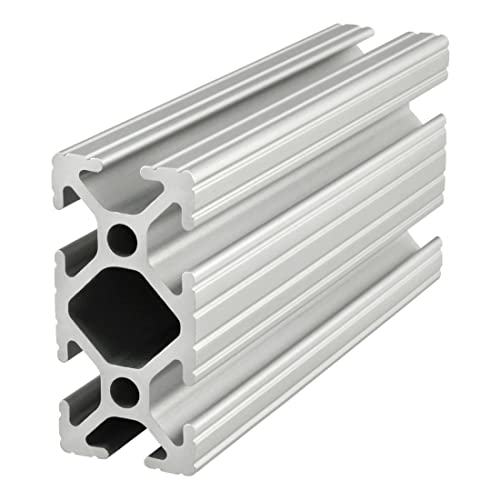
- 10 Series 8020 Modular Extrusion with six open t-slots to accommodate 1 inch x 1 inch based joining...
- High strength 6063-T6 aluminum with an anodized finish offers great flexibility and strength for...
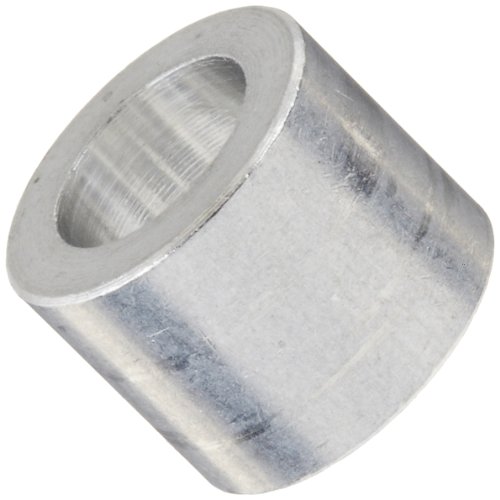
- Length: 1/4"
- Shape: Round

- Premium Protection: Custom Coat durable black matte truck bed liner spray; Creates textured non-skid...
- Versatile Application: Perfect spray bed liner for truck bed coating; Gives faded bed liners new...
- 𝐏𝐑𝐄𝐌𝐈𝐔𝐌 𝐑𝐔𝐁𝐁𝐄𝐑 𝐌𝐀𝐓𝐄𝐑𝐈𝐀𝐋: These...
- ...
Step 1: Get Some Measurements
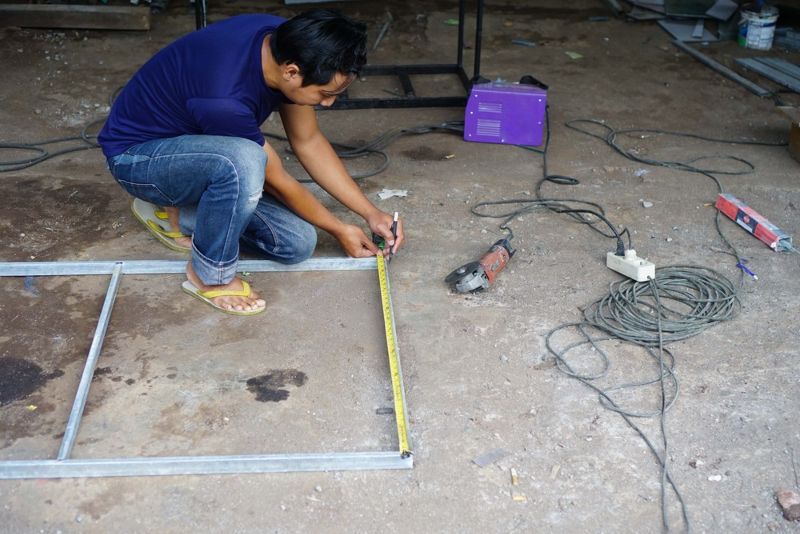
Before getting started on your roof rack, you will have to take a few critical measurements. Here are the ones you need to take note of:
- Distance between the existing roof rack mounts (the two front mounts and the two rear mounts)
- Angle of the top of the windshield
- Length from the windshield to the back of the vehicle with the liftgate opened
- Dimensions of your sunroof (if you have one)
Step 2: Plan Out Your Design
Once you’ve taken your measurements, plot out your roof rack’s design. When planning out where to put your crossbars, leave a gap for your sunroof (if your vehicle has one) and allow for a bit of allowance on the sides.
Step 3: Tap the Extruded Aluminum
If you haven’t already purchased the extruded aluminum pre-tapped, start tapping them on either side. You will then have some holes where you can screw the bolts on the sides of the roof rack.
What is Tapping? Tapping is the process of drilling a hole in such a way that you can thread a screw or bolt inside later on.
Step 4: Drill the Side Pieces
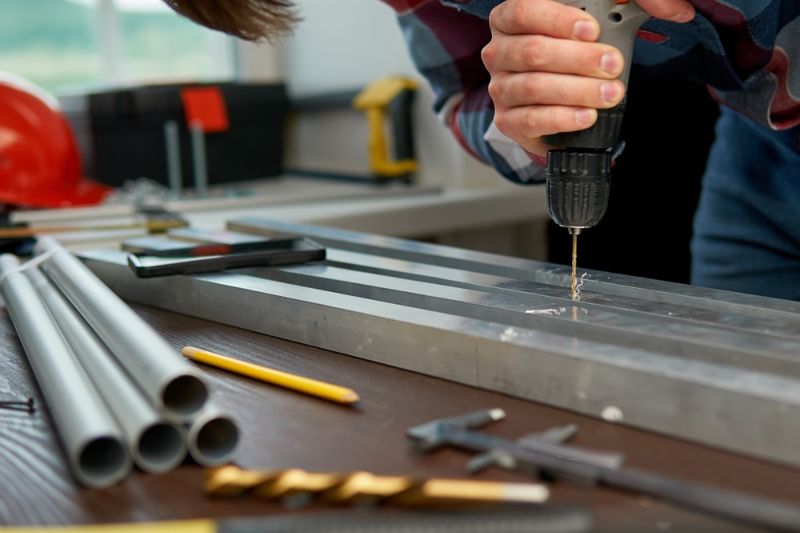
Drill some holes on both side pieces corresponding to where your crossbars should be. Since the side pieces are 2 in. tall and the crossbars are 1 in. tall, drill four holes for each crossbar location so you can have the option to mount them on top (for a rooftop tent) or at the bottom (for general storage)
RELATED: 11 Awesome Garage Storage Ideas To Keep Your Tools Organized
Step 5: Cut the Sides to Length and Test the Pieces Together
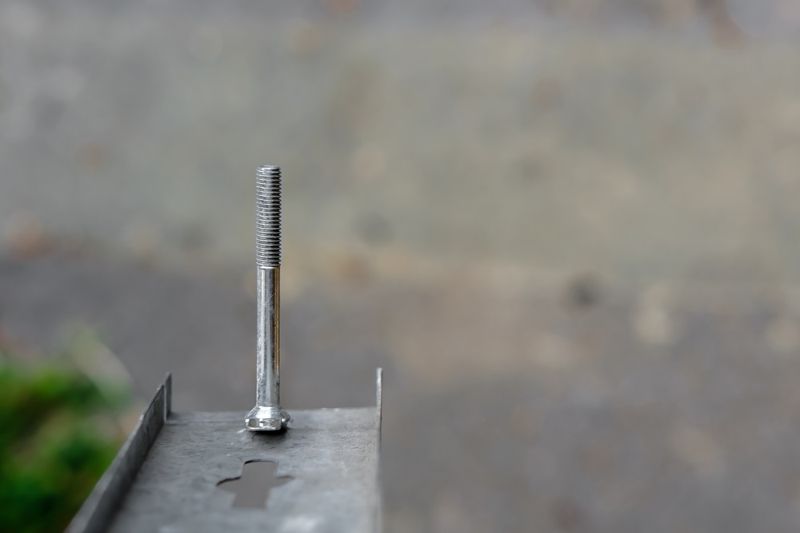
Cut the side aluminum pieces to the desired length. Once everything’s drilled down, ask someone to help you assemble the side pieces of your DIY roof rack to your vehicle’s roof. Make sure your rack’s at the center and use a few wood blocks to set it at the right height
Step 6: Prepare the Roof Rack Feet
Next, clamp your aluminum angle to your rack, drill holes to the side pieces, and use a marker to mark where the roof mount feet holes are located. Drill some holes corresponding to those locations after.
Step 7: Paint and Assemble it All Together

Now that you finished all the drilling, it’s time to paint all the pieces with some bedliner spray paint. Let it dry.
Once the paint has dried, bolt in the pieces to your vehicle and check how it comes together.
Step 8: Create Some Rubber Bumpers for Support
To add a bit of extra support, add a couple of rubber bumpers near the front of your roof rack. This prevents your rack from swaying from side-to-side when moving off.
Here’s how to create the bumpers:
- Place a T-nut stud at the bottom of the first extruded aluminum in front.
- Screw the spacer down tightly onto it.
- Add a jam nut to your rubber bumper
- Adjust the height until there’s a bit of pressure between the rack and your vehicle’s roof
This is how it should look like and how this roof rack is made:
The sky’s the limit once you put your DIY roof rack together. We hope you enjoyed this simple tutorial and stay tuned for more.
Have you already put together a roof rack for your car? Let us know in the comments section below!
Up Next:
- 20 Clever Car Hacks To Help Keep Your Car Clean
- Interesting Ways To Use Your Airbrush Kit For DIY Projects
- 9 Easy-To-Build DIY Dresser Plans For Your Room
Calling all crafting DIYhards, DIY Projects needs YOU! Click here if you want to write for us.
Don’t forget to stay connected with us on Facebook, Twitter, Pinterest, and Instagram!


