

Want to learn how to make some classic Halloween skull and bones? This year, spiff up and spook up your Halloween decor with classics!
RELATED: 10 Easy Dollar Store Halloween Decorations You Should Try
How to Make Homemade Skull and Bones Decorations
Make Your Own Halloween Decorations on a Budget
Why buy expensive Halloween decorations when you can make your own? From outdoor Halloween decorations like this ultra-creepy rotting corpse to indoor ones such as this haunted specter mirror, you can indeed.
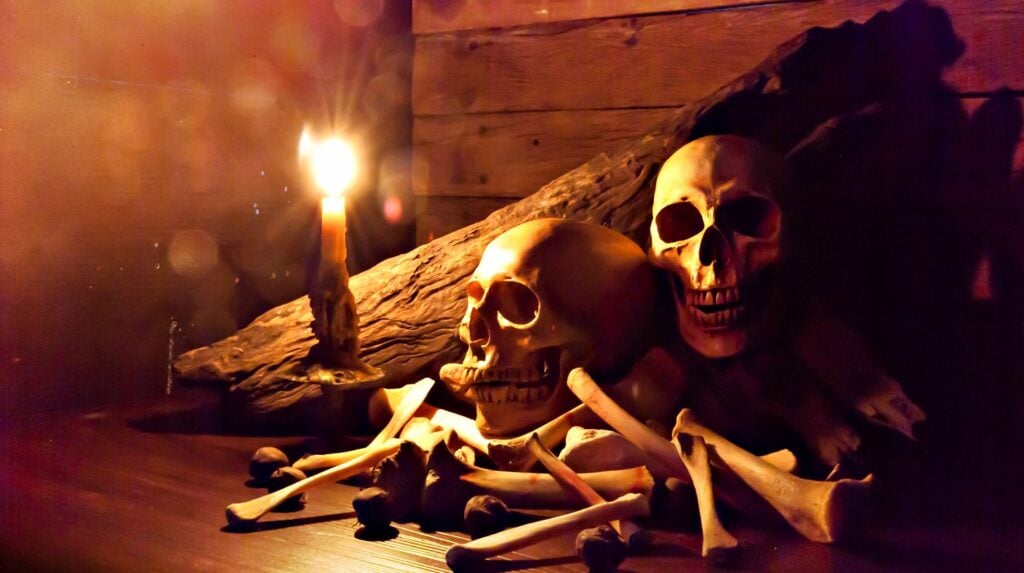
For Halloween, nothing beats the classics, but we sure like to give it a twist each year. This set of skulls, bones, and bloodshot eyeballs is just what you need to kick up your Halloween table or wall decor to the next level.
With a sewing machine, this is a pretty low-stress project. I made a few with different expressions for a Halloween party last week, and guests just loved them!
In fact, I made one and won a prize for our Best Costume contest. So, let’s get this fun and spooky project started!
What You Will Need to Make DIY Halloween Skull And Bones:

- Muslin
- Fiberfill
- Sewing machine
- Needle and thread
- Paints
- Brushes
- Gesso
- Patterns (below)
DIY Halloween Skull And Bones Instruction:
Step 1. Trace Patterns and Sew

Trace patterns onto a double layer of muslin. Sew completely around each piece, leaving a small opening for turning and stuffing.
Step 2. Trim

Trim excess fabric close to the sewing line, clip curves, and turn right side out.
RELATED: 31 Breathtakingly Easy-to-Make DIY Halloween Decorations
Step 3. Stuff Your Fabric into Bone Patterns

Stuff all parts with fiberfill and sew the opening closed. Gesso all the pieces, let them dry, and sand.
Step 4. Paint Stuffed Patterns

Paint all the pieces black, then let them dry. Sand lightly again.
Paint over the black paint with white or off white paint and letit dry.
Step 5. Outline a Face

Transfer face patterns to the skull and eyes.
Step 6. Paint the Face Outlines

Next, paint the eyes and teeth white. Paint the iris any color you prefer, then paint all the black areas of the skull, too. Let them dry completely.
Step 7. Highlight Face and Eyes Features

Using a thin brush and red color to paint the veins in the eyes. If it makes it easier, draw the lines lightly with a pencil first and then paint the veins.
Use black paint to finish off the eyes. Also, add a little bit of white to highlight the eyes.
Step 8. Water Down the Skull and Bones

To create the aged or weathered look, water down brown paint, apply it with a brush, and remove excess with paper towels. You chose how aged the pieces will look by simply adding more or less paint.
Complete your ensemble with a skeleton decoration. Watch this video from Waylight Creations to make easy DIY skeleton hands:
Dressing up and decorating your home on Halloween sure is exciting. No rules and no reservations–just fun.
We have an interesting proposition, though. Keep your homemade Halloween decor, so it gets less costly each year!
Will you give this homemade Halloween skull and bones a shot this year? Let us know your plans for it in the comments section below!
Up Next:
- 25 Creepy Halloween Decor Ideas To Increase Your BOO Factor
- 19 Spooky And Fun DIY Ideas To Throw A Halloween Party At Your House
- Build Your Own Floating Deck | Step-By-Step Guide To A More Relaxing Backyard
![]()
Stay connected with me on Facebook, Twitter, and Instagram!

Editor’s Note: This post was originally published on October 22, 2015, and has been updated for quality and relevancy.


