


Learn how to build a folding workbench to add some extra storage and work area to your garage without consuming additional space. This DIY folding workbench is the perfect solution for your workspace problem!
RELATED: DIY Pipe Leg Table | Workbench Plans and Rustic Furniture Tutorial
DIY Folding Workbench | Build in 12 Easy Steps
What You’ll Need:
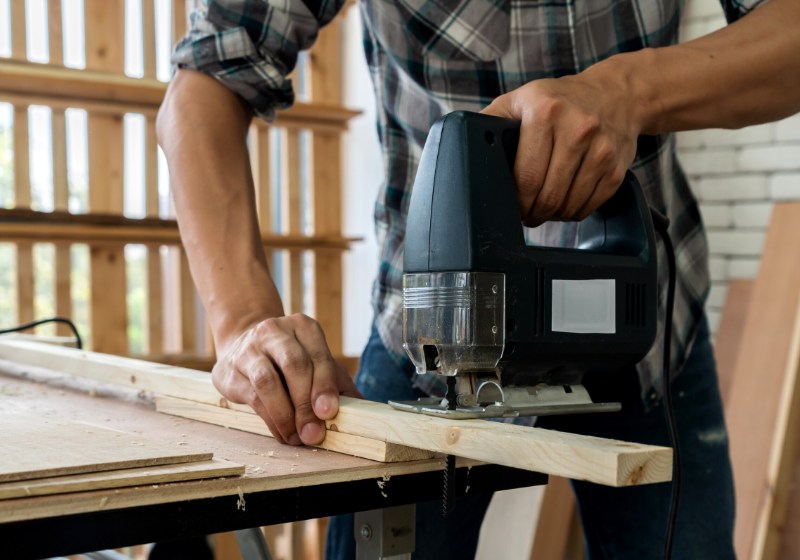
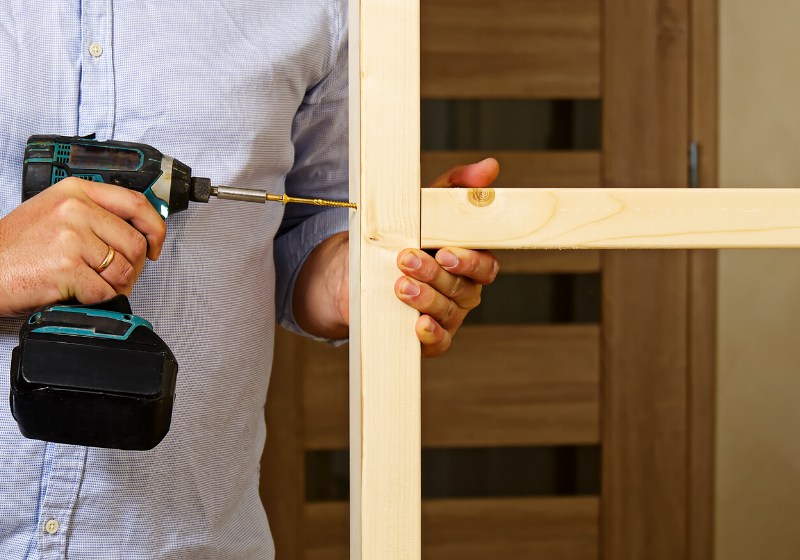
Folding Workbench Tools:
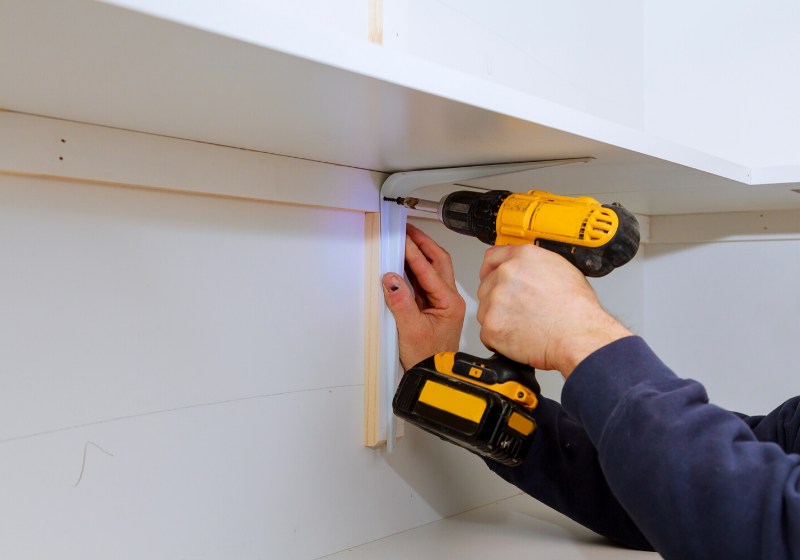
- Driver or drill combo kit
- Countersink bit
- Dual chucks drill
- Chisel and sander
- Table saw
- Jawhorse portable material station
Folding Workbench Materials:
- One 3/4″ sheet of plywood
- Three pieces of 2×4 lumber
- 4 hinges
- 3 shelf brackets
- 2o barrel bolts
- Wood glue
- 1.5″ screws (for attaching the plywood to your 2×4), 3-4″ screws (for the wall mount), and 3/4″ screws (for the hinges)
- 3.5″ wood screws (for the 2×4 frame)
Step 1: Cut Your Plywood Down to Size
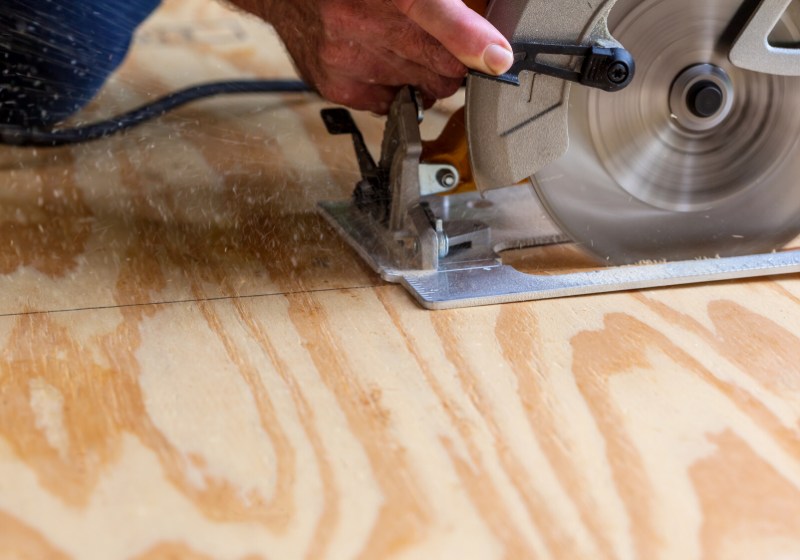
Start the project by cutting your sheet of plywood in half. When you have it down to a manageable size, use your table saw to fine-tune the cuts. Next, clamp the plywood together before making one cut through to your desired length.
Note that you can make all these cuts using fewer tools by having them done at your local hardware store after purchasing the materials.
Step 2: Prepare the Wood for the Borders & Dividers
Cut the 2×4 lumber into pieces for the sides and back of your folding workbench. Cut some more pieces depending on what your inside dividers will be shaped like.
Step 3: Form the Bigger Storage
Start by forming the back and one of the sides. Apply wood glue between the joint, then clamp, pre-drill, and screw them together. Add a 2×4 divider that will also create your storage on the backside.
Once you’re done with one side, make your way over to the opposite side and repeat the process. Again, try to make sure that everything is square as it makes everything go together better.
Step 4: Complete the Frame
Finish the frame of your folding workbench by making the smaller storages. Take your 2×4 pieces and apply a piece of plywood on their front side. Make it as big or as small as you want, but keep the open storage in mind.
When you’re ready, screw the two parts together. At this point, you should already have the inner frame ready.
Step 5: Countersink Your Hinges
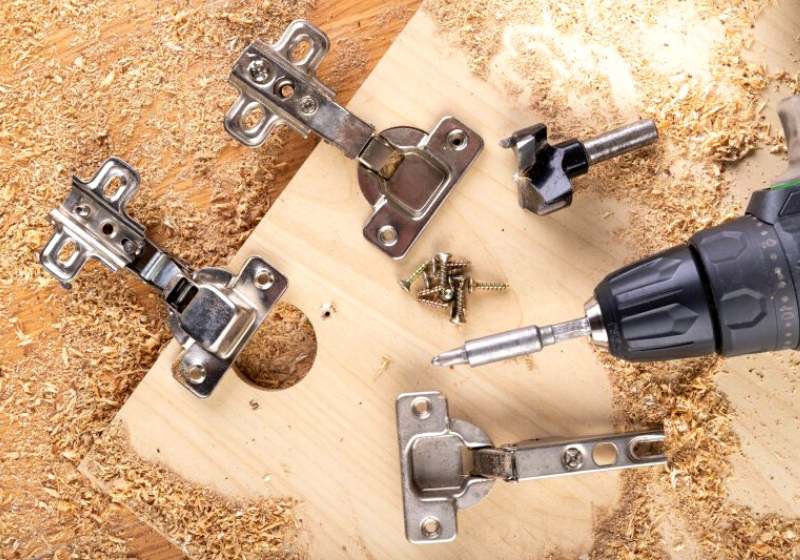
Leave the frame for now and ready your hinges for installation. Flip the hinges in the opposite direction and countersink the opposite side. One side of the hinge is countersunk so just duplicate that on the other side.
Step 6: Remove the Gap
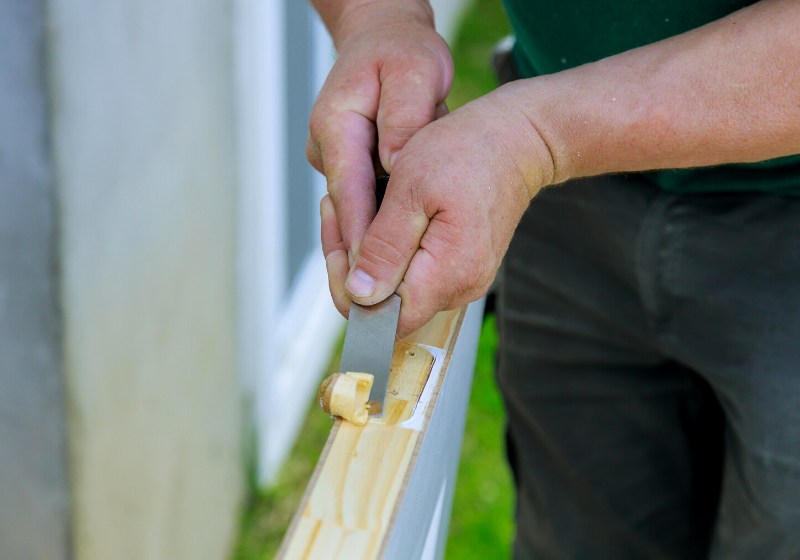
Having a chisel comes in handy at this point. Before attaching the hinges, you might want to get rid of the trap between the 2×4 frame and the plywood to make everything fit better.
The best way to do this is to simply mortise the hinge into the 2×4. Notch out that section so the hinge can sit into the opening. You can use a razor to score the outside before chiseling out the unwanted pieces.
RELATED: 21 Space-Saving Ideas For Your Studio Apartments
Step 7: Sand Your Frame
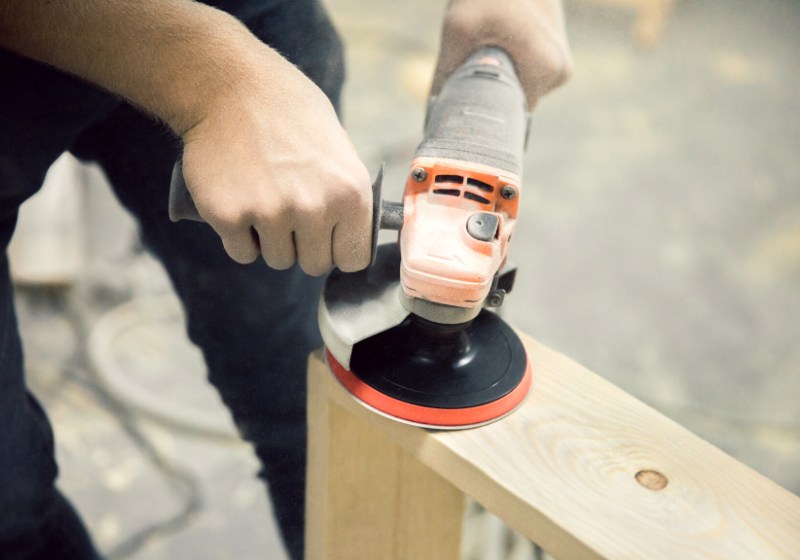
Go back to your frame and sand it while it’s still accessible and everything is open.
Step 8: Install the Hinges
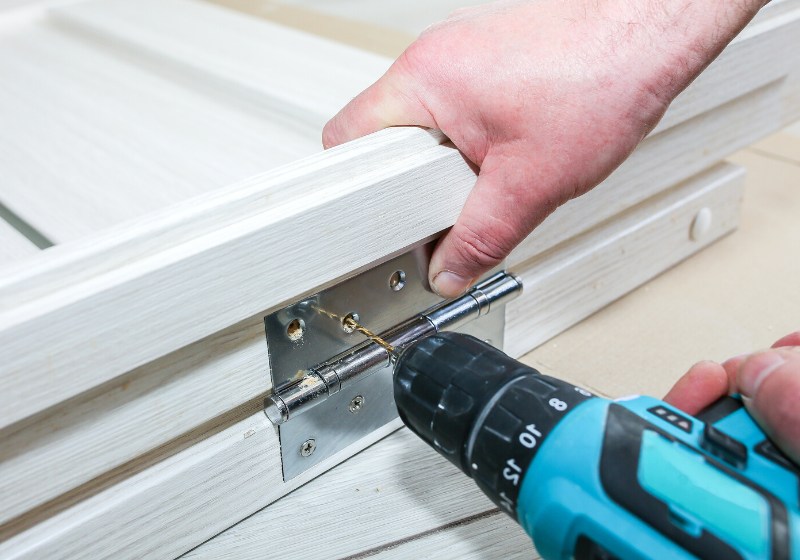
When installing hinges, a lot of people have trouble keeping the hinge straight while installing the screws at the same time. To make it easier, there is actually a drill bit specifically for the hinge hole.
Use that drill bit for the hinge hole and repeat the same process for all the remaining hinges. This project uses four. With the hinge in place, you can now attach the top. Just set the top in place and again, make sure you keep everything square.
Clamp the two sides, get underneath or flip it over, then install a few more screws in the exposed hole. Repeat the same process until all your hinges are attached. Flip the top open before installing the remainder of the screws.
Again, make sure that the heads of the screws do not interfere with the way the door closes.
Step 9: Put the Barrel Bolt in Place
Flip your folding workbench upside down — the bottom should now be facing up. Install the barrel bolt catch on a small piece of wood. If you want to eliminate this altogether, you can also drill a hole in the 2×4 and attach a mending plate on its top side.
This should prevent the wood from ripping. Do some pre-drilled holes on the side before attaching them to the sidewall with a few screws. Then, take a barrel bolt and line it up with the hole.
You can also make this even tighter by making it off by just a hair. This should help you force the bolt without worrying about any gaps.
Step 10: Complete the Workbench
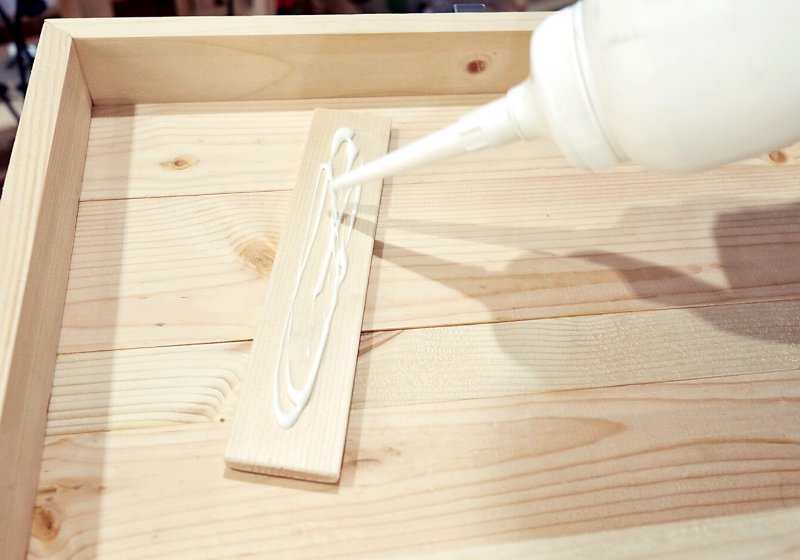
Apply some wood glue to the outline of the 2x4s and finally, set the bottom in place. After lining it up as straight as you can, clamp it down and add some screws. Remove any sharp edges by using a router and a round-over bit.
If you don’t have a router, you can also use an orbital sander as a substitute. You should now have a completed desk that only needs to be attached to the wall to turn it into a folding workbench.
Step 11: Attach It to the Wall
Use fold-down shelf brackets that are ready for at least 750 pounds per pair. While a 16″ bracket is the recommended size for you to get more length and sturdiness, a 12-inch bracket with the same weight capacity should work just fine.
In fact, these are more likely to fall off the wall than the brackets themselves breaking. As you install the bracket, take a piece of wood that represents the thickness of your folding workbench and add an additional 1/4″ to it.
The wall that we’re using has a cinder block behind the drywall, so we’ll be using a hammer drill to drill all the way through the block. You can also add a framing strip as a backing so as not to break the drywall while you mount to it.
Adding some form of support like a piece of wood behind the bracket gives you an even stronger installation. With the brackets installed, you can now install the top and secure them in place using a few screws from underneath.
If you’re planning on using them a lot and storing a lot of heavy items in them, you should add some more nuts and bolts to the wall. This should help secure the top firmly in place.
Step 12: Apply Your Favorite Coat of Finish

With everything completed, you can add your favorite coat of finish to your DIY folding workbench depending on what best fits the aesthetic of your garage.
While the DIY folding workbench we made above is attached to the wall, you can also check out this mobile version of it made by Pneumatic Addict:
This DIY folding workbench is a great addition for storing those tools and other materials, while still saving space. Plus, it makes for a great fit not just in your garage, but even in your kitchen or office space!
Did you find this DIY folding workbench helpful and easy to build? Let us know in the comments section below!
UP NEXT:
- DIY Lego Table Ideas For Countless Hours of Creative Fun
- Top 7 Wood Carving Tools For Beginners And Beyond
- 53 Easter Egg Designs and Decorating Ideas Anyone Can Make
Calling all crafting DIYhards, DIY Projects needs YOU! Click here if you want to write for us.
Don’t forget to stay connected with us on Facebook, Twitter, Pinterest, and Instagram!Editor’s Note – This post was originally published on June 15, 2020, and has been updated for quality and relevancy.


