What a good time it is to enjoy your outdoors and catch up with family over some backyard campfire. Get those marshmallows heated as conversations get more interesting too. A get together with family, loved ones or friends over this setting will always be memorable.
With this, you have to have a fire pit first, don’t you think? Now we got you covered. Easily turn your backyard into a camping area by having a fire pit. Let’s do this the DIY way because there’s the available but expensive one, then there’s the cheaper but sure DIY version. We give you the latter and better option!
Turn Your Backyard Into A Camping Area With This DIY Outdoor Fire Pit
Enjoy melting those s’mores with your DIY project
Spice up your backyard with a DIY Fire Pit that will give way to awesome camping moments. Enjoy the warm feeling it gives, and the warm food it will produce for you and your family. This will be a great piece when you host an event or two in your own backyard too. Check out the materials and the process for this DIY.
Supplies:
Concrete Mix (Quikrete 5000, 20-25 Bags)
Fire Bricks
Mortar
Rebar
Gravel (Quikrete 3/4″)
Lava Rock
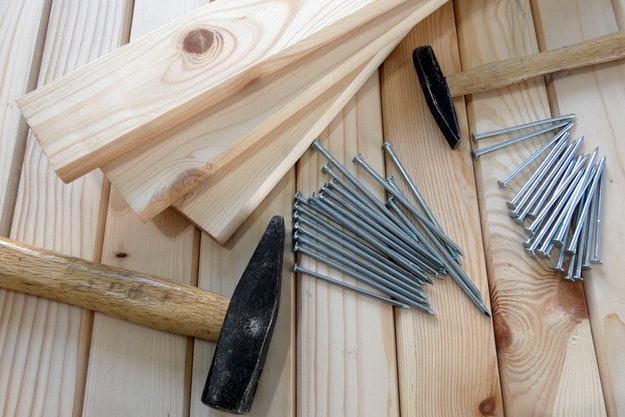
2x4s + 2x6s
L-Brackets
Tools:
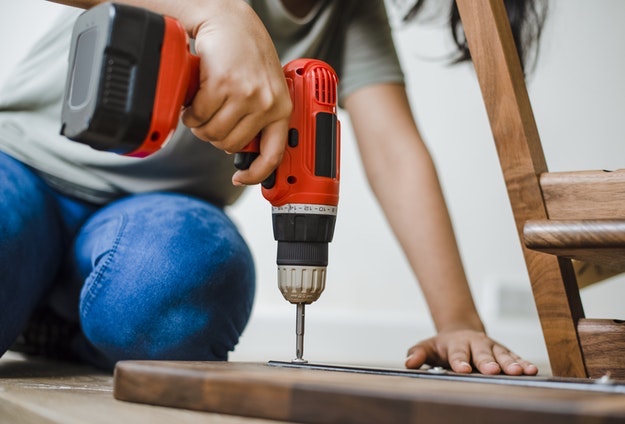
Drill
Circular Saw
Steps:
1. Cut the wood.
Cut the wood in 2x4s and 2x6s. Follow the size of the wood by checking out the plans. The outer frame will be made of 43.5″ long. For each panel, it will be made of 2 pieces of 2×4 and 2 pieces of 2×6.
2. Screw the wood into panels.
Screw the wood together to create panels. You will need to make four panels.
3. Create the outer frame.
Using L – brackets, form the outer frame out of the panels joined together.
4. Mark the perimeter.
Place the frame in the desired location and create a mark by digging around it. Dig out the place. Try to make it as level as possible.
Fill it in with 3 1/2″ of gravel. Make it level and compacted.
5. Place the frame.
Place the mold. Put first the outer frame, and then the inner one.
Measure if the inner frame is in the right place and center. Screw it into place with 2x3s.
Check if the frame is level.
6. Place the rebar.
Drive the rebar into the ground, and wire the horizontal ones into place.
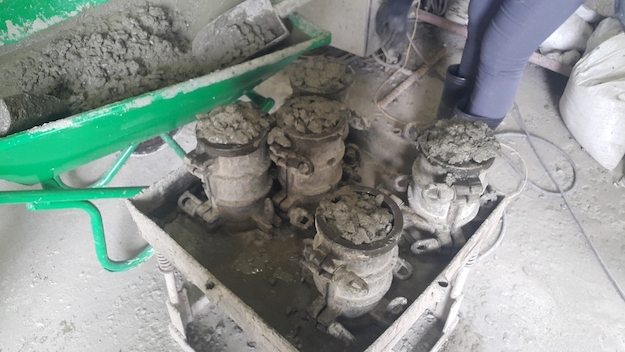
7. Pour in the concrete.
Mix the concrete, water, and concrete foundation. Pour it in as the first layer. Push it down to all its corners. Let it cure for at least 20 hours.
8. Lay the bricks.
Mix the mortar and apply it first, after the concrete has cured.
Place the brick one by one. Put mortar on each brick so that they stick together as well.
9. Add more concrete.
Pour more concrete for the outer frame, fill it at about 5 inches. Since the rebar placed earlier wasn’t long enough, place another one now to connect the different layers. Remove the 2x3s that held the inner frame earlier.
10. Pour in the final layer and level out.
Pour the final layer of concrete. Once it is full, use a straight piece of wood to screed the top of the concrete to level it.
Let it sit for half an hour and use the float to level the concrete once more.
Wait for another hour, and finish it off by leveling using a steel trowel. Make it smooth and flat as much as possible.
11. Keep it moist.
Cover the concrete to let it cure without drying it too much. In this project, it took 48 hours to have everything cured.
12. Remove the mold.
Remove the inner and outer mold, since the concrete has dried.
13. Place lava rock.
Pour lava rock at the bottom of the fire pit to create a nice, thermally resistant surface for starting fires on.
*It is recommended to let the concrete cure at least 30 days before lighting a fire. Also, do not let a fire burn for longer than 2 hours for the first 3 months.
Here is the full video tutorial of this awesome DIY concrete fire pit:
Now you have a reason to spend some nights outdoors. Not only will your fire pit be a source of warmth, it will also bring you together as a family. Invite your friends over after you’ve made one for your own, too.