

Let us walk you through the steps of creating an outdoor sofa without having to spend much! This functional sofa isn’t as hard to do as it looks. Read on to try now!
Easy Steps On How To Build Your Own Outdoor Sofa
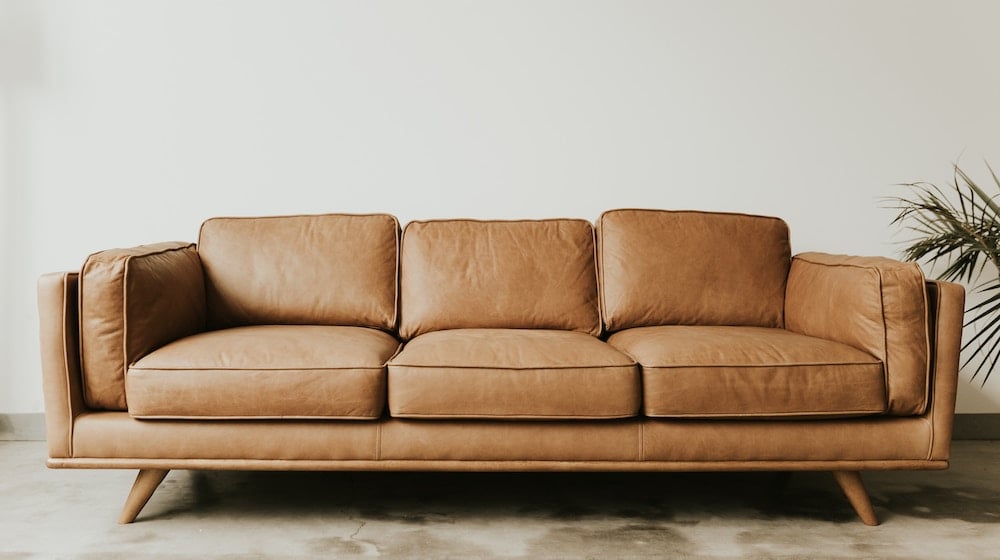
Whether you want to hang out over a fortune or enjoy the fresh breeze outside, this outdoor furniture would doubtlessly become one of your favorites! With your tools and materials, you can totally create a sofa without having to shell out much. Start building your own outdoor sofa which will turn into your family and friends' favorite hangout spot in no time!
What You'll Need:
Tools:
- 18-volt cordless drill
- 18-volt circular saw
- compound miter saw
- orbital sander
Materials:
- 4×8s + 2x8s
– 4x8s were used for the side panels, 2x8s were used to make the bottom and back pieces - L-brackets
– used to connect panels to the back and bottom pieces - Lag Screws
– used to connect 8″ long lag screws to connect the 4×8 pieces Ikea Outdoor Cushions
How To Make A DIY Outdoor Sofa:
Step 1: Cut

Start by taking your 8-foot long 4×8 and cutting them into three 32-inch long pieces using your miter saw. Then, take the 2×8 and cut them into the same length of the cushions.
Step 2: Sand
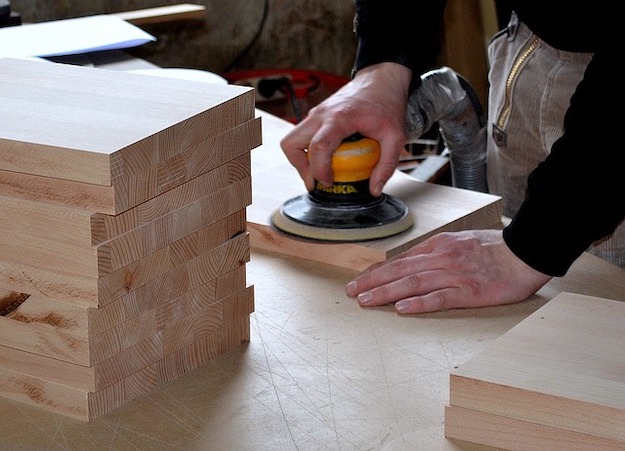
Sand each piece of wood that you've just cut with the orbital sander.
Step 3: Drill
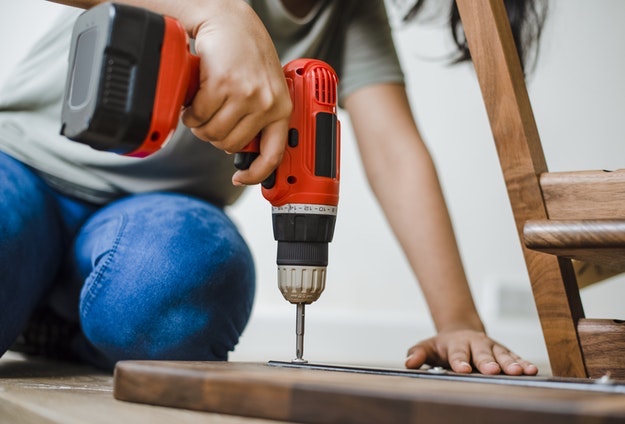
If you weren't able to find screws that can go through the 4×8, simply drill large holes about halfway through the 4×8, then use the 8-inch lag screws and screw it through the holes and into the other 4×8 to create the 3-piece wood side panels.
Tip: Use the socket attachment of a driver to push the lag screws into the hole and into the other 4×8.
Step 4: Screw

Screw in your L-brackets to your side panels. Laid out the L-bracket so the bottom of them would align to the seam of the 4×8. Lay in the 2×8, then screw up through the L-brackets and into the 2×8 to fasten it all together. For the back portion, to have it in slight angle measure it with a speed square to ensure you get the right angle for both brackets.
Step 5: Stain
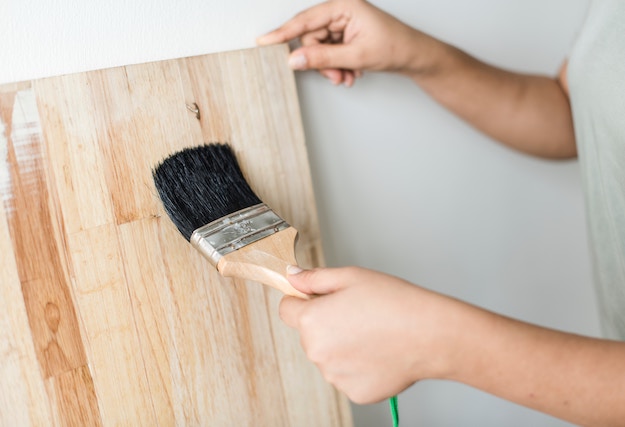
Complete the frame with your chosen stain and apply it with a brush. Then, let is sit for about 15-minutes and use a clean rag to wipe off the extra stain.
Throw on some outdoor cushions and test out the new sofa!
The video below from HomeMadeModern shows all the steps summed up together, for your viewing:
This outdoor sofa is sure to complement your outdoor space! Make this your weekend project and have a wonderful piece to add to your home.
Have you done a similar project before? How did it work out for you? Let us know in the comments sections below.
Looking for more DIY outdoor projects? Check out this ultimate list of DIY outdoor projects! These will help you spend more wonderful time out in your backyard with or without a companion!

Stay connected with us on Facebook, Twitter, Pinterest, and Instagram!
Editor’s Note – This post was originally published in March 2016 and has been updated for quality and relevancy.