


Make use of the logs that are in your backyard and make something awesome out of it, like this lounger! Perfect for chilling outdoors with a cold drink in hand, this sturdy lounger will complete your relaxation moments. Here, we will show you how this log lounger is done in 4 simple steps!
Awesome DIY Log Lounger Project For Your Backyard
Create this lounger from reclaimed logs in 4 simple steps!
A perfect backyard would include some stuff you can utilize for relaxation and cozy times, and this DIY log lounger can do you good! Created from reclaimed wood, you just don’t have a chair for your use, you also get to recycle and help lessen waste.
This project will save you time and money by:
- using reclaimed material
- using minimal supplies
- doing the project in five easy steps!
For a quick weekend project, this is the most ideal for you. Let’s get it started!
Supplies:
- Logs 3″ – 6″ in diameter
- Lag Screws 6” and 9”
- Brackets and Deck Screws
Tools:
- 18 Volt Chainsaw
- 18 Volt Cordless Drill
Steps:
1. Cut the logs
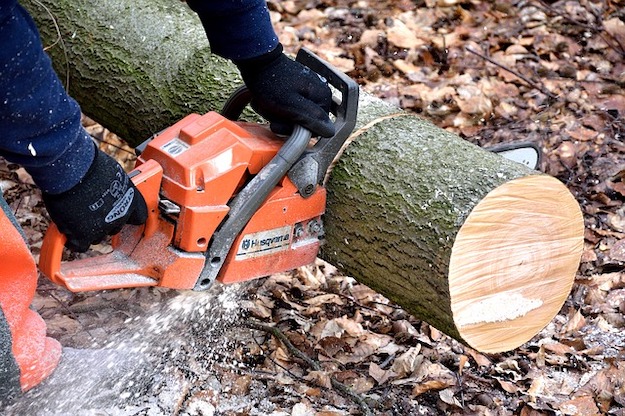
Cut the logs into pieces, about 18 inches long.
2. Create Your Layout

Use masking tape to lay out the design on the floor.
3. Drill the logs

Use the 1 ¼” bit to drill large holes about 1-2 inches into the log. Have the long ¼” bit to drill pilot holes through the first log only.
4. Screw the logs
Screw the logs together.
Use steel brackets to strengthen the chair.
Voila! Enjoy and relax in your new outdoor DIY Log Lounger!
Watch the full tutorial here:
Easy, right? With everything you need for this project is ready, you can start away and finish in no time!
Click here for other simple DIY projects.
Like this? You’ll also like…
How to Make a DIY Outdoor Sofa Project DIY Hammock Stand Projects | Enjoy Summer Even in Your Backyard
 21 Creative Corn Hole Boards To Inspire Your Next Backyard Game Night
Featured image via Homemade Modern


