
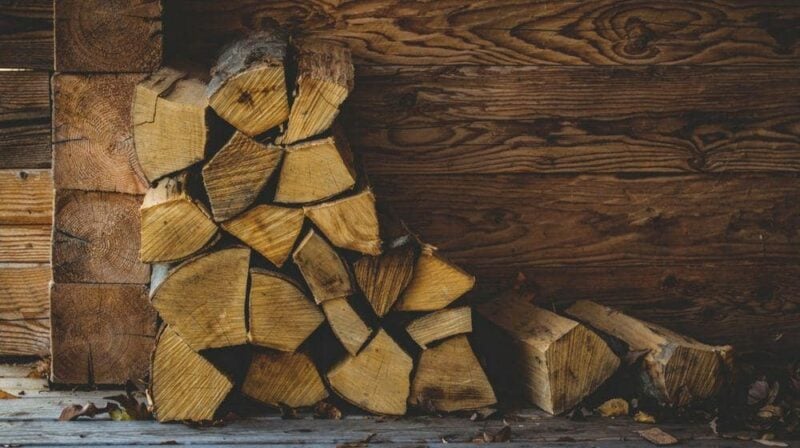

When the house needs some warmth, a sturdy DIY firewood rack will come in handy. It’s one great piece to keep firewood dry and in one place.
The Only DIY Firewood Rack Project You’ll Ever Need
A firewood rack is just what we need to keep our all-important firewood safe, dry, and within easy reach. Don’t worry about buying one, because you can definitely make one for your home. Continue reading and find out what you will need and the easy steps on how to build a DIY firewood rack.
What You’ll Need:
Supplies:
- Wood Glue
- Box of 2 1/2 inch Kreg Screws
- 3 inch Wood Screws
- 1 1/4 inch Wood Screws
- Sandpaper
- Stain or Poly
- Wood:
- 2×4 x 8 foot long boards (5 pcs)
- 2×6 x 8 foot long boards (4 pcs)
- 1×6 x 6-foot long cedar pickets (14 pcs)
*Recommended: cedar or redwood
Tools:
- Miter Saw
- Orbital Sander
- Kreg Jig
- Drill
- Tape Measure
- Ruler
- Pencil
- Speed Square
- Safety glasses
- Clamps
How To Build A DIY Firewood Rack
Step 1: Make The Cuts
Download the DIY firewood rack plan and cut the cedar to form the frame of the rack. Ensure to cut according to the needed sizes.
Step 2: Assemble The Base
Adjust the Kreg Jig and create holes in the joints to connect the boards. Apply wood glue and screw them in place.
Step 3: Assemble The Four Posts
Assemble the four posts by connecting a 2×4 with a 2×6, which will then form an L.
Step 4: Attach The Corner Posts To The Base
Attach the corner posts one at a time by screwing them into place. Put a short piece of 2×6 in the middle to prevent it from sagging. Attach a 2×4 at the back as well to secure the overall piece.
Step 5: Strengthen The Structure
Strengthen the structure by adding a 2×6 on the left and right sides. This will square up the post.
Step 6: Attach Pieces At The Top Part
Attach the rear 2×4 wood and screw it in place. Then, attach a 2×6 to the front and screw it in place.
Step 7: Add Support For The Picket Roof
Attach 2×4 on both ends to frame the roof. Then, provide inner support for the pickets and strengthen the roof.
Step 8: Add The Pickets
Add the pickets at the top portion to create the roof. Using 1 1/4 inch wood screws, screw the pickets one at a time.
Step 9: Assemble The Lower Storage Rack
Measure and cut pickets to create the back of the lower firewood storage rack. Screw them in place. Cut shorter board and attach them to the sides with the same method.
Step 10: Ready To Use
Put your brand new firewood rack in place. Then, chop your firewood and arrange them in your newly made firewood rack!


