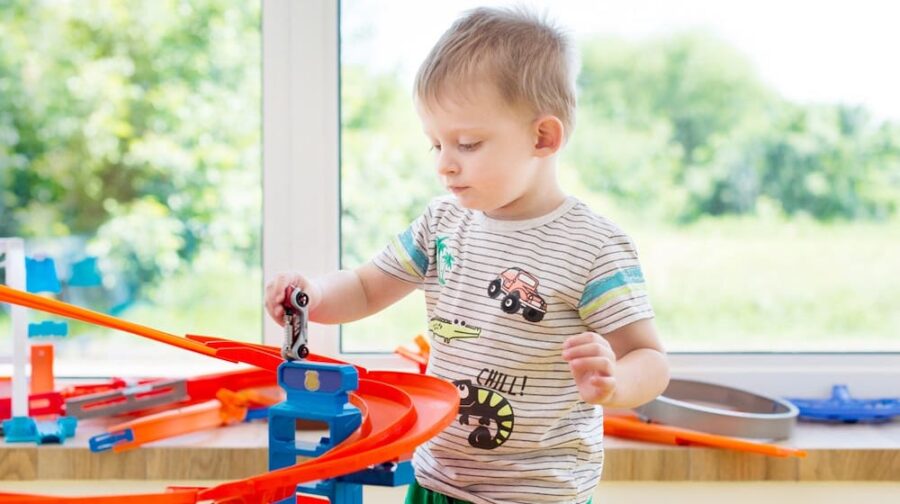


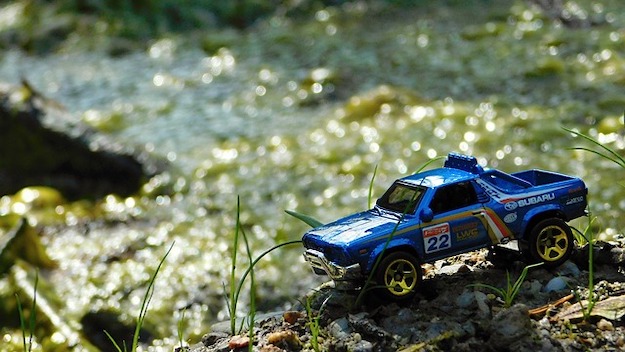
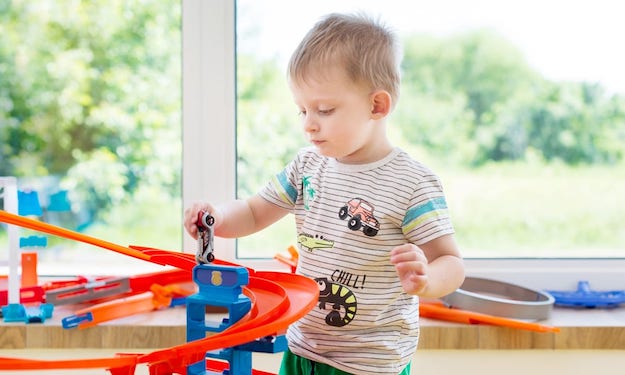
Ever heard of a DIY Hot Wheels race track? Well, now you have. This simple DIY project is not only going to save you a trip to the toy store, but also save you some money. All it takes to complete this project are a few cardboard boxes, some glue, and your children’s imagination. This little side project inspired me to create one for myself, made with the same principles and ideas, but I added a slight tweak to it.
How to Build A Hot Wheels Race Track | DIY Project For Kids
This DIY Hot Wheels race track is sure to get your children excited to dabble with DIY Projects because it not only teaches them a thing or two about recycling, but it will also exercise their creativity and resourcefulness. So, what do you need for this awesome project?
Supplies you’ll need for this backard DIY project:
- Cardboard boxes – they need to be sturdy
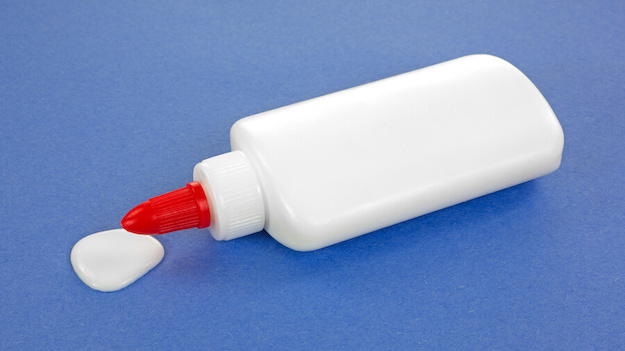
- Glue
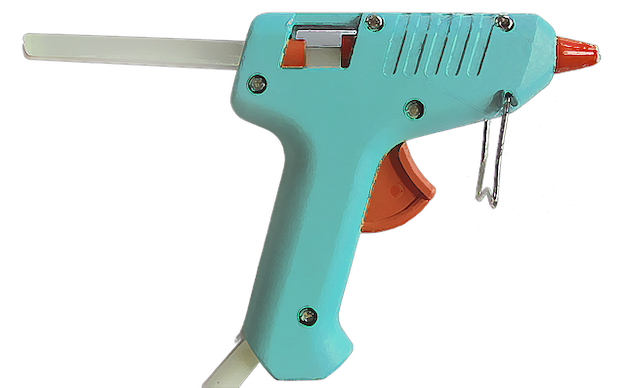
- Glue Gun
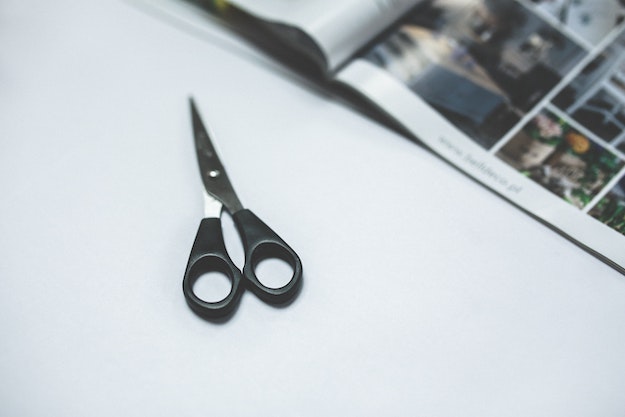
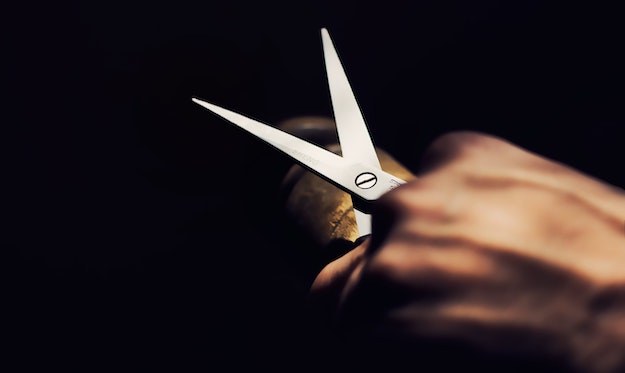
- Scissors
- Bucket – 8 to 9 1/2 inches in diameter preferred
- Tape
Steps to making the Hot Wheels race track:
1. Gather cardboard boxes.
The longer the box is, the better.
2. Mark and cut the cardboards into two (2) strips.
The first strip is 1 1/2 inches wide.
The second is 1/4 inch wide. Use scissors to cut both measurements.
3. Attach side rails.
Using a glue gun, attach side rails to the trackbed. This makes the rail straight.
4. Prepare the loop portion.
The loop should be almost 4 feet and 1 1/2 inches wide. You will need a material with a round end, like a bucket that is 8 1/2 to 9 inches in diameter.
5. Put the trackbed under some running water.
Make sure all of the surfaces are wet, wipe off excess water. Using a tape, attach one end of the wet trackbed to the bucket.
Wrap the trackbed around, seal with the tape and let it dry overnight.
6. Make the loop’s support.
Put the bucket on a piece of cardboard and trace the outer edge of the bucket. Remove the circle inside.
Set the dried loop track bed on the support. The loop comes into the support and exits on the other.
Use a glue gun to place the loop on the support.
7. Loop exit.
Extend the end of the loop trackbed out at about 6 inches and glue it into place.
8. Create rails for the loop.
Trace the bucket once more on a cardboard and draw a circle quarter of an inch inside it.
Cut it out and attach to the loop. Make sure that they start and end at the bottom of the loop.
Glue it on the sides of the loop track.
9. Attach the straight and loop trackbed.
Get a small cardboard piece and put glue in it.
Attach the straight and loop trackbed with the small cardboard connecting the two.
Cut out the base of the loop and attach it.
10. Setup the race car track.
Place one end of the track higher, like in this project, the end is clamped to a counter. You can customize it once you will play outdoors.
Secure the base of the loop into place. Adjust the placement of the loop if you need to.
Get ready to play with your kid!
Here is the full video tutorial from iCreatables of this ingenious DIY project:
See? It’s easy and entertaining. You might it enjoy it all the more in an open space, so this can be your new backyard DIY. Your kid will surely look forward to playing, with this DIY race car track as an addition.
Like this? You’ll also like…


DIY Projects’s Ingeniously Easy DIY Projects To Entertain Kids