


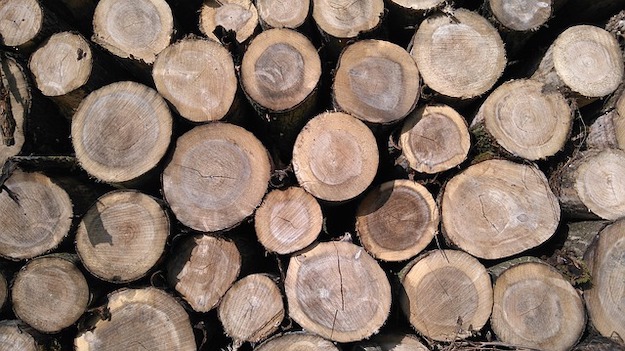
You would probably ignore a dirty old log in your backyard. Allow me to demonstrate that this piece of wood is not only meant for lighting up the fireplace, but can also be made into a functional piece that extends beauty in your home. When you see it lying on your lawn, think of creative possibilities and make it happen. One cool project that we can make out of logs is a Kid’s Chair. It’s beautiful, unique, and won’t hurt your wallet. Set aside those plastic and steel wares and let nature take over your homes!
Simple DIY Kids Chair Made From Log In 4 Easy Steps
Yes, you’ve read it right! This project only requires 4 easy steps, and will only make use of a single log. The log that you find lying outside today could be a new addition to your living room later on. This project will give you a Kiddie chair, kiddie stool, or whatever you wanna call it for your little angels. I have to say that creativity knows no bounds making something very beautiful out of the simplest of things. A project that is functional as well as an embellishment to your home!
Let us start the log transformation here.
Supplies you need for this DIY kid’s chair project
- 18 volt Chainsaw
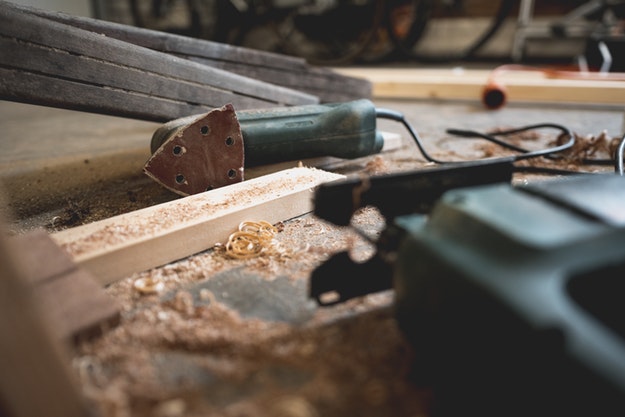
- Angle Grinder (flat disk, 60 grit pads)
- Orbital Sander (220 grit pads)
- Machete/Hatchet
- Single Log
- Wood Counter Top Finish
Steps:
1. Remove rough layers
Remove rough outer layers using a machete/hatchet.
2. Cut to desired shape
Cut a flat bottom for the chair using a chainsaw.
Set the log to its flat bottom and start cutting out the seat.
Secure the log when cutting it out to keep it from moving around. You may do so using screws.
Smooth out and shape the chair using an angle grinder.
3. Sand it
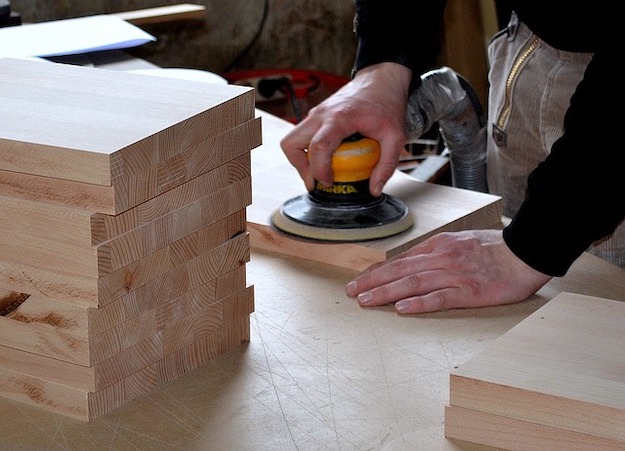
Sand using an orbital sander. Don’t miss out the cracks too.
4. Apply finishing touches
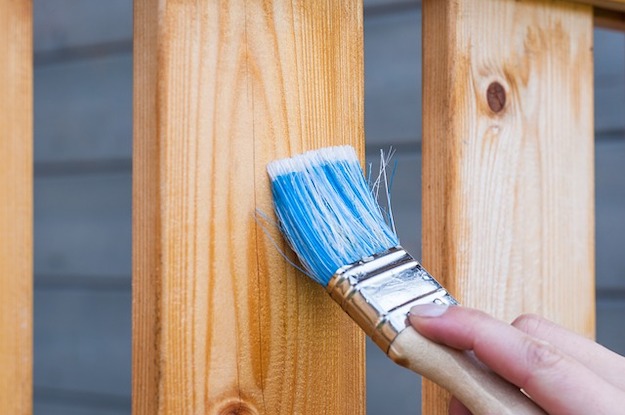
Dust out some parts with compressed air. Apply a wood countertop finish.
Watch the full process of this project from Homemade Modern:
This DIY project not only produced a nicely made kiddie chair, but it will also be a keeper to the memories of our child while they grow up. And since it is made of wood, it is sturdy enough to let grown ups sit on them too! I can even see myself putting my feet on it and relax after a day’s work. This project was shaped out in just 4 simple steps into a multifunctional, durable and attractive house piece. There’s much more from where that came from in DIY Projects.
Click here to get building tips for your kid’s backyard swing set.


