


Save some space with this DIY wine rack that also comes as a valuable and decorative house piece. Other than it is very easy to build, this actually doesn’t cost much compared to buying a ready made one. It’s also a way to test your woodworking and probably prepare you for more complicated projects in the future. In this video, DIY Pete shows us how to make one convenient wine rack for our living room or kitchen walls precisely.
DIY Projects: How To Build Your Own DIY Wine Rack
Here’s another project that you can put your building hands into – a Wine Rack! Not only is this a space saver, but it could also serve as a great Kitchen decor. This wine rack can hold up six to eight wine bottles, and further, it could also store your wine glasses underneath it. Start with this DIY Project and see for yourself how this Wine Rack could turn from a mere want to a house necessity!
Ready to Start with your Own DIY Wine Rack? Read on….
Tools you will need:
- Drill
- Jigsaw
- Orbital Sander
- Air Nailer
- Kreg Jig (optional)
- Clamps
- Square
- Hand saw, circular saw or miter saw
Supplies:
- Lumber
- Wood Glue
- Screws
- Nails
- Drill bits
- Finish
Here is HOW!
Step 1. Cut Cut Cut
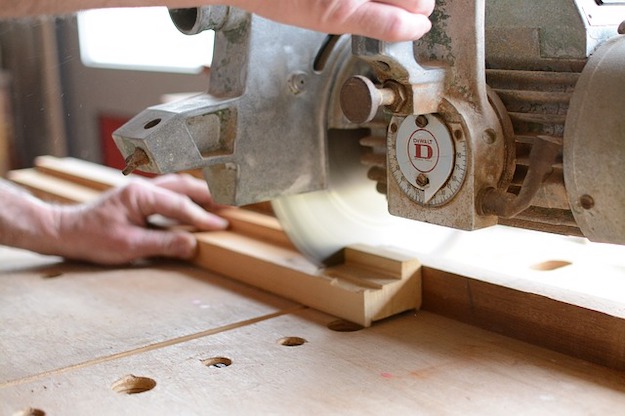
Cut 1×4 boards into five boards to 30 inches long, and one board to 27 inches long. Cut two small pieces that are just 2 inches. Then cut three boards of 2x4s down to size. Clean up rough spots and edges using an orbital sander.
Step 2. Trace and Cut

Round over the front edges for all the 2x4s. Use a can as a stencil and trace it with your marker/pencil.
Using a jigsaw, follow the lines you traced to make that rounded corner. Do this for all three 2x4s.
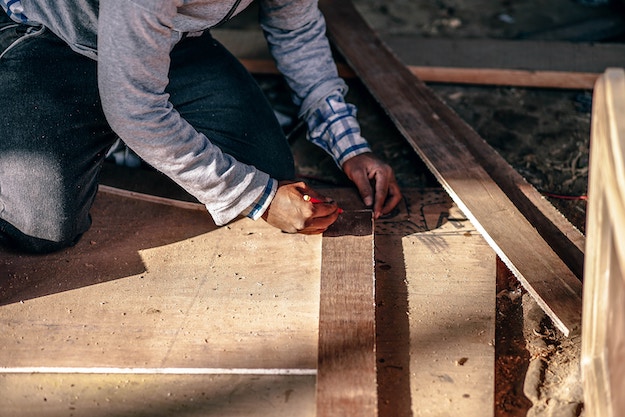
Step 3. Mark and Measure

With a 1×4 board, measure in 4 inches and put a mark. Then measure 8 1/2 inches and then finally 12 3/4 inches. Do the same thing on the other side. Use a square and put a line on each mark.
Step 4. Drill
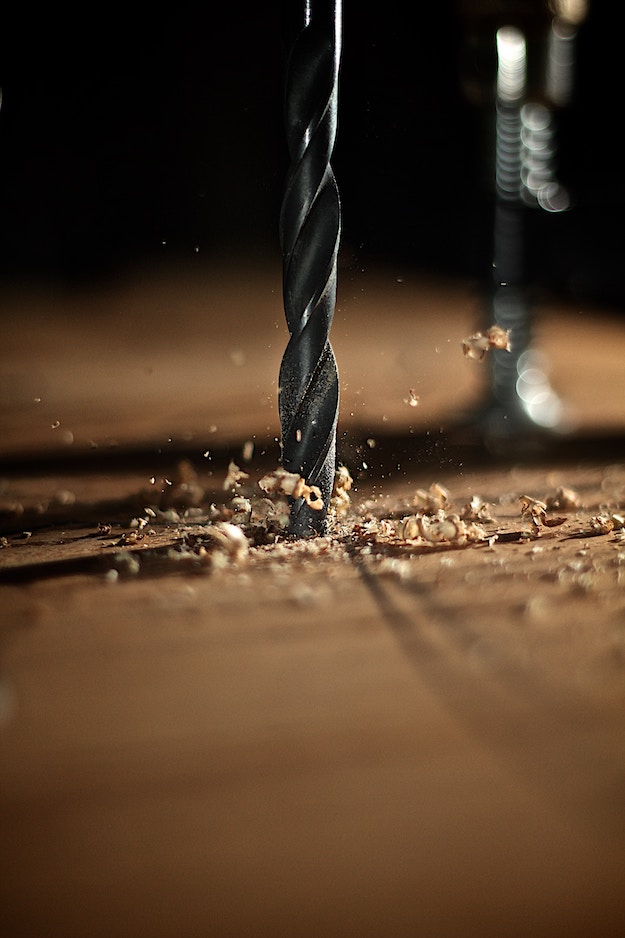
Measure 2 inches back from the front and put a mark. Clamp your board down and take the drill to put a hole in each mark.
Use a straight edge and draw a line straight down from the left and right edge of the hole just drilled. Do this for all six of the holes.
Step 5. Notches

Cut out those notches with your jigsaw. Clean up the edges with an orbital sander.
Step 6. Assemble
Assemble the lumber to form the wine rack. Drill the 1x4s for the screws later.
Step 7. Glue and Screw
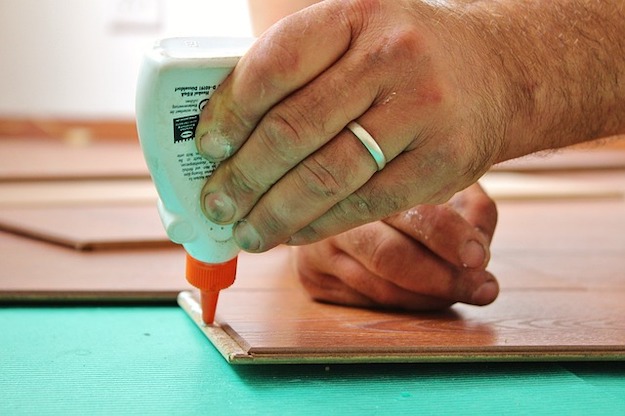
Apply glue to the edge of the boards. Put screws.
Locate the center to attach the middle 2×4 board.
Attach the other 1×4 boards at the back. Use glue or screws and nail it.
Add the board at the front.
Put the 2 – inch pieces under and then attach the wineglass rack. Glue and tack it.
Step 8. Sanding
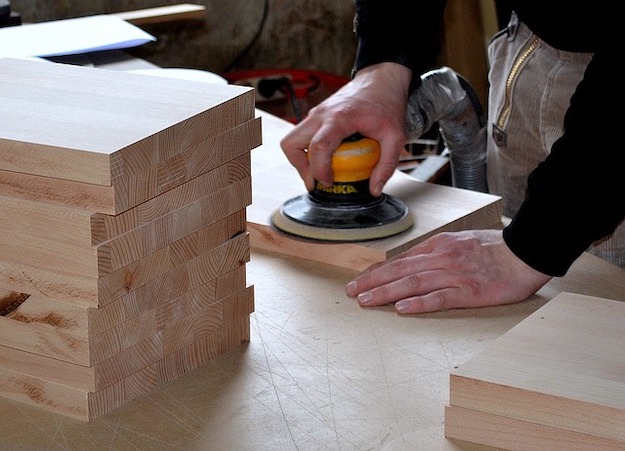
Remove excess glue and do a final sanding
Step 9. Stain
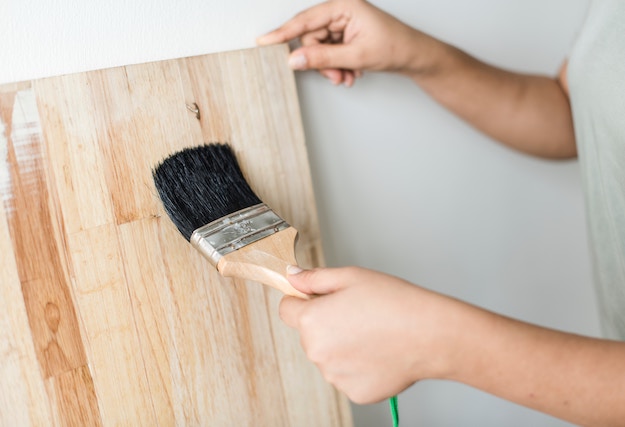
Stain your project using a spray – on stain. Let dry.
Step 10. Mounting

Drill some holes so you can attach the rack to the wall. With a stud finder, finder the studs in the wall where you will attach the wine rack.
Screw your new wine rack in place.
Your DIY Wine Rack!
Fill up your wine rack and enjoy! It’s about time you get yourself one by making it!
Watch the full tutorial here from DIY Projects with Pete:
This is a project you will totally enjoy! Having that sense of fulfillment building something beautiful and a functional piece of furniture for you to test your woodworking skills. Useful and convenient, your new wine rack is an efficient addition to your home.
Click here for cool DIY wood log projects for your home.


