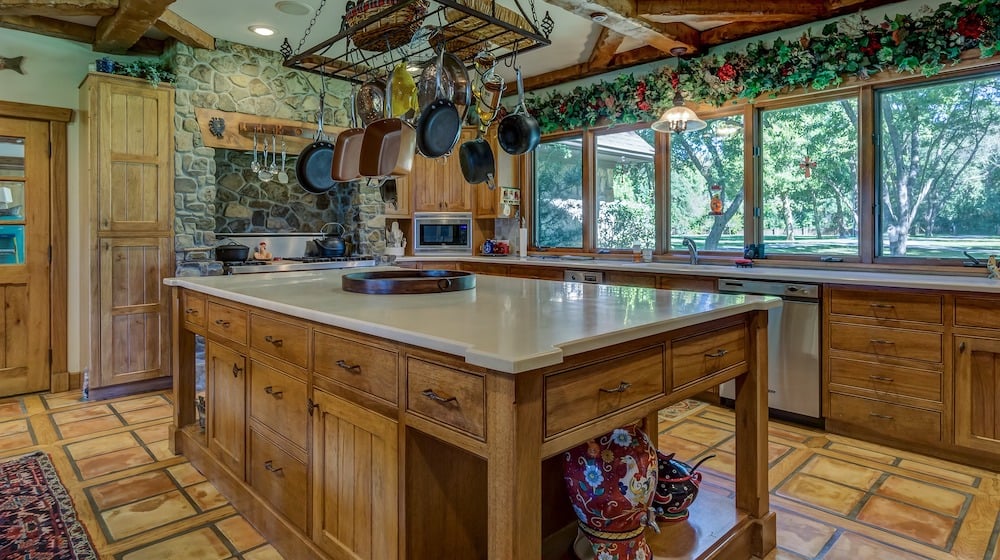


One of the most common DIY projects that a lot of enthusiasts pursue is the kitchen island. All those marble countertops that you see on television are too expensive and can consume a lot of space in the kitchen. For me, being mobile in your own kitchen is what sets the kitchen island apart from your usual countertops. Like most of the projects here on this site, what I am about to show you is a template. You can adjust the size of the island according to your preference.
How To Make Your Own Butcher Block Kitchen Island
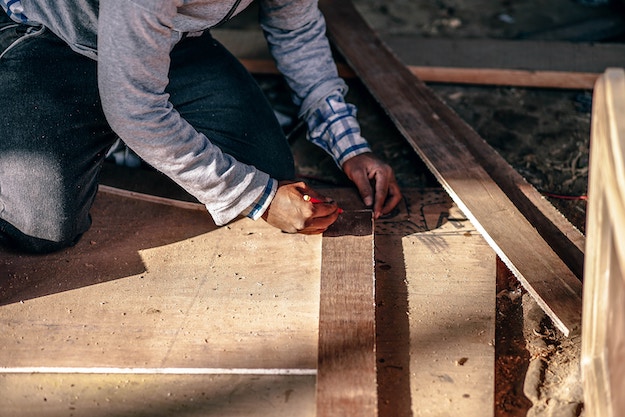
This kitchen island project takes no more than an entire weekend to make. Now, I have to admit that this is a challenging and tedious project, but the end results will make you say “it was worth it”. If you’re ever in the mood for a DIY kitchen project, then this project should keep you busy for the entire weekend.
Supplies for the kitchen island project:
- 1 pc. – 25⅝-by-96⅝-inch piece butcher block counter top.
- ½-inch iron threaded pipe:
- 1 pc. – 36-inchers
- 6 pcs. – 18-inchers
- 2 pcs. – 12-inchers
- 4 pcs. – 6-inchers
- 6 pcs. – 5-inchers
- 2 pcs. – 4½-inchers
- 6 pcs. – 2-inchers
- ½-inch iron threaded pipe:
- 2 pcs. – ½-inch iron threaded pipe elbows.
- 8 pcs. – ½-inch iron threaded pipe flanges. Get eight.
- 14 pcs. – ½-inch iron threaded pipe tees. Get 14.
- 1 pc. – 1×10 oak board. (8-footer)
- 4 pcs. – 1-inch No. 10 flat-head wood screws for securing the flanges and shelf boards casters.
- 1-inch No. 10 pan-head wood screws for securing the casters
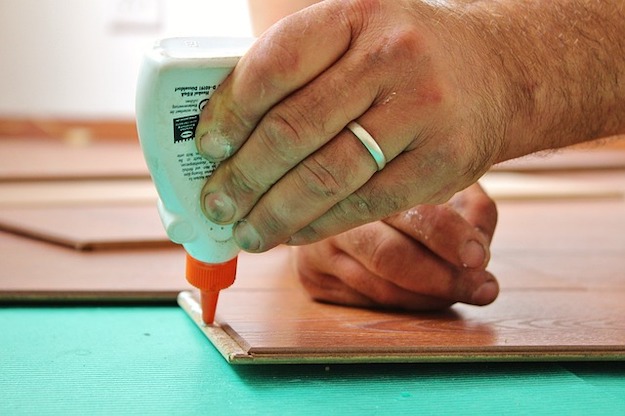
- Wood glue
- Beeswax
- Mineral oil
Tools:
- Random-orbit sander with 100-, 120-, and 180-grit discs
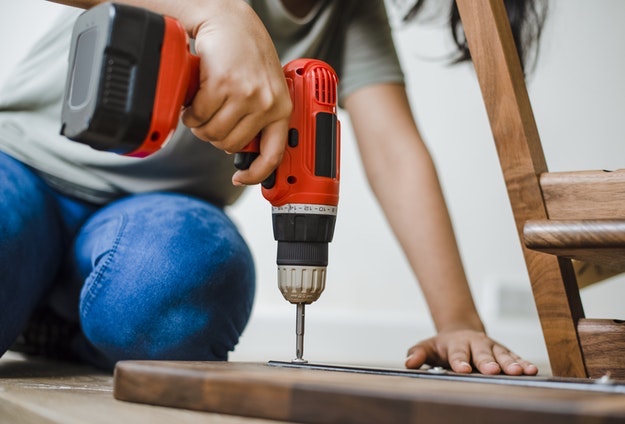
- Drill/driver
- Driver bit
- Belt
- Rafter square
- 1/8-inch bit with countersink
- Combination square
- Measuring tape
- Clamps
- Straightedge
- Painter’s tape
- Circular saw
Steps:
1. Cut the top and bottom pieces of the island.

Set the countertop face down on your work surface. Measure and mark the first cut. Run a tape over the cut line to prevent chipping of wood. Draw the line over it using a T – square. Mark the edge of the shoe on the countertop.
Clamp your straight edge along the offset mark. Make the cut. Mark the second one by using the first cut portion.
Set up the straight edge and cut.
2. Smooth the edges.
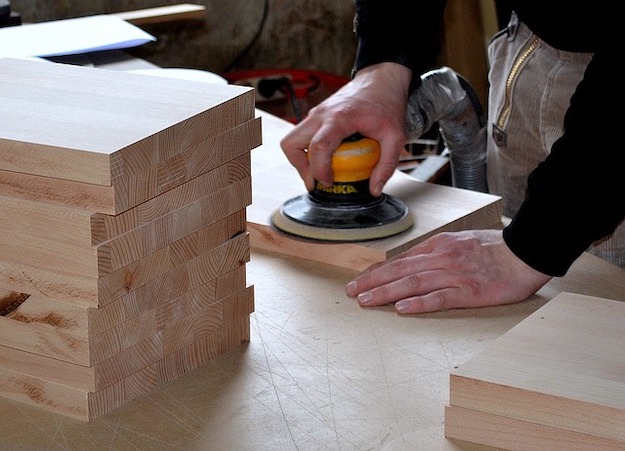
Smooth the edges by sanding thoroughly.
3. Lay the pipes.

Prepare the pipes and fittings.
4. Assemble.
Assemble the pieces for the shelf rung and tighten with hands. This rung will determine the width of the others.
Assemble the bottom or base rung. Tighten or loosen the “T” ‘s until they stack up perfectly on top with the shelf rung.
Use flanges for the feet of the bottom rung. Measure to make sure they are of the same height.
Thread these assemblies onto the “T” fittings of the bottom rung. Temporarily screw your flanges to your work surface to put the pieces easily.
5. Build all the way up.

After measuring and checking if the base rung and shelf rung has the same width, work your way up.
Thread vertical pipes into the T’s of the bottom rung. Place the fittings onto the next rung, and tighten or loosen them to match the first rung.
Set the second rung in place on top of the vertical pipes.
Loop a belt around the rungs to keep everything in place. Keep working until you reach the flanges that will be attached to the counter top.
6. Build the towel bar side.
Build it the same way done with the ladder side. Make sure the center T’s are of the same height. Adjust the flanges so that the ladder side and the towel bar side will be equal. Remove the temporary screws of the ladder side.
7. Install the stretcher.
Lay it up with the center “T” pointing up and attach the stretcher piece into the “T”.
8. Attach the towel bar side.
Attach the towel bar side for this island project.
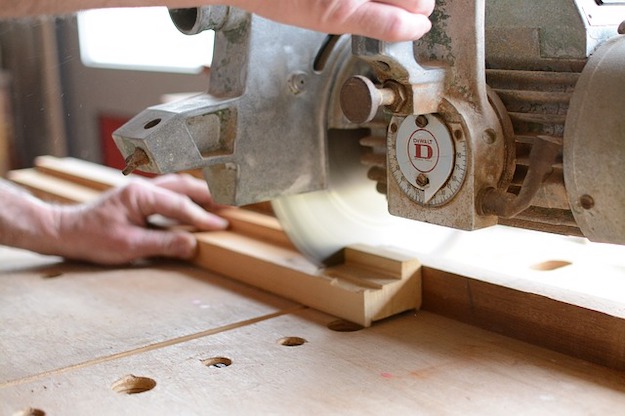
9. Cut the shelf boards to fit.
Measure the sides of your shelves.
Mark the distance on your boards. Clamp the board down and cut where the line is made.
Measure the distance between the inside shelf rungs, to have the second shelf board fit in it. Cut the shorter board to length.
10. Join the shelf boards.
Get the right spacing with the use of spare pipes and mark the long board.
Apply glue and put the boards together. Clamp them tight.
Drill pilot holes every 10 inches around the perimeter and then screw the boards together.
11. Build the island.
Lay the bottom piece of the butcher block and place the pipe frame on top of it.
Get the flanges even by using a combination square. Drill pilot holes and screw the frame in place.
Tip: dip the screws in beeswax to make it easier to drive them into the hardwood.
Place the upper counter top on the frame and align the flanges underneath.
Drill pilot holes and screw it in place.
12. Install Casters.
Tip the entire island on one side, and mark the location of the holes.
Drill holes and install the casters with screws.
13. Put the shelves in place.
Set the island back upright and place the shelves.
For finishing, apply mineral oil to the counter top. Wipe off any excess after an hour.
You’re ready for some cooking!
Check out This Old House’s full video tutorial of this DIY project:
There you have it. Your very own mobile kitchen island. Say goodbye to overcrowded counters and messy tables, and say hello to mobile kitchen convenience. If you want to take this project up a notch, you can work with other materials like pallets and reused wood for the legs. Remember, this is a template so you can always adjust the size of the island accordingly.
Click here for more DIY kitchen projects.