


Shelves are major space savers. Whether it’s for storage or decoration, it’s an absolute must-have in every home. But why spend so much money on commercial shelves when you can do it yourself? One cheap and clever way of presenting shelves is by using pipes as support. Pipe shelves, as they are popularly called, are very easy to make and they just add this industrial feel to any part of your room.
DIY Project: How to Make Iron Pipe Shelves
Shelves will make you maximize your room space you thought you never had. This project made use of pipes as supports for the shelves, as opposed to using wood or other materials. By using iron pipes, we are not only recycling old and unused pipes lying about in our garage or basement, but we are also adding a rustic theme to the room. It is also a great focal point and guarantees to draw eyes from your visitors. These pipe shelves will take you no longer than an entire weekend to make.
Below is a step-by-step guide to making your very own Iron Pipe Shelves at home. Enjoy!
We will need:
Supplies:
- 3.4 in Pine Boards
- 1/2 in Black Iron Pipes
- 3 pipes – 1/2″ diameter, 18″ Long
- 3 pipes – 1/2″ to 3/4″ diameter, Couplings
- 3 – 1/2″ 90˚ Elbows
- 12 – 1/2″ T-Fittings
- 15 – 1/2″ Flanges
- 21 pipes – 1/2″ diameter, 10″ Long
- 6 pipes – 1/2″ diameter, 12″ Long
- Pipe Clamps
- Danish Oil
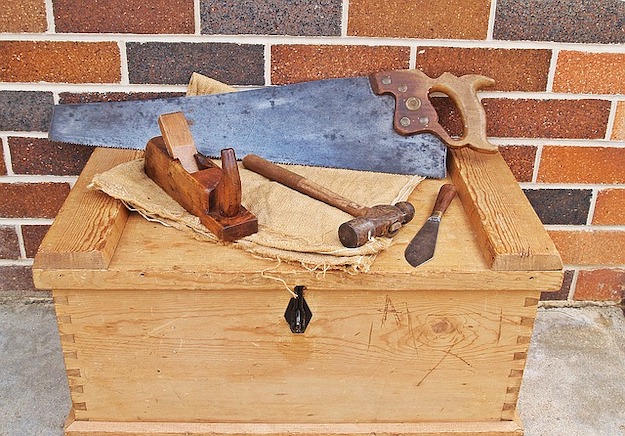
Tools:
- Drill
- Orbital Sander
- Circular Saw
Steps:
1. Cut boards
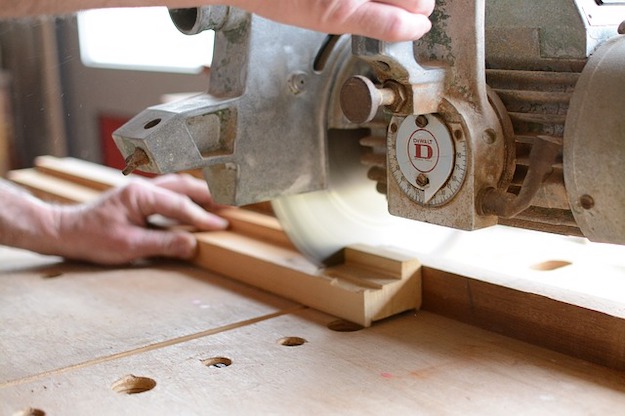
Cut the boards to the desired length.
2. Sand the boards
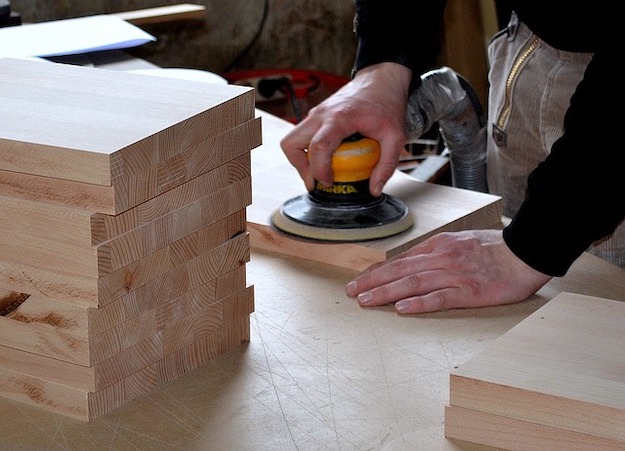
Sand down the rough spots with an orbital sander.
3. Apply finish
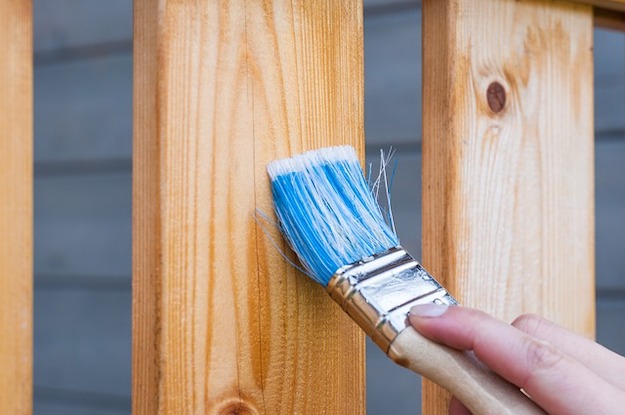
Finish it with a coat of Danish oil.
4. Assemble pipes, connectors, and fittings
Assemble the pipes, connectors, and fittings together. You can make the shelves into a variety of dimensions and forms as you desire.
5. Assemble the iron pipe shelves
After assembling the vertical support, screw them to the wall. Make sure to use drywall anchors if you’re attaching to a drywall in order to have a solid fastening.
Then place the wooden planks on top of the pipes.
6. Color clamps to match pipes (OPTIONAL)
If the pipe clamps you got do not match the color of the iron pipes, you can just spray paint the pipe clamps to match the colors of the shelves/pipes/fittings.
7. Screw pipes to board
Screw through the pipe clamps and into the boards. Place two clamps per horizontal pipe.
8. Done!
Your very own Iron Pipe Shelf! See how clever and easy it is to make? Now you can marvel at your own creation and be proud of it.
Get the full process in making these iron pipe shelves in this video by HomeMadeModern:
Click here for more awesome DIY projects.


