

Paint chip crafts are fun and cheap! Keep track of your hectic schedule with this reusable dry-erase calendar.
RELATED: DIY Chalkboard Wall Calendar | Easy DIY Projects
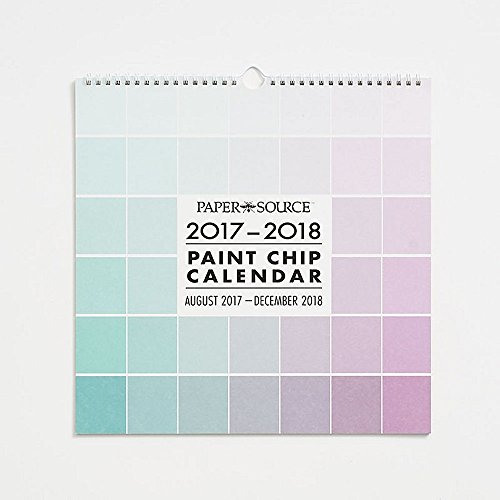
DIY Paint Chip Calendar | A Step-by-Step Guide
Paint Chip Wall Calendar
You’ll never have to buy a calendar again with this artwork made out of paint swatches or chips. This DIY project is super easy to make and will look perfect on any wall − in your kids’ room (or yours) or your office.
This also makes a great DIY home decor since it’s eye-catching and colorful. Read on and learn to make this colorful and convenient DIY paint chip art calendar below.
What You’ll Need for this Calendar Tutorial:
- 1 large 12″ x 16″ picture frame
- 35 paint swatches/paint chips (variety of colors)
- scotch tape
- scissors
- ruler
- dry-erase marker
Paint Chip Calendar Instructions
Step 1: Calendar Background
Open the frame and take out the paper (picture) inside. The blank side would make the perfect background for your calendar.
Next, measure a piece of the paint chip and cut it into a 3 and a quarter inches on each side square.
Step 2: More Paint Chip Squares
DIY #Paint CHIP CALENDAR – https://t.co/FtvTDJgFrZ#home #housedesign #housedesigns #homedesign #homedesigns #dizainhome #interiordesign #furniture #floor #house#kitchen #bathroom #livingroom #garden #decorating #bedroom
paint, Painting, Picture frame, Picture … pic.twitter.com/kkzoeFd5me
— Sarah tuyer (@Sarahters) October 12, 2018
The other paint chips should be about the same size as the first one you made. Now continue cutting until you have 35 squares.
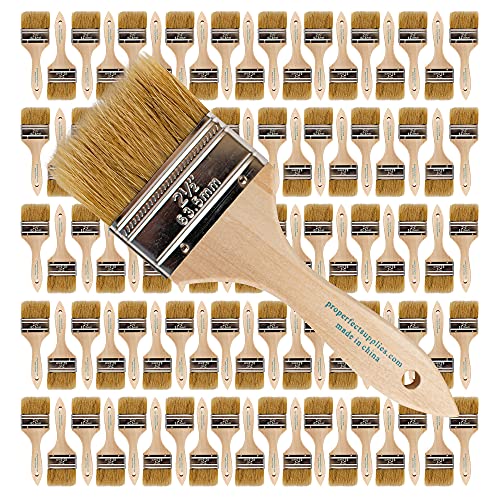
- 96-pack of 2.5" wide chip brushes is ideal for painting, staining, cleaning arts, crafts & more.
- These disposable brushes have 1.5" long all-natural china bristles and an all-square trim shape.
Step 3: Arrange the Squares
Lay out and affix the paint swatches to the board. Arrange them by placing 5 squares for each day.
You can try different combinations or mixtures of colors.
Make sure you cut scraps into rectangles to label the days of the week at the top of your calendar. You can secure them on your background paper by rolling a piece of scotch tape at the back of each paint chip and sticking them firmly and you’re good to go!
RELATED: 17 Amazing DIY Paint Chip Projects
Step 4: Back Inside the Frame
https://www.instagram.com/p/BTVHVrlAUKd/?
Once it’s secured, place it inside the frame. Make sure the paint chips are facing down on the glass.
The next step will show you why the frame is very important in this DIY art.
Step 5: Label your Calendar
https://www.instagram.com/p/BmZZUnelaOW/
Finally, take your dry-erase marker and label your calendar. The glass of the frame acts like a dry-erase board so you can customize your calendar and change it every month!
And you’re done!
https://www.instagram.com/p/BTtb6DfFZrR/
There you have it! You’ve just finished your cool DIY project − fun and colorful paint chip calendar!
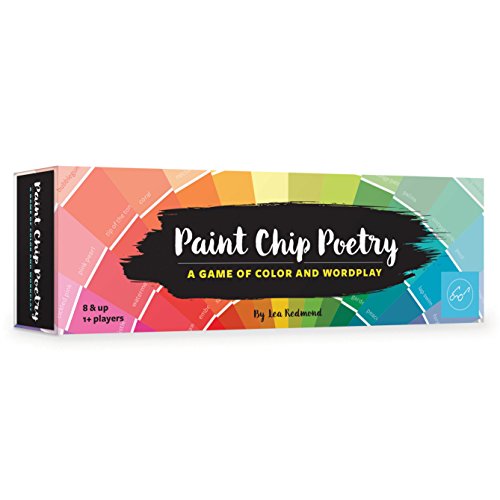
- UNIQUE CREATIVE GAME: Players draw handfuls of paint chips and a prompt card, then rearrange the...
- WORDPLAY FUN: Composing a poem is easy and fun with this colorful and creative game.
Watch another paint chip calendar tutorial in action in this video by WhatsUpMoms:
This colorful DIY paint chip calendar looks better and is more convenient than any other calendar you have on your wall. It’s a good thing that you have the option to customize your own color combination.
All you need to do now is wait for the next month to remake the calendar days.
Did you enjoy our easy DIY paint chip calendar tutorial? Let us know in the comments section below!
UP NEXT:
- Learn How to Make a Tin Lantern | DIY Lantern
- 57 Easy Crafts To Make And Sell
- 18 DIY Felt Balls Projects And Crafting Ideas
Stay connected with us on Facebook, Twitter, Pinterest, and Instagram!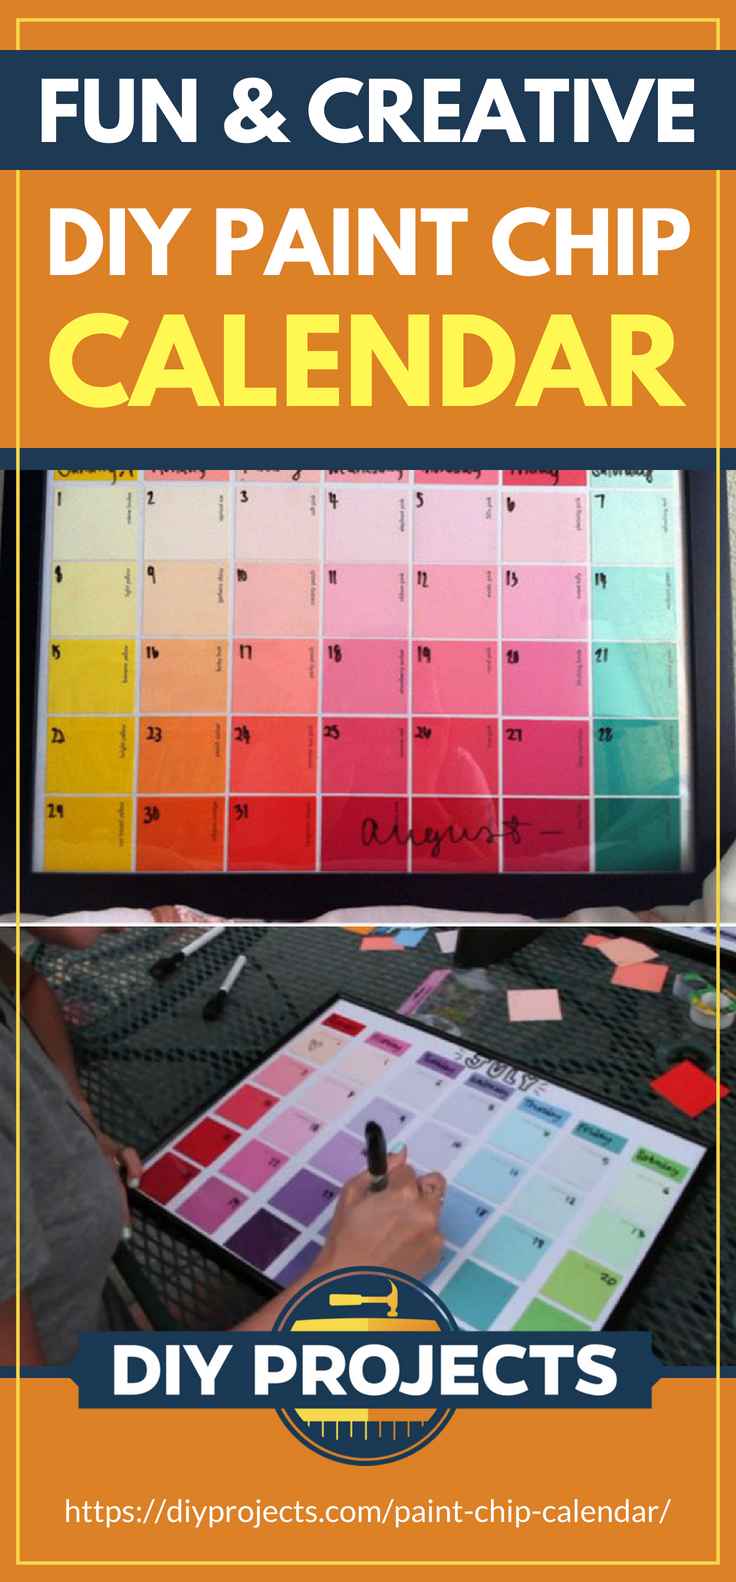 Editor’s Note: This post was originally published on February 8, 2015, and has been updated for quality and relevancy.


