
![feature image | How to Tie a Bow | Make 3 Beautiful Bows With Ribbon [INFOGRAPHIC]](https://diyprojects.com/wp-content/uploads/2025/10/Feature-Image-DIY-Projects-How-To-Tie-A-Bow-1024x576.jpg)

Knowing how to tie a bow is an essential skill for anyone who enjoys wrapping presents, decorating for parties, and celebrating the holidays. Here are three easy ways on how to make a bow with wired ribbon. With the holiday season fast approaching, perhaps you can learn how to tie a bow during your spare time. It’s fun to do, especially with your friends during the weekends! So in this post, we’ll teach you not one, not two, but three ways on how you can tie a bow.
How to Tie A Bow With Wired Ribbon
Click here to jump to the infographic.
Supplies You Need to Make a Bow:
- Ribbon (Any kind will do)(This tutorial uses a satin ribbon)
- The following are some of the many ribbons you will find at a craft store:
- Wire ribbon will hold its shape and allows you to create bows with lots of volumes
- Satin ribbon is a smooth fabric ribbon, use this for a classic result
- Acetate ribbon has a plastic feel, often used in packaging
- Curling ribbon, a crimped ribbon that will curl when pulled over a sharp edge
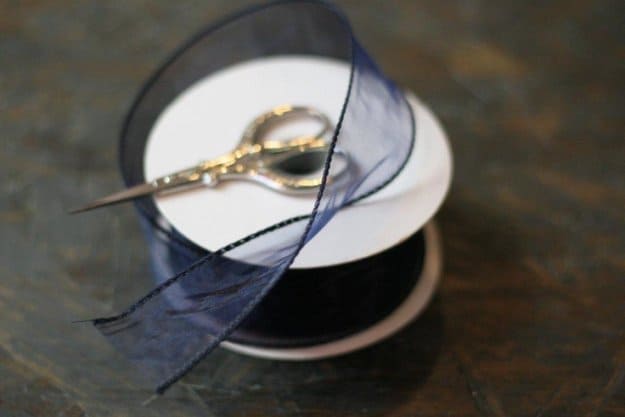
- Scissors to cut the ribbon
3 Ways to Make a Big Beautiful Bow
Bow #1 | How to Make a Big Round Bow
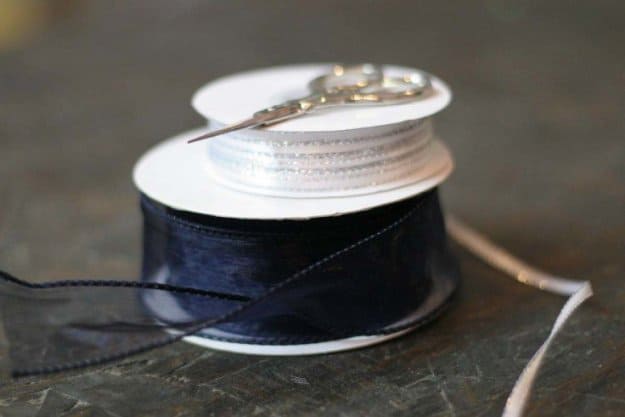
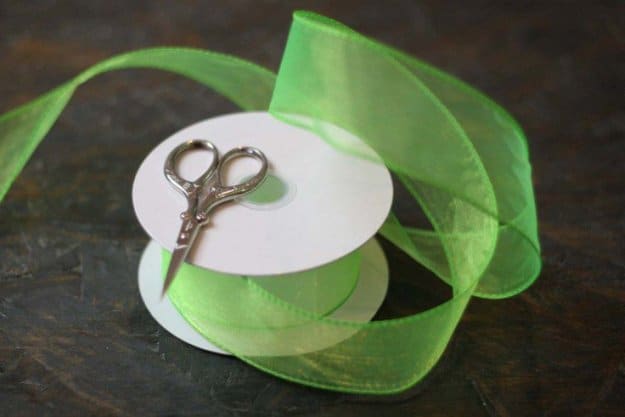
To make a large circular bow, you will need three things: a wide ribbon, a thinner ribbon, and your scissors. Cut out about 1.5 yards of the wide ribbon and about a foot of the thin ribbon.
Step 1: Fold the Ribbon
Begin with your wide ribbon. Place it on the table and start folding over 5″ pieces on top of each other, accordion-style.
Step 2: Keep Folding
Fold over the entire length of the wide ribbon. It should stack neatly on top of itself.
Step 3: Clip Sides of the Ribbon

Once you have your entire ribbon folded accordion-style over itself, clip the sides of your ribbon. Clip out a V, making sure to catch all the layers of ribbon when you clip.
Step 4: Add Thin Ribbon
Take your thin piece of ribbon and place it under the V-notched sides.
Step 5: Tie Thin Ribbon Around the Bow
Tie your thin ribbon in a basic overhand knot around the wide ribbon, pull it tight.
Step 6: Shape Your Ribbon Into the Bow
Take some time to pull all the pieces of wire ribbon apart, puff them out to give them volume. I used a wire ribbon to add more body, but any kind of ribbon will still work.
Wasn’t that easy? Now you are a bow expert, and all of your packages can now have a lovely personal charm. Keep reading for two more easy bow tutorials!
Bow #2 | How to Make a Layered Bow
You can use any type of ribbon for this bow. You will need approximately one yard of ribbon and your scissors. Cut your yard in half.
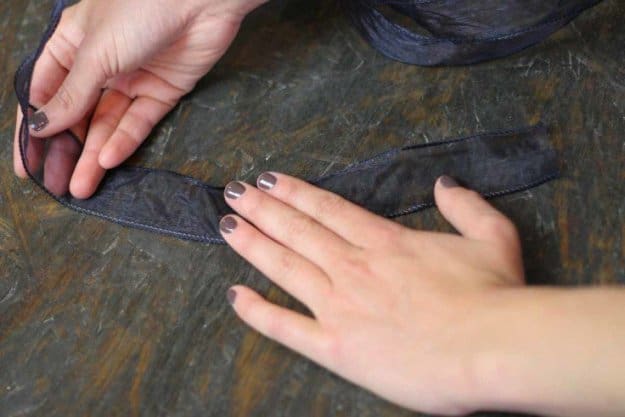
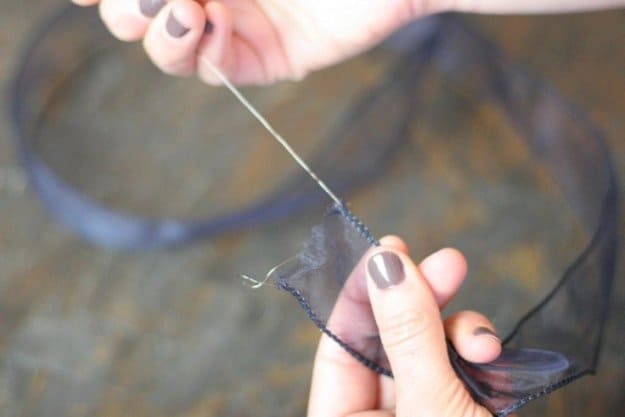
Step 1: Remove the Wire
This step is optional, as I chose to work with a wired ribbon because I liked the color. I don’t want the wire in my final product, so I am going to pull it out. Do this by taking the wire in one hand, the ribbon in the other, and gently pull. Move the ribbon down as you pull the wire out.
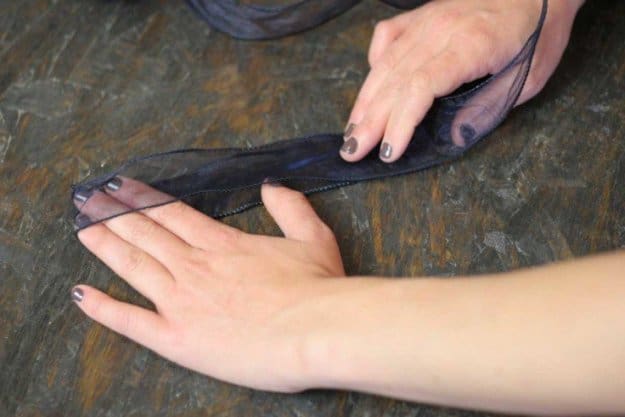
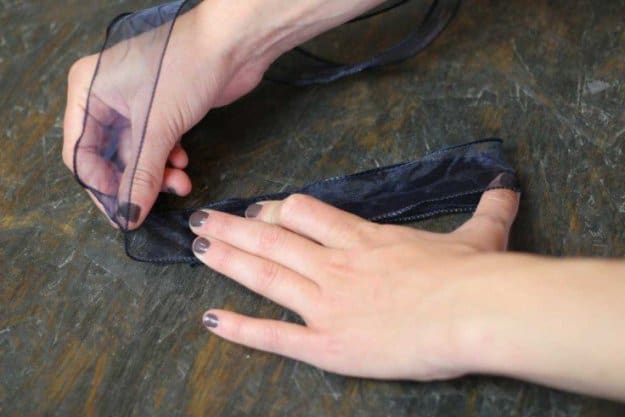
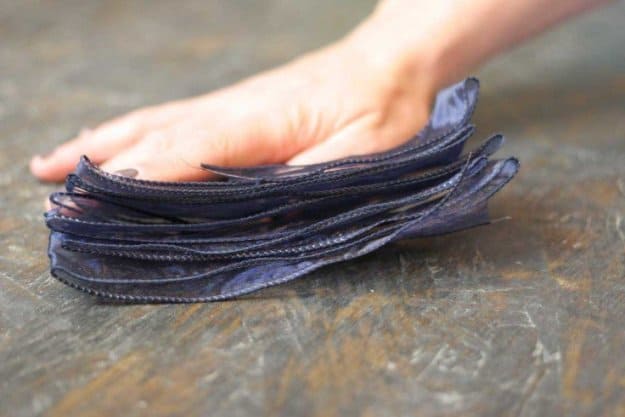
Step 2: Fold the Ribbon Over Itself
Fold the ribbon over itself, accordion-style. For this particular bow, I am working with 5″ folds. You can choose your own size, but I found this length works well for the width of the ribbon I chose.
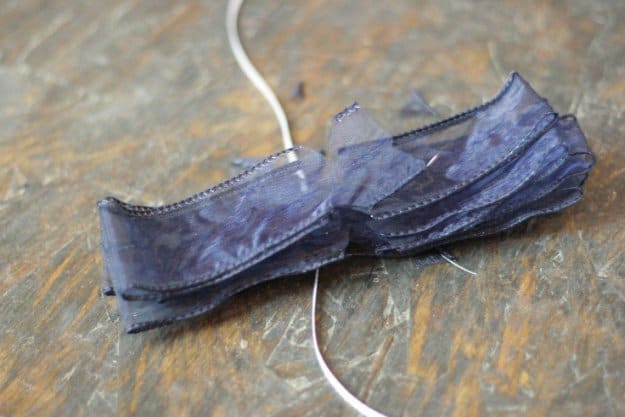
Step 3: Add Another Ribbon

Once you have folded your ribbon over itself, take the other half of your ribbon and put it underneath it.
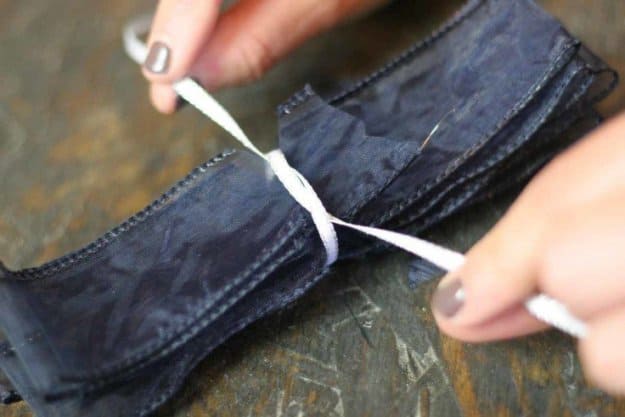
Step 4: Tie a Knot Around the Ribbon to Form a Bow
Bring the other ribbon around the folded ribbon and tie a basic overhand knot. Pull it tight.
Step 5: Adjust the Ribbon to Make a Bow
Bring out the folded pieces of the ribbon. Open them up, space them out, and work with them until you are happy with your final shape.
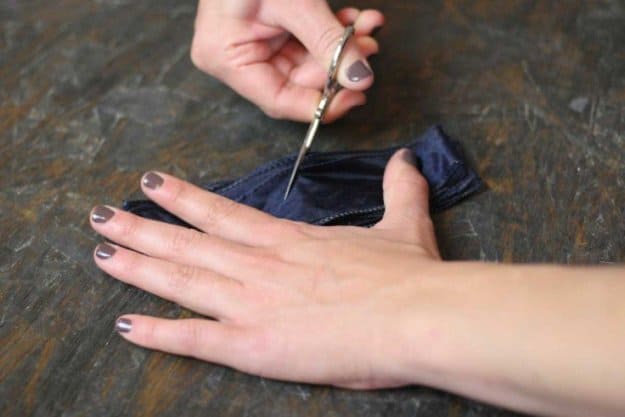
Step 6: Clip the Tail of Your Bow
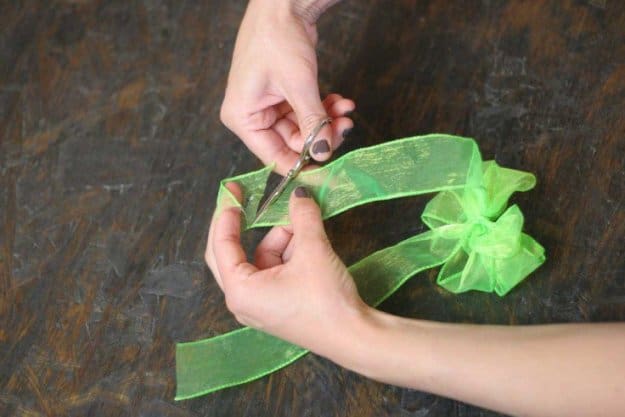
Clip the tail of your bow so it has a nice and sharp angled edge. This creates a polished look and prevents the ribbon from fraying.
Now you have a basic layered bow with a tail. This technique is often used in holiday decor.
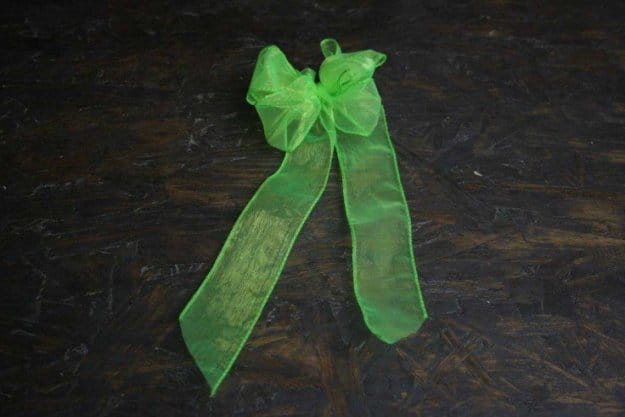
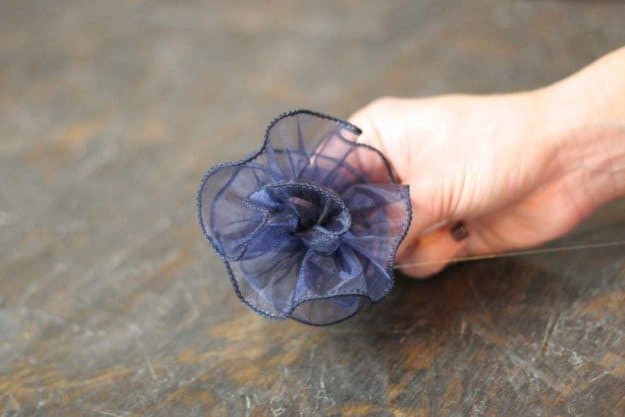
Bow #3 | How to Make a Flower Bow Out of a Wire Ribbon
This is a very easy way to get a beautiful flower-shaped bow. You will need a wire ribbon for this bow technique. You will need about 1 yard of ribbon and your scissors.
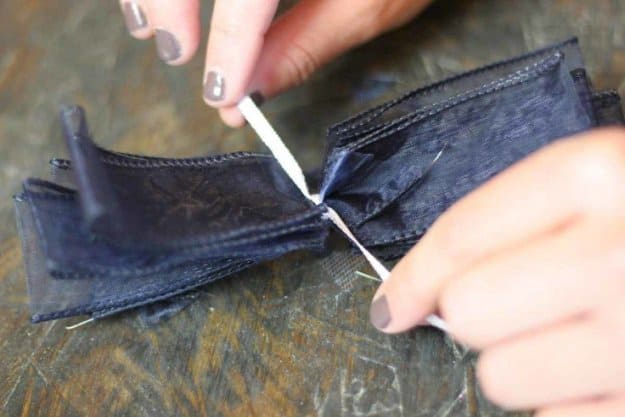
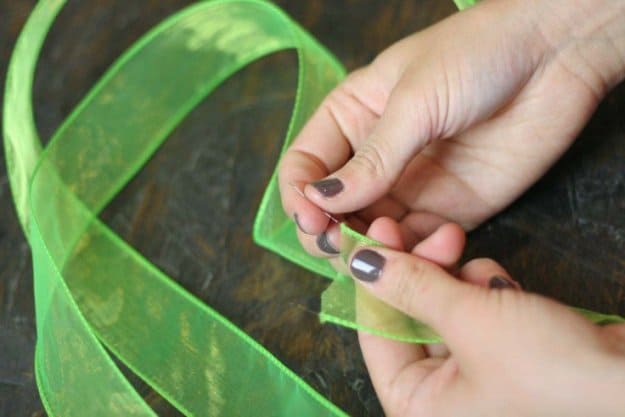
Step 1: Pull Out 1 Side of Wire
To create your flower shape, you will only want one of your sides of the ribbon to have a wire in it. Pull the wire out of one, and only one, of the sides. Do this by taking the wire in one hand, the ribbon in the other, and gently pulling. Move the ribbon down as you pull the wire out.
Step 2: Throw Away Wire
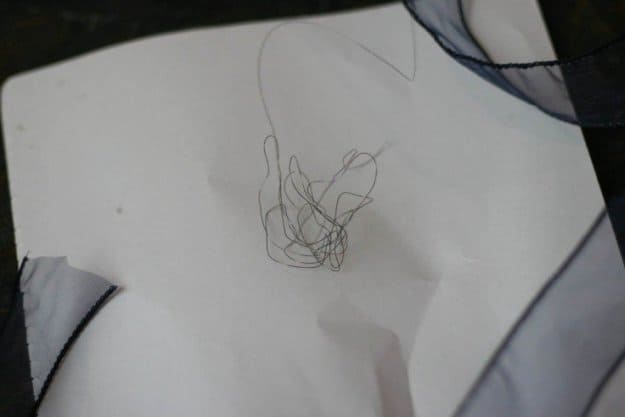
Set the wire aside, you can recycle it later.
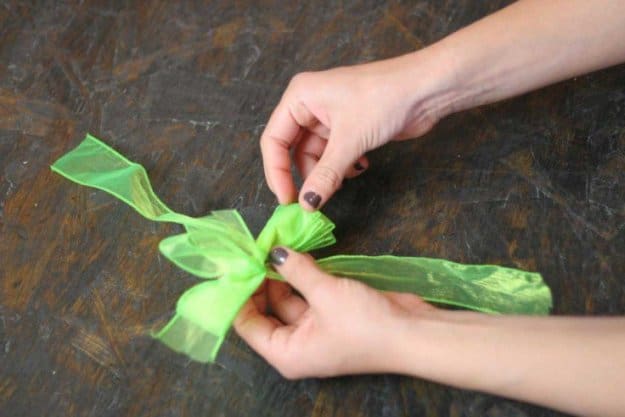
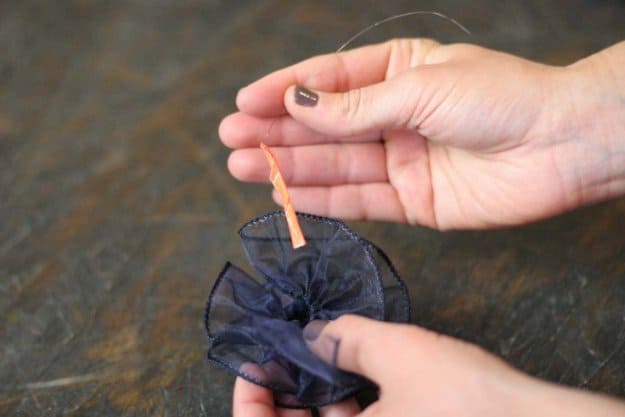
Step 3: Tie Other Wire in a Knot
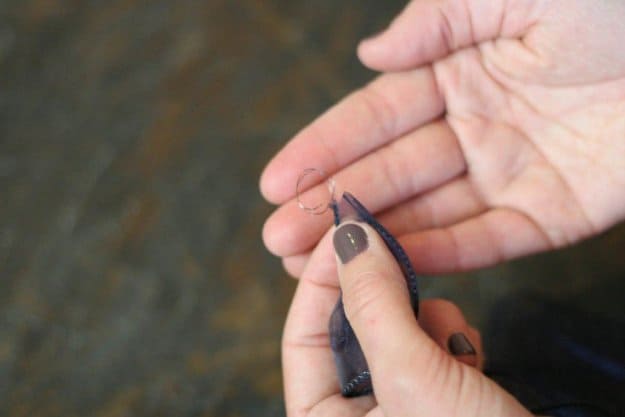
Take the wire that is still inside of your ribbon and tie it in a knot at the base. To tie a knot with this thin wire, all you have to do is wrap it around itself several times.
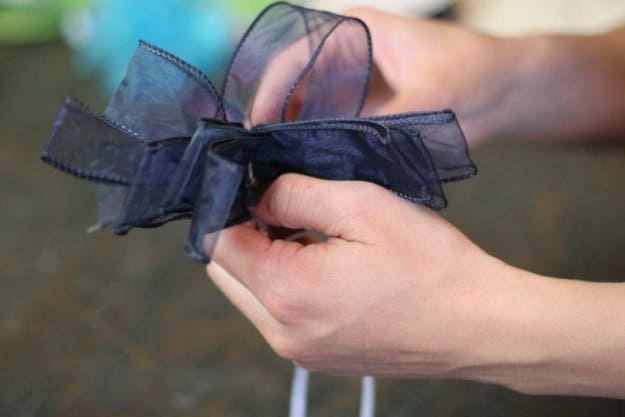
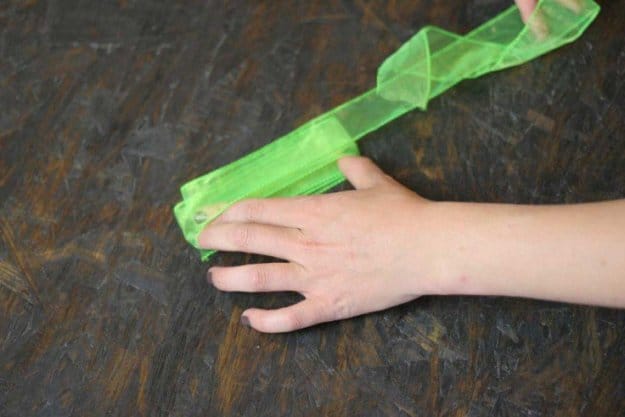
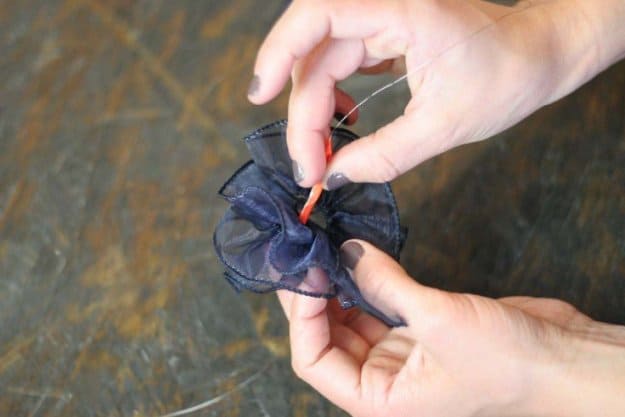
Step 4: Hold the Wire Taut and Pull the Ribbon Down
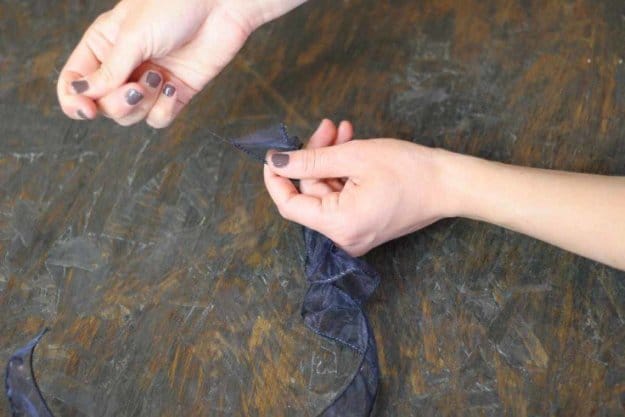

Now to create your flower-shaped bow, you will need to bunch up your ribbon. Do this by holding the wire taut in one hand, and bring the ribbon down with your other. The knot you tied at the end of our wire should hold the ribbon in place so it will remain bunched and not fall out the other end.
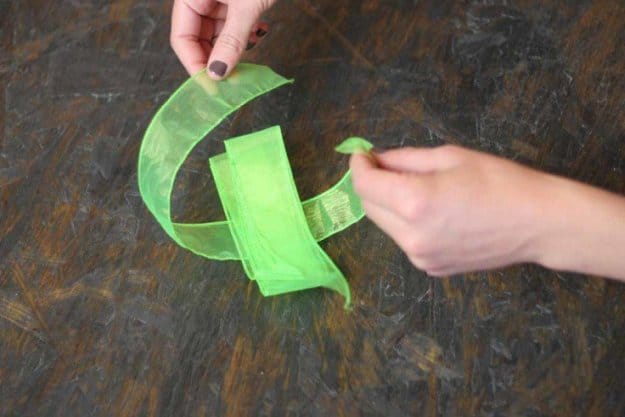
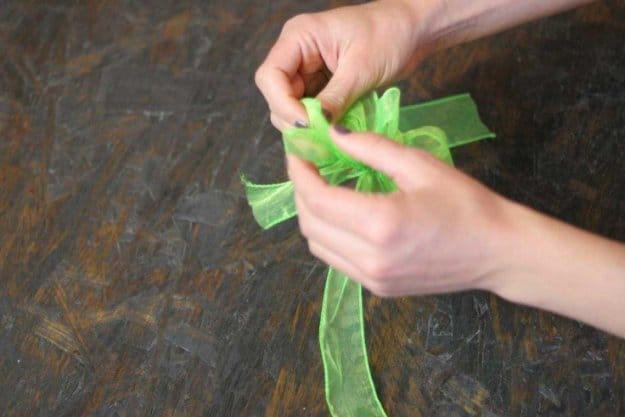
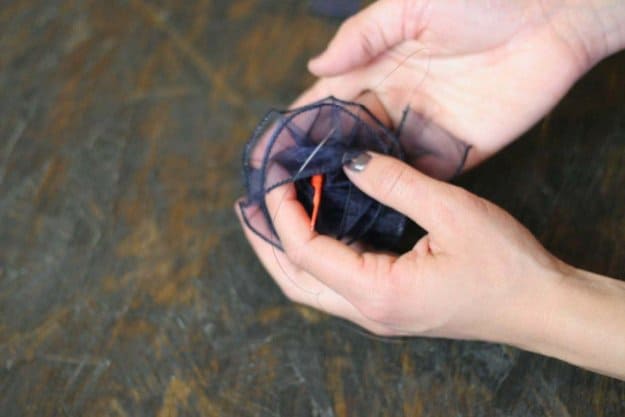
Step 5: Spiral the Ribbon
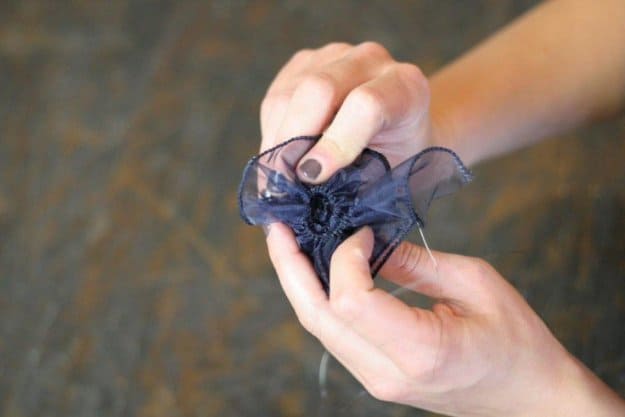
After all the ribbon have been bunched at the bottom of your wire, work the ribbon in your hands so the wired side faces in, and work the ribbon around itself in a spiral shape.
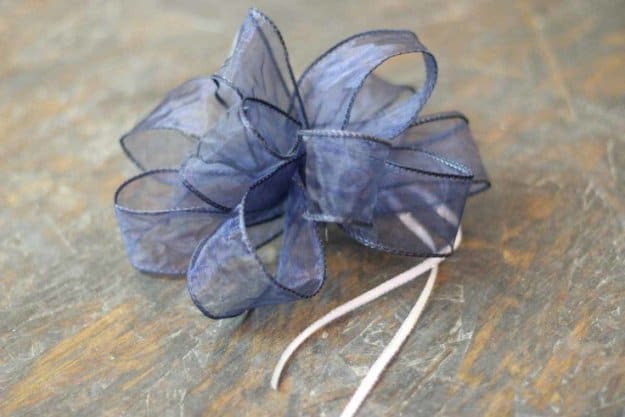
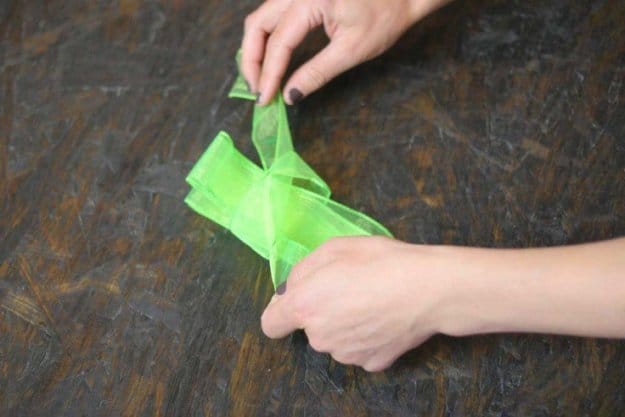
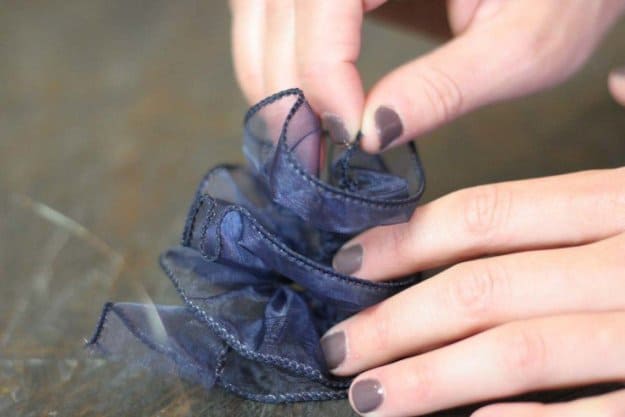
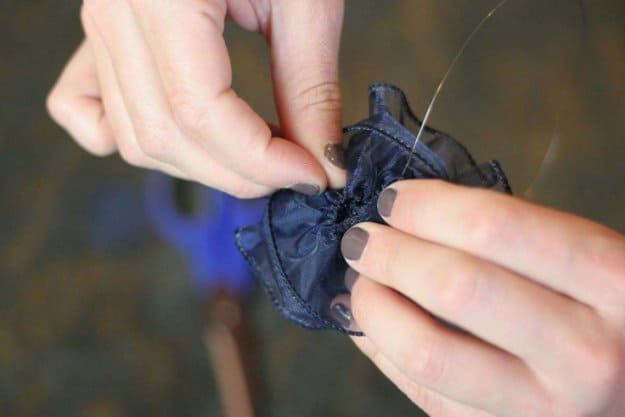
Step 6: Poke the Wire Through Middle
Take the long piece of wire from one end of your ribbon and poke it through the center of the spiral. (In this picture sequence I taped my wire so you could actually see it – you don’t need to do that at home.)
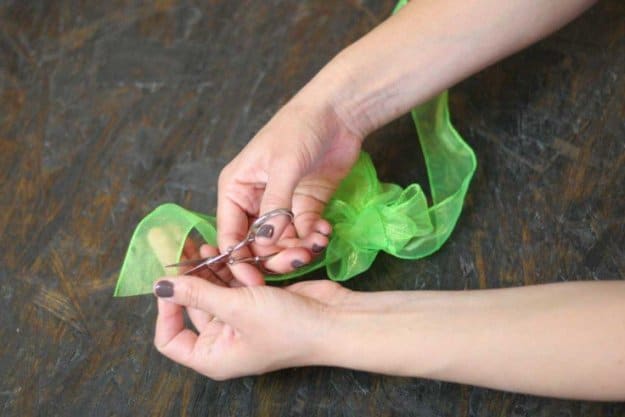
Step 7: Tie the Wire Around the Ribbon to Finish the Bow

Your wire is now through the middle of the flower and on the same end as the knotted wire. Now poke the long end through the ribbon, catching a wired edge beneath it, and pull it tight. Do this twice and cut your wire. The flower will now be secured in place.
This flower ribbon was probably the easiest of all to make, and you can use this technique to make bows for packages, floral arrangements, and Lord knows what else! Make your own boutonniere and corsages, floral wreaths, and more. You could make a whole bouquet of ribbon flowers in no time.
If you still feel like you need some help making these beautiful bows, here’s a great bow making kit that my mom likes to use for all her Christmas gifts!
Don’t forget to download, save, or share this handy infographic for reference:
![How to Tie a Bow | Make 3 Beautiful Bows With Ribbon [INFOGRAPHIC]](https://diyprojects.com/wp-content/uploads/2018/09/20200122-DIY-Projects-How-To-Tie-A-Bow-scaled.jpg)
Learning how to tie a bow is fun and easy. You can make use of this skill in gift-wrapping, crafts, and whatnot. Now you can impress your loved ones with beautiful customized gift packages.
Do you have other tips on how to tie a bow? Let us know in the comments section below!
Up Next: How to Make a Simple Bow Out of Ribbon | How to Tie a Perfect Bow
![]()
Stay connected with us on Facebook, Twitter, Pinterest, and Instagram!
Editor’s Note: This post was originally published on May 14, 2014, and has been updated for quality and relevancy.


