
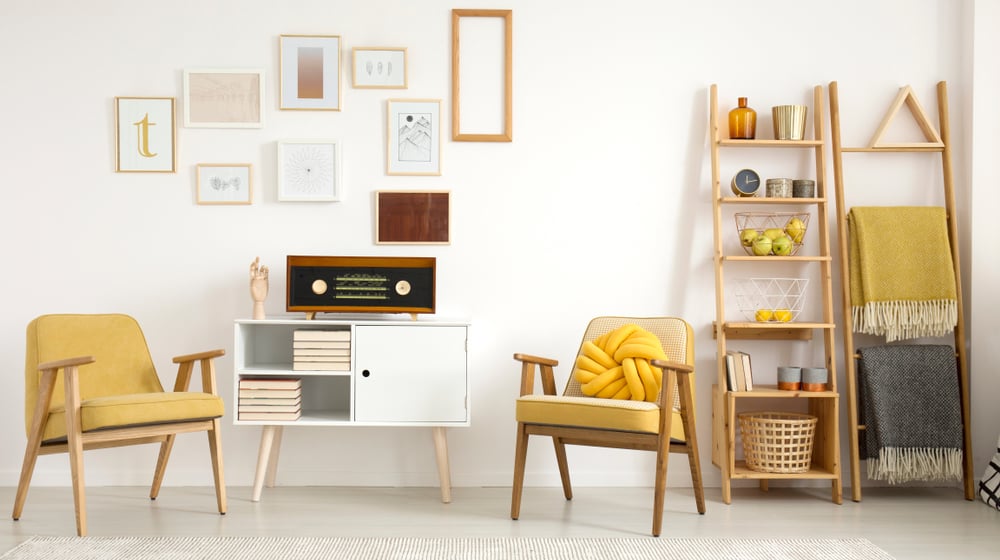

Ladder shelves are a great way to create usable space in a tight spot, like a corner or a narrow space. So, if you want to magically make storage out of thin air, here’s your next DIY weekend project!
How To Build Your Own Unique Ladder Shelves
This unique shelving unit will be an interesting piece to add to your home, and its function is marvelous. It’s all about creativity and function rolled into one. The angles and structure of ladder shelves seem to be a hard DIY project, but it actually isn’t! Besides, any and all effort is worth it when you consider the function and aesthetic it adds to your space. Just like any other DIY, all you need are your basic tools, good quality wood and some time to spare, and you are good to start.
What You’ll Need:
Tools:
- Screwdriver
- Tape Measure
- Hammer
- Plane
- Level
- Drill
- Combination square
- Sliding Bevel
Supplies:
- Wood (European Waney Edge Oak is used in this project, but you can choose yours) for:
- Legs (1″ x 4″ x 80″)
- Shelves (1″ x 7″ x 20″, 1″ x 9″ x 20″, 1″ x 11″ 20″, 1″ x 13″ x 20″)
- Shelf Supports (1″ x 1″ x 6″, 1″ x 1″ x 8, 1″ x 1″ x 10″, 1″ x 12″ x 20″)
- Screws
- Wood Glue
- Drill bits
- Sandpaper
- Countersink bits
How To Build Your Own Unique Ladder Shelves:
Step 1: Determine The Angle Of The Shelf Unit
Lean one of the legs against the wall. Use a sliding bevel and slide it onto the floor and lock it, that will be the angle for the bottom. This will also be the angle for all the shelves.
Step 2: Mark And Cut
Take the measured leg and mark it to the other leg. Cut it so it will be the same.
Step 3: Determine Where To Place The Shelves
Determine which spots you place the shelves. You can do what you want with the spacing but for this project, we decided to go for uniformity, and even spacing.
Step 4: Work Out The Length Of the Shelf Supports
Position the legs on the wall with the marked shelf positions. Have the shelf supports sit underneath those marked lines for the shelves. To find out its length, measure the distance from the wall to the front of the leg. Transfer the measurements to the wood (preferably inch by inch) chosen for the support.
Step 5: Fix The Shelf Support To The Legs
Pre-drill holes on the shelf supports. This is where you will screw it to the leg. Use countersink bits to countersink the hole to avoid the risk of the wood splitting. Countersink and drill pilot holes through the bottom where the screws will go to fix the shelf on the supports. Apply wood glue and screw them into place.
Step 6: Determine The Size Of The Shelves
In this project, we decided to give it a little bit room at about 25mm. To do this, measure the bottom shelf and 25mm more for an overlap. Again, you can have whatever measurements you want when doing this project.
Step 7: Join Two Shelves To Form The Bottom Shelf
Start off by planning the edge of the shelf to make it smooth. Fill the end with wood glue. Then, screw two scraps at the surface and clamp them in order to get the two pieces of wood tighter and closer. Sand it and you’ll have your seamless joint.
Step 8: Install Shelves To The Shelving Unit
First, apply wood glue. Place the shelves and screw them into place. Check if the shelves are level.
Step 9: Attach An Angle Bracket
For safety and to avoid the ladder shelves from sliding off, attach an angle bracket under the shelf. To do this, first put a mark on the wall. Place the ladder away and screw the angle bracket to the wall. Put the ladder in place and screw the angle bracket to the top shelf.
Step 10: You Now Have A New Ladder Shelf
Get creative with your new shelf — you can leave it unfinished or opt for a coat of stain, varnish, or a splash of color.
Here is the full video tutorial for this awesome DIY ladder shelves from B&Q:
Now you have a unique way to install shelves in your house, be it in your bedroom or the living room. It’s a great way to utilize space! Just be reminded you can also have your custom dimensions for this project, considering the height you would want your ladder shelves to have, and its width, given your available space.
What do you think of these ladder shelves? Will you make one for your home? Let us know what your thoughts are on this ladder shelves in the comments section below.
Up Next: DIY Kitchen Storage Ideas – The Sneaky Knife Drawer

Stay connected with us on Facebook, Twitter, Pinterest, and Instagram!
Editor’s Note – This post was originally published in September 2016 and has been updated for quality and relevancy.


