Our kitchen is home to a lot of items, so much so that we eventually run out of space to hold items like utensils and pans. When this happens, we have this tendency to just leave things lying around, like a knife. But thankfully, I found this awesome DIY kitchen storage project that’s going to make your storing items a lot easier.
DIY Kitchen Storage Ideas – The Sneaky Knife Drawer
Knives are one of the few things in our kitchen that just lay around, sometimes in complete clutter and sometimes in just plain sight. This can be dangerous, especially if you have children around. I had fun making this DIY kitchen storage project because now I have secret compartments in my kitchen. This makes me look as awesome as any secret agent out there (I’m looking at you, Bond).
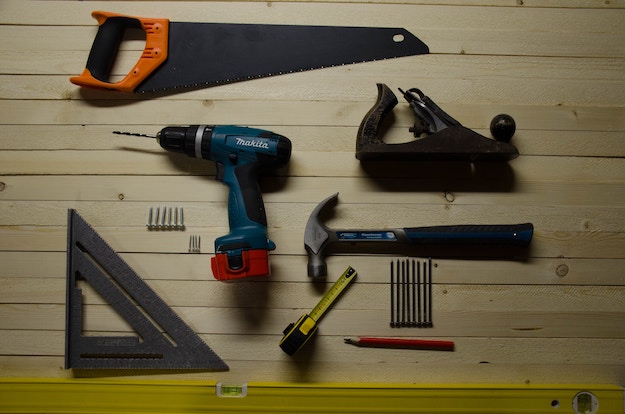
Supplies:
- Measuring Tape
- 1/2″ plywood
- Drawer slides
- 1-1/4″ staples
- Wood Glue
- 1-1/4″ wood screws with matching drill bit
Tools:
- Circular Saw
- Sander
- Compound Miter Saw with Laser
- Cordless Narrow Crown Stapler
- Clamps
Steps:
1. Remove the cabinet shelf.
This will be used as the bottom of the drawer. If your cabinet does not have a shelf, you can cut ply for this portion.
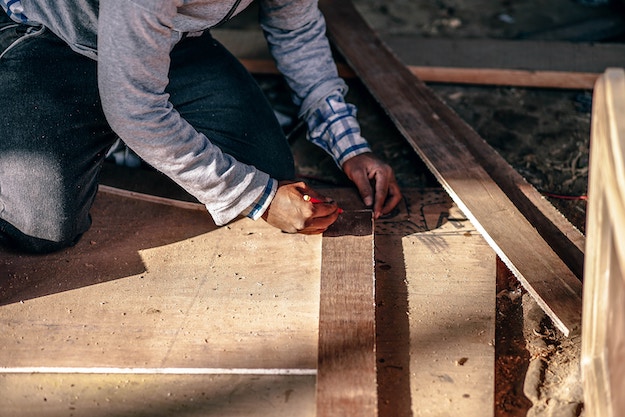
2. Measure the opening of the cabinet.

Measure its opening and apply the measurement in cutting the shelf. Subtract an inch for the drawer slide and the pullout sides.
This is a set of sample dimensions:
Cabinet Opening =18″
Drawer Slide Clearance = 1″
Pullout Sides Thickness = 1″
Cut Width = 16″
Cut the bottom shelf to this width.
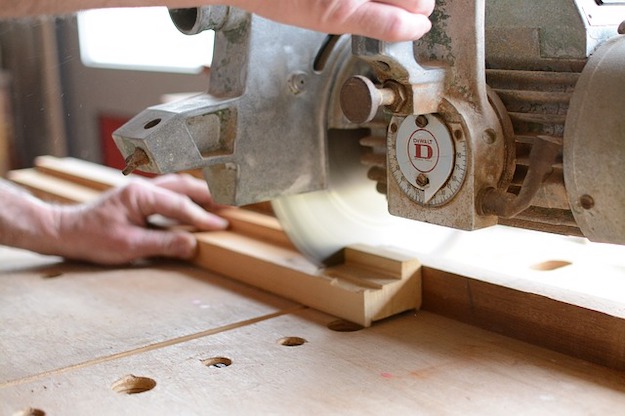
3. Cut and attach the sides of the pullout drawer.

Cut the sides according to size using a miter saw.
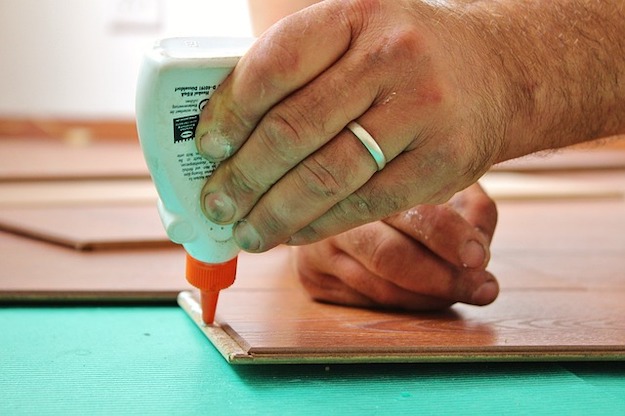
Apply glue and staple the pullout sides into place.
4. Attach the front and back of the drawer.
Cut to fit the front and back of the drawer using the miter saw.
Apply glue and staple them into place.
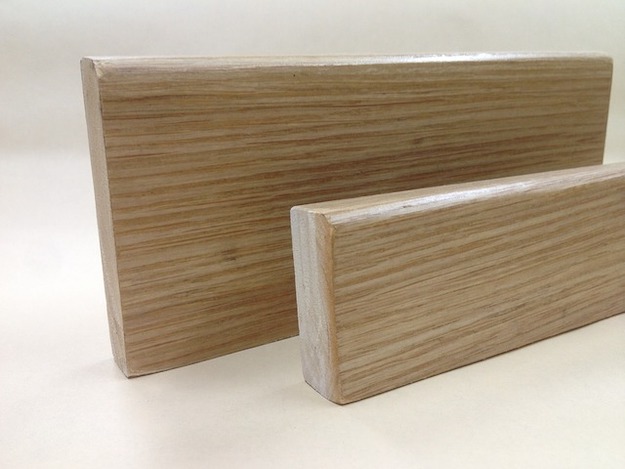
5. Sand it.
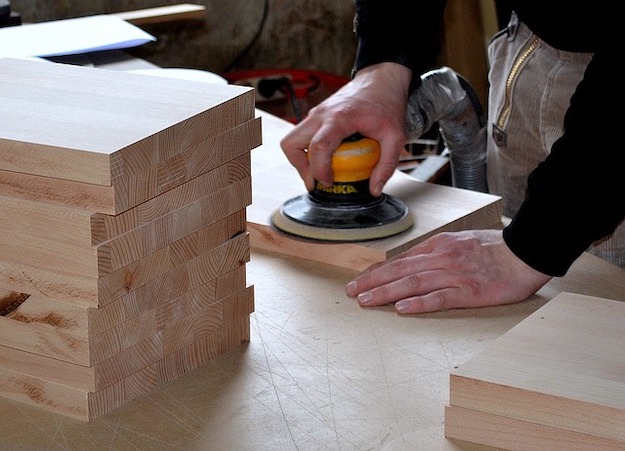
Sand the sides and edges to get rid of splinters.
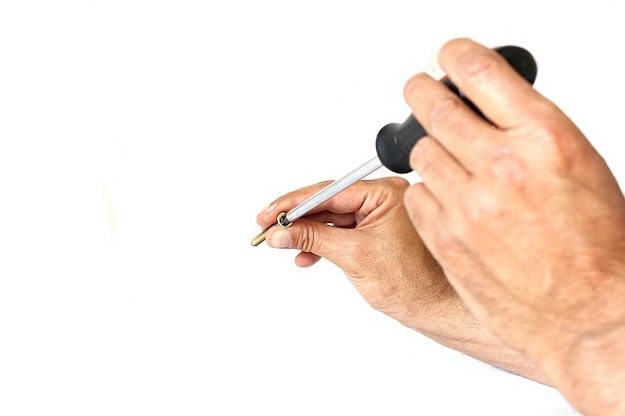
6. Install drawer members to the drawer sides.
Read the instructions that came with the drawer slides. As instructed, attach the drawer members to the drawer sides by screwing it into place.
7. Install cabinet members.
In this project, plywood was used as shims for the cabinet members. The members are screwed to the plywood and the plywood to the insides of the cabinet. You can also directly attach cabinet members inside the cabinet.
Screw them into place.
8. Slide the drawer in place.
Now you have your drawer inside your cabinet!
Here is Ana White’s full video tutorial of this sneaky DIY knife drawer:
Click here for more kitchen DIY ideas.
Like this? You’ll also like…

DIY Project | How to Build a Butcher Block Kitchen Island

DIY Projects: How To Build Your Own DIY Wine Rack

Featured image via LWK Home