

The garage will always be a room for storage, and I am not talking about storing cars. Tools, works in progress, and other DIY remnants can be found in my garage, but this finite space can only hold so much. So, if you need some extra space, this DIY garage storage project will totally give you just that.
This DIY Garage Storage Is The Total Space – Saver For Your Home
This project is worth your time because it’s easy to create and will save you so much space in the garage. The usage of storage tubs will allow you to segregate items for its different uses, so I’d consider that as an added bonus! It won’t cost you much because you don’t need a lot of materials. Excited to upgrade your garage space? Let’s get this project started!
Supplies:
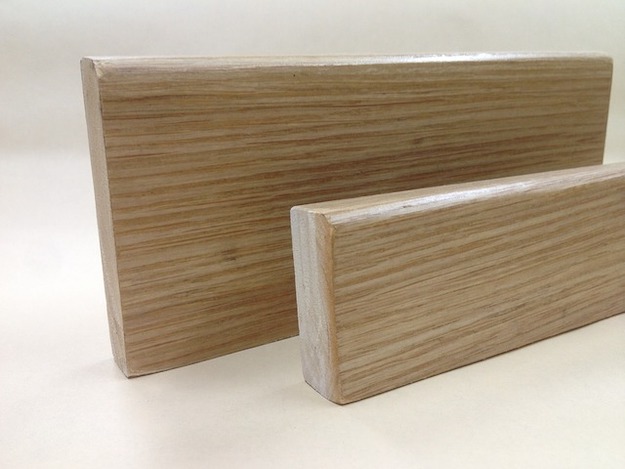
- 3/4″ plywood
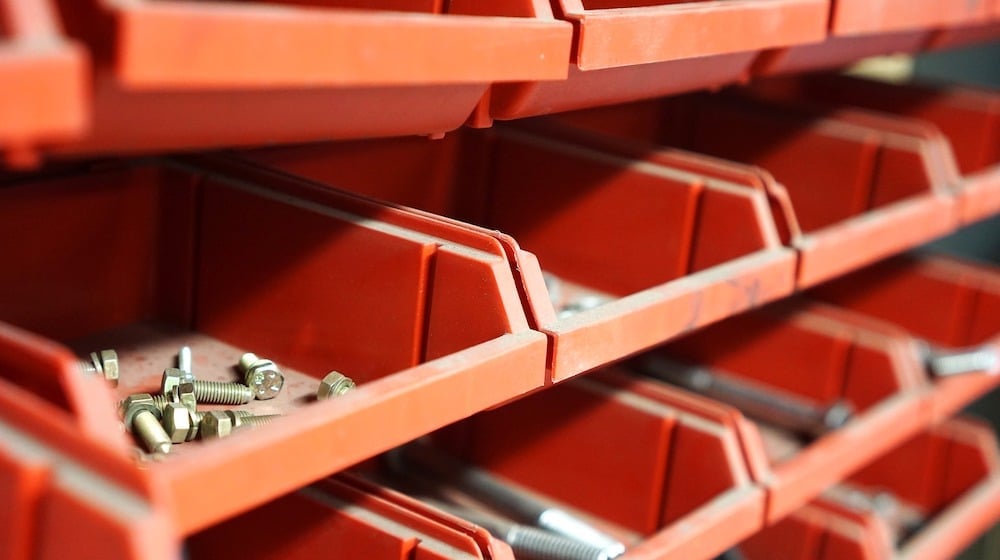
- Storage Tubs
- 2×4’s
- Drywall screws
Tools:
- Miter Saw
- Table Saw
- Stud Finder
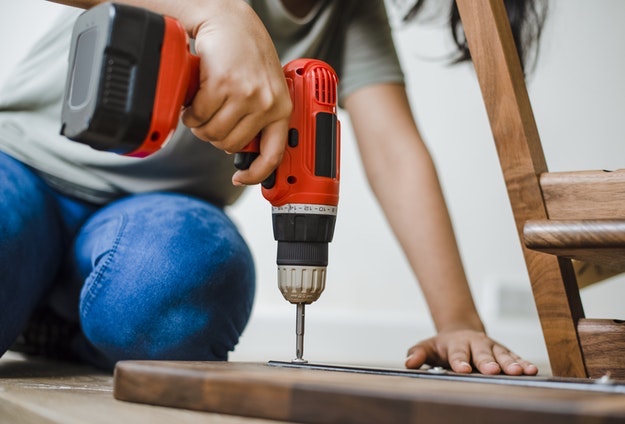
- Drill Driver
- Tape Measurer
- Countersink
- Chalk Line
- Pencil
Steps:
1. Rip the plywood.
Slice the plywood into six pieces that will attach to the top and bottom of the 2x4s. The measurements for the middle beam are 11″ (1), 6 1/2″ (1). For the side beams, 6 1/2″ (2) and 5 3/8″ (2).
2. Mark the centers of ply.

Using chalk, mark the area where the 2×4 will be attached.
3. Assemble the middle beam.
Attach the top piece to the 2×4 by screwing into place.
Attach the bottom piece to the 2×4 by screwing into place.
It should look like the letter ‘I’.
4. Assemble the side beams.
Position the top beam to leave a 3/4″ overhang on the outside edge.
The bottom pieces should be flush with the outer edge.
Screw the pieces together. One should look like the letter ‘C’, and the other a backward letter ‘C’.
5. Install the beams.
Space your beams with the width of your containers. Measure its width.
Find the joists in the ceiling using a stud finder. This will support the heavy weight of your storage.
Mark the areas and screw the beams.
6. Slide your storage tubs into position.
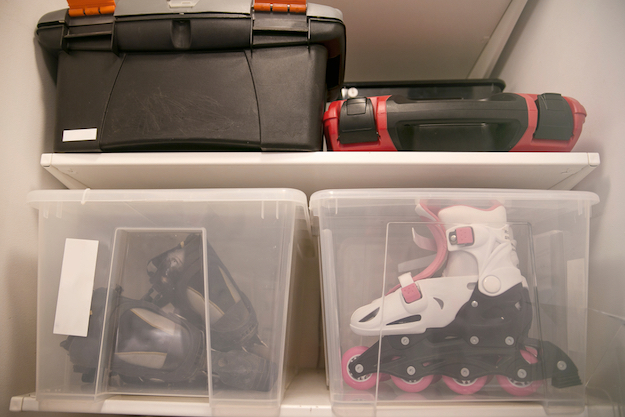
Place your stuff for storage inside the tubs and slide them into position.
Here is the full video tutorial of this genius DIY garage storage idea:
Now you just don’t have storage around your garage, you have a storage space above it. Truly, an overhead storage idea is so great you have to have yours now. It saves space and it is highly organized too.
Click here for more DIY storage for your home.


