


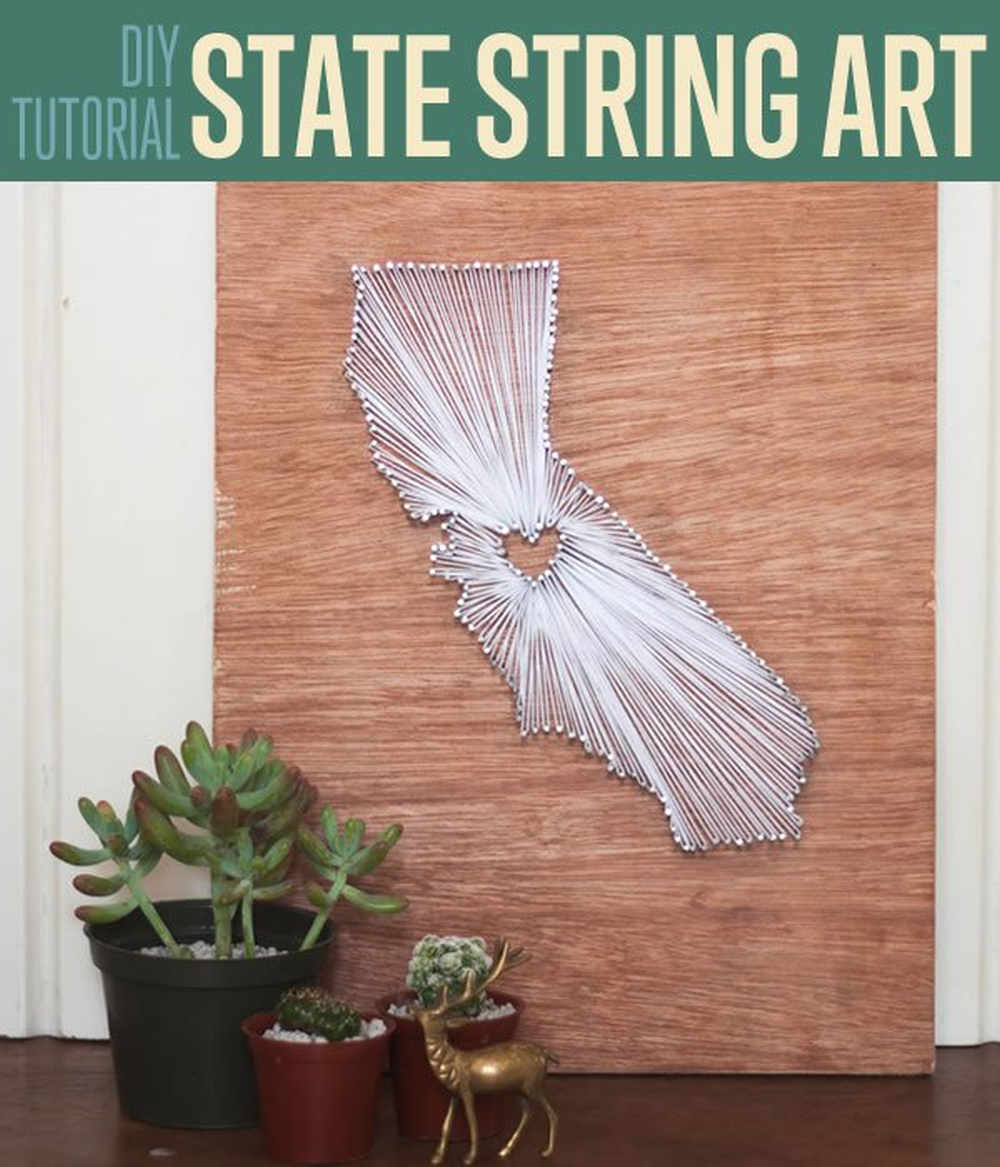
Learn to make your own DIY string art with this tutorial. All you’ll need is an outline of whatever you want in nails, then wrap the string!
RELATED: 11 Creative Wood Wall Art Ideas | Weekend DIY Projects
In this article:
String Art Tutorial | DIY Decor Ideas
DIY String Art on Wood
DIY decor gives us the freedom to create customized pieces that fit our style, color scheme, and personalities. This easy DIY project can be done in under an hour and most of the string art supplies are things you have on hand or can grab from the hardware store for less than $10.
I’ve only recently encountered string art, and I absolutely wanted to try it! It was the right amount of chic and cozy that I really wanted in my library next to my books and succulents.
This could work for any shape template and any color of string. You can go for a classic white color like I did or a funkier colorful one: it’s really up to you!
It only took about three hours at most, and it wasn’t that difficult at all.
Things You Need
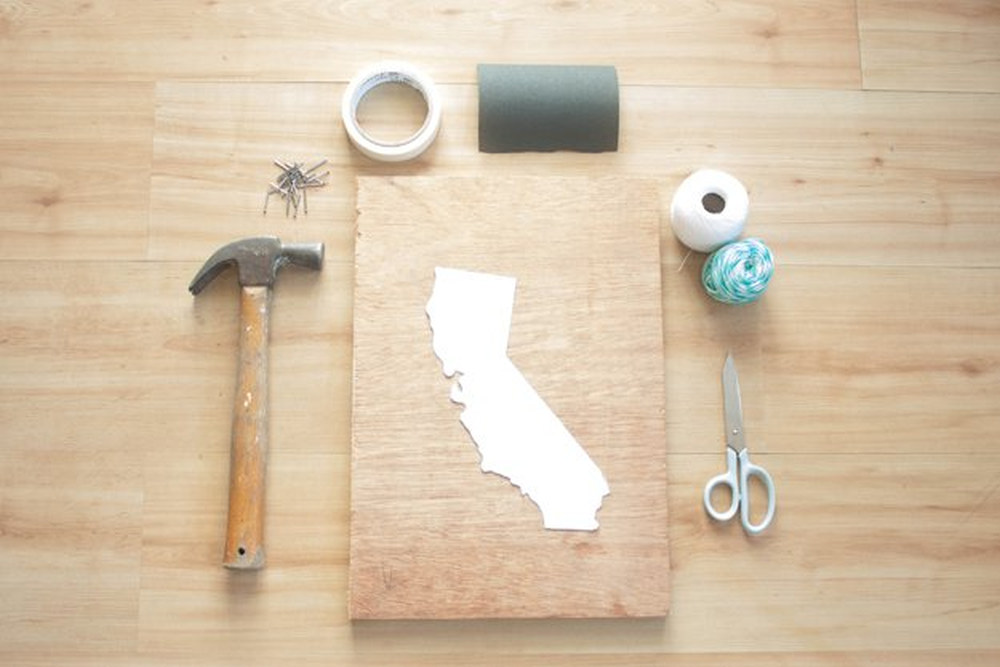
- Wood
- Hammer
- A LOT of nails
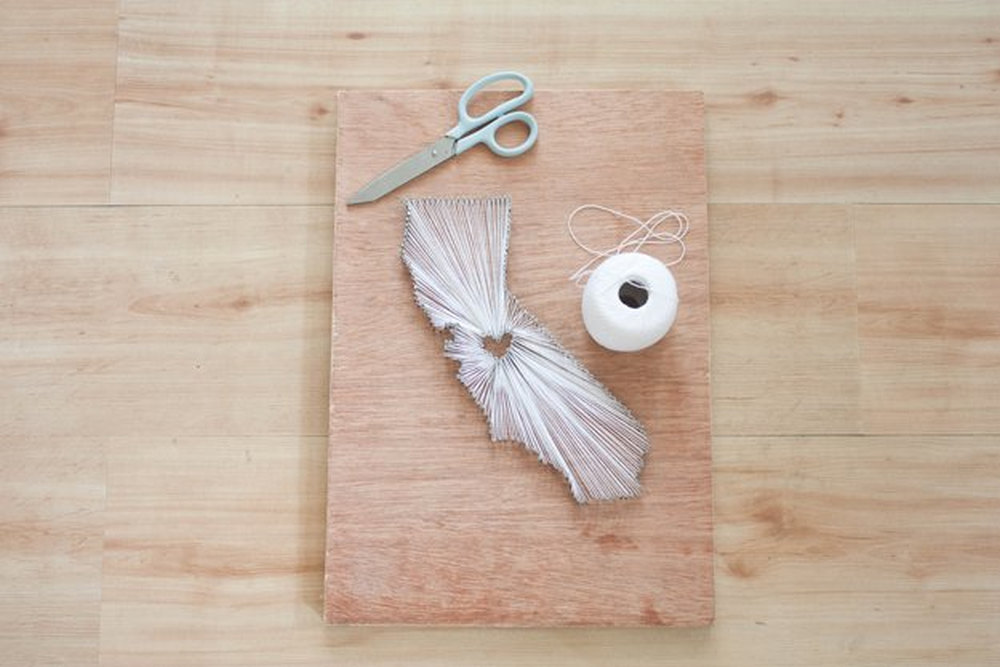
- Scissors
- String
- Sandpaper
- Masking tape
- Template
The size of the wood really depends on preference, but I suggest printing out your desired size of the design before going to the woodshop to pick, so you can already visualize the negative space around the string art. Masking tape, I recommend asking which brand doesn’t leave adhesive on the board, because this leaves ugly marks, and gathers dust.
Instructions
Step 1. Smooth It down with Sandpaper
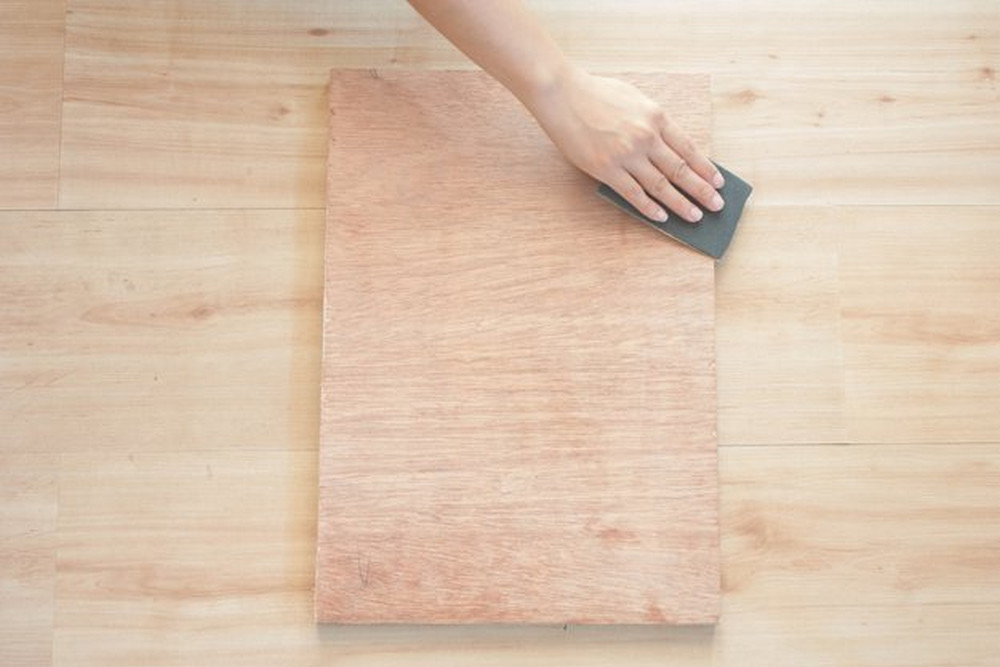
Use sandpaper to make the edges of the wood clean and smooth, to prevent splinters.
Step 2. Print and Cut out the Template
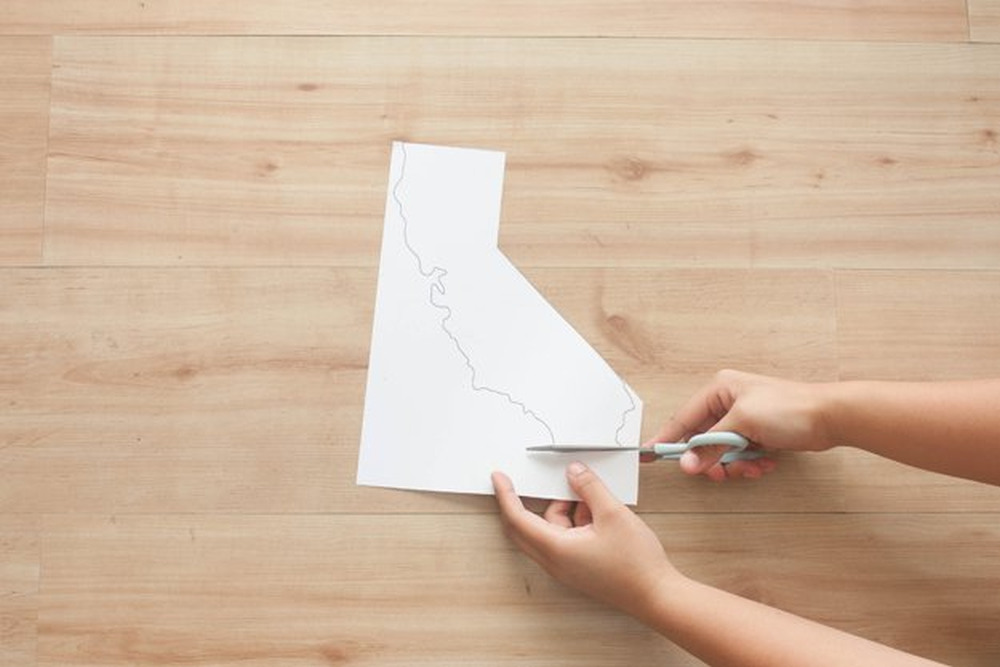
Some DIY tutorials say you can hammer directly on the design without cutting, but I do not recommend doing this. Despite being able to tear the paper out, there will be bits and pieces of paper stuck on the nails which will consume more time picking it out than just cutting out the outline.
Step 3. Stick the Map on with Masking Tape
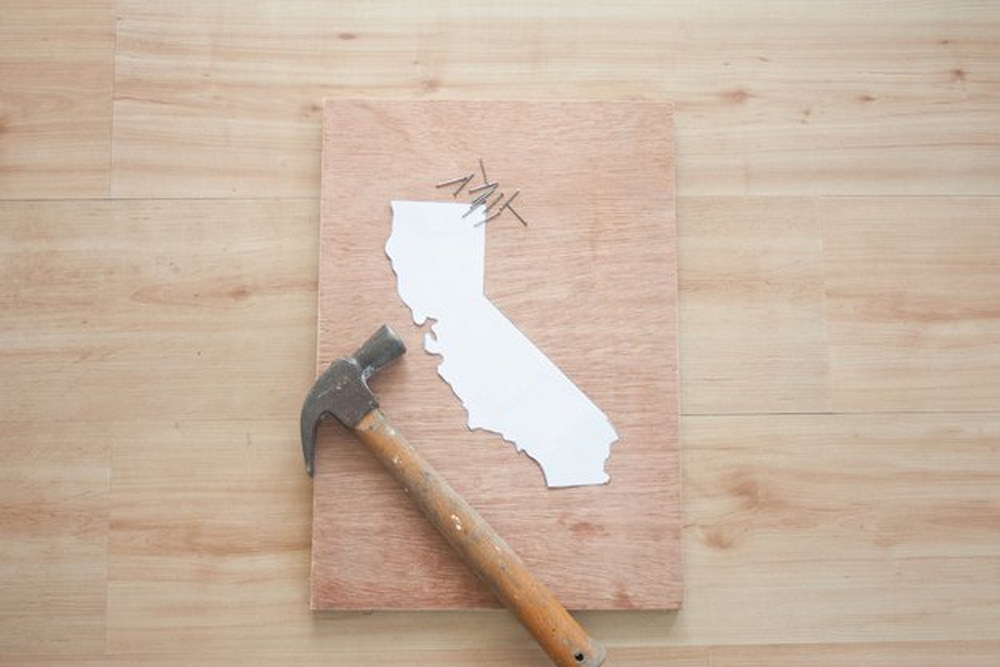
Using masking tape will help keep the map in place but diminish the chances of pulling up stain or paint from the wood.
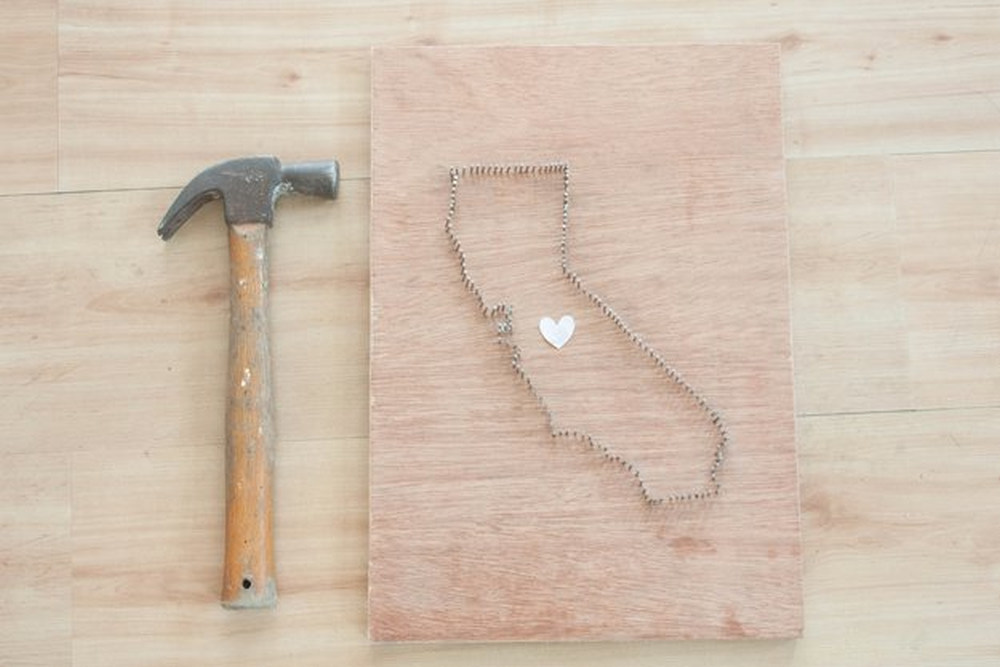
Step 4. Line the Map with Nails

You can start anywhere comfortable, but the most important thing to remember with hammering the nails in, is that the nails should be very close to each other, leaving only enough space for the string to slip down the middle.
Outlines with nails too far apart will leave you too much space in between, and it won’t look as nice. Also try to be meticulous with hammering the nails straight, both down the wood and forming straight lines.
The more nails that are perfectly aligned, the neater and nicer the string art will come out. For parts of the map that have too many curves, you can choose to simplify them. I suggest doing just that, for a neater effect.
RELATED: DIY String Lights To Decorate Your Rooms | DIY Projects
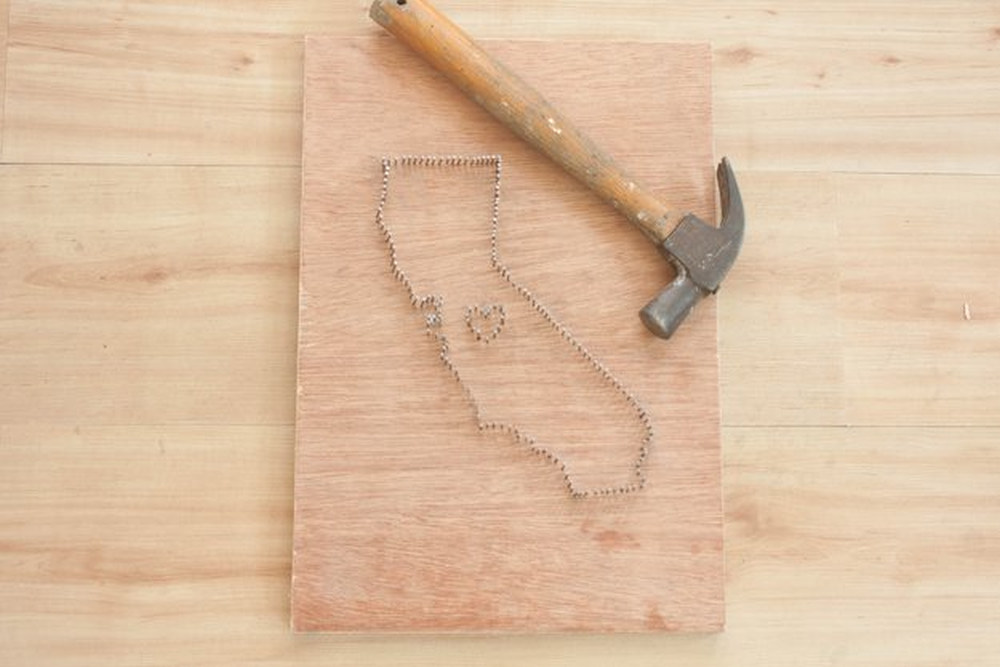
Step 5. Repeat the Process with the Heart
Try putting it in an area that could create as many long straight lines as possible. Make sure to hammer in lots of nails for the heart.
They will serve as anchors for the string, and too few nails will create lots of blanks in between.
String art is so fun & there are so many projects out there. Take a look a these: http://t.co/5yNEw51oR5 #DIY #string pic.twitter.com/Qh7Ruo42Hd
— DIY Projects (@DIY Projects) May 3, 2015
Step 6. Start Stringing!
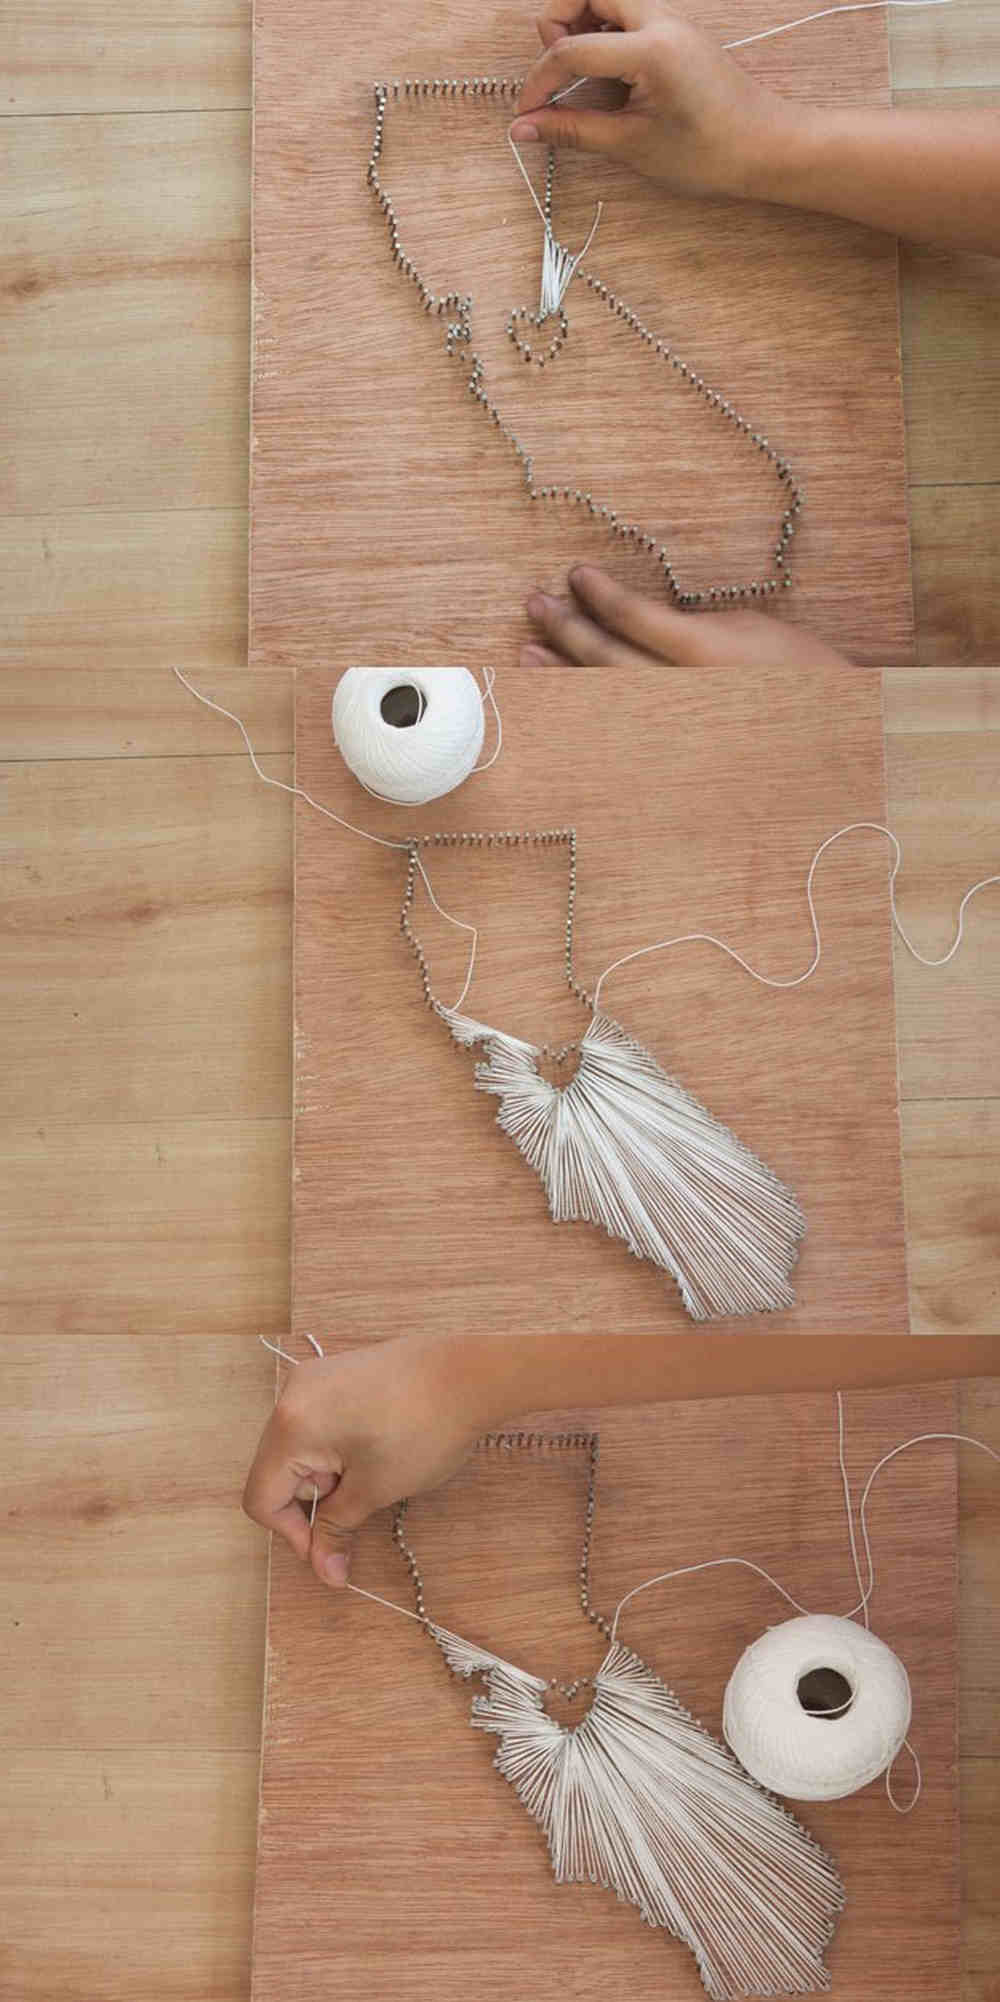
Loop around the outer nail, bring it to the nails of the heart, loop it, and bring it to the next nail of the state.
Loop only once per nail of the state before moving on the next one, but keep using the same heart nail for the succeeding loops. This will create a nice tension between the nails.
There will be about 15 state nails to one heart nail. This depends on the crafter’s preference of course.
Don’t be afraid to remove the string and try again until you get the right ratio.
Step 7. Be Patient, and Repeat Until You Finish!
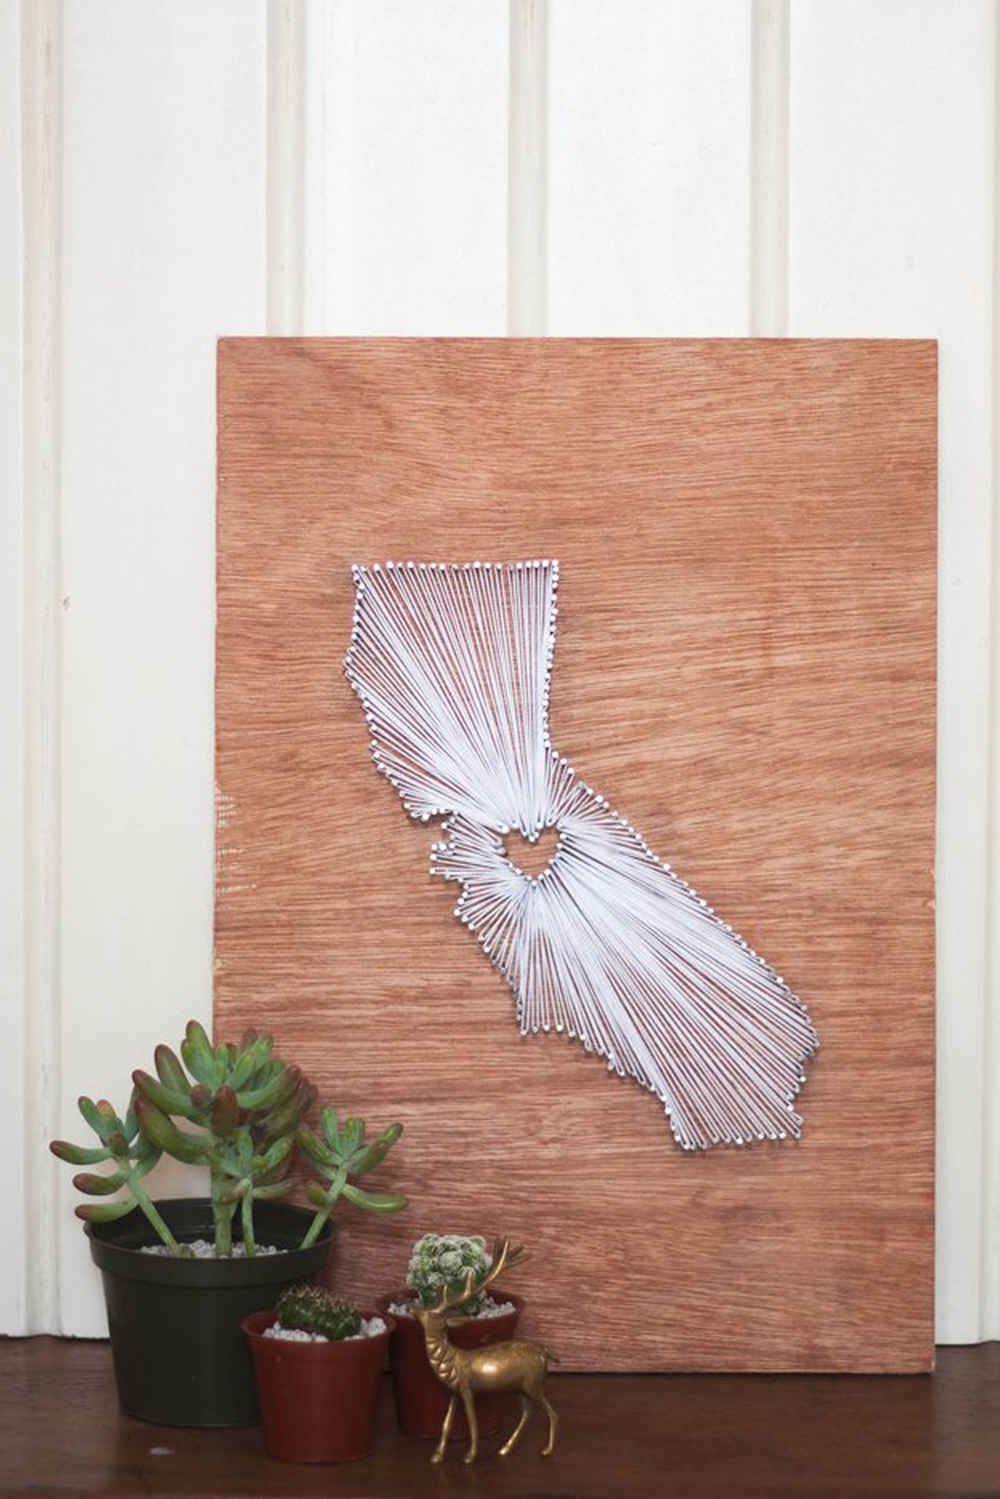
I really love how this string art turned out, especially how opaque the white gets as it reaches the heart. I bet this technique would be lovely on silhouette portraits!
This definitely won’t be the last of the string art ideas I use to create fun and easy DIY wall art.
Check out a DIY tutorial video by Katherout on how to create your string art project, nice and easy!
With this DIY string art tutorial, you can now create wall art that shows off your home state! This California state-themed wall art is perfect for a breezy home in the golden state.
What string craft will you make? Share with us in the comments section below!
UP NEXT:
- 12 Easy DIY Home Decor Ideas Using String
- 20 Cool Home Decor Wall Art Ideas for You to Craft
- 22 Handmade Calligraphy Christmas Cards You Can DIY
For more DIY and craft news, follow us on Facebook, Twitter, and Instagram!Editor’s Note: This post was originally published on April 18, 2016, and has been updated for quality and relevancy.


