
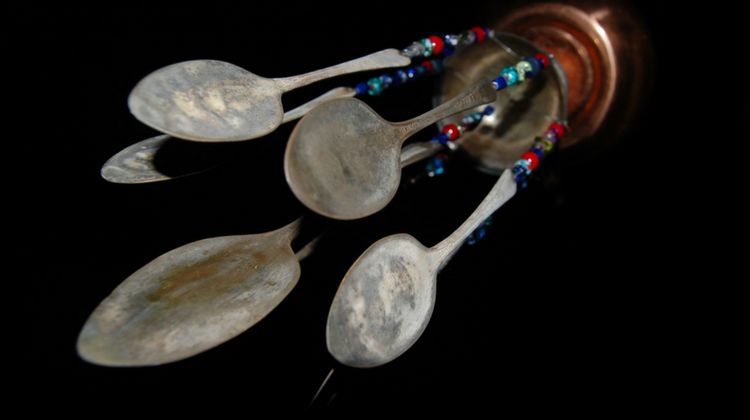

DIY wind chimes will add flair to your porch, backyard, balcony or anywhere you want to put them! Get creative with some old silverware and enjoy the shabby-chic vibe it gives your space.
DIY Wind Chimes | How To Make A Silverware Wind Chime
Wind chimes are beautiful and their tinkling sound complements any windy afternoon. They also make a great DIY project for the whole family! Today, I will show how to create your very own whimsical wind chime using some of your silverware. It’s very easy and fun to make; I’m sure you’ll love it!
What You’ll Need:
- 1 fork
- 4 spoons
- beads
- jewelry making supplies (wire, lobster clip, and jumper rings)
- multi-tool or flat nose pliers
- hammer
- drill and drill-bit
- Dremmel or any cutting tool to cut the silverware
How To Make A Silverware Wind Chime:
Step 1: Flatten The Silverwares
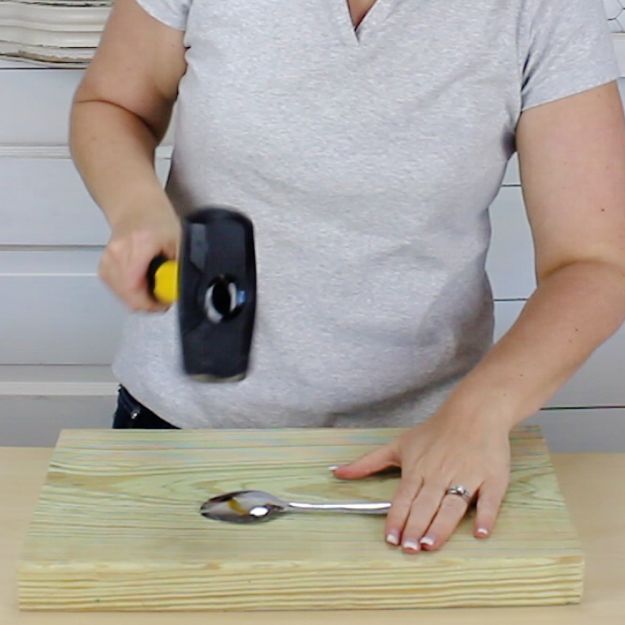
Position your silverware on a flat sturdy surface and hammer down the curved shape of the silverware until you’re satisfied with its flatness. Also pay attention to the handle, to make sure that you are also straightening it out.
Step 2: Cut And Drill
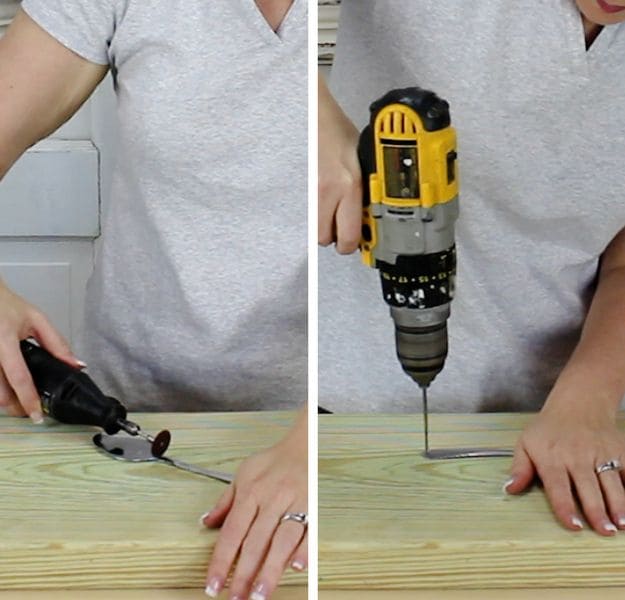
Separate the head of the spoon from its handle by cutting it with a Dremmel or whatever cutting tool you have available. Then, drill a hole on both ends of the spoon handle. Also, make similar holes on the spoon’s head and on the fork’s handle. Make sure to drill the hole close to the very end portion.
Step 3: Start Working With Your Fork

The fork is your hanger. Use a multi-tool or flat nose pliers to curl the ends of the fork tines. Do it one by one and alternately. First to the front, then back, front, and back. Go gently so the fork won’t break.
Step 4: Build The Hanger
Use 2 pieces of jewelry making essentials: 1 big lobster clip and a jumper ring. Use flat-nose pliers to hold the jumper ring on each side then twist it a little to open it up. Clip the lobster clip onto the jumper ring, then attach to your fork.
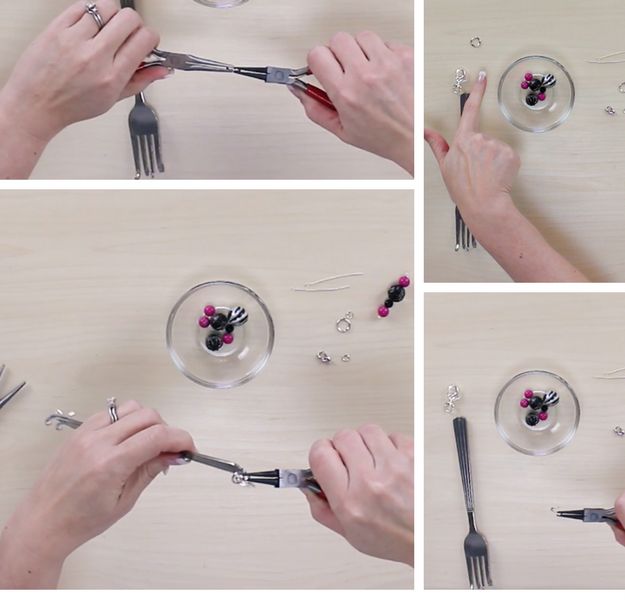
Step 5: Assemble The Beads
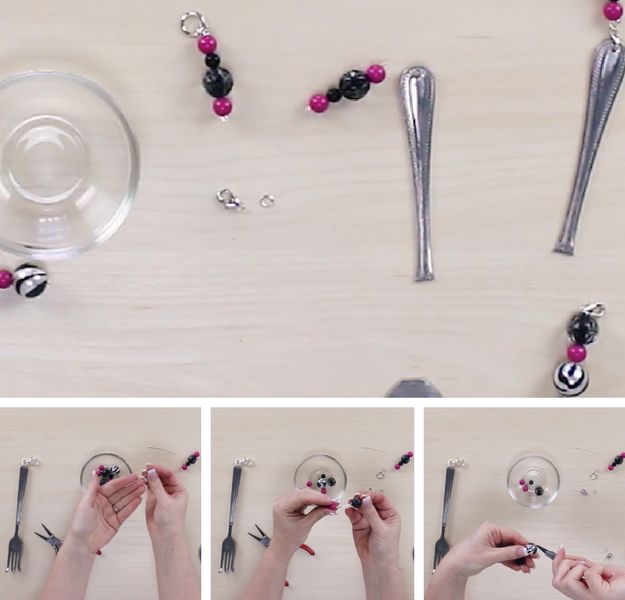
Grab your jewelry wire and thread your beads that way you want. In this project, that makes 2 big beads with 1 small bead in between. Make sure to leave excess wire on both ends to create a little hook. Attach a bigger jumper ring on one of the little hooks. Create a total of 8 assembled beads to use for all the spoons.
Step 6: Connect The Spoon’s Head And Handle
Simply attach the assembled beads to the hole of both spoon’s head and handle to reconnect them. Attach another set of assembled beads to the other hole of the handle as dangling embellishment. Do this on all four spoons. This is just like solving a puzzle, connecting the pieces all together.
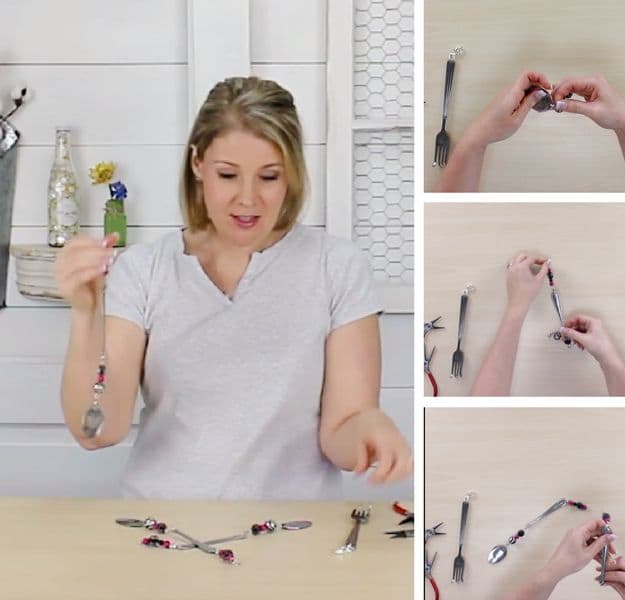
Step 7: Attach The Spoon To The Fork

You’re almost done! Grab your fork and attach the spoons one by one. Your wind chime is now ready! Hang them outside or near a window. Once the wind blows you’ll hear a dazzling sound.
Want to see this DIY silver wind chime in action? Check out our video below:
Isn’t that super fast and easy? Wind chimes are not just fun to make, they also make a great gift. I have one hanging in my porch and I will be making another one for my mother-in-law. So what are you waiting for my fellow crafters? I hope you would be making your very own silverware wind chime soon!
Ready to make your own wind chime? Let us know how it went in the comments section below.
Up Next: DIY Projector Screen For Your Backyard

Stay connected with us on Facebook, Twitter, Pinterest and Instagram!
Editor’s Note – This post was originally published on March 2016 and has been updated for quality and relevancy.


