Springtime is here! You must be excited to enjoy your backyard. Plus, you also imagine the plants that you would want to add to your garden. You simply can’t wait to plant your seeds or cultivate your land area. It’s definitely the best time to start your gardening projects. While doing so, we all would want a functional piece that can hold our tools and keep them organized. A working space when potting or taking care of our plants will be a great help as well. Start right by having this DIY potting bench that will surely be beneficial. It’s easy, and the materials are cheap, too.
DIY Potting Bench Project Perfect This Spring
Show some TLC for your garden through this project!
This spring, give more time and attention to your garden. Everything’s starting to bloom! In line with showering your garden with water, love and care are this rustic potting bench to help you with your gardening. Wide area for potting, a compartment for dry soil, and a station for your tools, this bench is a must – have. Learn how to nail this project through the steps below!
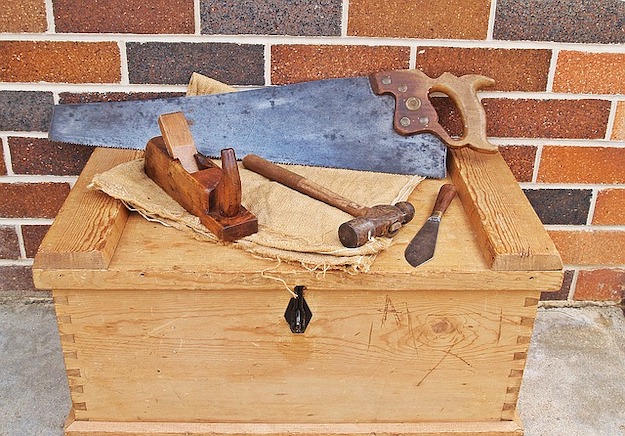
SUPPLIES AND TOOLS NEEDED TO MAKE A DIY POTTING BENCH
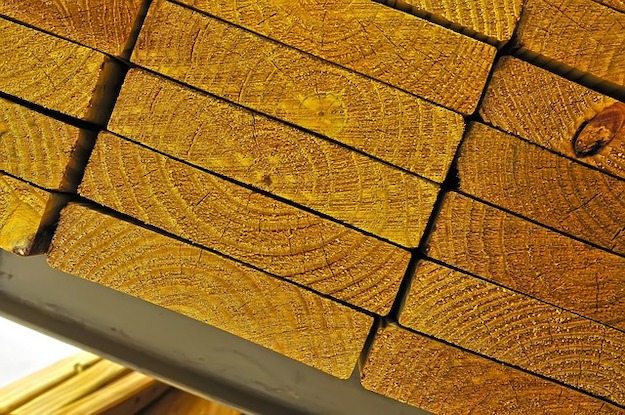
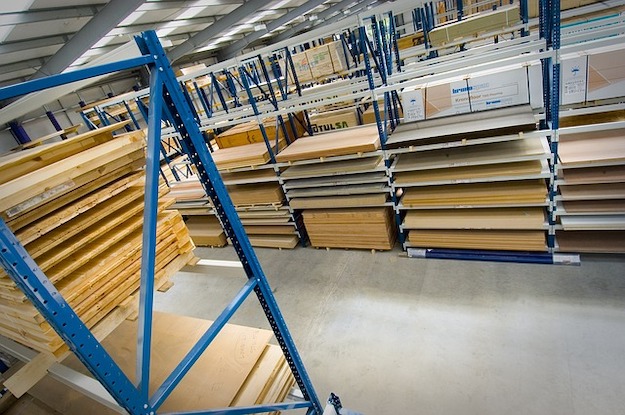
- Pallets/Lumber (2×4)
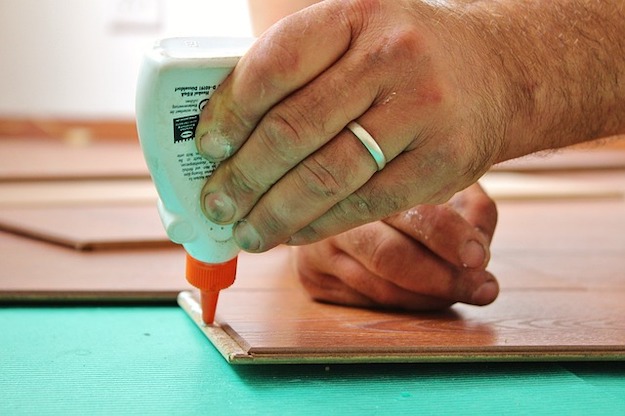
- Wood glue
- Nails (16d galvanized or 3.5″)
- Screws (No. 9, 2 1/2″)
- Dish pan
- Varnish
- Hooks
- Circular saw
- Ruler/Square Cut
- Pencil
- Tape Measure
- Hammer
- Screwdriver
Steps:
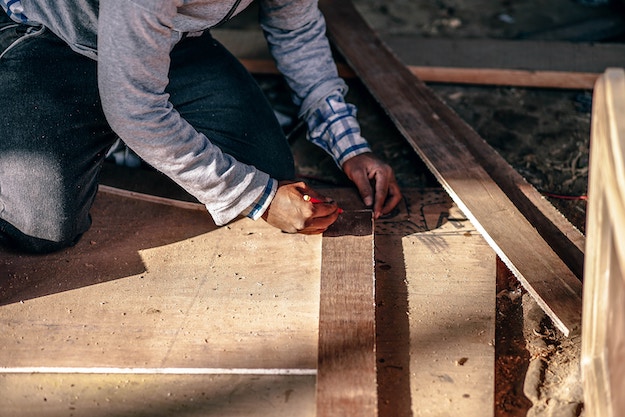
1. Measure and cut.
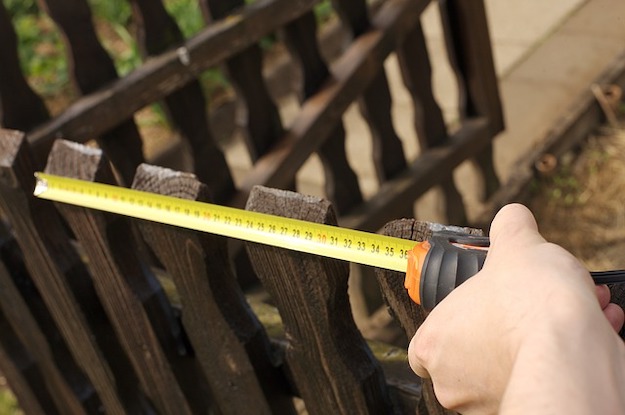
Measure your pallets and boards. In this project, the frame was built using 2×4 lumber. For more details about this project, check out the illustration here.
2. Make a frame.
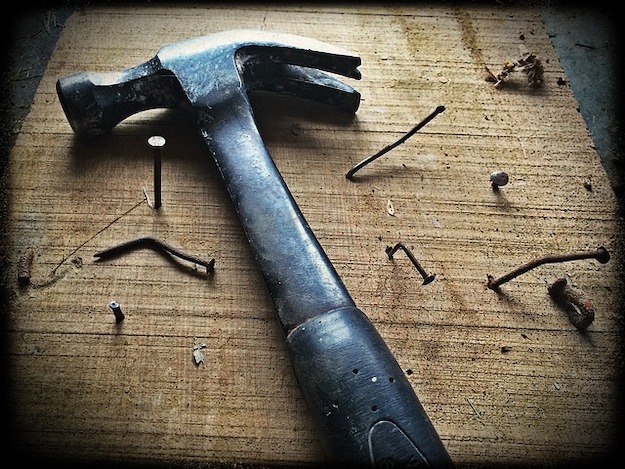
Make a frame for your top and lower shelf. Glue and nail it. I suggest you can use a 16d galvanized nail. It has a length of 3.5″ –this is the preferred size of seasoned woodworkers when working on a 2×4 lumber.
3. Attach the legs.
Attach the legs for the potting bench. Start with one side and just flip it over to do the other side.
4. Install the top piece.
Install the top piece for your project and allow some space to go beyond the sides.
5. Dry sink

6. Place wide boards.
Place all the wide boards on the top shelf.
7. Place the dish pan.
Put the dish pan on the dry sink area.
8. Complete the boards.
Put the boards that will serve as the potting bench’s wall.
9. Provide back support.
Put a board vertically to provide support.
10. Place wide boards.
Place the wide boards on the bottom shelf.
11. Add finishing touch.
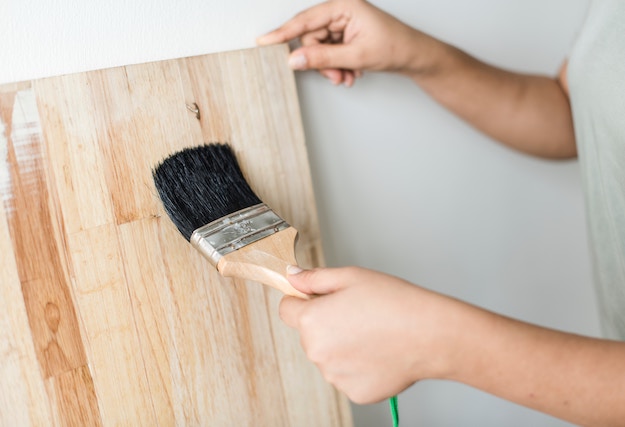
To finish, apply a coat of varnish.
12. Add hooks and nails.
Put some nails and hooks to hang your garden tools. Sizes of nails and hooks will depend on the size of tools that you’ll be hanging.
Your potting bench is ready!
Here is the full video tutorial of this DIY rustic potting bench project:
Together with the intent of spending more time taking care and improving your garden, is the fact that you need a magnificent potting bench you could rely on. This project is definitely worth your time. Enjoy making your own this weekend!
Click here for more DIY projects made out of wood.
Like this? You’ll also like…
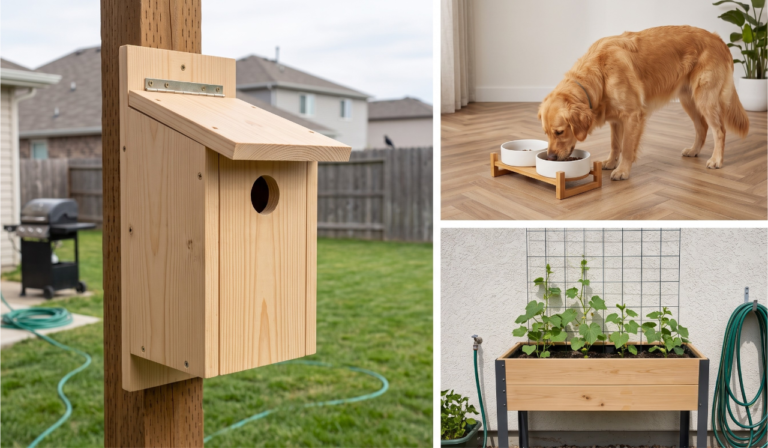
55 Ingenious DIY Backyard Projects To Try This Spring

7 Nifty DIY Paving Projects For Every Garden

Easy DIY Backyard Project Ideas

Featured Image Via photobucket