


Have fun with your kids this summer by building a DIY treehouse together! Check out this post for some tips!
Tips For A DIY Treehouse You Can Build With Your Kids
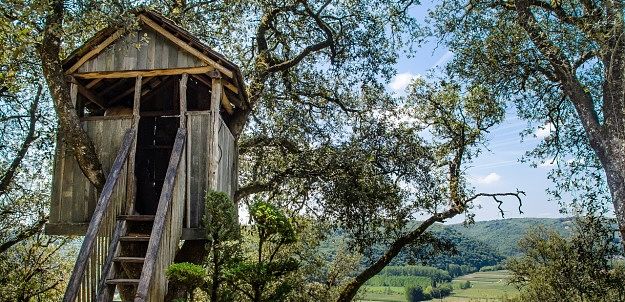
Bond with your kids this season by building a DIY treehouse together! This fun summer activity is more than just creating a playing nook for your kids, it’s also about teaching them the value of hard work and its rewards. Note this post is not exactly a detailed tutorial. What’s listed below are simplified steps to give you an idea how to build a treehouse. The size of the treehouse you have in mind and its other details are all up to you.
1. Choose a sturdy tree.
First, choose a sturdy tree or trees where you can build your treehouse and map out how it fits into the area. Consider the height of the structure (keep it low to be safe) as well as its floor area. A 7 ft. square treehouse is enough for a play space and doable to build on your own. After you consider the size of the treehouse, you can start designing it.
2. Prepare the materials.
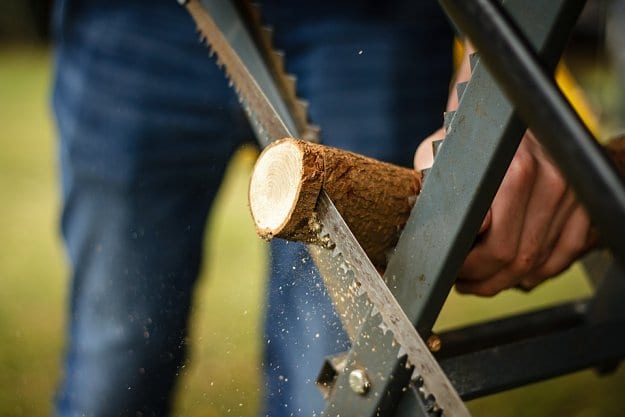
You should have an idea what tools you’re going to use once you have the detailed plan of your treehouse. For sure, you’re going to need a saw, a drill for wood, nails, hammer, a portable ladder, screws, among others. The size of the lumber you’re going to use depends on the design you want to follow. Remember you’ll need two strong beams and braces to support your structure.
3. Install a secure platform.
When building the platform, attach two main beams to the tree first. The beams should be secure and sturdy since they support the entire structure. Proceed with building the floor frame by installing the perimeter beams and the floor joists on top of the main beams. Make sure the frame is level before you install the knee braces for further support.
You can use 2×10 lumber for the main beams and 2×6 for the perimeter beams and floor joists, and knee braces.
4. Add the floorboards.
Install the floorboards to complete the treehouse’s platform. In some areas, you would need to cut around the boards to make room for the tree’s trunk or branches. You can use several pieces of 2×6 lumber for the floor boards.
When you’re done with the platform, you can install the ladder as well. It should be easier for you to access the platform and continue building the rest of the treehouse.
5. Build the walls and the roof.
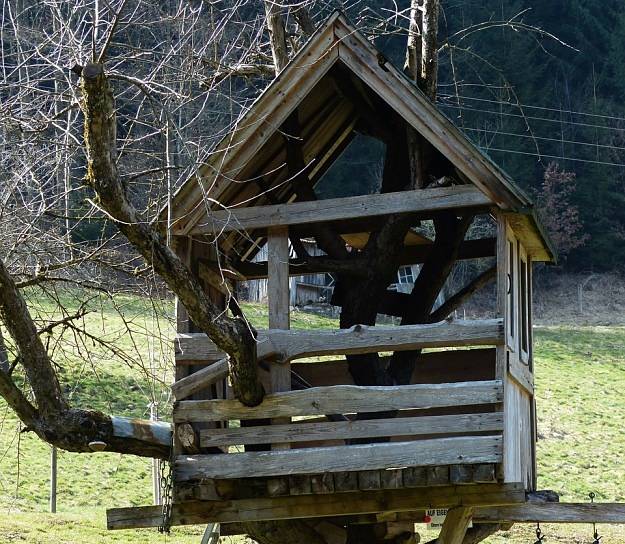
Construct the wall frames, board it up, then you’ll have the walls of your treehouse. If you have an old wooden fence you’re about to replace, you can reuse this as the treehouse’s walls. As for the roof, you can use a tarp (it’d be easier) or you can build a traditional roof with two slopes from wooden boards or metal sheets.
6. Add the door and windows
Complete your treehouse by adding doors and windows, or you can leave it as it is without adding any. For finishing touches, paint your treehouse or simply keep it natural.
Check out this video by Wranglerstar to learn more about building a DIY treehouse:
Remember to make your DIY treehouse as safe as possible. Test its stability before you allow your kids and their friends to play. If at some point you really find it challenging to proceed, you can always ask advice from a professional or have it completed by a licensed treehouse builder.
Do you have DIY treehouse tips to share? Let us know by writing a comment below!
There’s another DIY project you can do thus summer! Check out this DIY giant connect four for your backyard tutorial!
![]()
Stay connected with us on Facebook, Twitter, Pinterest and Instagram!


