
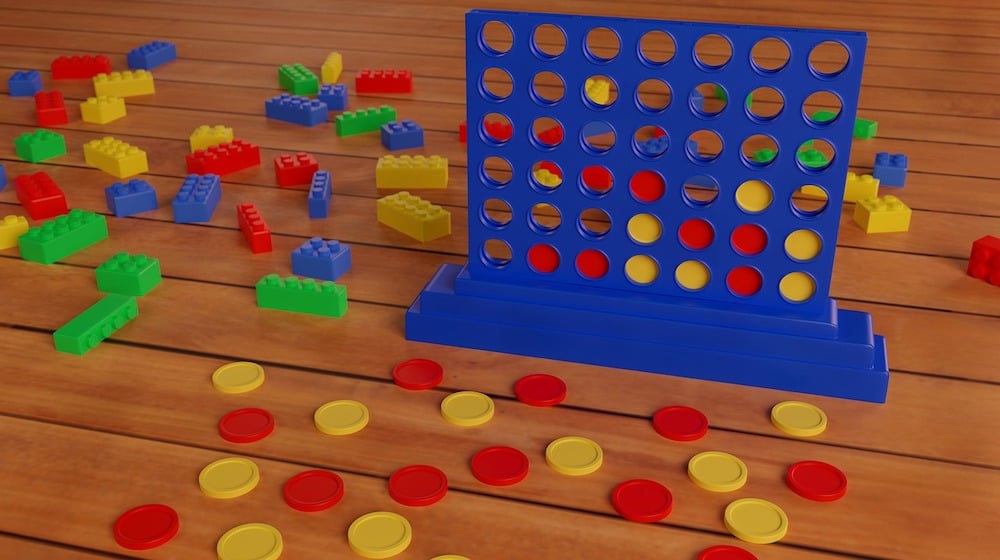

Make a giant Connect Four game to keep the family entertained during the weekend! Here’s a how-to guide to construct it from scratch.
Giant Connect Four | A Big Game For Loads Of Fun
A giant Connect Four game is one way to get the family out in the beautiful sunshine. Make use of the Spring weather by making this fun DIY project for your yard. Personally, my family and I love this game so much, we even have tournaments to see who will be the week’s Connect Four champ!
Here’s what you’ll need to make a giant Connect Four:
- Plywood sheets (one sheet 1/4″ thinner than the other)
- 2×2 wood
- Plywood rounds
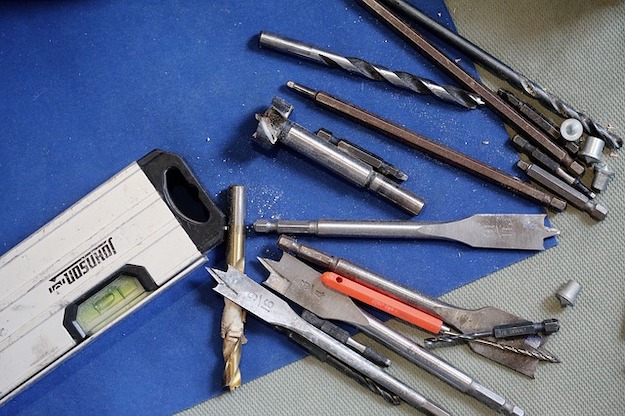
- Hole saw
- Nail gun
- Staple gun
- Screws
- Wood glue
- Hinges
- Paint
- Velcro
- At least 24 Frisbees, 12 per color (to be used as the dots)
Step 1: Measure Lines For 2×2 Pieces

Divide the thicker plywood sheet into 5 equal areas vertically. These marks will serve as the areas where you’ll be placing the 2×2 pieces.
Step 2: Attach 2×2 Pieces

Attach the 2×2 pieces onto the plywood sheet with the help of wood glue. Secure the pieces further using your nail gun on the other side.
Step 3: Measure Out Hole Placements
Using your thinner plywood sheet, mark out the areas where you’d be placing the holes for the game. One way to do this is to make a grid on the plywood.
Step 4: Cut Out The Holes

If you have a 6-inch hole cutter, then you’re in luck. It’ll make this DIY so much easier for you! Simply position the cutter on top of where the lines in the grid intersections. Be reminded, you should have a total of 20 holes in the thin plywood sheet.
Step 5: Attach The Plywood Sheets
Attach the plywood sheets together by placing wood glue on the 2×2 pieces. Then, place the thinner plywood sheet on top. Secure the sheets in place using a nail gun.
Tip: If you don’t have a nail gun, you can opt to use wood screws instead.
Step 6: Make The Stands
Grab your plywood round and cut it in half. Then, place wood glue down the middle and attach a 1×3 piece. Secure this in place using a nail gun.
Tip: Feel free to adjust the height of Connect 4 accordingly.
Step 7: Attach The Stands
Attach the stands to the main frame by applying wood glue. Be sure to align the top ends of the stands to the top edge of the frame. Then, use the nail gun to secure the pieces in place.
Step 8: Paint The Frame And Stands
Bring the game to life with a pop of color. I recommend using a color different than that of your dots or frisbees. Use a color wheel for help, if you’re interested in having complementary colors.
Step 9: Install Bottom Piece And Hinges
For easier rounds of game play and to keep the discs in place, grab another 1×3 piece and attach this to the bottom. Keep it in place by screwing a handful of door hinges. 2-3 would be enough.
Step 10: Attach Velcro
To prevent the bottom piece from swinging open, cut pieces of velcro straps and attach them to both the frame and the bottom piece. A staple gun will keep the velcro straps in a place.
And there you have it!
Simply slide your colored discs in — which you can conveniently find at your nearest dollar store — and have a blast with your family with rounds of this giant Connect Four game!
Want to see the full video tutorial for the giant Connect Four game? Press play below:
This giant Connect Four is a great activity for weekends spent with the family, or get togethers spent over barbecues and luaus. It’s one of the most loved pieces of our backyard, so I hope it’ll be one of yours too!
Will you be making this giant Connect Four soon? Let us know in the comments below!
Want more DIY games? Check out this list perfect for game night!
![]()
Stay connected with us on Facebook, Twitter, Pinterest, and Instagram!


