
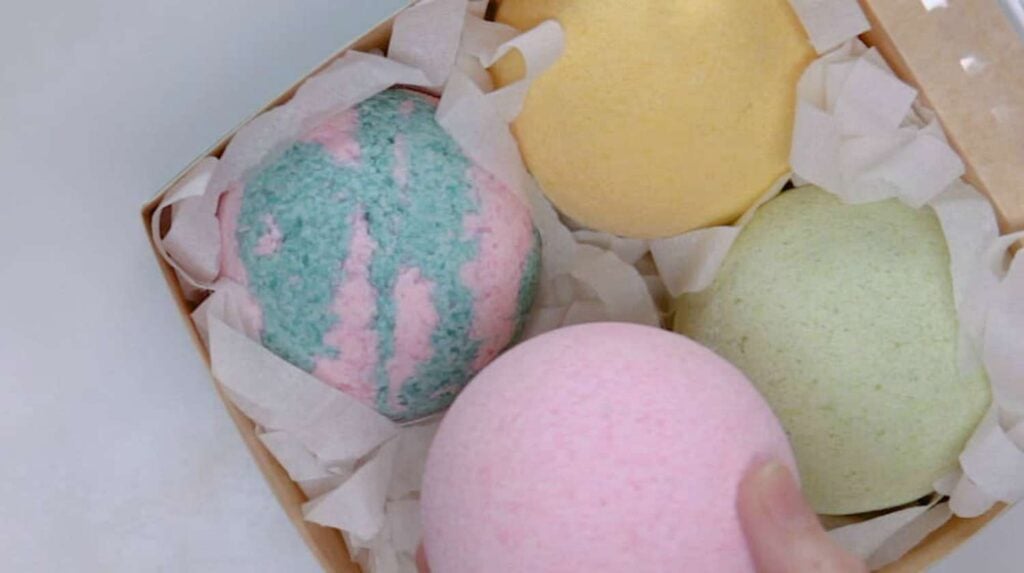

If you love bath bombs but don’t love the cost, these DIY bath bombs will guide you on making your own bubble bath essential at home!
RELATED: 17 DIY Bath Bombs & Homemade Bath Bomb Recipes
In this article:
- Basic Ingredients
- Overview of the Procedure
- Making a Basic Bath Bomb Mix
- How to Get the Right Consistency
- Bath Bombs Molds DIY
- Adding Some Color and Texture to Your Bath Bombs
- Finishing Up Your Bath Bombs
- Some More Tips and Tricks
DIY Bath Bombs Recipe
Basic Ingredients

To make the perfect DIY bath bombs, you got to know what they’re made of! Here’s an outline of the basic process to a foolproof bath bomb recipe:
- 2 parts baking soda (sodium bicarbonate)
- 1 part citric acid (oranges, lemons, and others)
- a small amount of water
With just this basic bath bomb recipe, you can make bath bombs so structurally sound that you’re going to need a mallet to break them down!
Overview of the Procedure
Now that you know what makes up the perfect DIY bath bombs, you now need to know how you make them. But, before we get to the nitty-gritty of the whole thing, here’s a brief rundown of the procedure:
- Mix the dry ingredients.
- Spray a bit of water until it starts to clump together.
- Press the mixture into your molds.
- Leave it to dry for 1-2 days.
Making a Basic Bath Bomb Mix
With these step-by-step instructions, you should have all the necessary materials and basic knowledge of what you’re going to do to make your DIY bath bombs. With that all done and over with, let’s get to mixing!
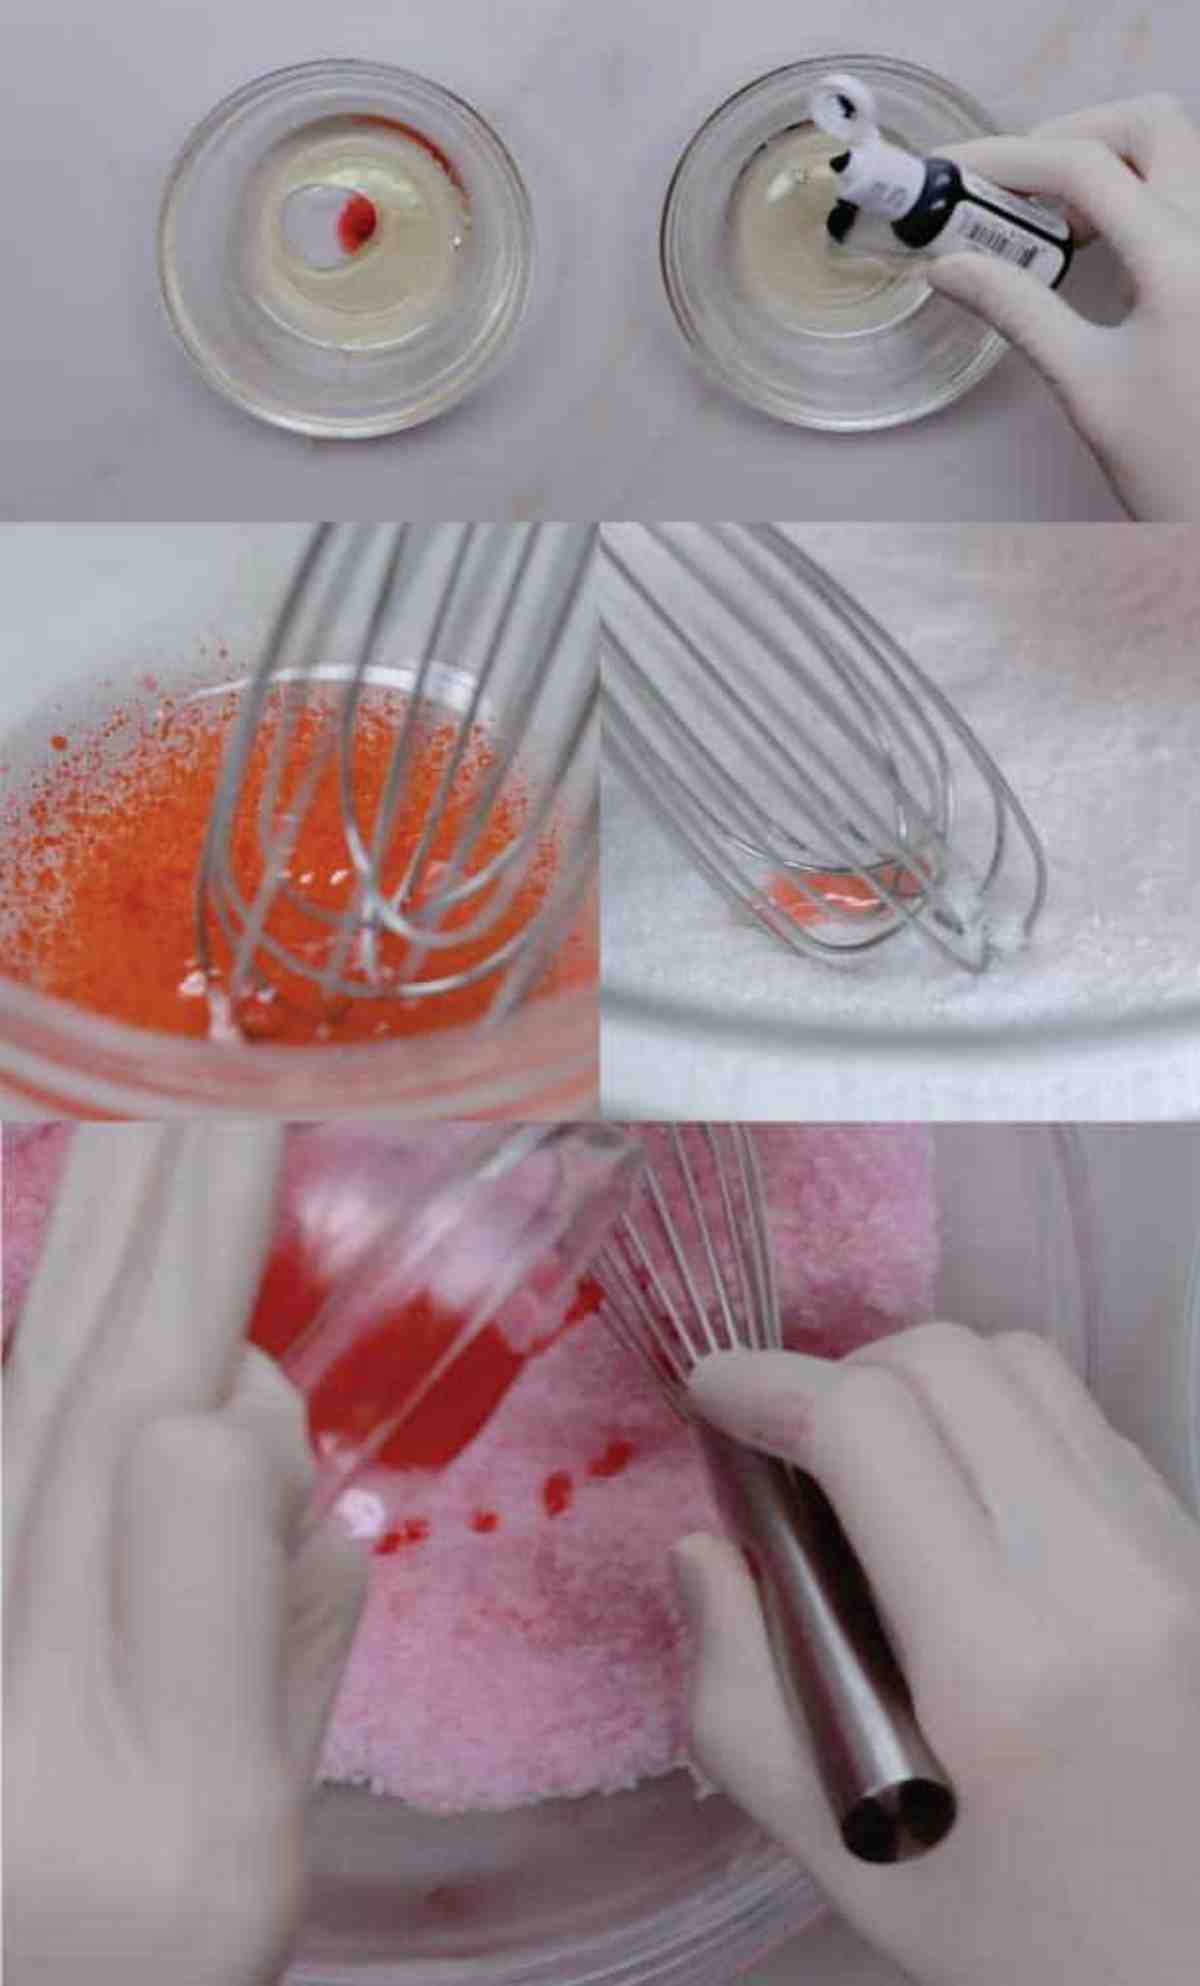
- Mix 2 parts of sodium bicarbonate and 1 part citric acid in your bowl until combined. Start with about 200 g of sodium and 100 g of citric acid. It’s a good idea to mix a little excess and set it aside in a separate container as it can be really useful if you add in too much water or essential oil in the later steps.
- Now, start adding in the water by lightly spraying tiny amounts at a time while mixing. Mix until you see it starting to clump together as you stir it.
- Don’t add water too fast. Just keep doing the repeated process of stirring and spraying.
- Make sure to squash any tiny lumps of water or oil against the edges of your bowl to make sure the mix stays consistent.
How to Get the Right Consistency
Getting that right bit of consistency for your DIY bath bombs can be very tricky. There are so many factors (from the fragrances you used and even the weather) that could affect why you’re not getting the consistency right.
Getting the consistency right is one thing, but knowing if the consistency is right can be subject to different interpretations. Here is a guideline that should help you get an idea if you got it right or not:
Too wet:
- The dough sticks to your fingers or on the mold.
- It’s simply wet or overly damp.
- You can hear loud hissing or a crackling sound.
Too dry:
- Its texture is hard, crumbly, or pebbly.
- It slips through your fingers like sand.
- When it clumps together, it then crumbles apart.
Bath Bombs Molds DIY
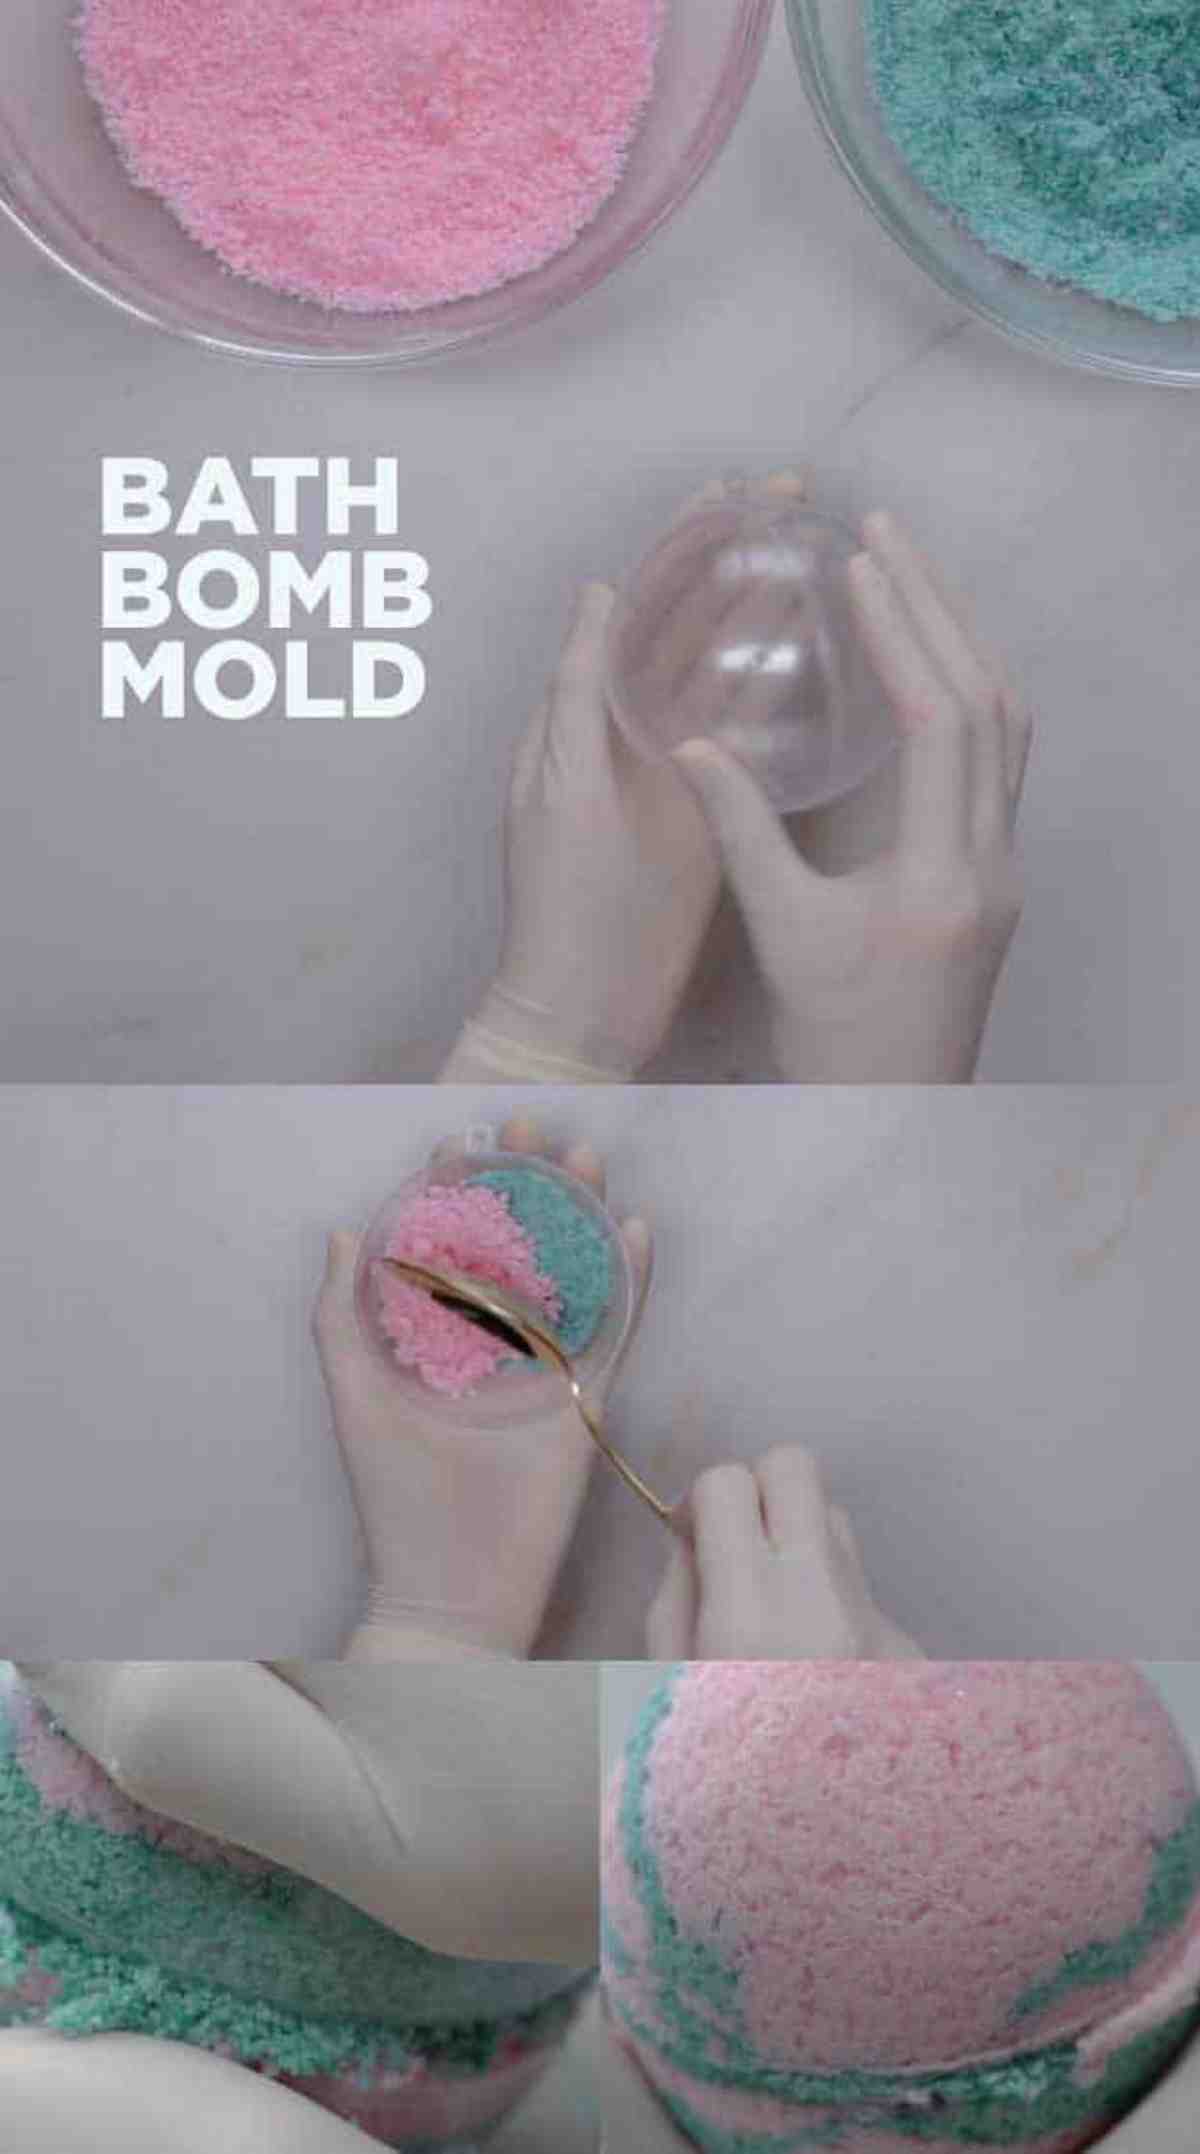
Molding is one of those “it’s easy when you know how” kind of deals. To get you through your first DIY bath bomb molds, here are a few things you should keep in mind:
- Spoon the mixture into one-half of the mold and “cut” into it with the edge of the spoon before taking another spoonful in.
- Fill the mold with more than a half full, set it aside, and repeat with the other half of the mold.
- Push both halves together with care and squeeze them firmly.
- Now, remove the mold’s top half. On your palm, place a sheet of cellophane and turn the unmolded half onto your palm. The mold’s other half should be easily removed after that.
- Place the completed bath bomb gently on a clean dry surface.
Adding Some Color and Texture to Your Bath Bombs
Mixing a DIY bath bomb isn’t just about its main ingredients! Adding some color and texture to your DIY bath bombs gives it a more personal flavor or touch.
Customizing it even further to suit your taste lets you create the best bath bomb recipe for you. These bombs are also great as Valentine’s Day gifts or a Mother’s Day gift, even a present for Father’s Day.
That being said, bath bombs can come in all sorts of colors and fragrances! The following are some options you could use in your bath bomb mixes to add some color to it.
Liquid Coloring
To tint your DIY bath bombs in a certain shade or color, apply some liquid coloring first before you add in the water. The liquid food coloring can also help you get the right consistency, depending on how much you drop into the mix.
As consistency can be affected by the liquid coloring, there is, of course, a certain limit to using it. So, make sure to watch out how much you drop into your mixture before it gets too wet!
Powdered Colorants
Powder variants for tinting your DIY bath bombs are available in premixed solutions. The premixed powder gives you greater control when adding it to your bath bomb mixture, making it easier for you while getting the right shade you want for it.
RELATED: Bathroom Decorating Ideas On A Budget
Herbs, Petals, and Grains
Take a step further in your bath bomb mixes by adding some texture along with your color! Here are some cool extra ingredients you could play around with to give your DIY bath bombs an extra wow factor.
1. Oats
Oatmeal contains mucilage, making it have a gooey texture that also makes your skin super smooth. Always remember to not add too much into your mix as it would break the consistency, leaving you with gooey oatmeal everywhere!
2. Clay
Adding clay into your bath bomb mixture can help make your bombs crack less and dry harder. It also creates a great silky and smooth texture to your bath bomb.
Clay can also be drying, so you might want to add some oils as well.
3. Aloe Powder
This freeze-dried aloe is a little hard to find, but when it’s used, it can make your bath bombs very cool and unique! Aloe powder is also perfect for sunburns in the summer and goes great with fragrances, especially a green tea and aloe mix!
4. Milk, Yogurt, or Goat’s Milk
These three were often used as a folk remedy in various cultures, who believe it’s softening and hydrating to the skin. Adding this into your mixture could certainly give your skin a luxurious feel!
Make sure you use whole-fat milk since that gives it a fancy texture.
5. SLS or Other “Bubbles”
Make your bath bombs bubbly by adding a lathering agent! The most commonly used in bath bombs is a powdered sodium lauryl sulfoacetate, also known as SLSA, which makes your bath bombs extra foamy.
More foam means more fun!
Sodium Lauryl Sulfoacetate Definition: A large molecule ingredient commonly found in bath bombs and bubble baths that makes them foamy or bubbly. It is derived from palm and coconut oils, which are considered gentle and non-irritating.
6. Botanicals
Following the theme of the fancy and luxurious, take a step further by adding some flower petals or herbs in your bath bomb mix that will make the bathing experience soothing and rich!
There’s plenty of options to choose from too, from rose petals, lavender, to ground vanilla fibers! Make sure not to add too much to your mixture unless you want a colorful tub!
7. Salts
If you’re looking for a more relaxing bath bomb experience, try adding in some Epsom, Atlantic Sea, or Dead Sea salts. Add at least a cup to each bath bomb to maximize its effectiveness.
It’s also a good idea to merge these bath bombs together using clay, as the addition of the salt might make the bath bombs less effective on their own.
8. Butters
Different kinds of butter could give your bath bomb mixes a smooth and silky feel! And, there so many kinds of butter to choose, from cocoa or coconut butter to more exotic kinds such as aloe, mango, and coffee butter!
Finishing Up Your Bath Bombs
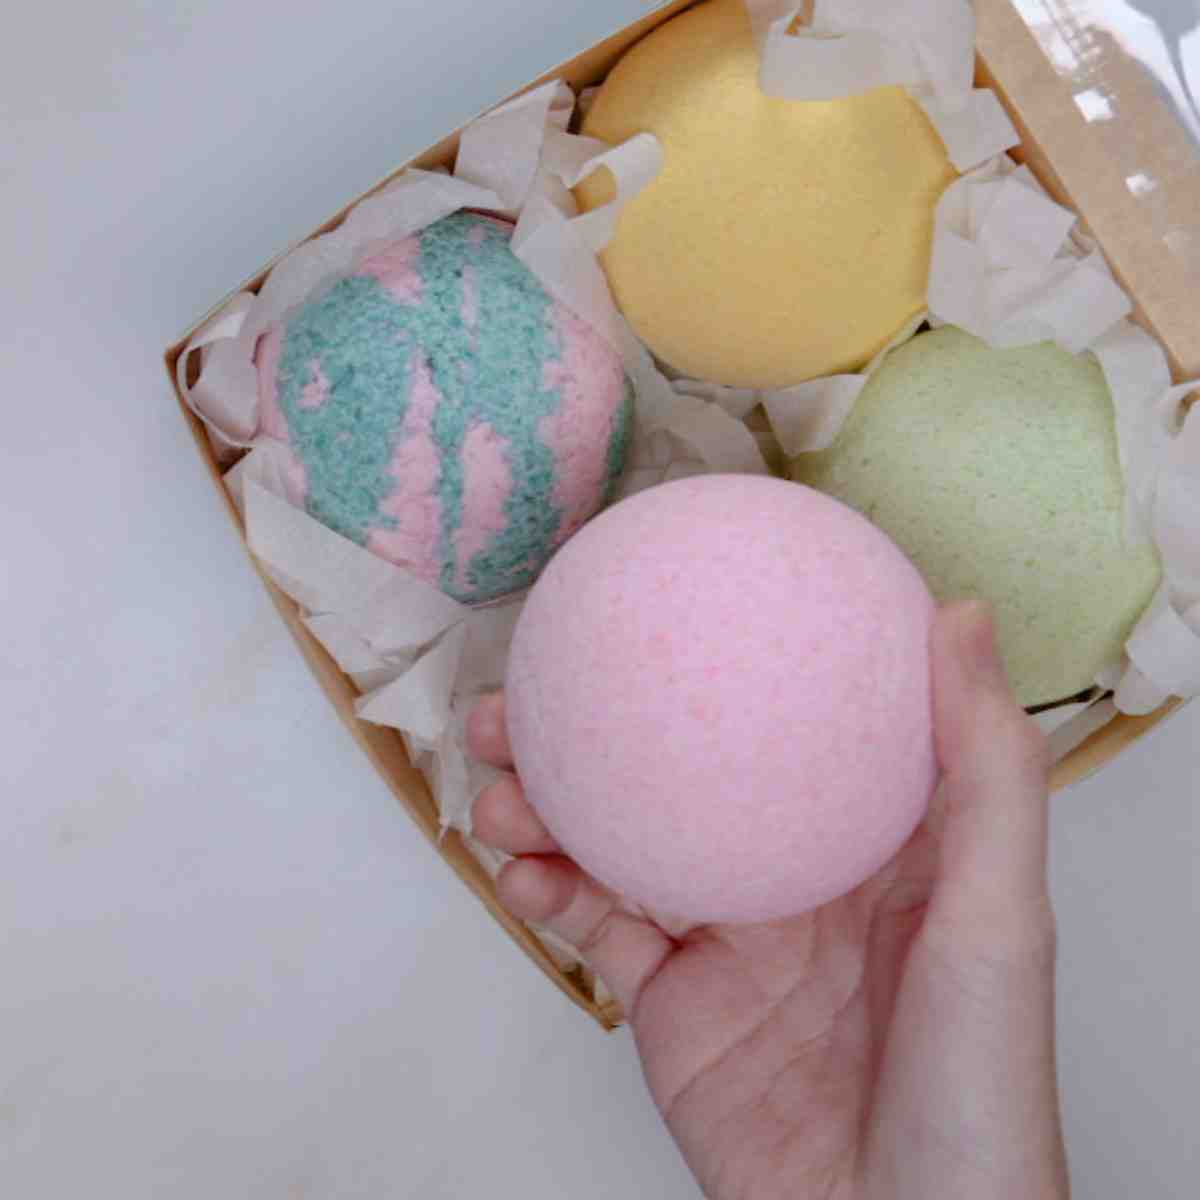
Leave your completed DIY bath bombs out to dry for at least 1-2 days and avoid moving, turning, or prodding them as they can be really delicate at this stage. Store the dried out bath bombs in a dry, airtight environment to reduce the chance of them “fizzling out” over time caused by improper storage.
With a little patience and care, you will have successfully made your very own luxurious bath bomb delights for your personal use or maybe even for others as well!
Some More Tips and Tricks
Now that you have dipped your toes in the delightfully good-smelling world of DIY bath bomb crafting, I’m pretty sure you’re eager to make some more!
But before you become the master “bath bomb maker” of the world, here’s a bunch of troubleshooting tips and tricks to keep in mind while you get to mixing your next masterpiece!
1. Bath Bombs Just “Flatten Out” And Soften
This means your mixture has too much water in it! Give the basic bomb recipe another look at how to get the right consistency.
A basic reminder for you to remember when this happens is the mix should be loose with a soft powder texture that clumps but not forms like dough!
2. Bombs Look Fine But Easily Crumble or Dent in Your Hand
When this happens, make sure you pack your bath bombs a lot denser in your molds as it means that the molding wasn’t firm enough to keep the mixture together. It could also be an effect of some ingredients that you used.
An example would be an extra amount of coarse salt or starch that can weaken the firmness of your bath bomb mixes.
3. Bombs Look Fine Out of The Molds But Form Large Cracks
There is still probably too much water in it, or the bath bomb dried up too fast. Trapped carbon dioxide escapes from within it, causing the cracks to appear.
4. Bombs Won’t Stay Together or Split Down The Seam
If you see your molding isn’t keeping your bath bomb mixture together, it probably means you didn’t add the right amount of water or ingredients in your mix. Add a little more of either and see if it keeps your mold together.
5. Bombs Won’t Come Out Of The Mold
Your DIY bath bombs won’t come out of the silicone molds if the amount of water or cornstarch is too much, or both. Sodium and citric acid aren’t really greasy or “sticky,” but cornstarch is.
It is a fine powder and clings to things, especially if you’re using a mold made of old plastic. The bombs should naturally fall out of the molds.
Press the play button to check out our video on DIY bath bombs below:
You’ll always look forward to your baths with your DIY bath bombs. Once you get the hang of making these never-boring bombs, you won’t stop customizing it and adding more fun to it.
Just carefully remember everything in this guide, and you’ll be making awesome bath bombs. Forget those pricey bath bombs on the market and have it your way!
Have you tried making a DIY bath bomb before? Share your experience with us in the comments section below!
Up Next:
- 12 DIY Bath Bombs & Homemade Bath Bomb Recipes
- 12 DIY Detox Baths
- Create A Prism Candle Light | DIY Mason Jar Crafts
![]() Share your photos with us on social! We’re on Facebook, Twitter, Pinterest, and Instagram!
Share your photos with us on social! We’re on Facebook, Twitter, Pinterest, and Instagram!
Editor’s Note: This post was originally published on April 9, 2018, and has been updated for quality and relevancy.


