

Want to know how to make wood look old? If you work on a lot of woodworking projects, distressing wood is an important skill you should master. Find out how to distress wood with this easy to follow tutorial.
How To Make Wood Look Old | Distressing A Wood
Blending new wood right along with reclaimed wood is a big part of my job, and I love the challenge. When I am building a piece using both new and reclaimed wood, it is crucial that the new wood does not stick out like a sore thumb. Fortunately, there are simple ways how to make wood look old and below are my favorites.
1. Beat The Wood With Blunt Object
 What you’ll need:
- Wood File
- Paint Can Opener
- Nail Hole Punch
- Chain
- Rocks
- Wood burner
- Fork
Directions:
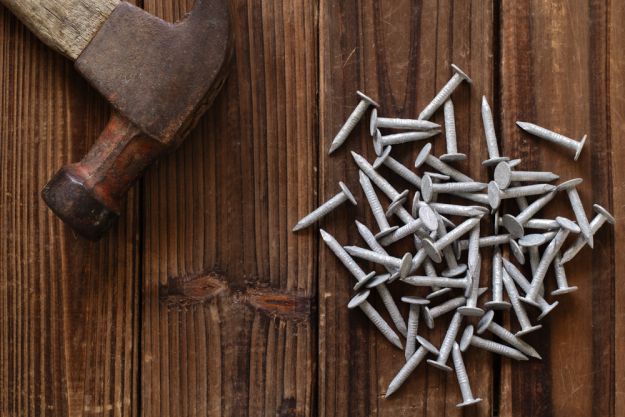
The first step to making new wood look old is taking things around your kitchen and garage to replicate the markings of use over years and years. Old reclaimed wood has all sorts of really cool ways of showing its age: saw blade marks, rusted nail holes, worm trails, hardware imprints, anything that tells the story of its life, so to speak. Our task is to recreate those stories.
2. Oxidizing The Wood
In addition to beating the crap out of it with all sorts of odd tools and objects, I often oxidize the wood.
Oxidizing wood is a way of speeding up the aging process. Instead of waiting for years in the sun and snow for Mother Nature to take effect, try this way of adding color to your wood.
What you’ll need:
- Paint Brushes
- Mason Jars
- Black tea
- Vinegar
- Steel Wool
Directions:
- Brush the wood with strong black tea, let dry. The wood gets darker as it reacts with the tea and brings out the natural tones in the wood. Wait until it fully dries to see what color you have, and if you want a darker shade, add another coat!
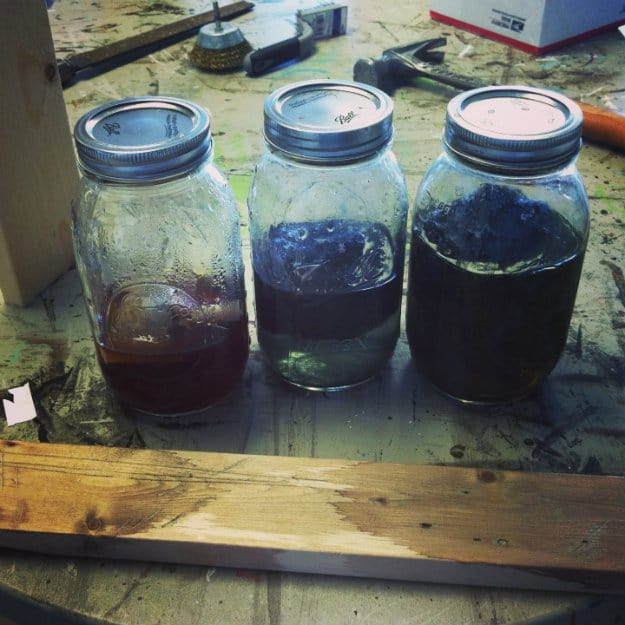
- Soak a piece or two of steel wool in a jar of vinegar for at least three (3) days. Pull the steel wool apart to loosen the fibers and allow the vinegar to penetrate quicker. The longer it soaks, the darker the color the wood will become.
- Paint on the vinegar solution like you would with any other paint and watch the wood turn darker right before your eyes. It takes a good 15-20 for the color to fully change, so wait for it to dry before deciding if it needs another coat.
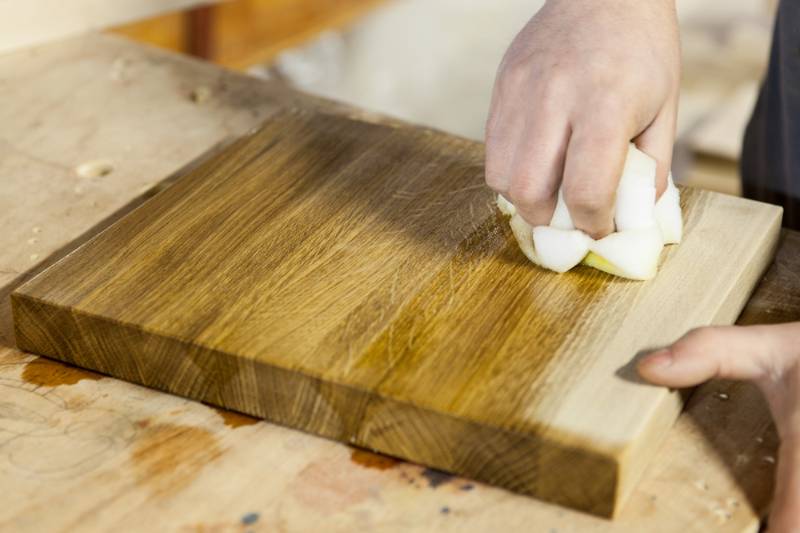
- Seal with polyurethane or add a layer of stain if you would like a different color added to it.
I use cheap chip brushes for both the tea and the vinegar. It all washes out easily with warm soapy water.
Test your vinegar solution on a scrap piece of the same wood you are using for your project. Use the same type of wood when testing. Different wood holds varying levels of tannin, which is what reacts with the vinegar/steel wool mixture. The same strength solution can make a pine board just barely brownish, while a hardwood pallet board can go jet black. It’s crazy stuff!
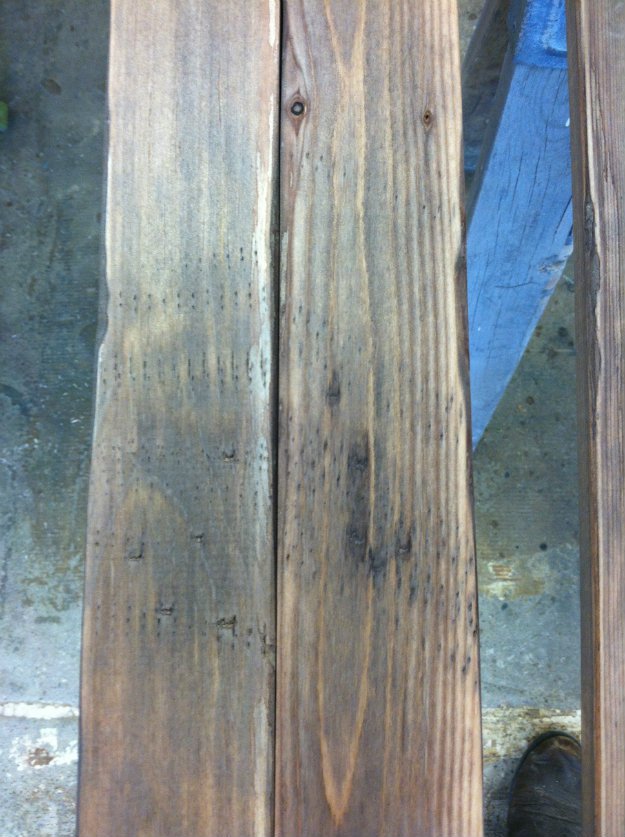
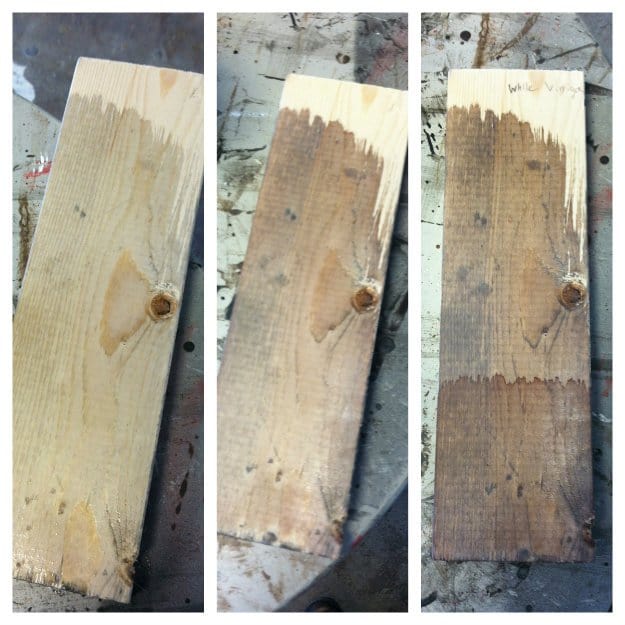
This is how your wood will look like once it’s dry.
If you would like a different color, follow the guidelines for the color you are trying to achieve:
- For a darker shade of the same color: Shake the jar and wait longer for the vinegar to break down the steel wool (3-4 days, then test again)
- For a lighter color: Add more vinegar. Add just a 1/2 cup at a time until you have the color you want
- For a warmer color: Use Apple Cider vinegar
- For a colder color: Use white vinegar
- For a browner color: Use two coats of the strong tea before applying the vinegar
I have also added tea over some wood that I oxidized and let dry. I liked the color, just wanted it to be a little richer and deeper, so I brushed some more tea over the wood and it turned the wood just slightly darker.
Some Things To Remember:
- Do not store brewed tea for longer than 1-2 days, its molds quickly! Yuck!
- Once you are happy with your color, it’s time to seal it! For projects that I am trying to make look old and weather, I use Rustoleum’s satin polyurethane, it does not have much of a sheen to it, so it looks natural.
- To recreate rusty nail holes, use a wood burner and nail hole punch. First punch a hole in the wood as far down as you would like so that the hole is big enough to look like a nail was once there, and has been removed. Then take a wood burning tool and a fine point tip and darken the area surrounding the nail hole
That’s it! This takes a little prep time to get the right color (letting the vinegar soak for a few days) but it’s so worth the weathered results! As you can imagine, the smell of this process takes a bit to get used to. The vinegar is pretty potent! Do this in a well-ventilated area, or with a fan to move the air around. I’ve found that once the solution dries, and you seal it with the polyurethane, the smell is hardly noticeable.
Did you like our tutorial on how to make wood look old? Let us know in the comments section below your thoughts on how to distress wood.
Looking for a nice Gazebo? Visit Westview MFG to inquire.
Up Next: 31 Super Cool DIY Reclaimed Wood Projects
Stay connected with us on Facebook, Twitter, Pinterest, and Instagram!
Editor’s Note – This post was originally published on June 2015 and has been updated for quality and relevancy.


