

Reupholster a chair with this easy tutorial. These days you really don’t need to throw out your old chairs, when they start looking old and worn. Thankfully with a little upholstering you can have your chairs looking brand new again. Today, we’ll show you how to reupholster and old chair thanks to Jaime Costiglio.
Reupholstering a Wing Chair- Tutorial
In this easy-to-follow DIY tutorial Jaime shows us how she took her old wing chair from drab to fab. Learn how to reupholster a chair with these 7 easy steps.
What you’ll need:
- pliers
- pry bar (old flathead screwdriver or paint scaper)
- 5 yards Belgian linen 11 oz.
- sewing machine & thread
- scissors
- straight pins
- carpet thread & curved upholstery needle
- staple gun & staples
- exacto knife or straight edge blade
- hot glue gun & hot glue sticks
- 1/4″ wide natural twill tape
- #6 black carpet tacks
- hammer
- flexible tape measure
- pen
Step 1
Jamie removed the existing fabric and trim all the way down to the foam. Don’t throw away the fabric, you might be able to reuse them as patterns.
Step 2
You’ll need to expose the inner framework of the chair by removing the foam near the bottom. The floral you see fabric peeking through is where you will pull through the new seat and side pieces.
Step 3
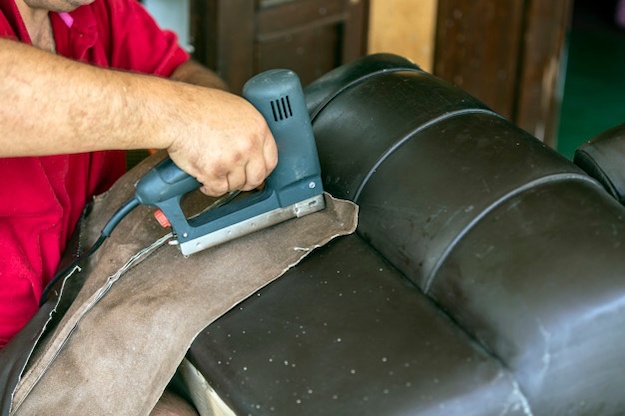
Starting with the seat deck, sew a seam in the deck pieces right where the arms meet the seat. Then you will hand sew through the seam allowance down into the chair frame using carpet thread. Once attached,push the deck fabric through the side openings under the arms and pull the front portion down over the edge, then staple it into place. Pull the fabric snug, but not overly tight and staple as close to the edge of the woodwork as you can. The next step is to secure the deck sides and back, then attach the interior side pieces.
Step 4
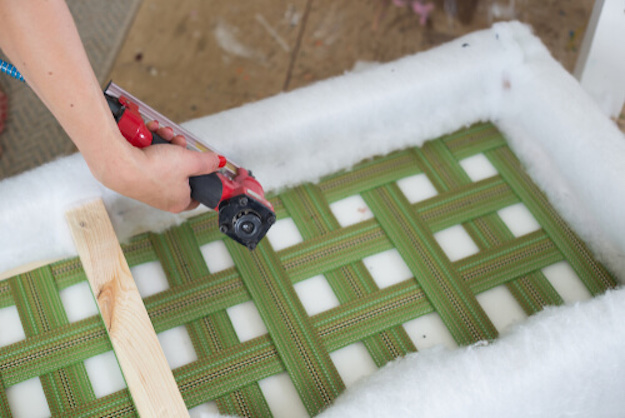
Its now time to cut your new fabric using the old piece as a pattern. Jaime also suggest adding an extra 2″ around the edges. Staple the piece in place and pull the back edge through the opening in the side back, then use an exacto knife to trim the excess fabric.
Step 5
For the exterior back and sides Jaime chose to sew a side seam. Cut your pieces to size and then pin right side against the chair. Run a line of pins down the corner where the seam should go, remove the pins that are holding the fabric to the chair and sew the two side seams. Trim the seam allowance to 1/2″ to remove excess bulk. Staple the exterior pieces in place starting at the back top and sides.
Step 6
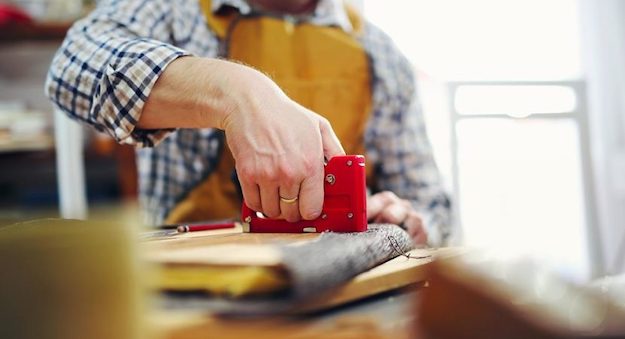
Use the hot glue to apply the twill tape covering the staples.
Step 7

For the final touches, Jaime used a flexible measuring tape to mark off every 1″ with a pen dot. The she hammered in one carpet tack at every mark.
That’s pretty much it for the base of the chair. To learn how to make the cushion cover check out the tutorial jaimecostiglio.com


