
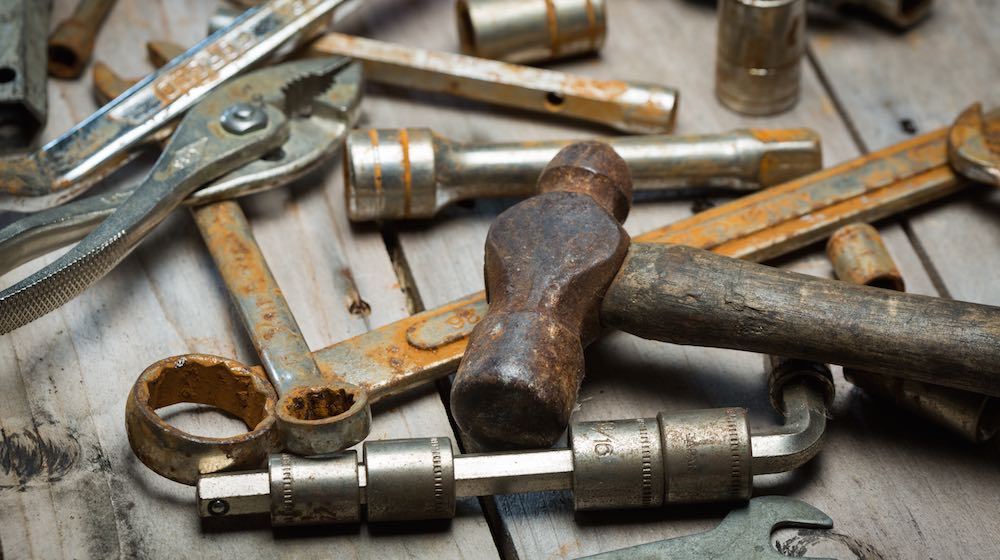

Finding the right way on how to remove rust from tools is a tricky dilemma. You can see on the internet that there are plenty of ways on how to remove rust from tools but not all of them work properly.
Look no further! We’ve gathered three of the easiest and most efficient ways to remove hard rust from any metal!
In this article:
RELATED: How To Restore A Rusty Cast Iron Griddle Using A Ball Of Steel Wool
Here Are Some Easy Ways on How to Remove Rust From Tools
1. Using Lemon and Salt
What You Will Need:
- Lemon
- Salt
- A big enough tub to hold the solution and fit your tools
- A pair of gloves
- A metal brush or a steel wool
Step 1: Mix Your Lemon and Salt
The number of lemons you will be using for this removal process depends on how big your tools are and how many you need to clean.
Mix your lemon and salt solution properly and transfer it to your prepared tub.
Step 2: Soak Your Tools
Soak all your tools into your lemon and salt solution and leave them there for eight hours. You can leave them in for a shorter period of time, depending on the level of rust present on your tools.
Turn your tools every 30 minutes to make sure that all the sides, nooks, and crannies of your tools are well exposed to the lemon and salt solution.
Step 3: Brush With Metal
After eight hours of sitting in the solution, you can now take all your tools out! Brush them with your metal brush or a ball of steel wool to get rid of any rust residue.
Wash them under running water and marvel at your shiny, rust-free tools!
2. Using Baking Soda
What You Will Need:
- Baking soda
- Water
- A pair of gloves
- Metal brush or steel wool
Step 1: Make a Paste
Mix baking soda with water to make a paste. Make sure to add a small amount of water each time so you can carefully not make it too watery or too thick.
Apply your paste to the area of your tools that have rust. Then let it sit there for several hours.
Step 2: Scrub It Off
After sitting for several hours, scrub off the baking soda paste using your metal brush or your ball of steel wool. Rinse under running water to remove excess solution and rust, and dry completely for rust-free working tools!
RELATED: Easy DIY Auto Rust Repair On A Budget
3. Using Vinegar
[instagram url=https://www.instagram.com/p/CC5mT8ygIrS/ hidecaption=true width=600]
What You Will Need:
- White distilled vinegar or apple cider vinegar
- Tub to fit all your tools
- A pair of gloves
- Metal brush or steel wool
Step 1: Pour It!
Pour the vinegar into your tub that should be big enough to fit all your rusty tools that need cleaning. You can use any type of vinegar for this process.
Let it sit for several hours or up to 24 hours for thicker rust.
Step 2: Yup, Scrub It!
After leaving your tools in for the allotted time, take them out from the tub one by one and lay them in your sink. Just like all the rust removal options above, scrub of excess dirt and rust using your steel wool or metal brush.
Wash each tool properly under running cold water and dry completely
Now, you have the three easiest ways on how to remove rust from tools!
While it may seem like a daunting task, do not be intimidated. At the end of the day, all it really takes to remove it is to have a strong solution to soften the hard rust and some good old scrubbing using elbow grease!
So don’t be afraid, go ahead and try out all the options and see which one works best for you.
What did you think of these easy ways on how to remove rust from tools? Did you find it easy or difficult to do? Tell us in the comments section below!
Up Next:
- Natural Cleaning Products You Can Use To Deep Clean Your Home
- Plumbing 101: How to Easily and Properly Clean Drain Clogs
- Why Is My Washer Not Draining or Spinning? | Washer Repair Guide
Calling all crafting DIYhards, DIY Projects needs YOU! Click here if you want to write for us.
Don’t forget to stay connected with us on Facebook, Twitter, and Instagram!


