

Want to learn how to make a dog bow tie? Look no further as we’ve got you here.
Dog Bow Tie | How to Make a Dog Bow Tie
Supplies Needed to Make a Dog Bow Tie:
Directions
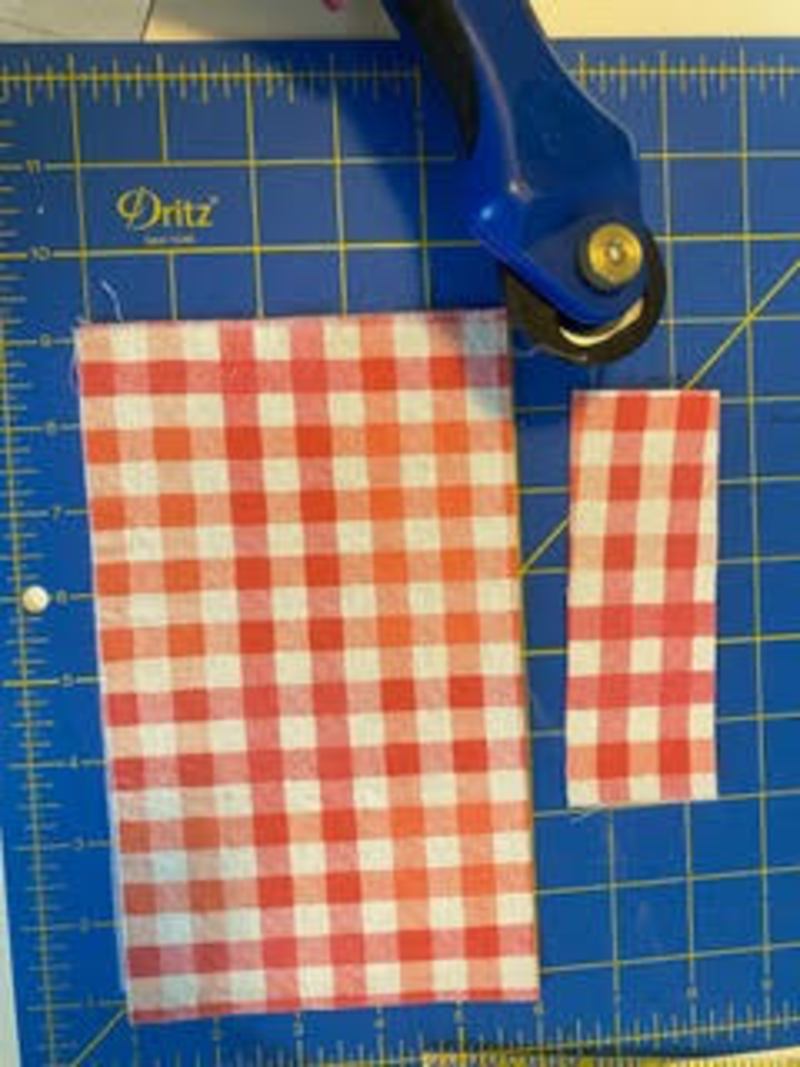
1. Cut 2 Rectangles From the Fabric
Draw and cut 2 rectangles from the fabric. 10″ by 6″ for the bow tie and 6″ by 2″ for the centerpiece.
2. Create 2 More
Draw and cut the same 2 rectangles from the interfacing. 10″ by 6″ & 6″ by 2″.

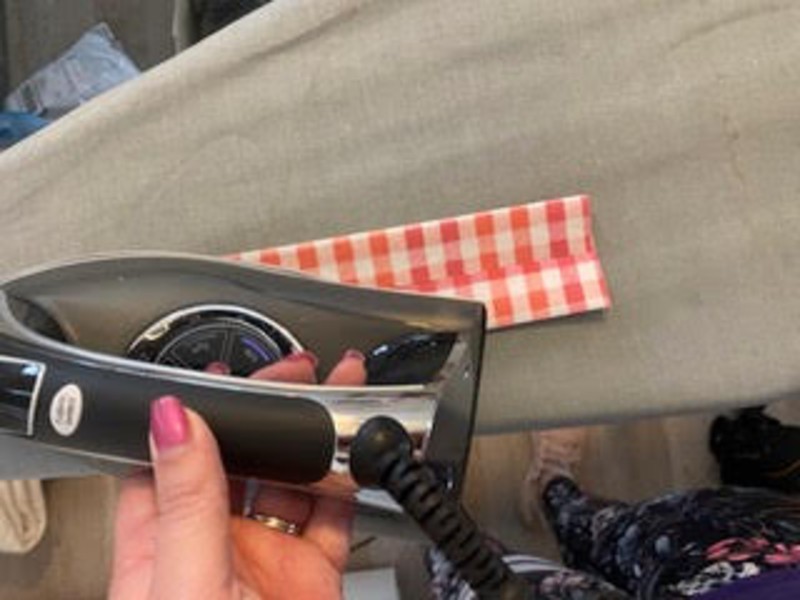
3. Iron the Back Side
Lay the fusing onto the back (wrong side) of the fabric. Be sure the shiny glue side touches the fabric so it doesn’t melt onto your iron.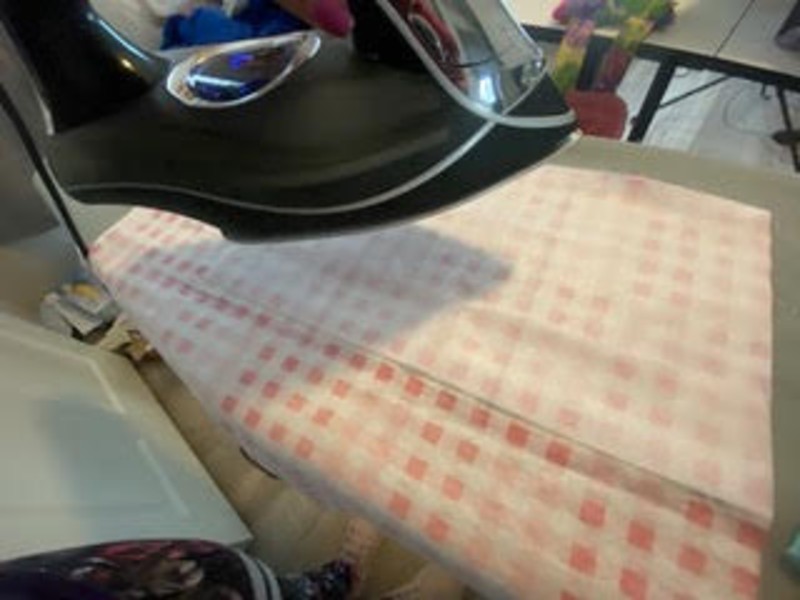
4. Create Bow Stiffness
Use the iron to bond the fusing and the cotton. The point of this step is to help create that bow tie stiffness.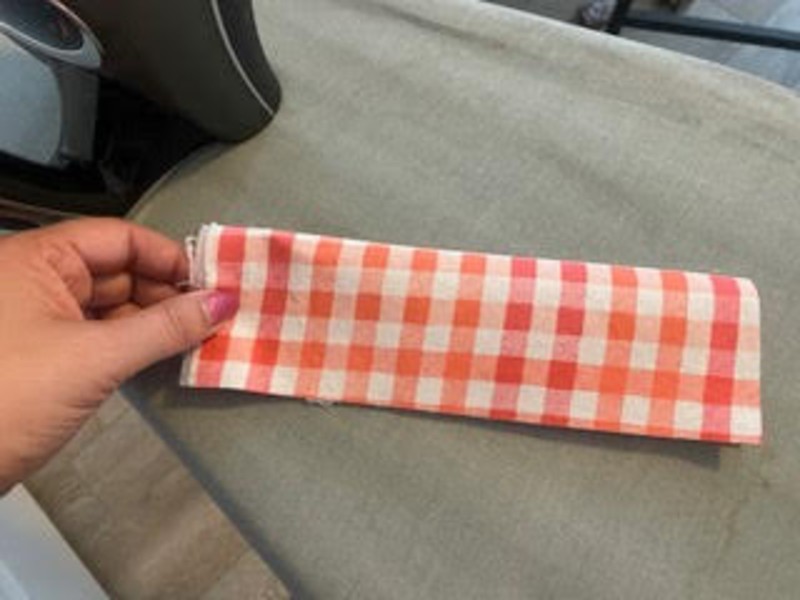
5. Start With the Larger Rectangle
Starting with the larger rectangle, –fold in half (hotdog style) and iron to create a crease. Unfold afterward.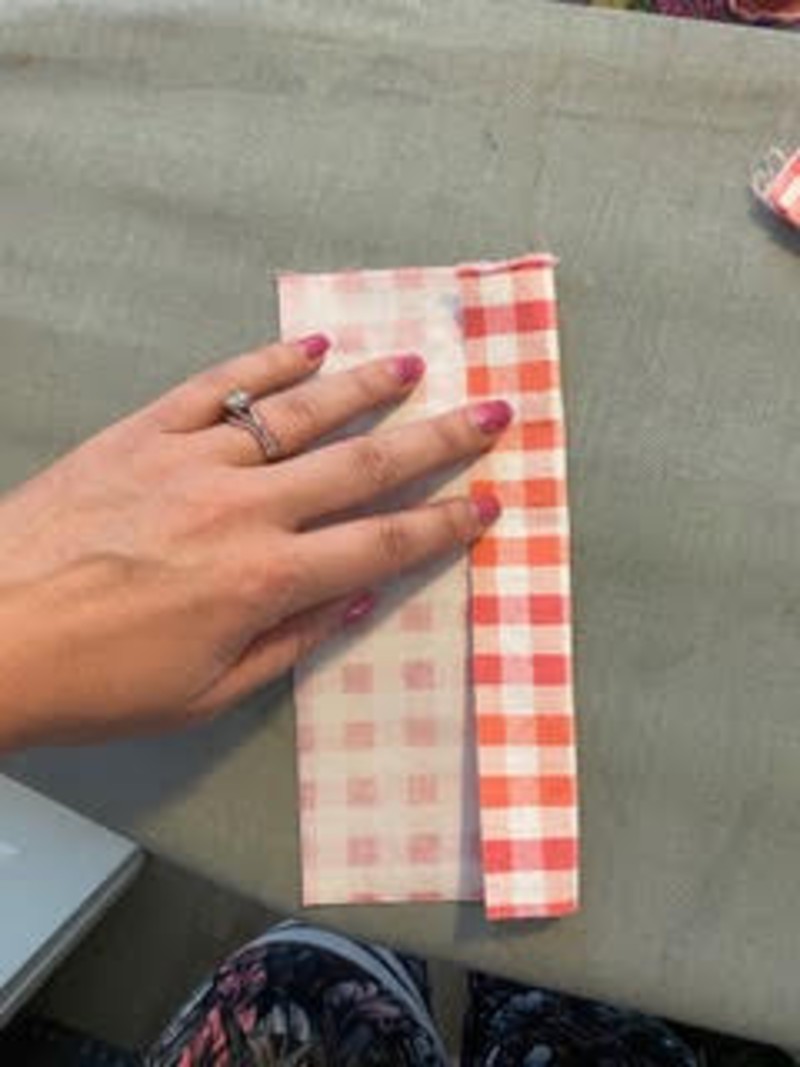
6. Fold Both Sides
Then fold both sides of the fabric into the middle crease and iron flat.
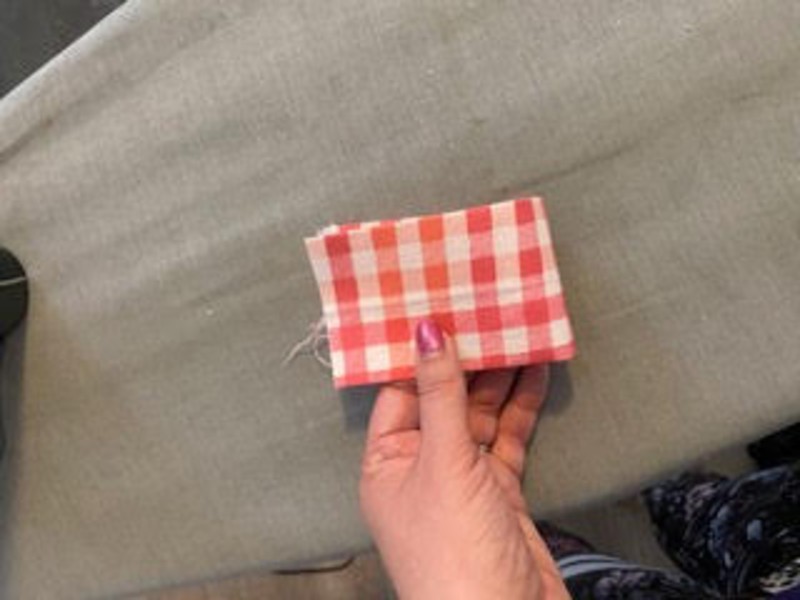
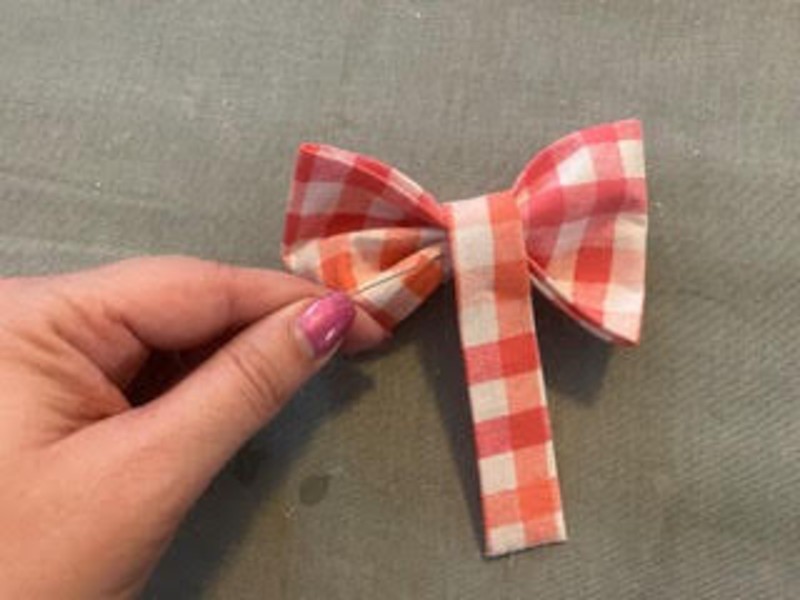
7. Fold the Piece in Half the Other Way
Now fold the piece in half the other way (hamburger style) and repeat steps 5 & 6.
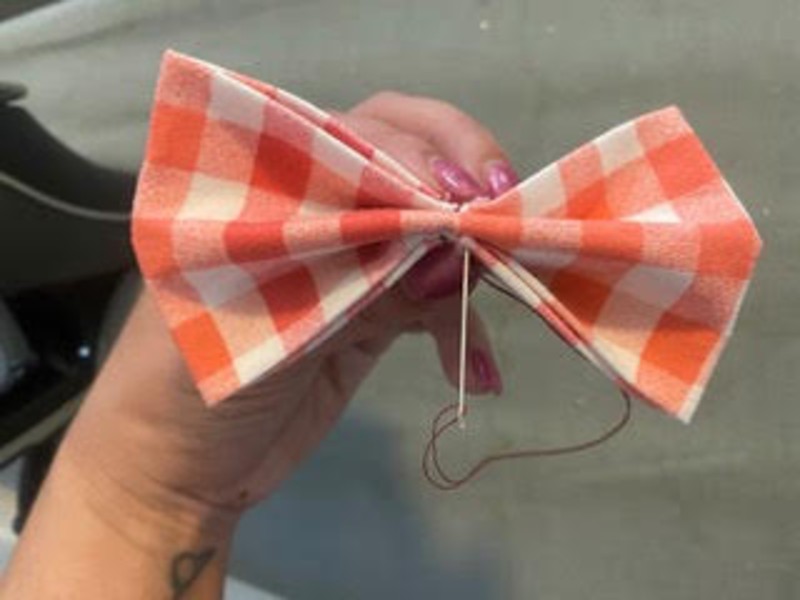
8. Create That Bowtie Shape
Thread your needle. Pinch the rectangle in the middle to create that bowtie shape.
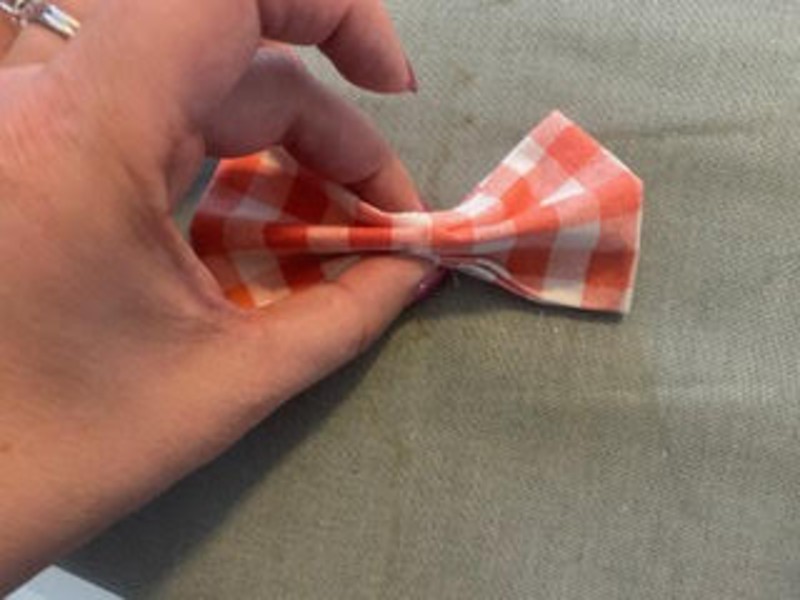
9. Sew the Bow Tie
Hand sew the middle part of the bow tie to create the form.
10. Create the Middle Part
Grab the smaller rectangle and fold it into thirds. Iron flat so the strip is about an inch wide.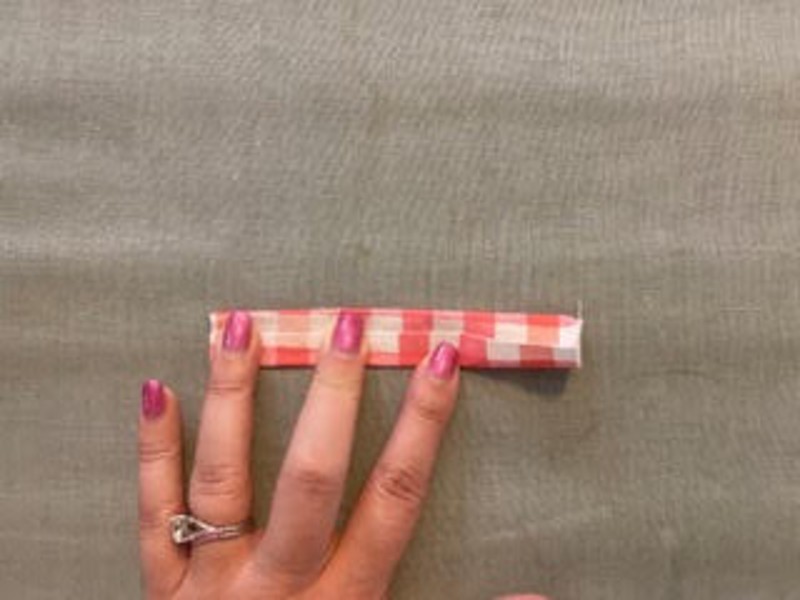
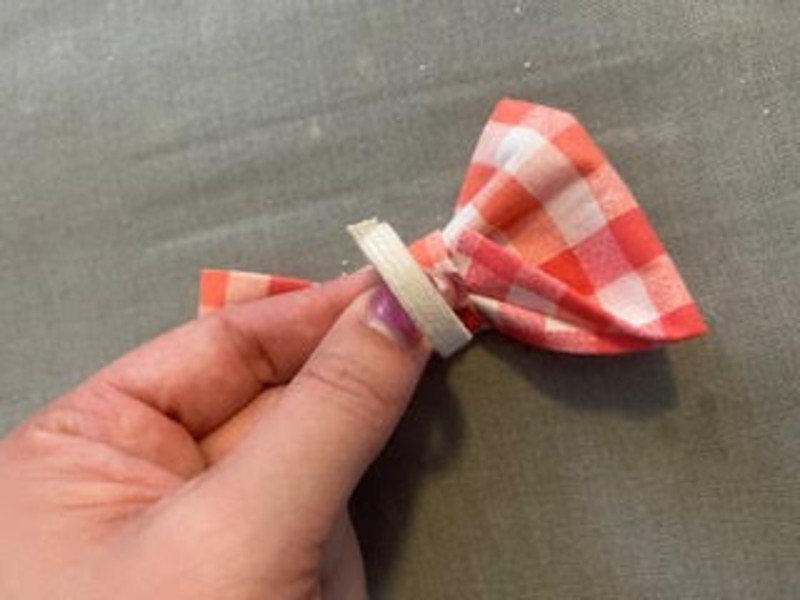
11. Wrap the Small Rectangle Around the Bow Tie
Wrap around the center of the bow tie tightly.
12. Sew Into Place
Hand sew into place.
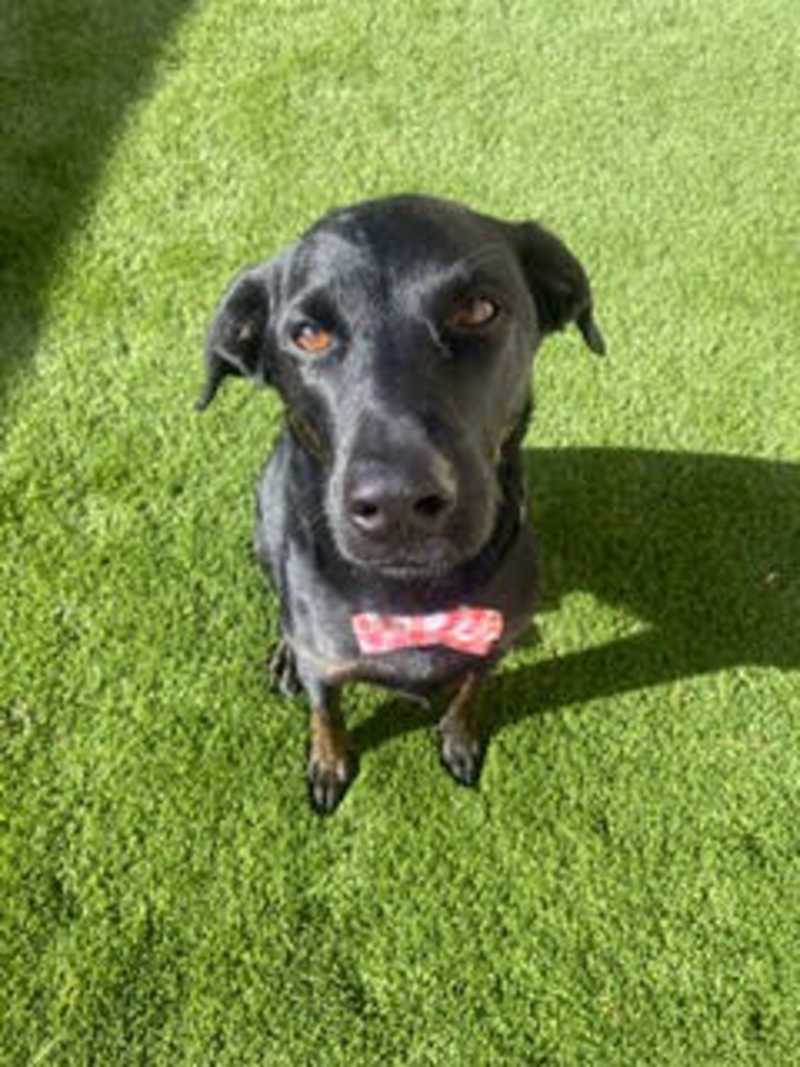
13. Tie It to Your Dog
Add elastic to the back. I find it’s easiest to measure the width of your dog’s collar then cutting the elastic to fit.
Watch the Live tutorial Videos on Thursday in our Exclusive Facebook Group live Thursdays at 1pm PST.
Tag us on Instagram and Facebook for the chance for your furry friend to be featured.
Don’t forget to stay connected with us on our exclusive Facebook Group.
Subscribe to our DIY Projects Youtube Channel for more DIY Project Videos.
You Might Also Like:


