
At a Glance: How to Paint Wood Furniture
- Clean first, then scuff. A degreaser and a quick pass with 220 grit sandpaper do most of the prep work.
- Prime for the problem. Shellac-based primer stops old stain from bleeding through, and bonding primer grips slick finishes.
- Thin coats, then seal. Two thin coats of paint, plus a clear topcoat on anything you touch every day.
Here’s how to paint wood furniture so it looks smooth and holds up: clean it, scuff it, prime it, then paint thin coats. Most pieces take one weekend. Jump to the steps, the two mistakes to avoid, tabletops and washed finishes, or the gear that helps.
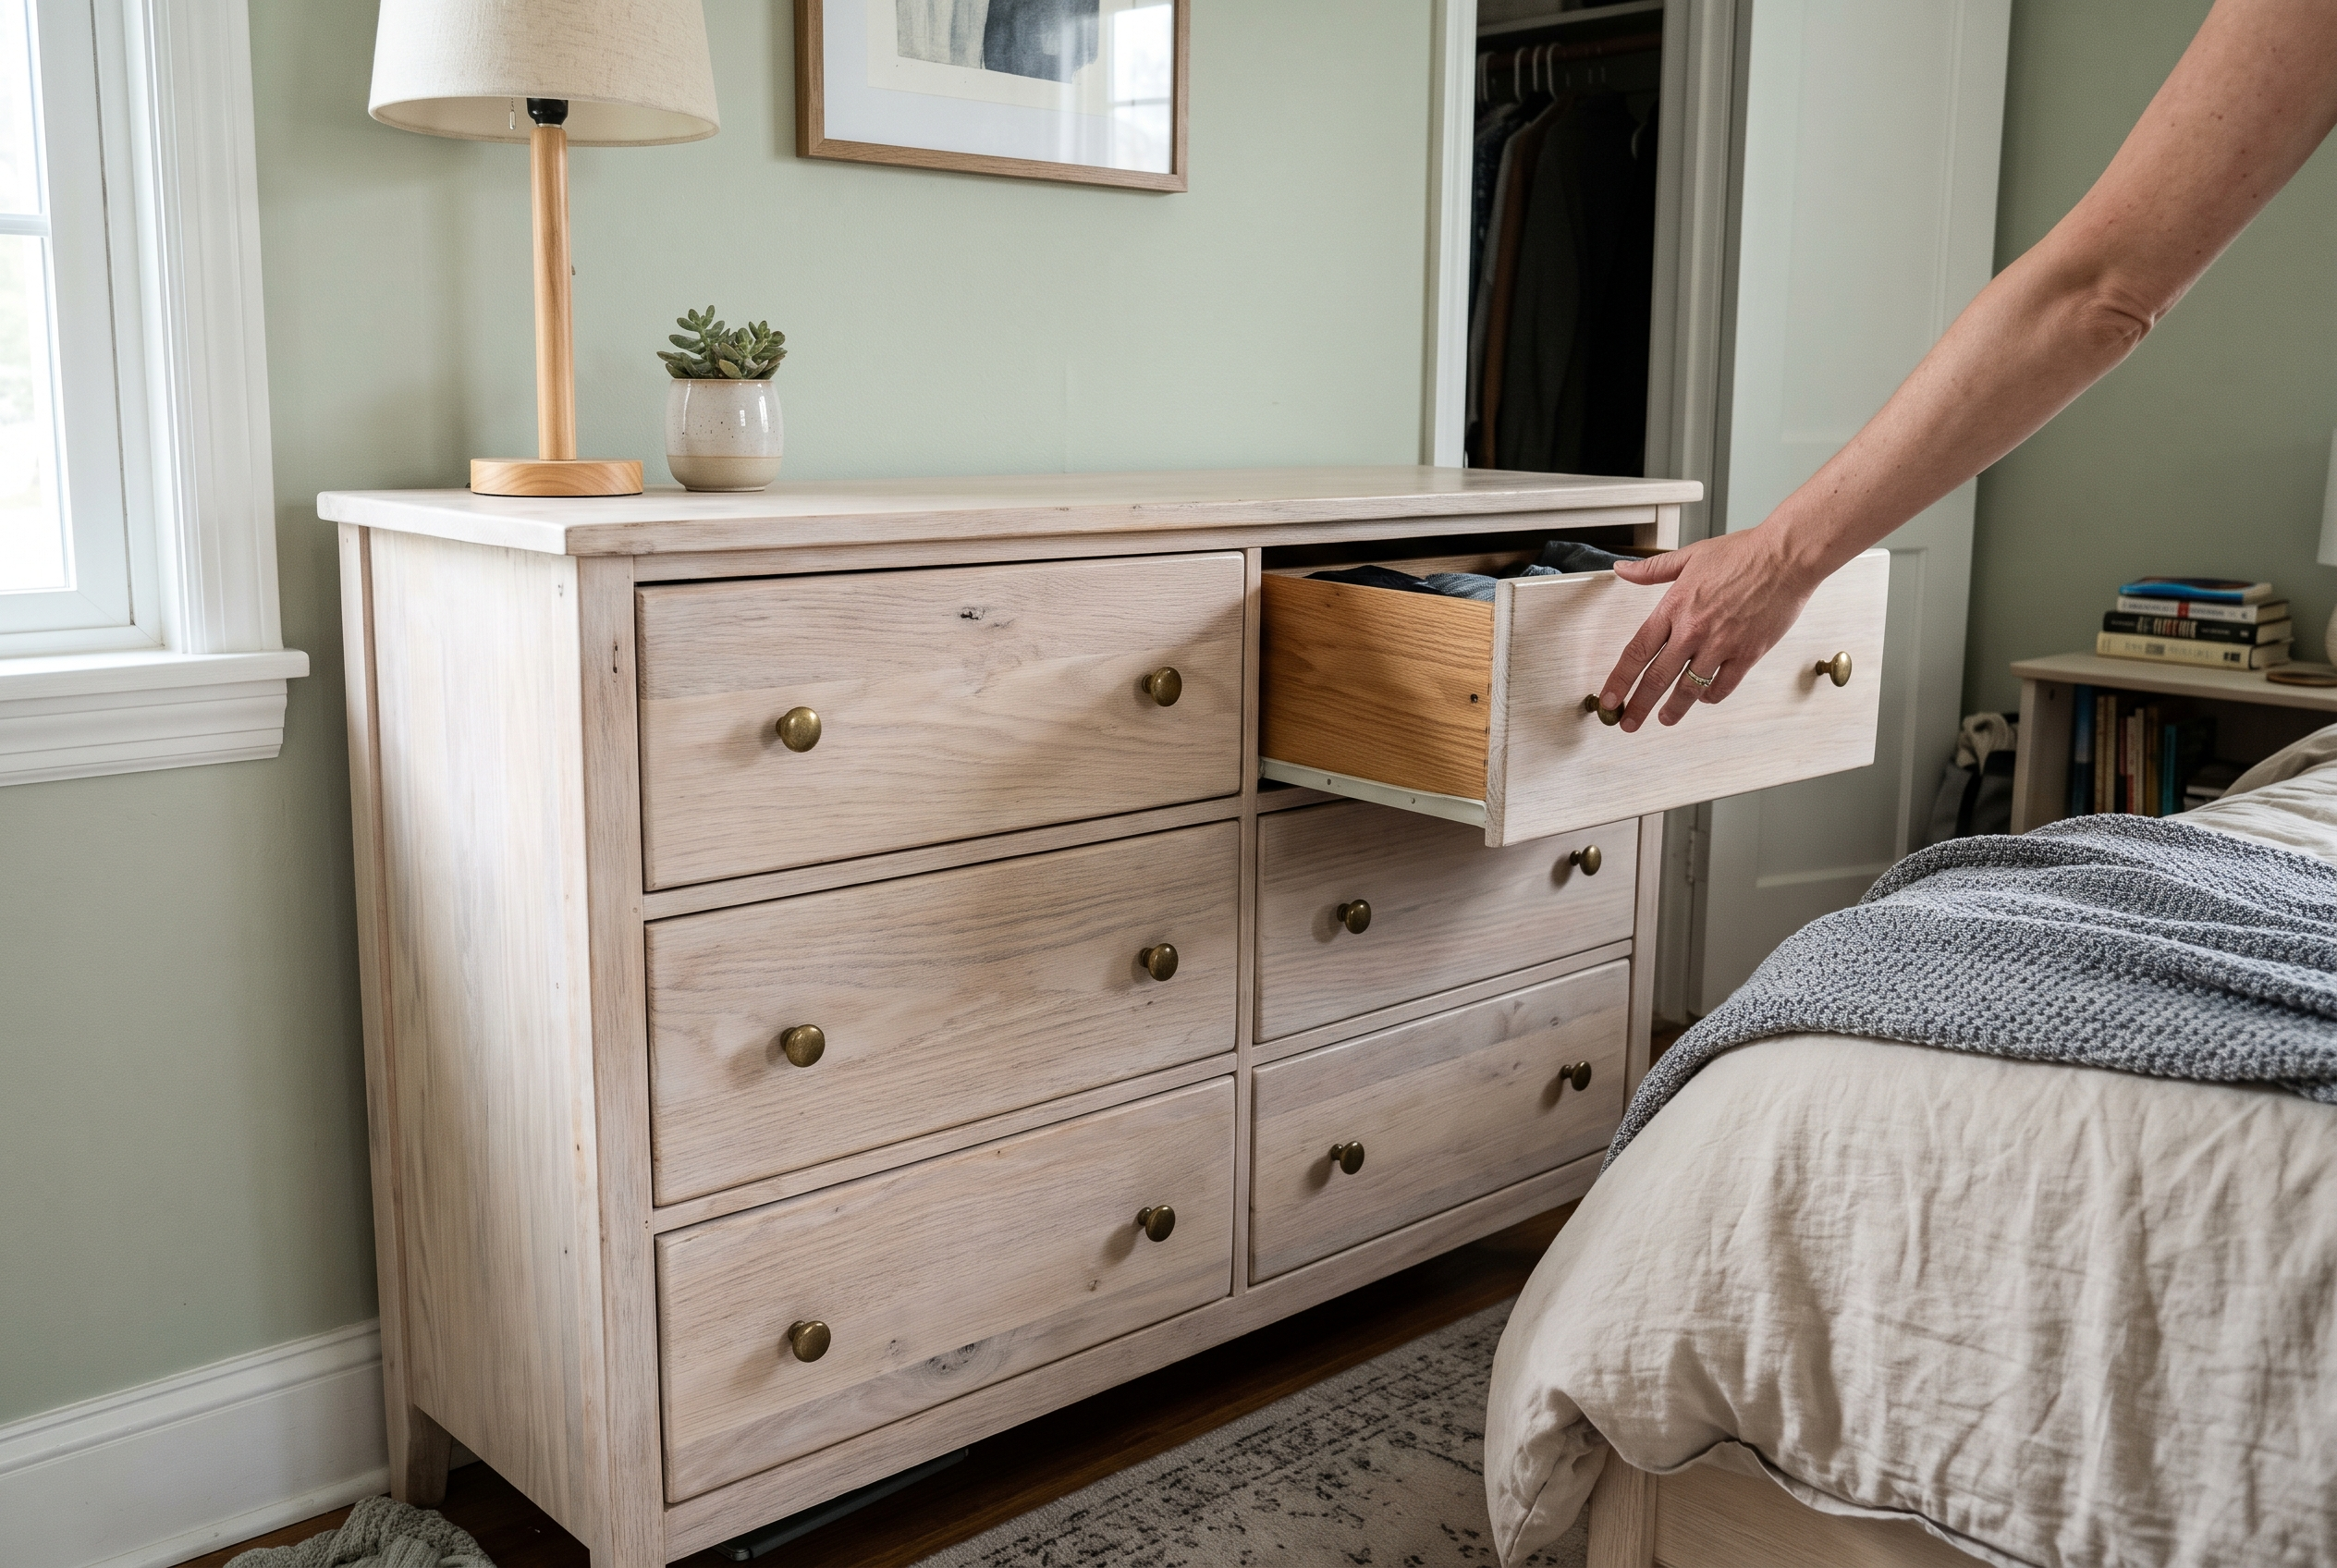
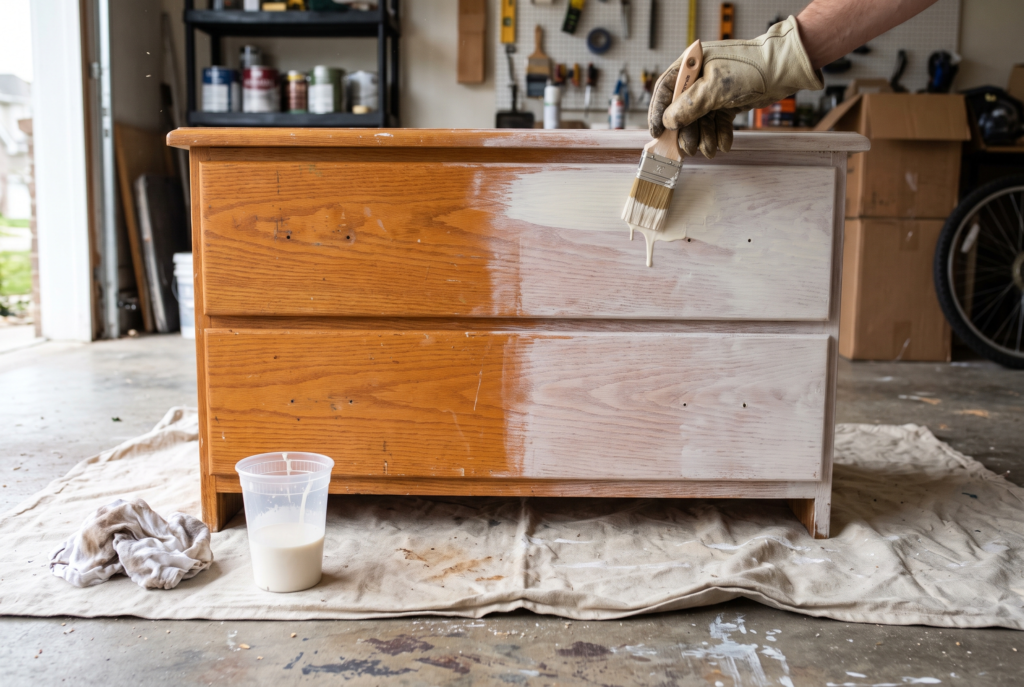
A fresh coat of paint can turn a tired thrift dresser into the piece everyone asks about. You don’t need a sprayer or a shop. You need a clean surface, the right primer and a little patience between coats.
What paint works best on wood furniture?
When you’re working out how to paint wood furniture, start with the paint. For most pieces, a water-based enamel or a paint made for furniture is the easy pick. It levels out smooth, cleans up with water and dries hard.
Satin is the friendliest sheen. It hides small flaws better than gloss.
Want a soft, matte look with less prep? Chalk paint works too. Our chalk paint furniture ideas show how to use it and when to leave good wood alone.
Skip leftover wall paint on tops and drawers. It can stay soft and sticky on surfaces that get handled.
What do you need to paint wood furniture?
Enough for one nightstand or small dresser
Some links in this list go to Amazon. As an Amazon Associate, we earn from qualifying purchases at no extra cost to you.
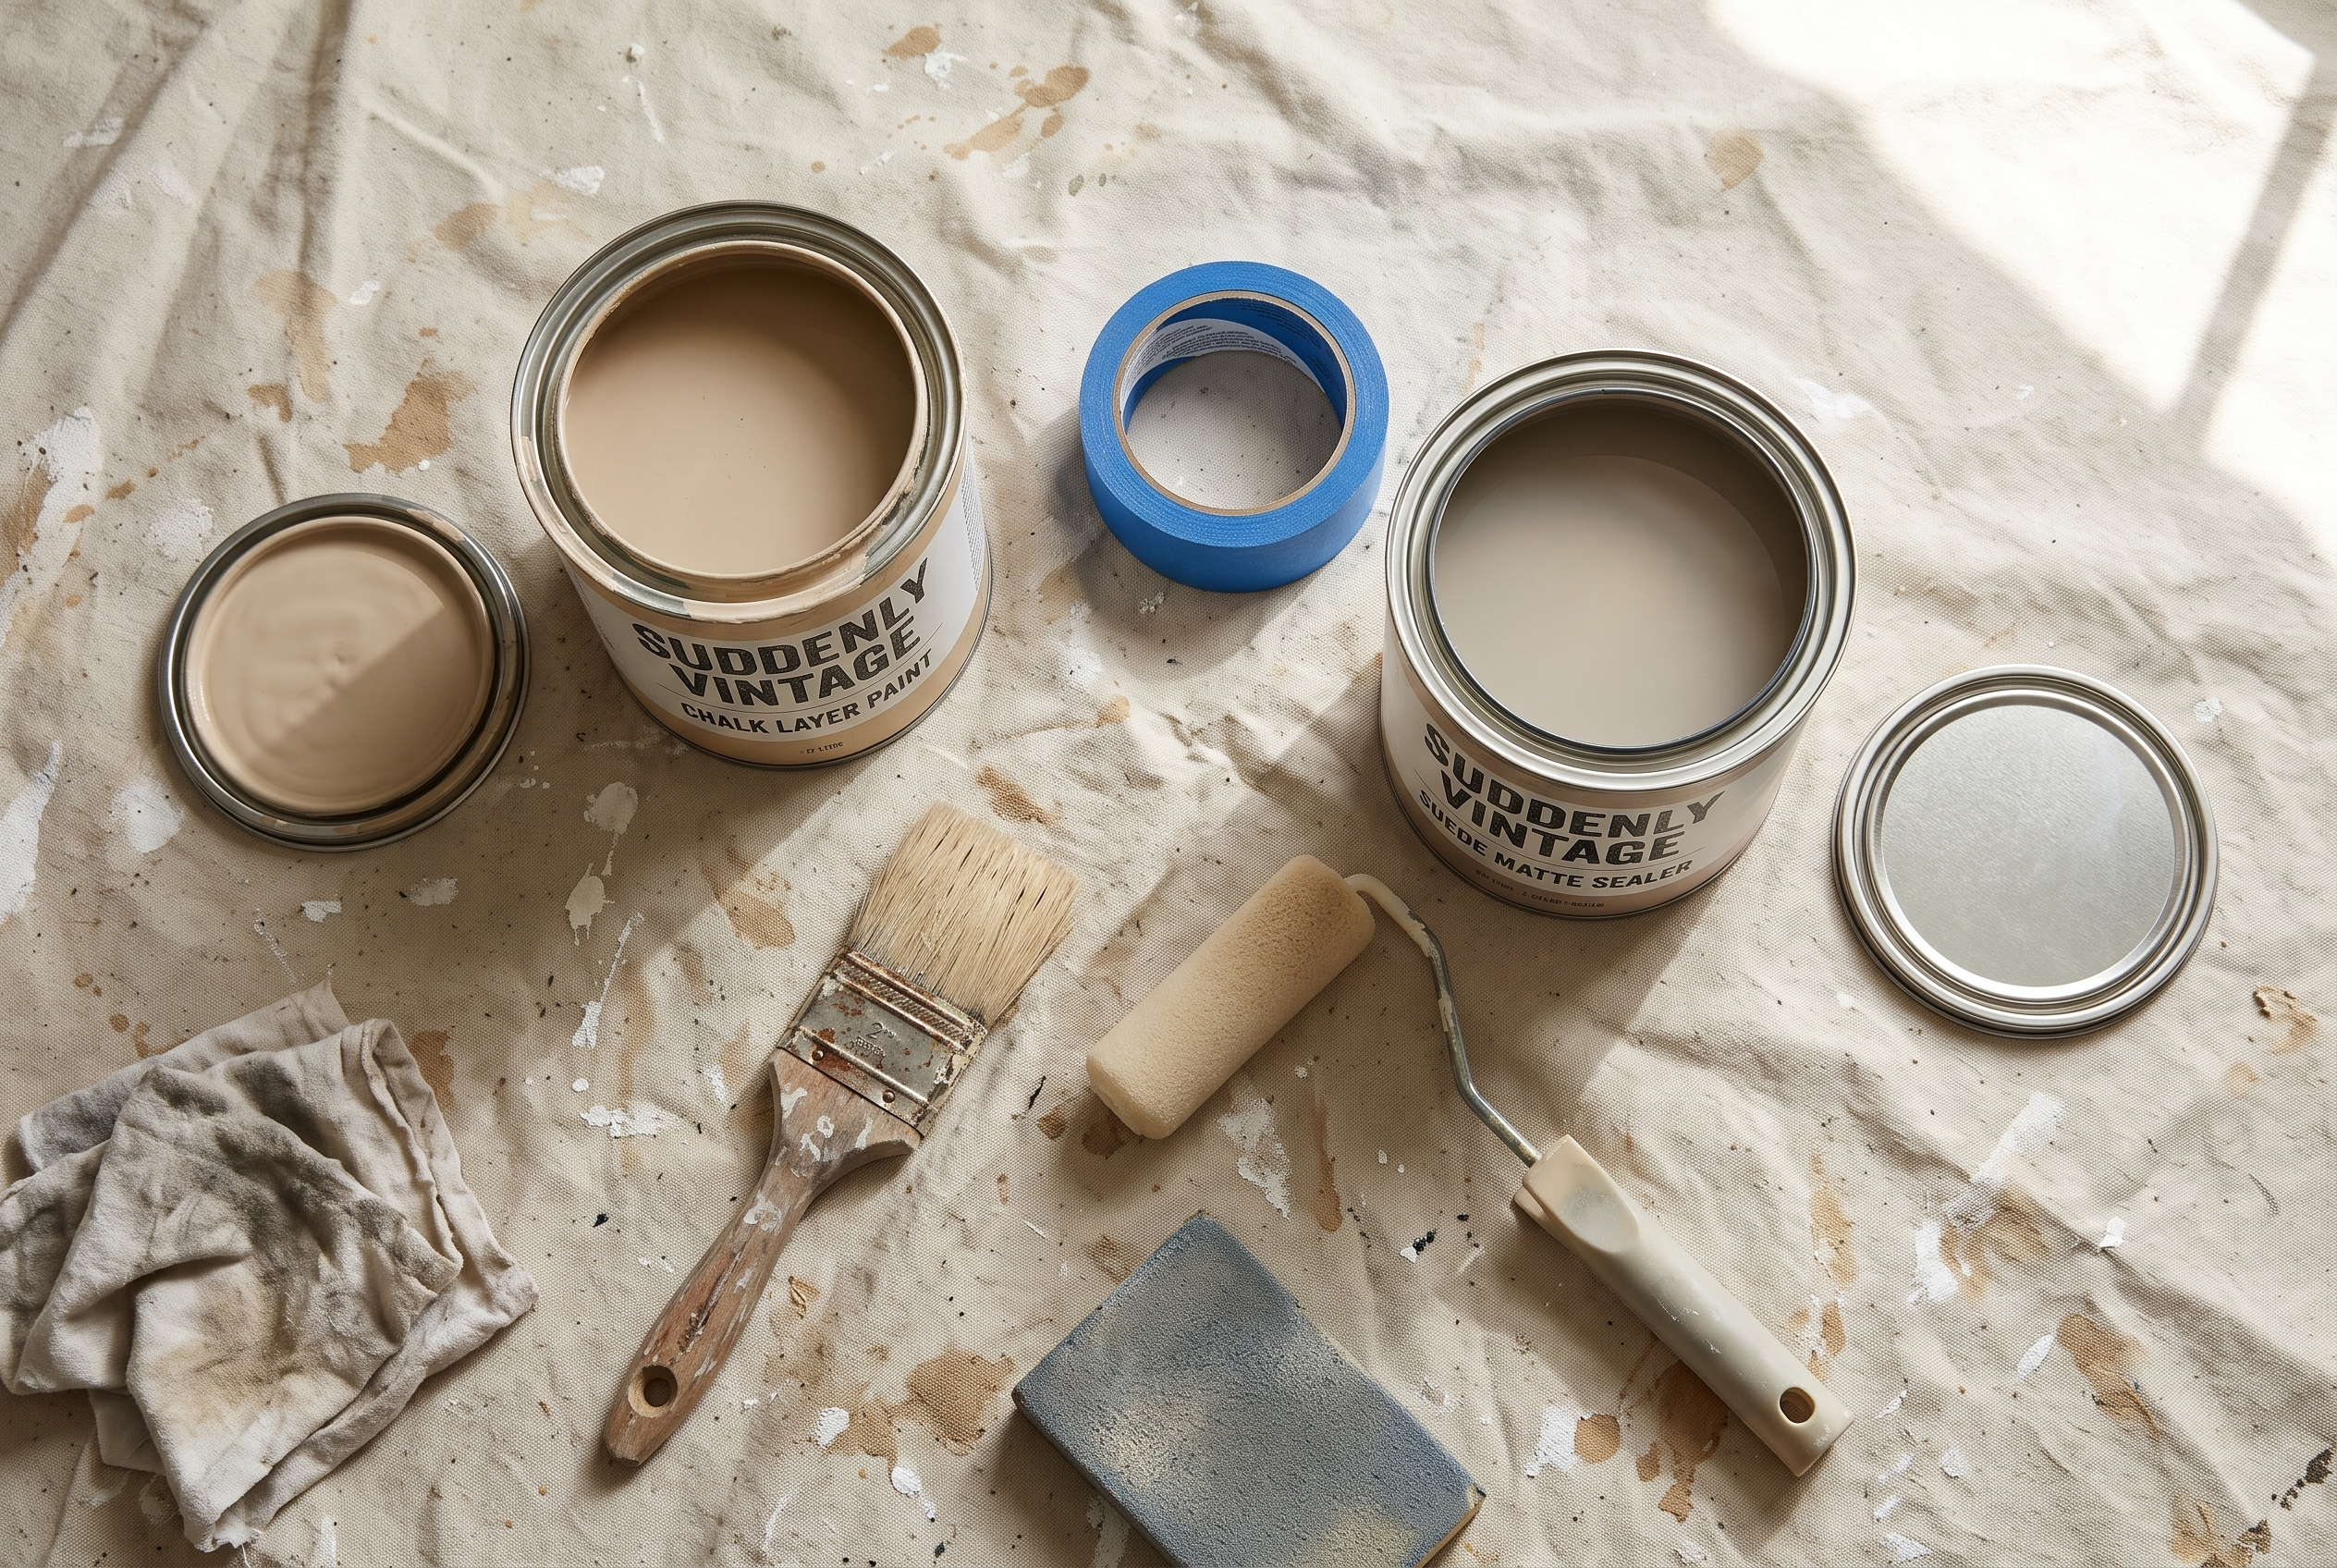
- Cleaner degreaser and two rags. One to scrub, one damp rag to rinse.
- Painter’s tape. For hinges and anything you can’t take off. A roll of 1 inch painter’s tape covers most hinges.
- 220 grit sandpaper or a sanding sponge. For a light scuff, not for stripping. A sanding sponge set bends around trim, and you only need the 220 grit for this job.
- A vacuum and a tack cloth. To get every bit of dust off.
- Primer. Shellac-based for old stain, bonding primer for slick or glossy finishes.
- Furniture paint in satin. One quart covers a small dresser.
- A good brush and a small foam roller. Brush for edges, roller for flat tops. A soft five-piece brush set covers edges, legs and tops.
- Extra-fine sanding sponge. A 320 grit sanding sponge smooths primer and paint between coats.
- Clear water-based topcoat. A clear satin water-based topcoat is the safer pick for tabletops and daily-use pieces.
Quick tip: Take photos of the hardware before you pull it. You’ll put every knob back in the right spot.
How do you paint wood furniture step by step?
This is how to paint wood furniture the way we’d do a dresser, nightstand or side table. Want to see the whole process first? This video walks through a full piece from start to finish.
1. Pull the hardware and tape what stays
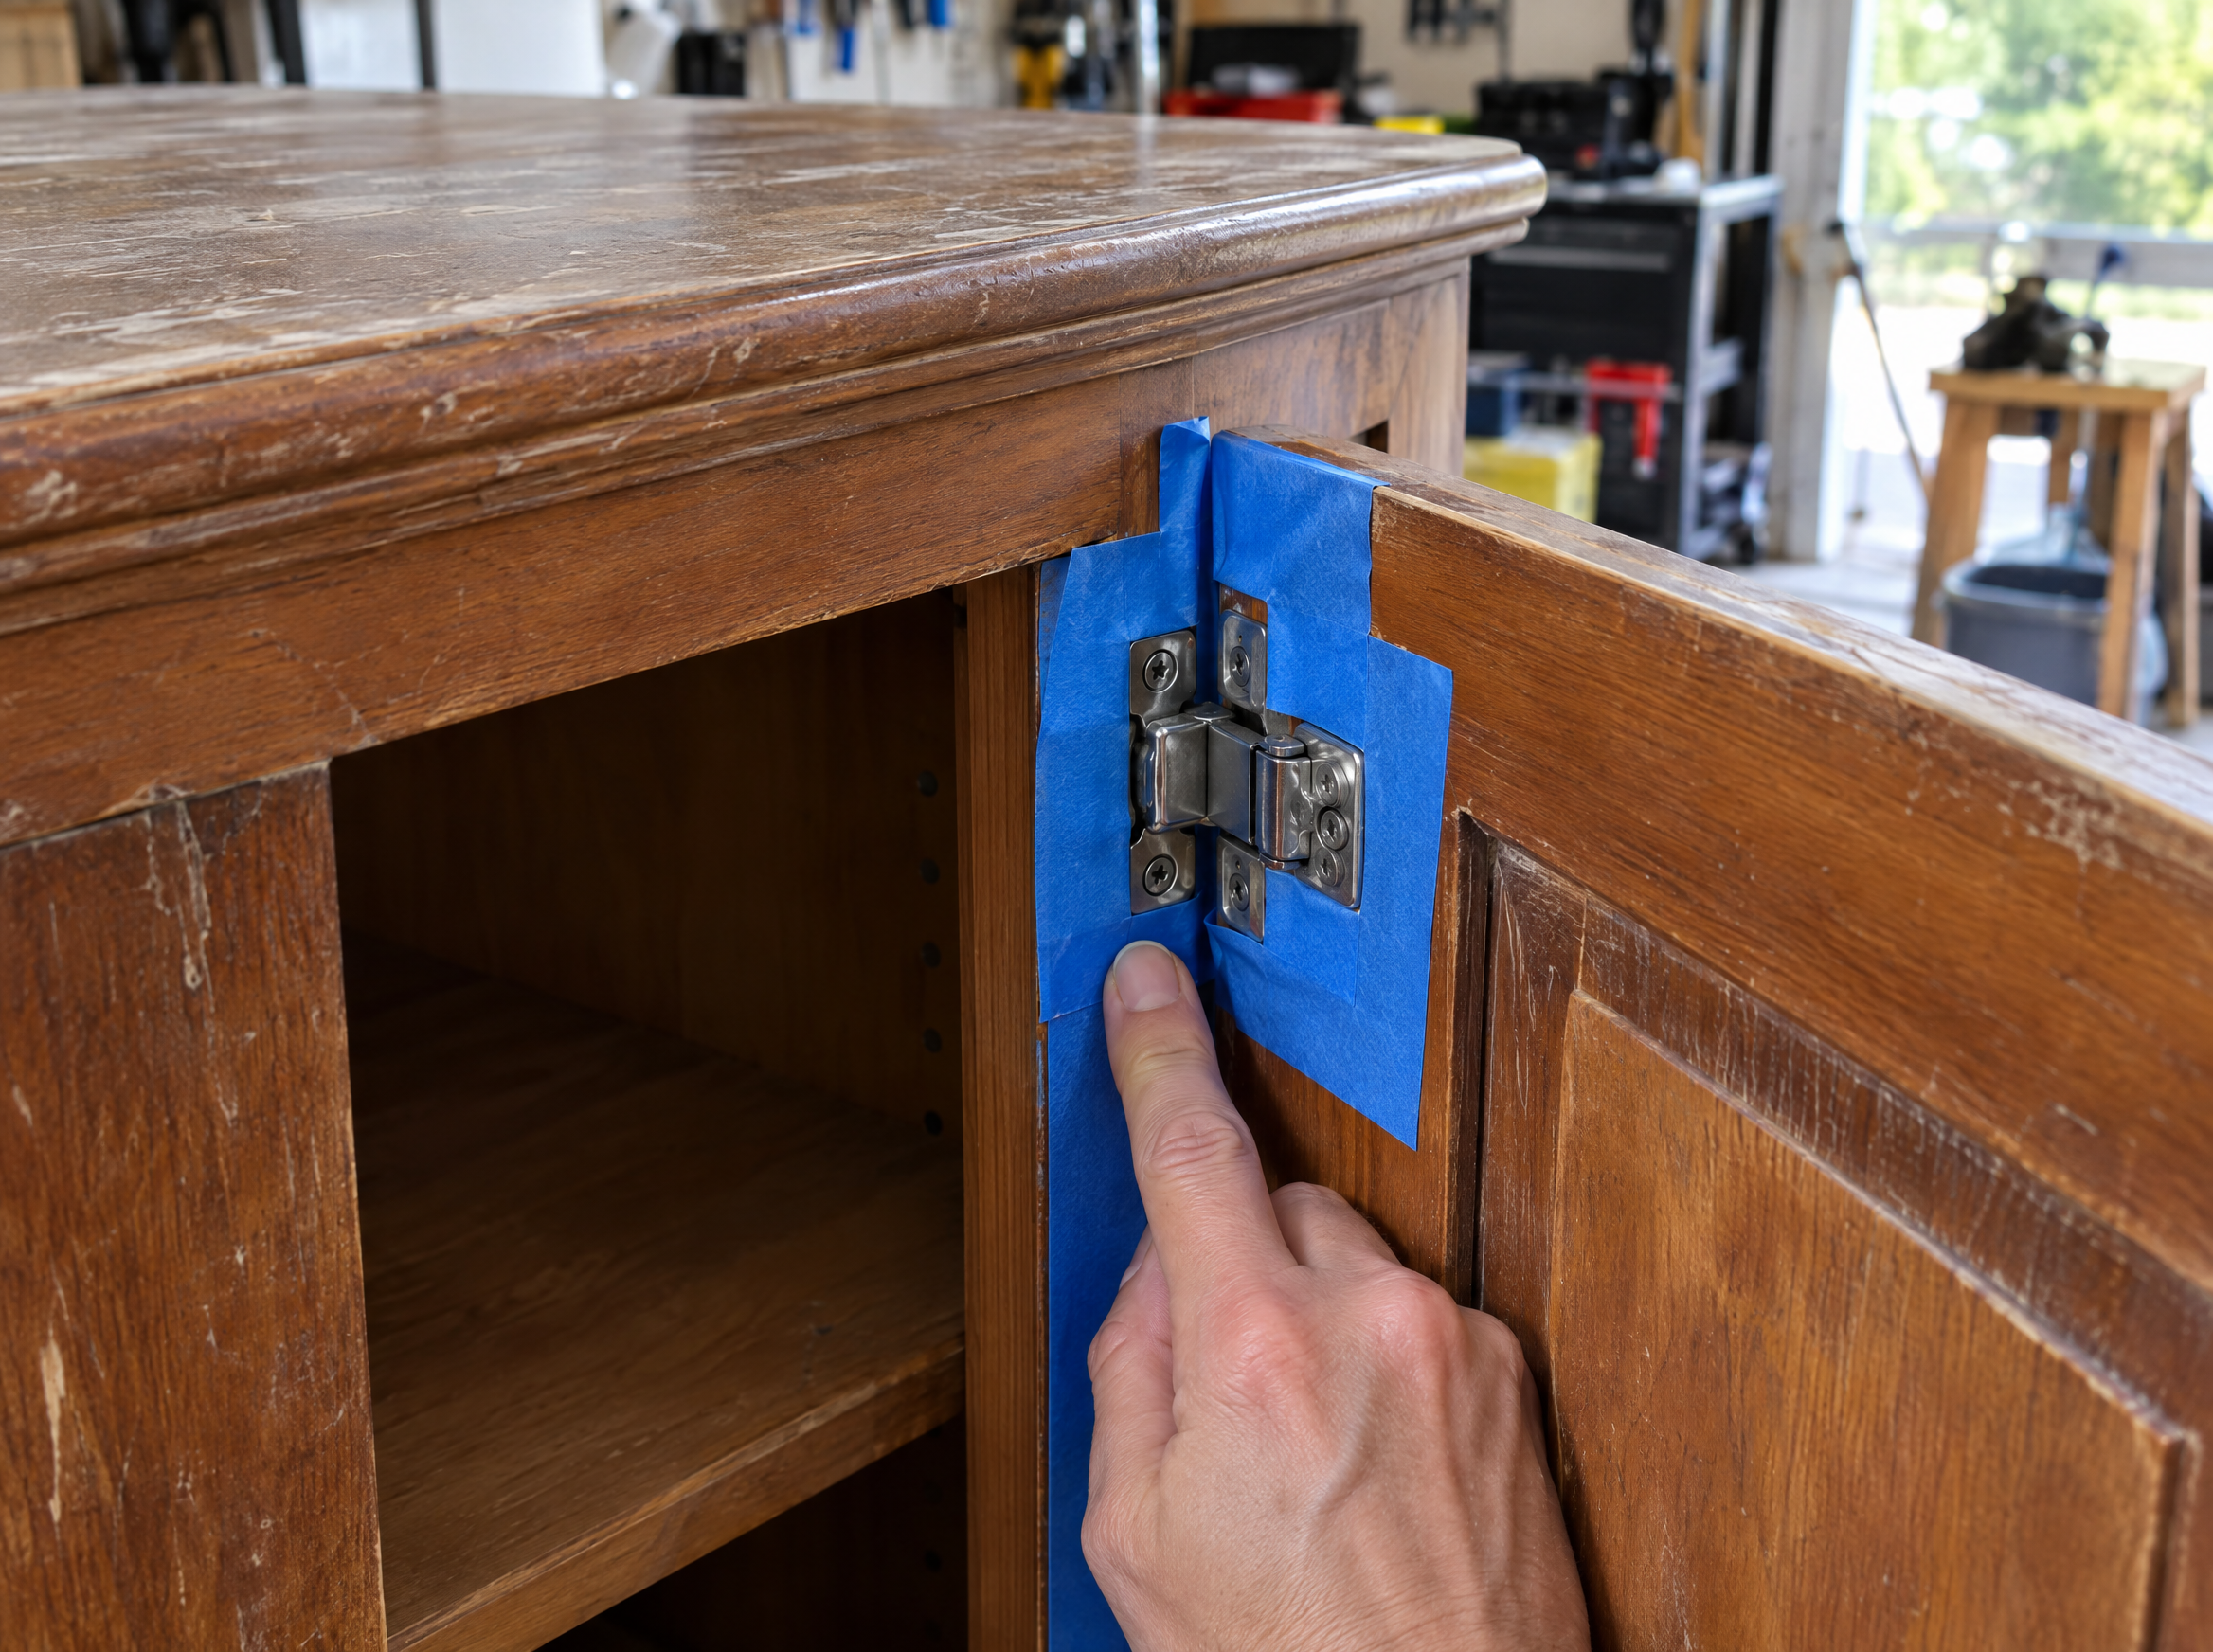
Remove knobs, pulls and drawers. Hinges that won’t come off easily get painter’s tape around and over them.
Press the tape edge down with a fingernail so paint can’t creep under it. This tape trick is our own addition, and it saves you from painting a door shut.
2. Clean before you sand
Scrub the whole piece with a cleaner degreaser. Wipe it again with a clean damp rag. Cleaning first keeps old grime from getting ground into the wood. Let it dry.
3. Scuff it with 220 grit
Give every surface a few quick passes with 220 grit sandpaper. You’re only knocking off the shine. You don’t need bare wood.
An average dresser takes about 20 minutes by hand. Vacuum the dust, then wipe with a tack cloth.
Painting over an old finish that might be from before 1978? Read the lead check first.
4. Prime for the problem
Old stain, knots and red woods can bleed pink or yellow through light paint. A shellac-based primer stops that. Slick or glossy finishes need a bonding primer so the paint grips.
Test a small hidden spot first. Let the primer dry as long as the can says, then smooth it with a very fine sanding sponge.
5. Paint thin coats
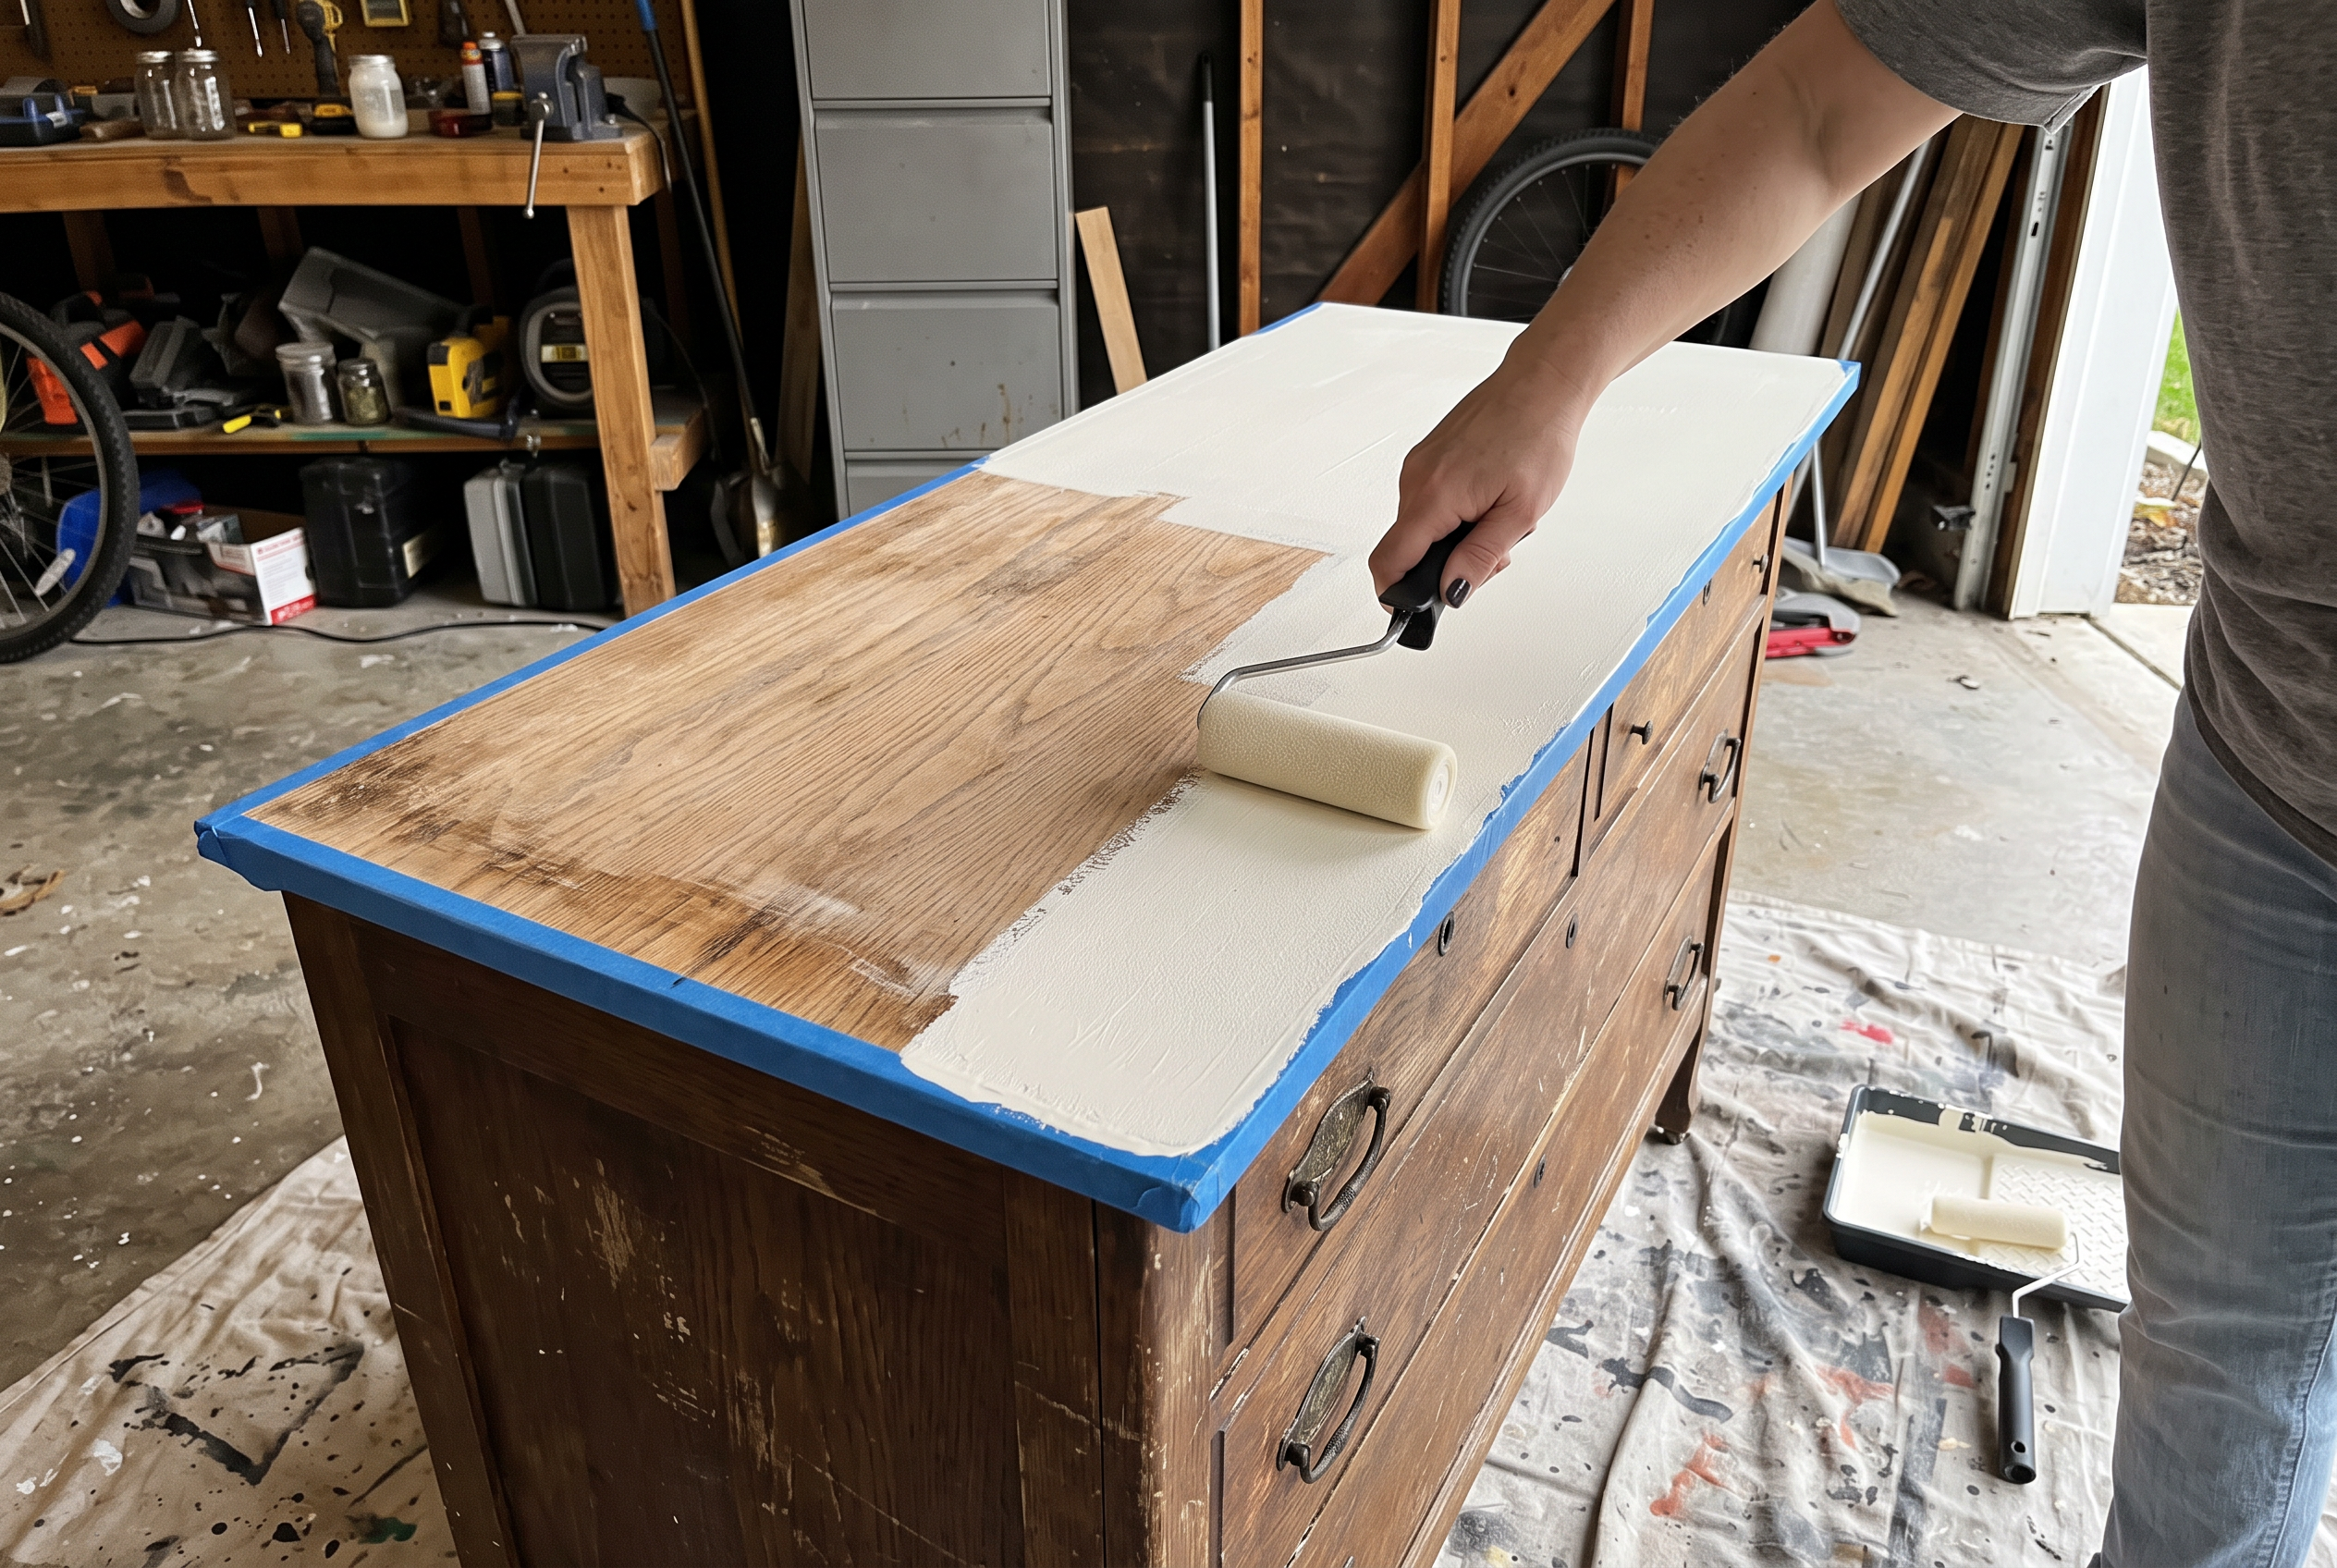
Brush on a thin coat, working with the grain. On big flat tops, roll a thin coat with a foam roller, then drag a nearly dry brush over it in one long stroke.
That smooths out roller texture. This roll-and-tip move is a tip we added, not part of the brand instructions. Let each coat dry fully before the next.
6. Add coat two and seal the top
Lightly sand any bumps, wipe off the dust, and add a second thin coat. On tabletops and desks, finish with two thin coats of clear water-based topcoat.
Put the hardware back once the paint is dry, then go easy on the piece while the paint cures.
What are the two mistakes that ruin a paint job?
Most trouble with how to paint wood furniture comes down to two things.
Thick coats leave brush marks. Heavy paint dries before it levels out, and you’re left with ridges. Use less paint on the brush, keep a wet edge, and use a roller on big flat spots. Sand lightly between coats so each one goes on smooth.
Want to see the brush marks fix in action? This short video shows the brush and roll method.
Rushing makes paint sticky. Paint can feel dry to the touch and still be soft underneath. Thick coats, humid rooms and setting things on it too early all leave a tacky, rubbery feel.
Give each coat more time than you think, and keep a fan moving air in the room.
How do you paint a tabletop or get a soft washed finish?
Tops and washed finishes are where how to paint wood furniture gets a little different.
Tabletops. Paint alone won’t stand up to plates, mugs and elbows. Two thin coats of clear water-based topcoat make the difference. Give the top extra time before heavy use, and use coasters for the first few weeks.
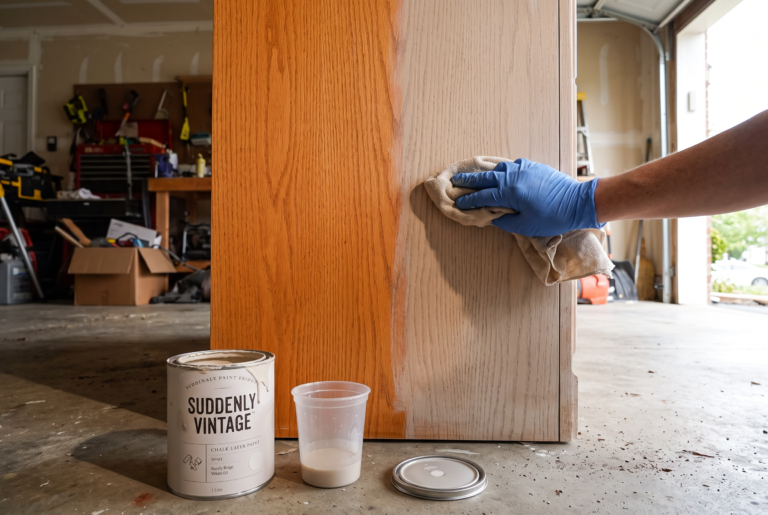
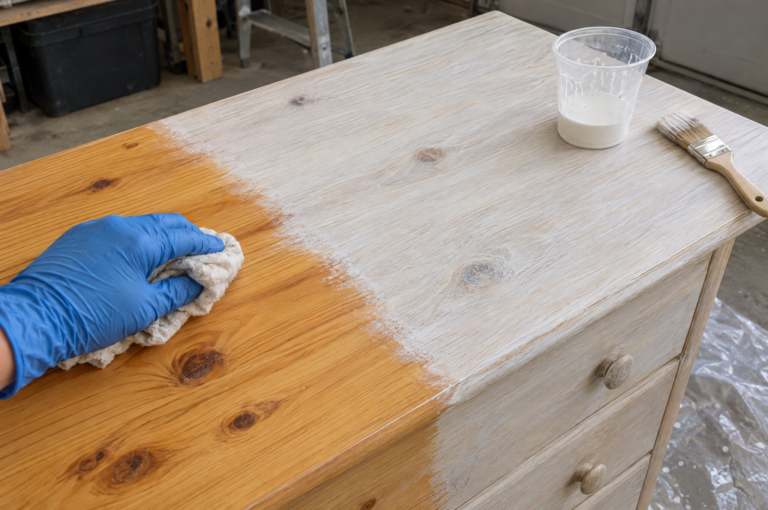
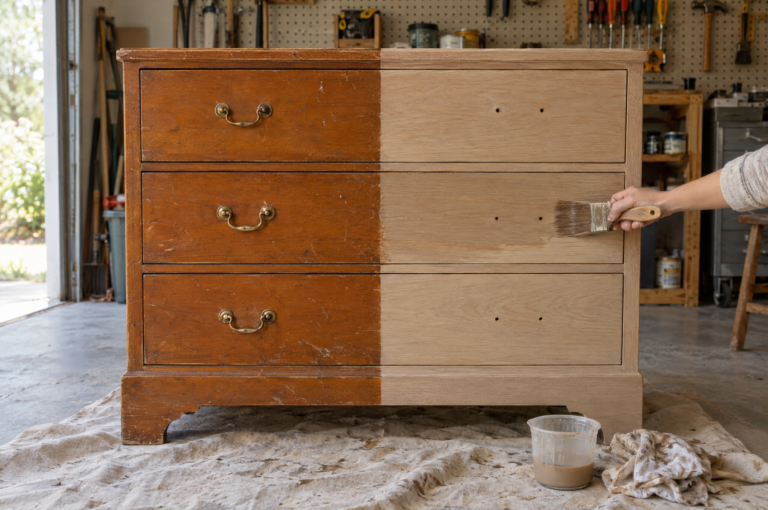
Washed and whitewashed finishes. Want the piece lighter but still looking like real wood? Thin a soft white or warm greige paint with water, brush it on one section at a time and wipe it back before it dries. It calms orange tones without hiding the grain. Test the mix on the back first, then seal it with a clear water-based topcoat.
Go lighter than you think and add a second pass if you need it. Here’s a coffee table that got a lighter wood look with a paint wash. For a step-by-step guide, see how to whitewash furniture or how to tone down orange wood.
Want a deeper look on carved pieces? A glaze can bring out the details after the paint dries. Here are glaze ideas for old furniture.
What gear makes painting furniture easier?
Here’s what makes the biggest difference. A good brush and the right topcoat matter more than any paint brand. A cheap brush sheds bristles and leaves stripes, and the wrong seal is why painted tops wear through.
A soft synthetic brush lays paint on smooth. This five-piece set gives you a wide brush for tops and a small one for legs and trim. It’s more than one dresser needs, so save the extras for the next piece.
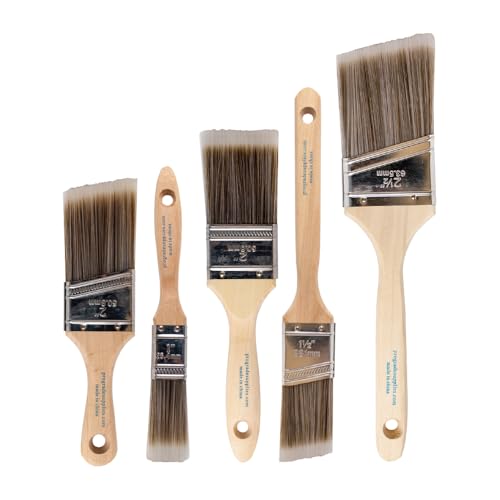
- COMPLETE 5-PIECE BRUSH SET FOR EVERY PAINTING TASK — Includes 1 Inch Flat, 1.5 Inch Angle, 2 Inch...
- ZERO BRISTLE LOSS — GUARANTEED BY PRECISION ADHESIVE BONDING — Every bristle is locked in place...
This post contains affiliate links. If you buy through them, we may earn a small commission at no extra cost to you.
For tabletops and anything you touch every day, a clear water-based topcoat is the step that keeps paint from wearing through. This one is a clear satin finish, and the small can is handy for trying it on one piece first.
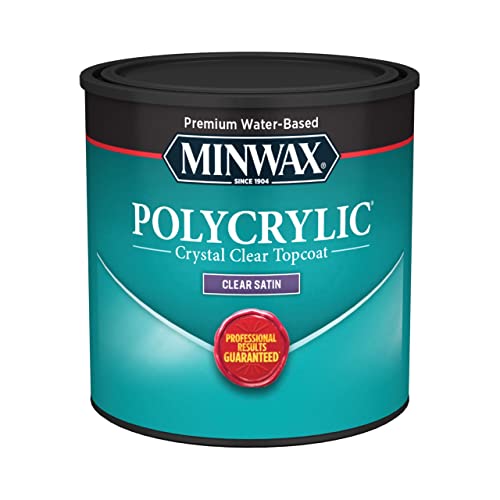
- PROTECT WOOD SURFACES – Minwax Polycrylic Protective Finish protects and adds beauty to your...
- CRYSTAL CLEAR FINISH THAT LASTS – The crystal clear finished offered in this protective coating is...

This post contains affiliate links. If you buy through them, we may earn a small commission at no extra cost to you.
How much does it cost to paint a piece of furniture?
Learning how to paint wood furniture costs far less than buying new. These are planning estimates for one small dresser. Prices change, so check before you shop.
- Budget build, about $30. A quart of paint, sandpaper, painter’s tape and a basic brush.
- Mid range, about $70. Add primer, a better brush, a foam roller and a clear topcoat.
- Quality build, about $150. Premium furniture paint, shellac-based primer, a brush set and a topcoat for a piece you’ll use every day.
When should you call a pro or skip the sanding?
Old painted furniture can carry lead paint, and the EPA lists refinishing old furniture as one way people get exposed. If the paint might be from before 1978, test it before you sand and hire a lead-safe certified pro if it tests positive.
Where should you go next?
- Not sure which sander to buy? Compare a palm sander and an orbital sander for refinishing furniture.
- Want a matte, vintage look? Browse these chalk paint furniture ideas.
- Love the grain but want it lighter? Try how to whitewash furniture.
- Rather not cover the wood at all? Learn how to tone down orange wood with a thin wash.
- Ready to sell what you paint? See how to flip furniture for Facebook Marketplace.
- Need more inspiration? See ways to transform your old furniture.
Ready to paint your first piece?
Now you know how to paint wood furniture the way that lasts. Start with a nightstand or a side table. You’ll learn thin coats and patience on something small. Then the big dresser won’t feel so big.
Your shareable result: take your after photo in the same spot and light as your before photo, with the drawers closed and the hardware lined up. Side by side, that’s the shot people save.
Share your makeover with us! Post it on Facebook, save your favorite steps to Pinterest, and tag us on Instagram so we can cheer you on.
A few helpful answers
How to paint wood furniture FAQs
Prep, primer, brush marks and tabletops.
A light scuff, yes. Stripping, no. Clean the piece first, then give it a few quick passes with 220 grit to knock off the shine. A good bonding primer helps on slick finishes. If the old paint might be from before 1978, test it for lead before sanding.
Pick it for the problem. Shellac-based primer stops old stain and knots from bleeding through. Bonding primer helps paint grip glossy or slick finishes. Test a hidden spot first.
Thin coats and the right tools. Use a good brush, keep a wet edge and roll big flat tops with a foam roller. Tip off with a nearly dry brush, and sand lightly between coats.
It needs more time. Paint can feel dry but stay soft underneath. Thick coats and humid rooms slow it down. Move air with a fan, wait longer, and don’t set things on it yet.
Two thin coats of clear water-based topcoat. Let it dry between coats and give it extra time before heavy use. Coasters help for the first few weeks.
You’re refreshing an old wood dresser for your bedroom. Solid paint, or a wash that lets the grain show?
This one splits DIYers. Some want one clean color that hides the old wood. Others say covering the grain is a crime.
What did you do with your last piece, and would you do it again? Vote, then tell us in the comments.