

Want to know how to make your very own DIY cat tent? If you want to give your furball a place he or she can call its own, then this DIY pet project is for you.
RELATED: 11 Creative Cat DIY Home Projects For Cat Lovers
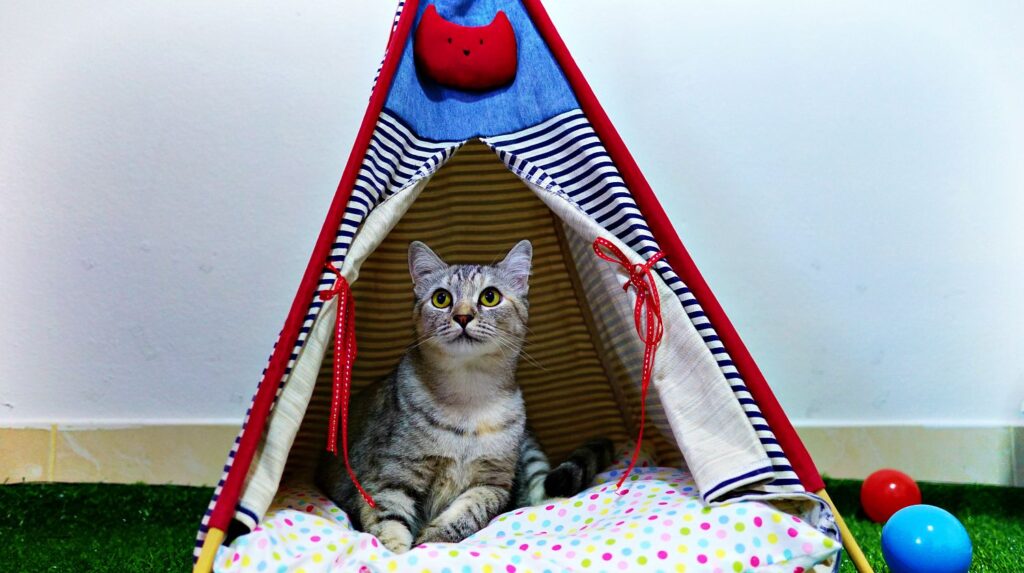
DIY Cat Tent | DIY Pet Projects
Cat Tent Upcycling Project
[instagram url=https://www.instagram.com/p/Bs6T8DigKAn/ hidecaption=true width=625]
As you may have known, we don’t have a cat. But after one of my friends visited with one, my daughter just kept on bugging me for us to get one.
So being an awesome mom that I am, we adopted one. She’s an adorable white ball of fur so we decided to call her Snowball.
Now that we have a new addition to the family, I decided to make her something as a welcome gift and I thought a mini tent for cats would be awesome!
There’s nothing better than an upcycling project your pet will love. Find out how you can make a cat tent with just a few easy steps.
What You’ll Need for Your Cat Tent:
- 2 wire hangers
- small t-shirt
- tape
- pliers
- 15″ x 15″ cardboard
- 4 safety pins
Step 1: Make U-Shape from Hook
Using your pliers, cut the hook from the wire hangers and make a U-shape.
Step 2: Poke a Hole on Cardboard
Take your cardboard and poke a hole through one corner using one end of the hanger. You should have at least an inch of wire sticking out.
Step 3: Bend End of Wire
With your pliers, bend the end of the wire in a 90-degree angle and secure it with some tape.
Step 4: Poke Other End of Hanger on Opposite Corner
Now take the other end of your hanger and poke it to the opposite corner of your cardboard. Repeat what you did in Step 3 and do the same for the other hanger.
RELATED: 23 Awesome DIY Pet Projects To Keep Your Furry Friends Happy
Step 5: Secure Top with Tape
To ensure that the hangers won’t move around, secure the top by putting some tape.
Step 6: Put Frame in T-Shirt
Now that you have your frame completed, put it inside the t-shirt.
Step 7: Secure Sleeves with Safety Pins
You’ll have the sleeves and the bottom part flapping around so to fix that, secure it with your safety pins!
Step 8: Place Soft Bedding
Flip it upright and put soft bedding so your cat tent will be nice and comfy.
If you’d like to see how this DIY cat tent was made, watch the video tutorial from Purina Friskies:
And that’s it! This should be a great start while your thinking of other DIYs for your cat.
Set it down for your furball to try and welcome him or her to its new home. Wasn’t that an easy upcycling project for your pet?
You’ll have fun making cat tents even if you have a few more cats to make them for!
What do you think about this DIY cat tent? Share your thoughts with us in the comments section below!
UP NEXT:
- 15 DIY Pet Projects & Recipes
- Easy DIY No Sew Dog Jacket
- 15 Homemade Dog Treats | Recipes and Instructions
Editor’s Note: This post was originally published on February 4, 2016, and has been updated for quality and relevancy.


