

Learn how to take studio-quality photographs at home…without spending a dime.
How To Shoot Professional Looking Photographs At Home
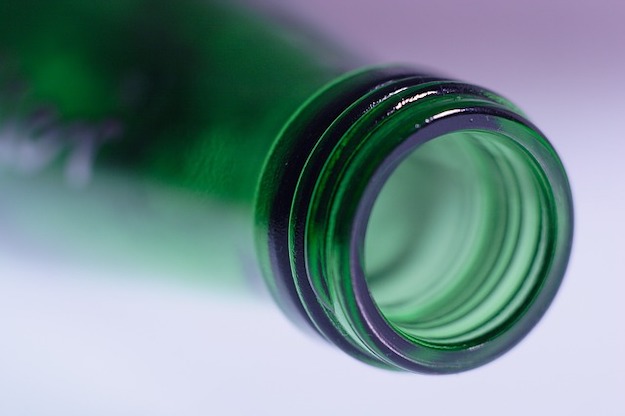
See the image of the bottle of soap above?
You would think that a professional shot that photograph, in a studio filled with expensive lights, dozens of tripods and reflectors and a backdrop that would be impossible to set up in your home.
The thing is, that photograph was taken in a regular home like yours and mine, atop a bit of aluminum foil and a wooden kitchen table. With less than $15 (or less), you too can set up a makeshift studio wherever you live to churn out professional-looking photos without a problem.
Check out the tutorial below to learn how.
What You Need:
- A cardboard box
- A roll of aluminum foil
- A piece of tracing paper (any color, at least 20 x 36 inches)
- 6″ spring clamp
- box cutter
- tape
Step 1: Making A Reflective Card
Start by cutting out a piece of cardboard much bigger in size than the object you’re photographing. Cut out a piece of aluminum paper a little larger than the cardboard, fold it around the cardboard and tape it. Use the dull side of the foil to get softer light—the shinier side will give off much more light. You now have a reflective card!
Step 2: Prepare Your Shooting Area
Next, find a brightly lit window in your home and place a large enough table next to it; this is where you’ll be taking your photos. Make sure that the table is a bit higher than the bottom of the window.
Tape the tracing paper to the window to diffuse the backlight. Direct, harsh sunlight is never good.
Step 3: Position Your Object
Rip off another sheet of aluminum paper and cover enough of the table with it so that whatever you’re taking a photo of rests on it comfortably. Position the front of the object you’re shooting towards you, with the backside facing the window.
Step 4: Experiment With the Reflective Card
Depending on the amount of light, the size of the window and where your object is positioned, you’ll need to play with where exactly you place the reflective card. Use the spring clamp to keep it up on its side, with the foil-covered part facing the object. You want the light from the window to bounce off of the card and onto your object. Move the card around by rotating and shifting it, across all planes.
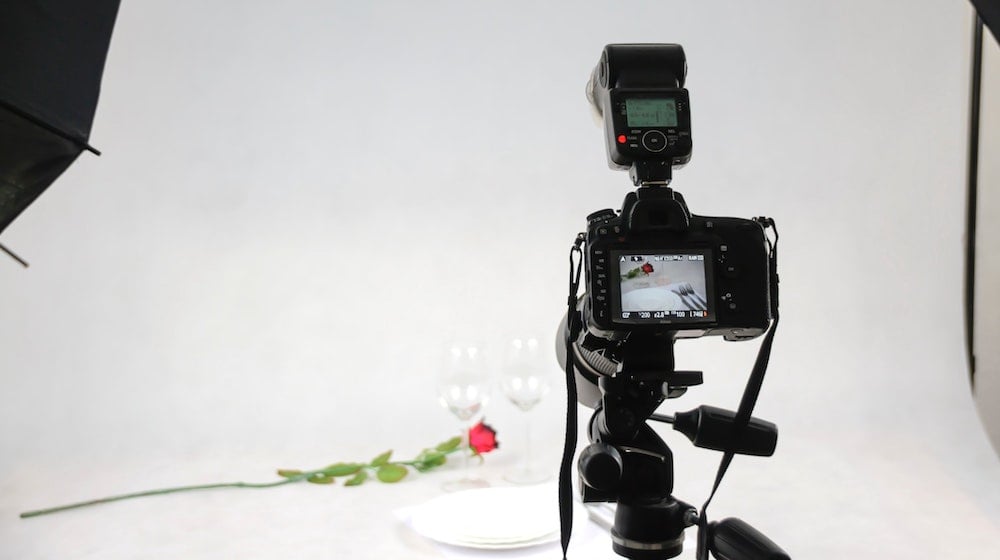
Step 5: Shoot
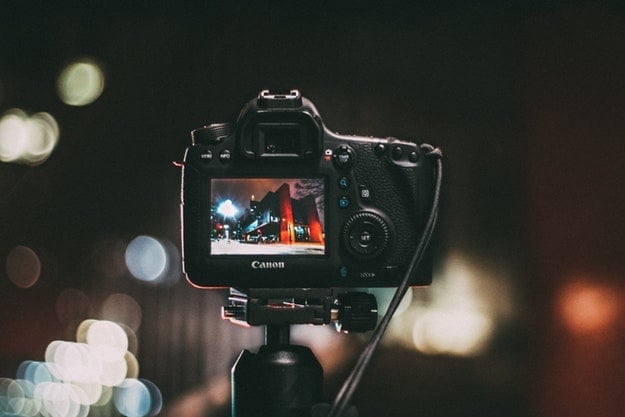
Now just place your camera on a tripod and shoot. You’ll want to test out different angles, as a few will surely stick out more than others. Mess with the aperture to play with how much light comes in the camera, that way you can have a wide selection to choose from. Any small issues can be dealt in post-production.


