Free Group T-Shirt

Make Self-watering Planters Using Wine Bottles

Here's an attractive idea to keep your water-loving plants healthy –and recycle old wine bottle at the same time: DIY self-watering planters. 

Instead of throwing away that used wine bottle, why not put it to good use? These self-watering planters made using recycled wine bottles provide an attractive method to keep your moisture-loving plants happy and healthy.

DIY: Self-watering Planters From a Wine Bottle

Materials:

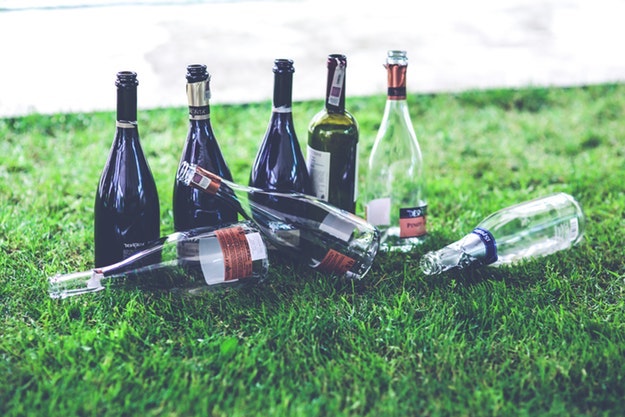
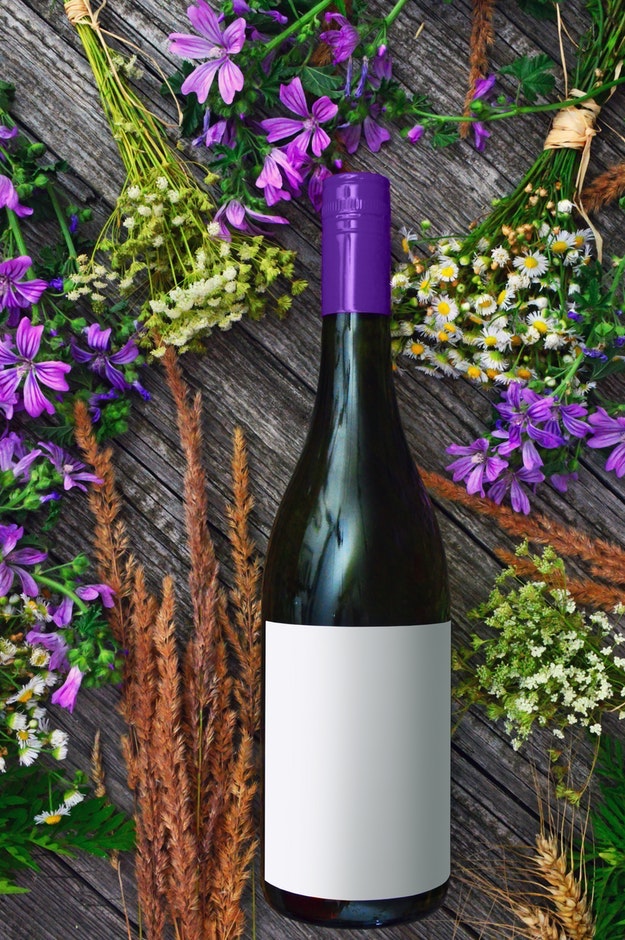
  • beer bottles, wine bottles or plastic bottles if you don’t want to mess with cutting the glass.  (Tip: The glass bottles make beautiful windowsill planters and they are more durable than plastic)
  • rubber stopper
  • square piece of window screen (about 2″ x 2″)
  • piece of string and stopper
  • potting soil
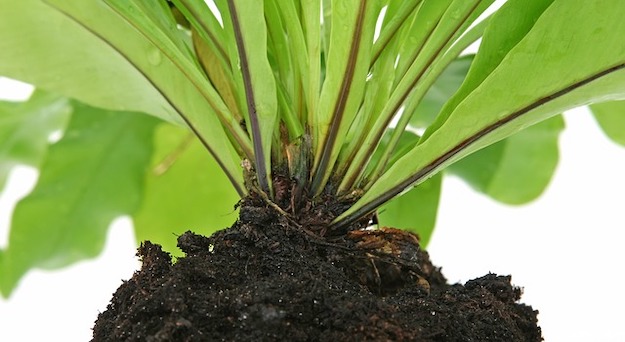
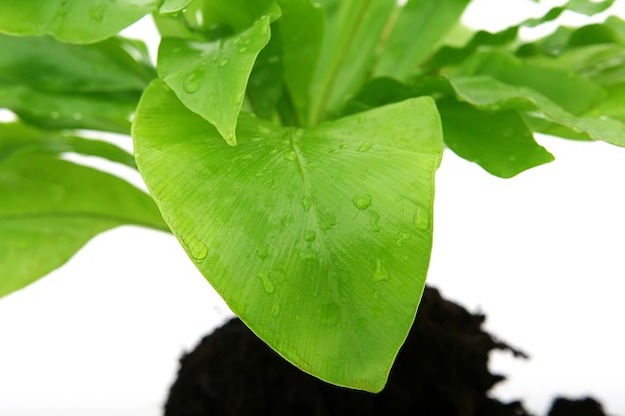
  • herbs or plants of your choice

Here's how:

Step 1

The first step is to cut the bottle.  There are many tutorials online showing different ways to cut glass bottles, but the one that seems to be the easiest uses acetone, string, fire and cold water.  Here is a video to demonstrate this method:

Once the bottle is cut, you’ll want to sand the edges down a bit so they aren’t too sharp.

Step 2

 
To avoid two glass bottles sliding through each other, put a rubber stopper at the opening of the wine bottle – at 3, 6,9, and 12 o'clock (see example above).
 
Cut a hole in the center of the screen large enough for the string to pass through.  Double up the string so that both ends remain loose and pass the middle loop through the hole in the screen.  Tie a knot large enough that it can’t pass back through the screen or use electrical tape or other material to serve as a stopper.

Step 3

 
Next, run the string down the neck of the bottle top and let the screen rest at the top.  This will be the planter.  The loose ends of the string will hang down into the bottom half of the bottle, which will hold the reservoir of water.

Step 4

 
Fill the space above the screen with soil and add your plant.  Fill the bottom of the bottle with water and place the top half into it.  Make sure the string sits down in the water.  This will act as a wick to draw water up into the soil.

Self Watering System From Wine Bottles

You can try planting a self watering system made from wine bottles! Copper is a nice companion to glass in terms of visuals. Working with copper is easy too!

What You'll Need:

  • One wine bottle
  • One 1/2″ male copper adapter
  • One 1/2″ female copper adapter
  • One piece of 1/2″ copper tubing (about 24″ long)
  • Permanent marker
  • Black electrical tape
  • ½ x .520 Teflon tape (Plumbing Dept.)
  • # 67 O-Ring (13/16“ Outside Diameter x 11/16” x 1/16”
  • Clear waterproof silicone sealant
  • Measuring tape
  • Scissors
  • Hacksaw, Small Vise, Small Flat Metal File, Adjustable Wrench
  • Bamboo stake 

How to Do It

Mark a line with a permanent marker to saw the copper tubing with a hacksaw. Secure the copper tubing in a vise so that you can make a clean cut. If you have a large vise, be careful not to squeeze too hard and bend the pipe out of shape. Cut the pipe to 24” length with a hacksaw.

Wine bottle necks vary in length, usually 3-4”. You want the end of the pipe inside the bottle to just reach the bottom of the neck.

With a small flat metal file remove any sharp burrs from the cut edges of the pipes so that they can be smoothly inserted into the adapters.

Insert the longer piece of copper tube into the ‘male’ copper adapter and secure the tube with the electrical tape, wrapping it 1 and ½ times around before cutting.

Wrap the threads of the male adapter with the Teflon tape, stretching the tape slightly so that it fills in the threads as shown. Overlap the tape slightly and cut with scissors.

Insert the shorter copper tube into the female adapter, secure it with electrical tape,  1 & ½ times around the tube. Then connect the two pieces of tubing. You should be able to see where the electrical tape sits on each section of the adapters. 

Clamp the male adapter into the vise and screw the adapters together, tightening the female adapter with the wrench. No need to use a lot of force, just get them snug.

Slip one of the O-Rings over the short end of the tube so that it seats up against the tapered shoulder of the female adapter. This will help seal the bottle and prevent it from dripping once it’s filled with water.

Place the short section of the copper tube into the wine bottle. It should fit snugly.

Place the bottle upright, O-Ring is at top of bottle opening. Don’t force it inside the bottle. Using waterproof silicone sealant, draw a bead of sealant around the tube/adapter joint, set the bottle aside. 

Fill the bottle with water (remove copper funnel first). Before placing the bottle into the container garden, poke a hole in the soil with a bamboo stake (or similar) to mark placement. Insert at angle.

Watch this video to guide you through the steps and make self-watering planters in no time!

And that’s it! Enjoy your DIY Self-watering planters made from recycled wine bottles – and help save the world!

Did you enjoy our post on DIY Self-watering planters? Let us know in the comments section below! Don’t forget to stay connected with us on FacebookTwitterPinterest and Instagram!

Like this post? Then you’ll love…

7 DIY Greenhouse Ideas That Are Gardening Gold

DIY Vertical Gardening | 8 Projects for Small Space Gardening

7 Tips for Making a DIY Fairy Garden

Trackbacks

Leave a Reply

Your email address will not be published. Required fields are marked *

Pin It on Pinterest

Share This
diy-projects-logo-425

Join DIY PROJECTS Today

You'll get our daily email newsletter and be entered into our monthly contests.