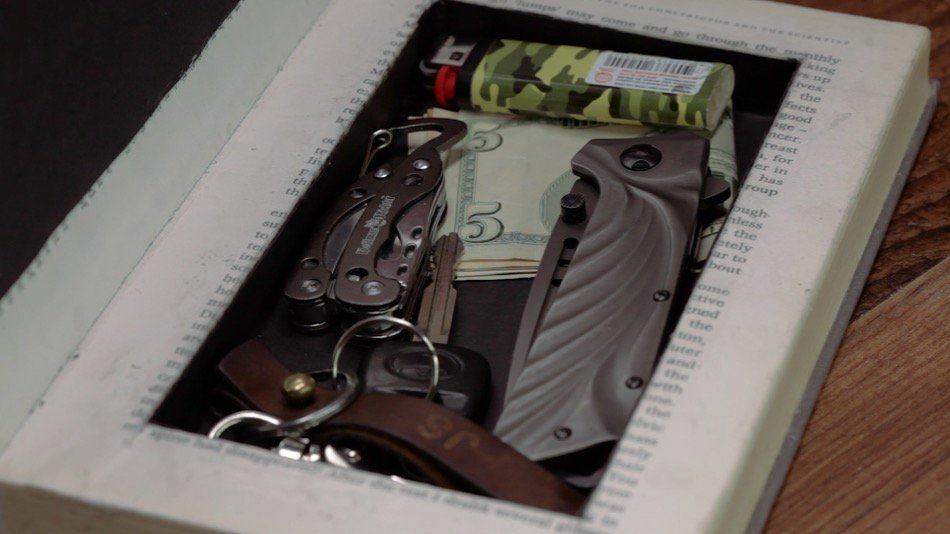

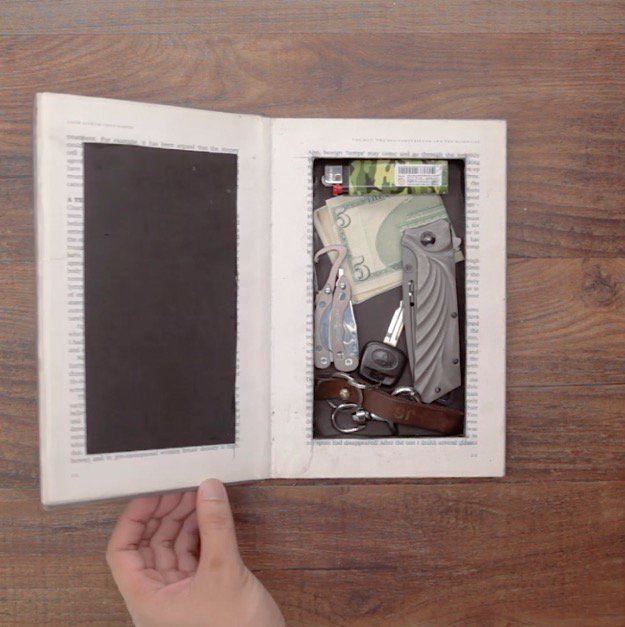
A hollow book is a fantastic way to keep your prized possessions safe. On the outside, it’s an ordinary hardcover book – but on the inside, it’s a super secret storage compartment. Check out this awesome DIY that keeps your valuables safe and sound.
Make Your Own Secret Hollow Book
If you’re looking for a way to keep your valuables safe, look no further. A hollow book is the perfect disguise for expensive jewelry or an emergency cash supply, and it’s surprisingly easy to make! Check out this tutorial to learn how to stash your stuff in plain sight.
What you’ll need for your hollow book:
- Hardcover book
- Modge Podge
- Paintbrush
- Card stock
- Large block of wood (or something heavy)
- Ruler
- Boxcutter
- Construction paper
How to make your hollow book:
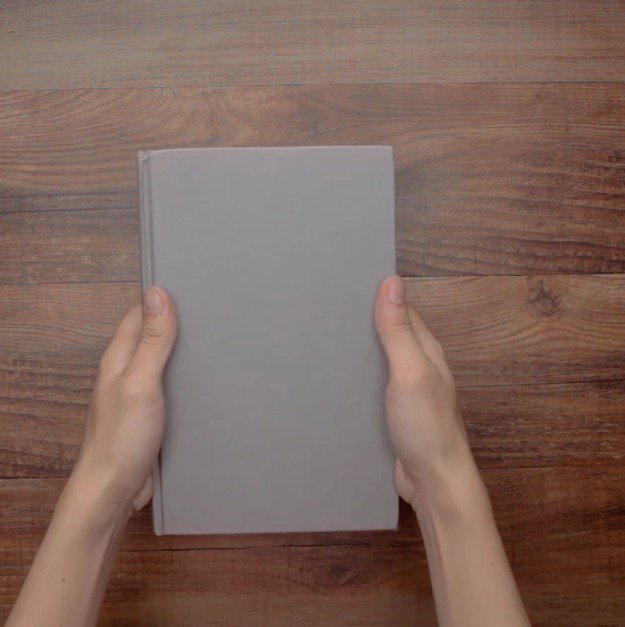
Step 1: Start with a hardcover book that you don’t mind gluing shut.
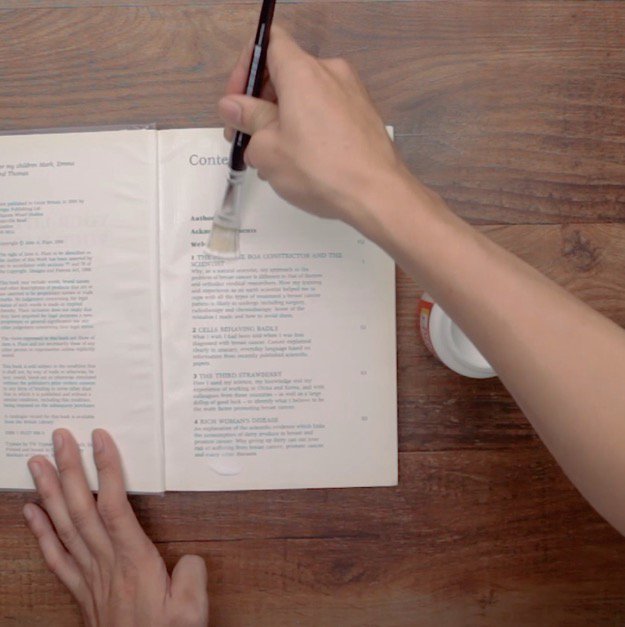
Step 2: Open your book up to the first page.
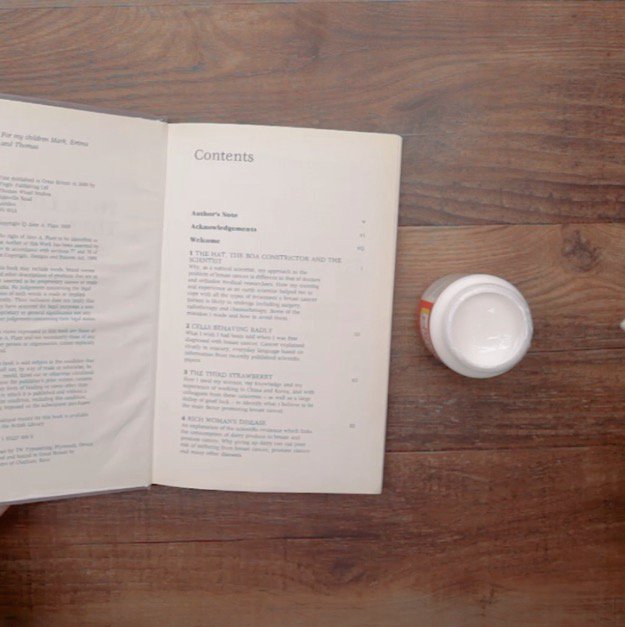
Step 3: Brush a thin, even layer of Modge Podge over the first page.
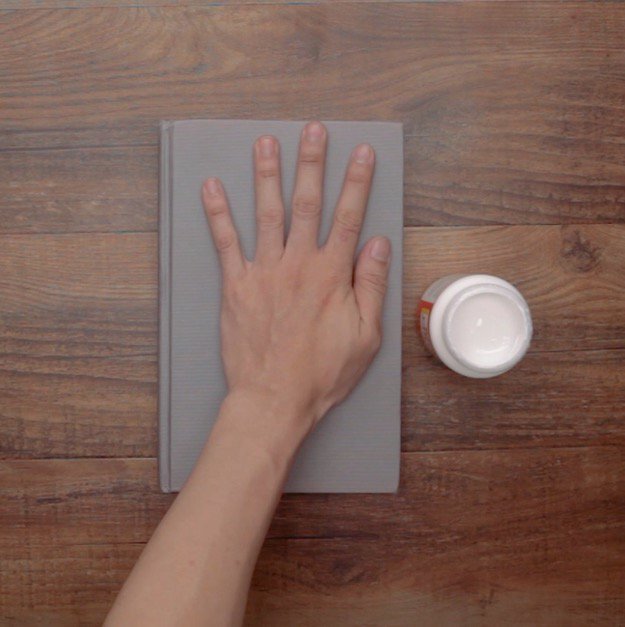
Step 4: Close the book and press down for 20-30 seconds.
Step 5: Open up to the next page, then coat the page with an even layer of Modge Podge.
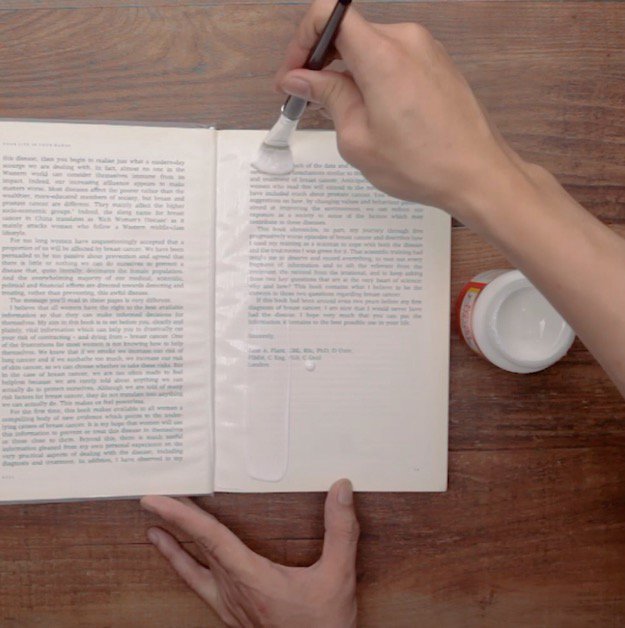
Step 6: Press down and hold for another 20-30 seconds.
Step 7: Place a sheet of card stock between these pages, then close the book.

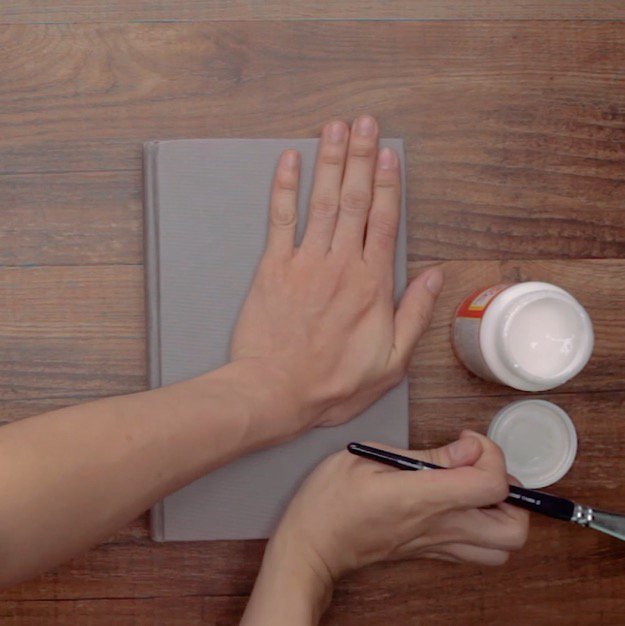
Step 8: Paint the outside of the pages with a thin coat of Modge Podge.
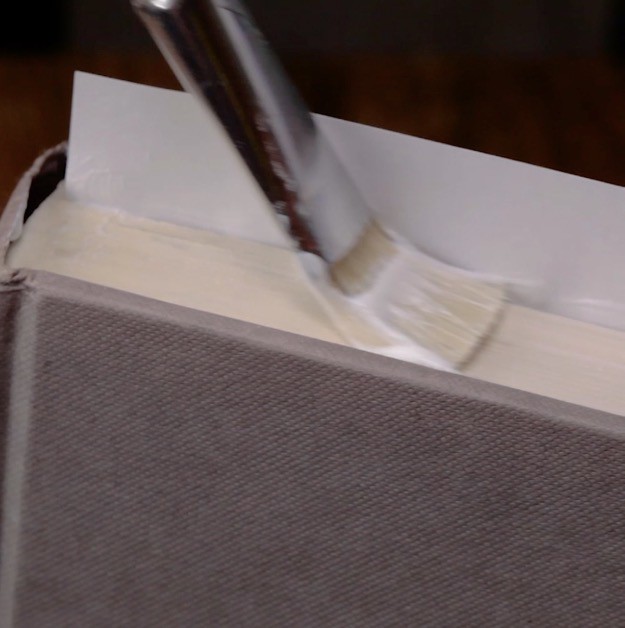
Step 9: Close the book, then add weight and press down for 30 seconds.

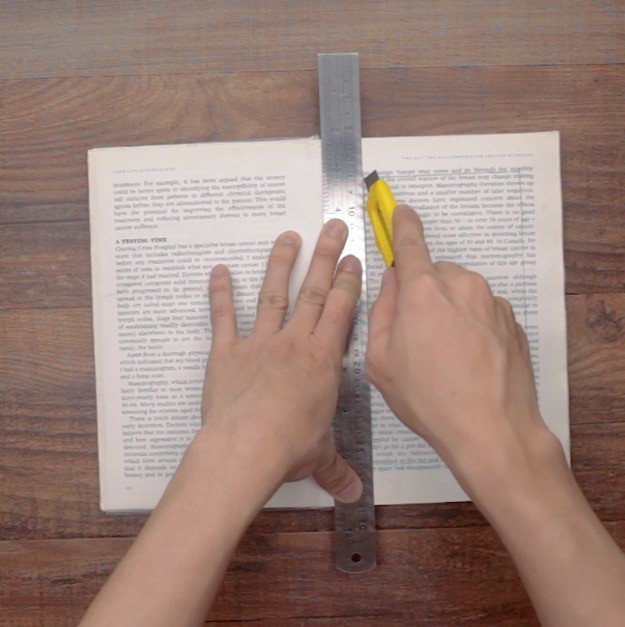
Step 10: After the glue has dried, open the book and cut out a compartment from each side.
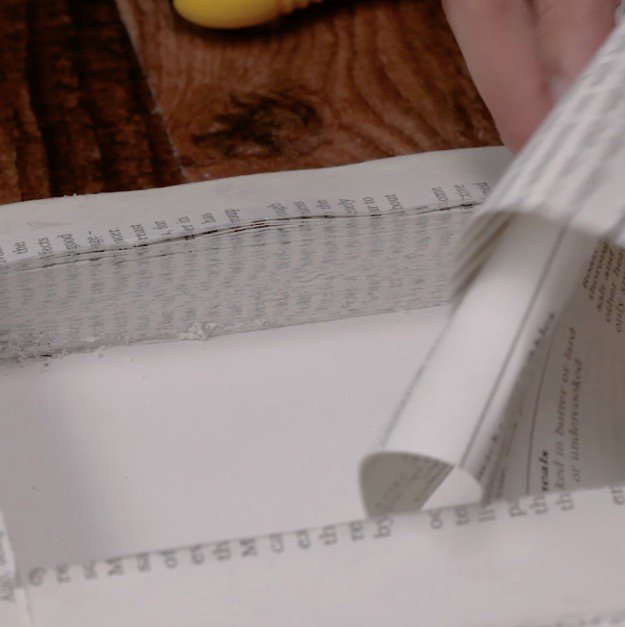
Step 11: Remove the pages until the space is completely hollowed out.
Step 12: Coat the empty space with Modge Podge and cover with construction paper.
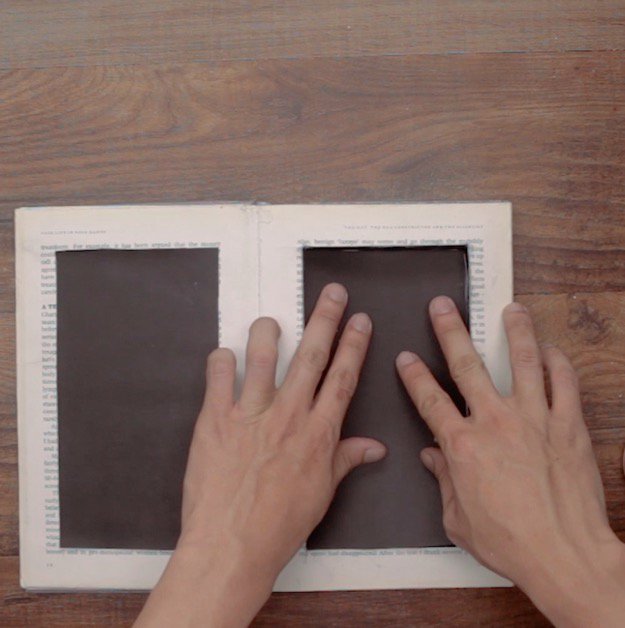
Step 13: After the glue has dried, fill the book with items of your choice.

Step 14: After your book is full, keep it on a shelf in case of emergency!
Check out the video below to see the DIY in action!
Do you have any other DIY storage ideas? We’d love to hear about them! Leave a comment and let us know!For more DIY and craft news, follow us on Facebook, Twitter, Pinterest and Instagram!![]()
LIKE this? I’m sure you’ll LOVE:
24 Smart DIY Toy & Crafts Storage Solutions DIY Storage Ideas to Reduce Clutter in the New Year
 Quick and Easy DIY Home Projects You Can Do This Weekend