


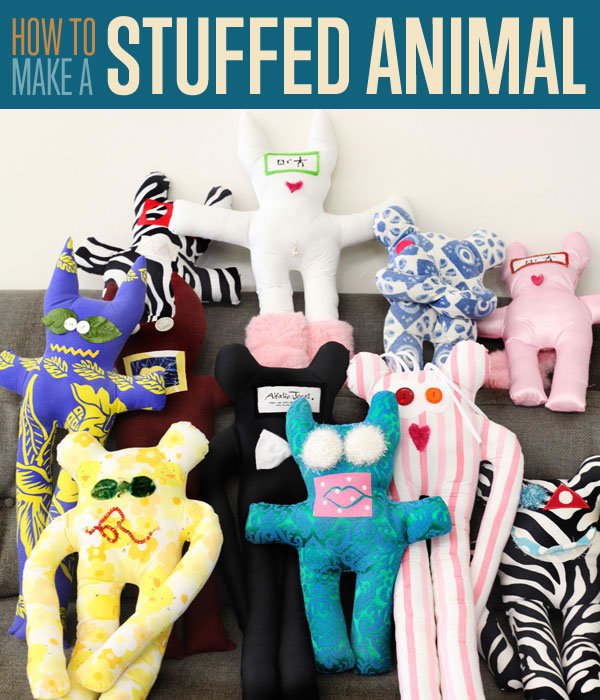
Forget generic store bought toys, learn how to make custom stuffed animals that are sure to be talk of the toy box. From the fabric to eyeballs, this creature is completely customizable. This cute and easy sewing tutorial makes a great rainy day project that is sure to delight! Don’t have time to run to the fabric store? This kids craft idea works great with scrap fabric and little odds and ends found in the junk drawer. The only limit is your imagination!
How to Make Custom Stuffed Animals
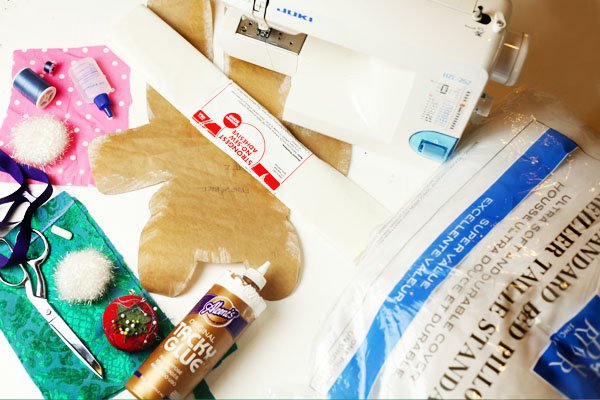
Supplies for How to Make Your Own Custom Stuffed Animal:
- 1/2 of fun patterned fabric
- scraps of contrasting fabric for the mouth
- 2 pom poms for eyes
- needle and thread
- 1 pillow
- iron
- tacky glue
- scissors
- sewing machine
- pins and pin cushion
- adhesive iron on patch paper
- butcher paper
- Chalk
- fabric fray check glue
Stuffed Animal Instructions | Tutorial
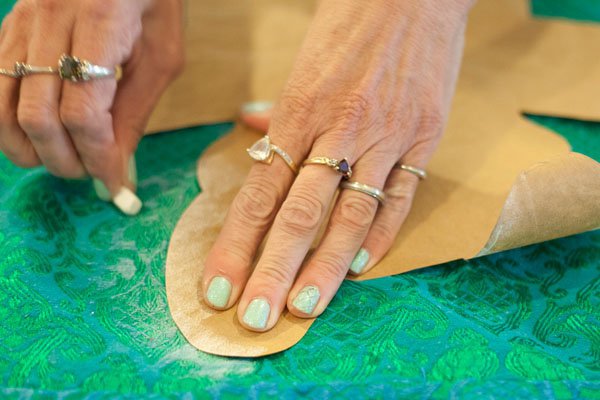
Step 1: Cut and Place Your Stuffed Animal Pattern
Cut out a simple silhouette of an animal with your butcher paper. We made a simple rabbit, but a cat, dog, bear or even a octopus would be adorable. Draw out your animal in pencil, adjust your pattern if needed. Remember, none of us humans are perfect so if your pattern isn’t exactly right, that’s all part of the charm.

Step 2: Outline the Stuffed Animal Pattern with Chalk
We will be cutting both sides of the fabric at once, so stack your fabric right-sides facing inward. use chalk to transfer your pattern to your chosen fabric. Instead of tracing the outline of the pattern, instead we are scribbling the chalk onto the fabric. It’s cool to get messy!
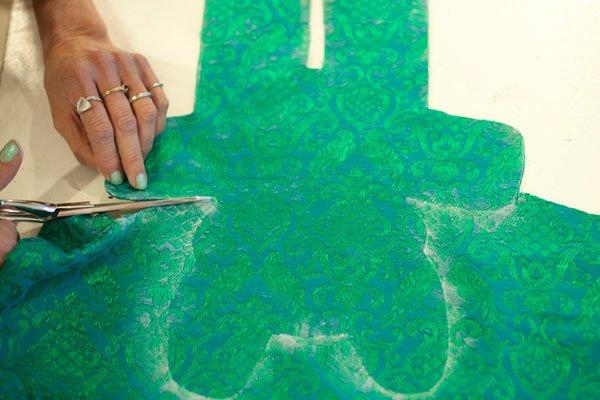
Step 3: Cut out the Stuffed Animal Pattern with Scissors
Cut out both pieces of fabric with your fabric scissors along the chalk outline. Our little friend is starting to take shape!
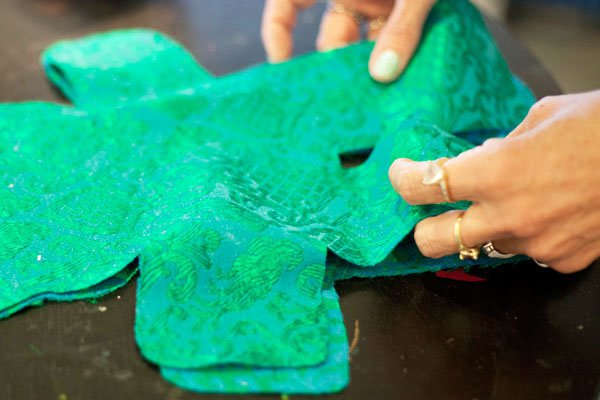
Step 4: Line up Fabric Pieces for Pinning
Line up your two sides, again right side facing together inward, wrong sides facing out. We will be flipping this guy inside out soon, hold tight!
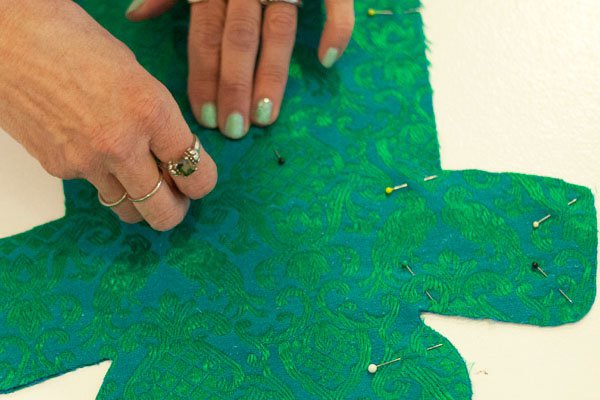
Step 5: Pin Stuffed Animal Fabric Together
After the two sides are lined up, time to prepare them to be sewn together. Pin the two sides together at every curve and corner, this helps the fabric stay in place as we sew. Remember, we will be flipping this puppy (or rabbit in this case) inside out, so make sure you are sewing the side of fabric you do not want to be visible together.
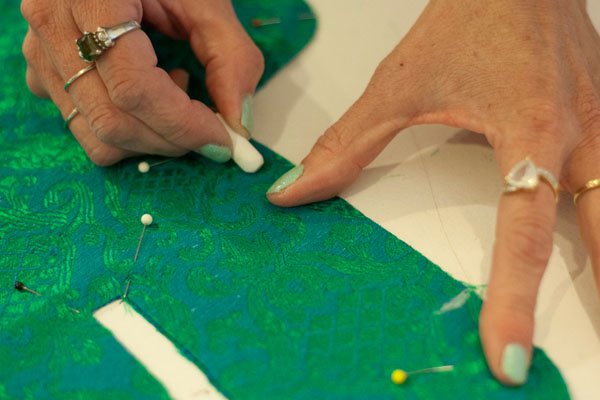
Step 6: Mark with Chalk a 4 Inch Gap for Stuffing
With you chalk, mark an 4” gap on the leg. This is to mark the opening we will use to flip the animal inside out.
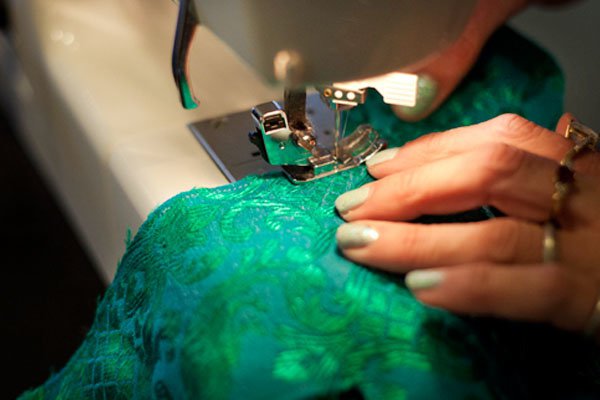
Step 7: Sew Seams of Stuffed Animal
Use your sewing machine to sew the animal together, removing pins as needed. Remember to leave the 4” gap open. Secure the end of the seam with a back stitch or lock stitch to secure your sewing on both sides of the gap. We used a thread that almost perfectly matches our fabric, so it won’t be noticeable, but contrasting thread would be cool too!
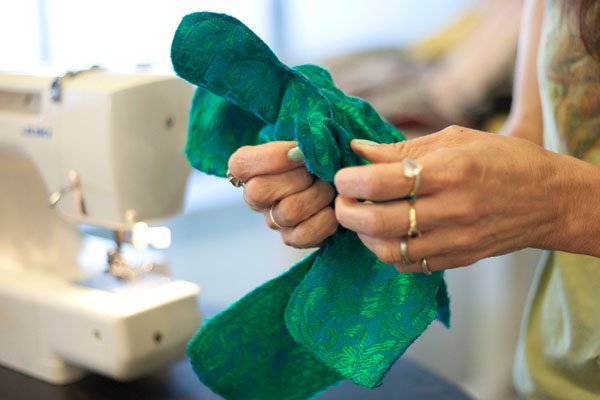
Step 8: Turn Fabric Inside Out Through 4 Inch Gap
Turn animal inside out starting by pushing one limb at a time. Push fabric through the 4” opening, may take some muscle, but we know you got this!


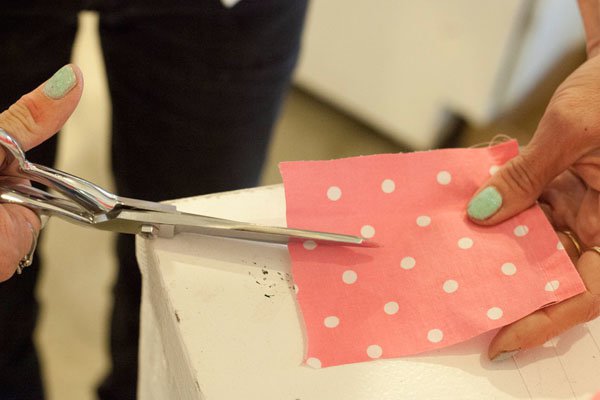
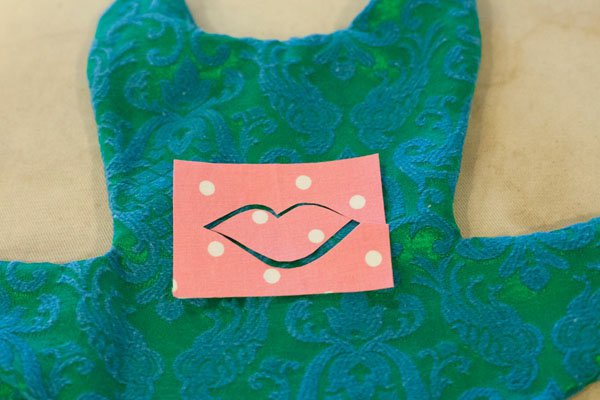
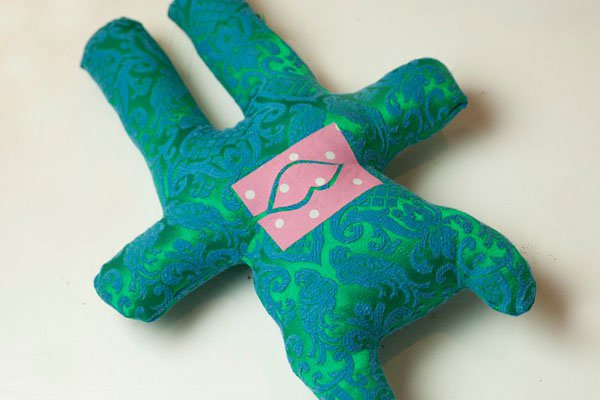
Step 8: Add Adhesive Paper to the Fabric for Your Lips
Now you little pal needs some personality. Lets give it some lip! Add adhesive backing to a spare piece of fabric, free hand (or draw out, if you so choose) a pair of perfectly kissable lips. Peel off adhesive, stick on where you think your new friend’s mouth should go. Have some spare string or maybe a row of buttons? Anything can be a mouth, go through that junk drawer and up cycle!
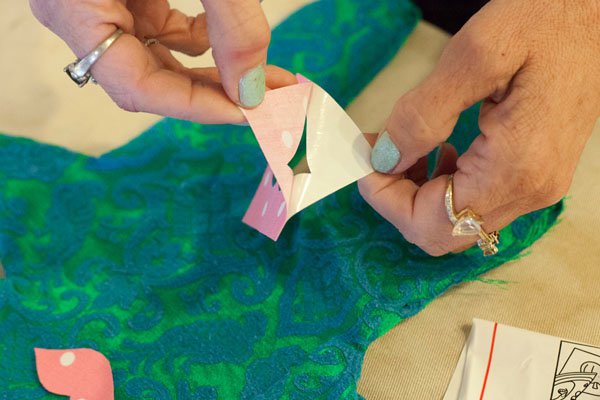
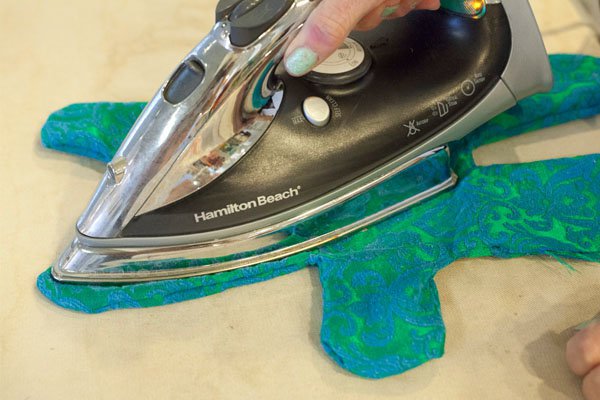
Step 9: Iron On Adhesive Paper Lips to Face
place your lips to the soon-to-be face of your plush pal. Once you have the right spot, strike while the iron’s hot to seal permanently the lips shut! To prevent your lips from burning, move iron in small circles to distribute heat.
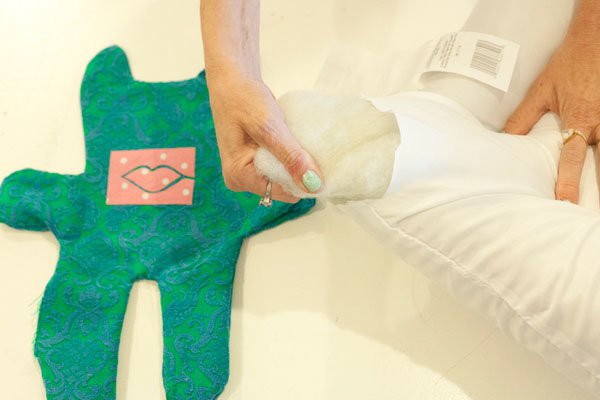
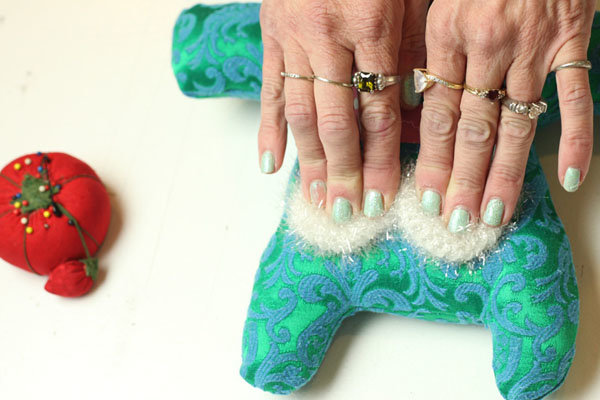
Step 10: Insert Pillow Fluff to Stuffed Animal
Take out your pillow, it’s time to add some much needed fluffiness to our friend. With your scissors, cut a small opening on the corner of the pillow, to revel the fluff inside. This is what we will be using to stuff our animal.
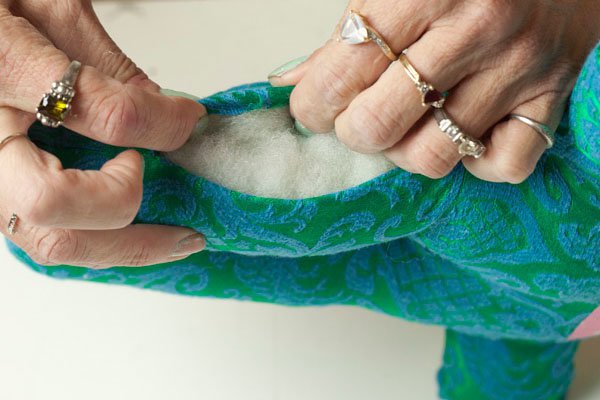
Start inserting generous amounts of fluff into starting at the top and working your way down to the feet. Don’t be stingy with the fluff, pack the stuffing tight to insure a super soft and loveable animal.
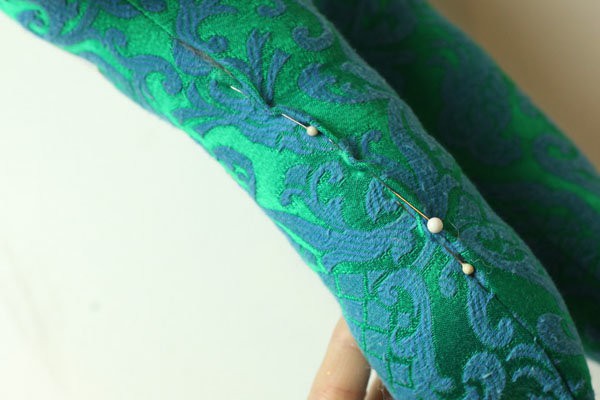
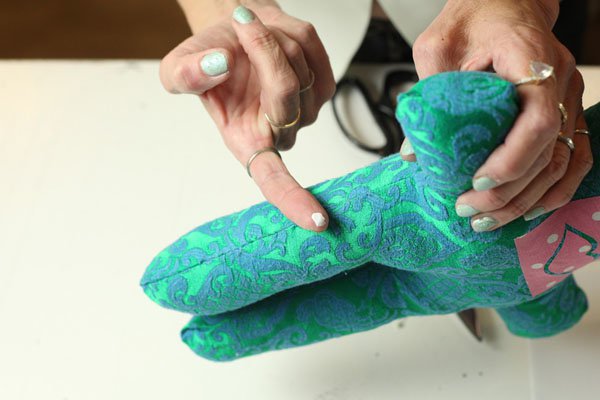
Step 11: Fold and Pin Closed Seam
We can’t have our stuffing spilling out while we finish up our animal’s face, so let’s close up the hole in the seam. Fold over the fabric like you are hemming a pair of pants, then pin vertically along the opening.
Step 13: Glue on Cute Eyes for Your Stuffed Animal
They say eyes are the window to the soul, so what does it mean if you have sparkle pom poms for eyes? While you ponder this, take out your pom poms. Add a generous amount of glue to the back of the pom poms and place them on your stuff animal. Press firmly down for 1-2 minutes.
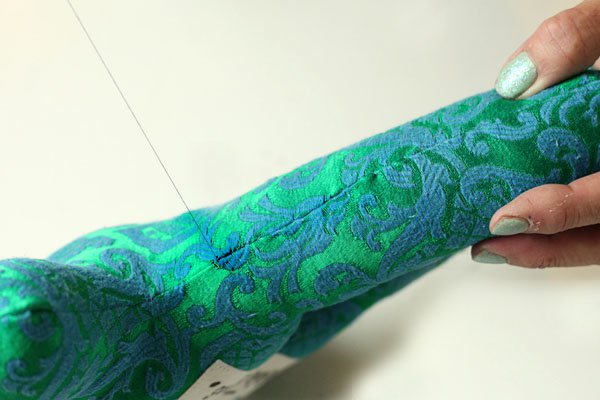
Step 14: Handsew Seam Shut
Now that our face is made up, lets finish our friend off by hand sewing the seam hole shut. We used the blind stitch technique to create a perfectly seamless edge. For extra security, take a dot of glue to your finger and dab over the ed of your blind stitch. This will seal the deal!
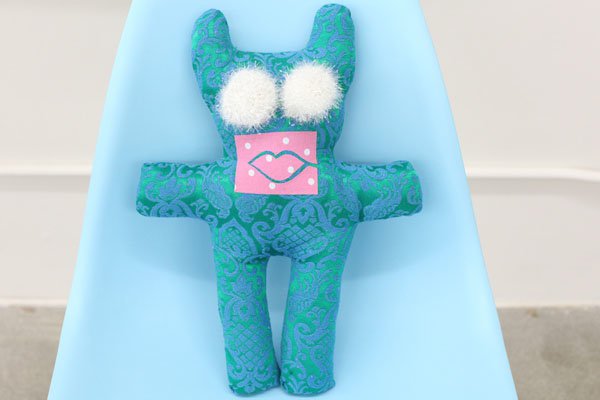
Step 15: Name Your Custom Stuffed Animal
Time to name your pal! Yes, this is an important step to your DIY! What personality does your creature have? We named our little one Snowflake, fitting name, no?
Enjoy your cute new pillow pal. Looking for more creative sewing projects? Don’t look too far- we got a ton of projects right here, take a peek!
Like this post?
Check out


