
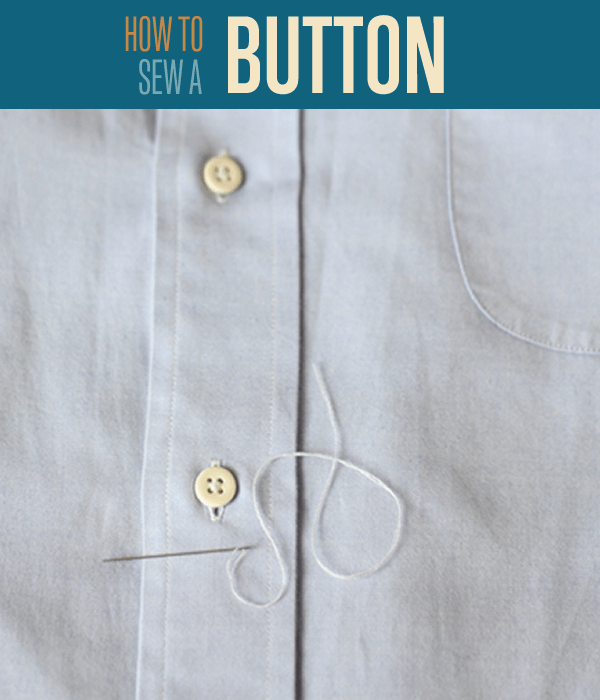

Knowing how to sew a button is one of the most basic tools of survival for everyday modern living. Have you ever been out to a corporate event and you realize your button has fallen off, or literally hanging on by a thread? Fret no more. This guide will have you stitched back together and ready to go in no time. Even if you’re attire is fully in check, knowing this basic sewing tool of survival will keep you prepared and save your ass later. Follow along for a step by step tutorial, and sew on your buttons like a true tailor.
How to Sew a Button | Beginner Sewing Tutorials
Our video tutorial shows you how to sew a button:
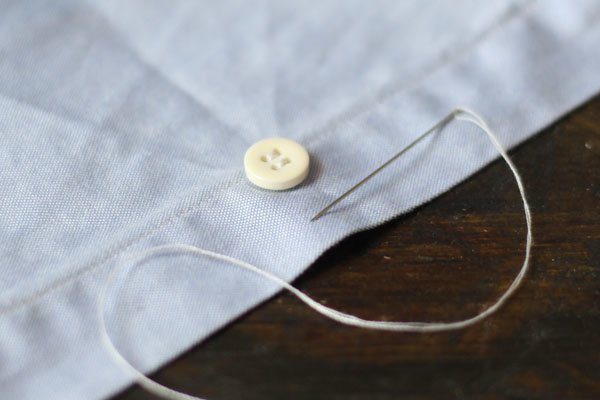
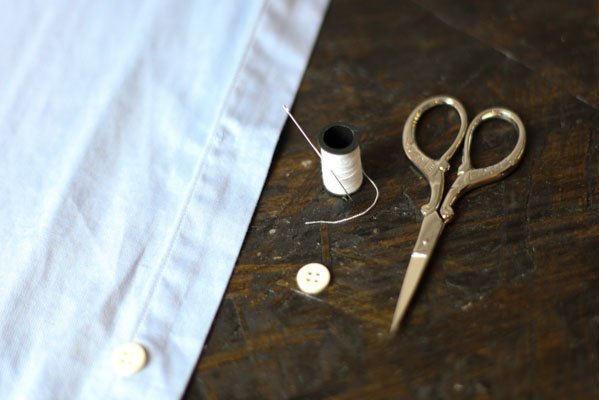
Supplies You Need to Sew on a Button:
- Button (original or replacement)
- Needle (thin and sharp)
- Thread at least 12″, 24″ if you’re doubling it. (Same color of fabric or button – black, navy, or white will do)
- Spacer (a second needle or pin – anything small and thin)
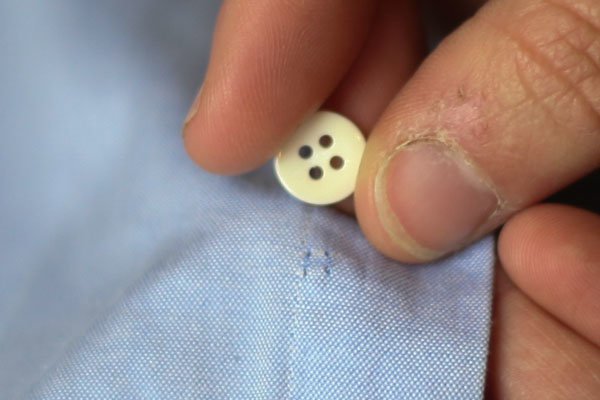
Step 1: Prepare Garment
Where are you going to sew your button? Find the location, mark it with a pin if necessary.
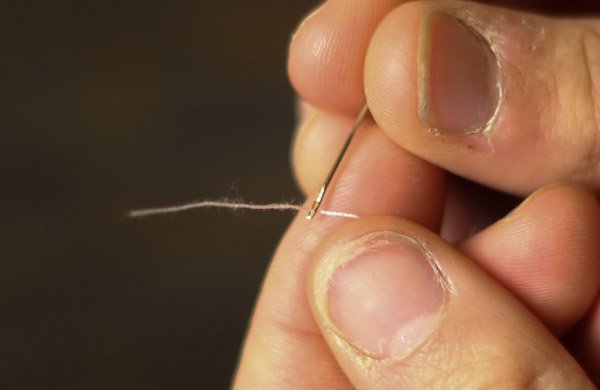
Step 2: Thread the Needle
Pull the thread through the eye of the needle. This is easily done by cutting the thread at an angle with scissors you can also wet the tip of the needle. If you’re still having issues get a needle threader.
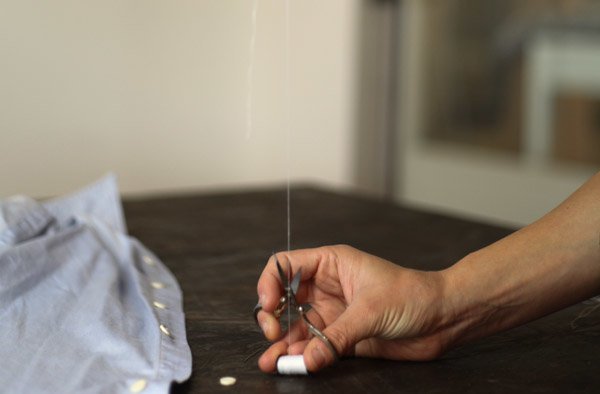
Step 3: Cut Your Thread
Cut the thread, 12″ in length is enough. Optional: If you want a strong hold on your button, and a quicker task, double over the thread so both the ends are the same length, 24″ of thread will do.
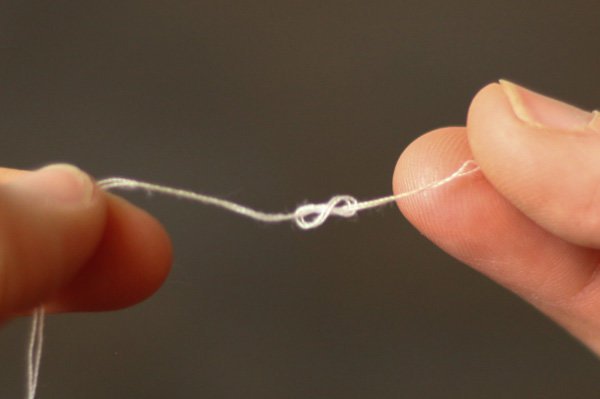
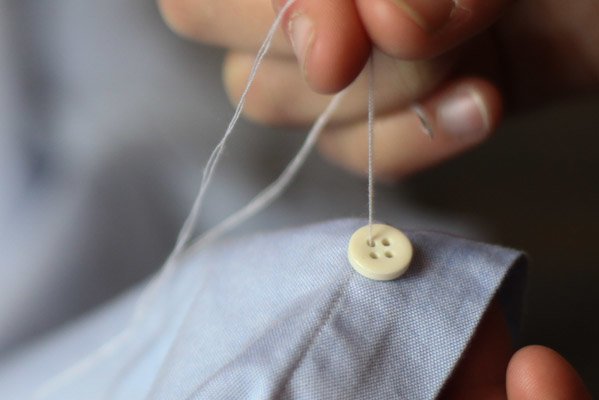
Step 4: Knot the End of the Thread
Tie the thread in a small knot at the end, this prevents it from pulling through your fabric.
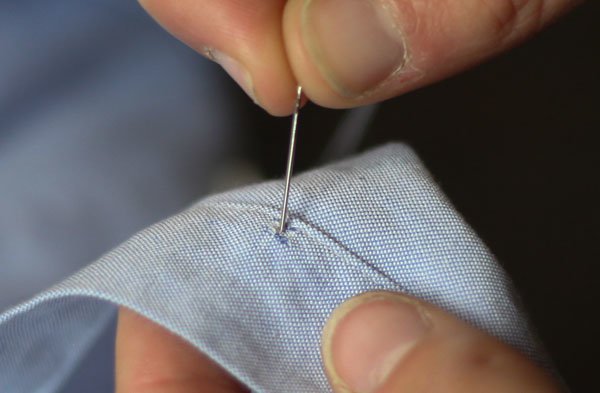
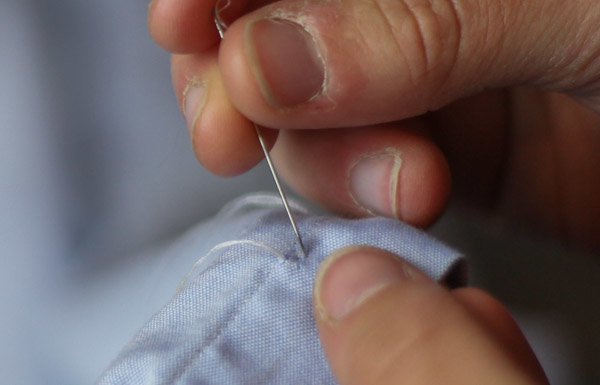
Step 5: Insert Needle Through Back of Fabric
Begin on the backside of your garment, the side people won’t see, and poke your needle and thread through to the front.
Step 6: Start Your Anchor, Bring Needle from Front to Back
Now take the thread and poke it from the front to the back a small ways across from the hole you just formed.
Step 7: Take Needle Across Other Side, Create X
Run the needle up through the back and across the front again, forming an X with your thread.
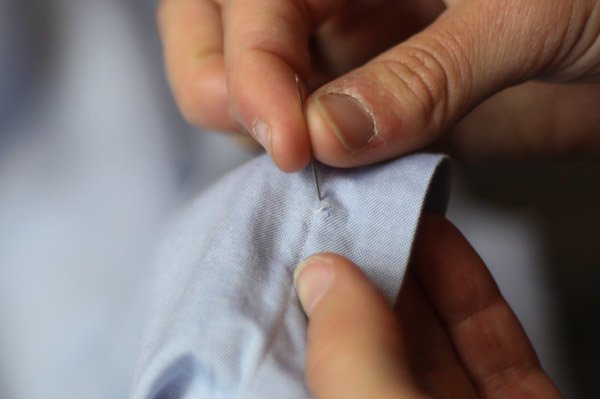
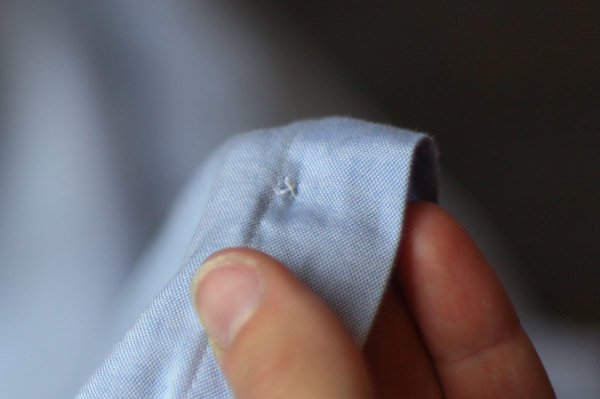
Step 8: X Marks the Spot
You have created an anchor point, the X, so your button will hopefully never fall out again.
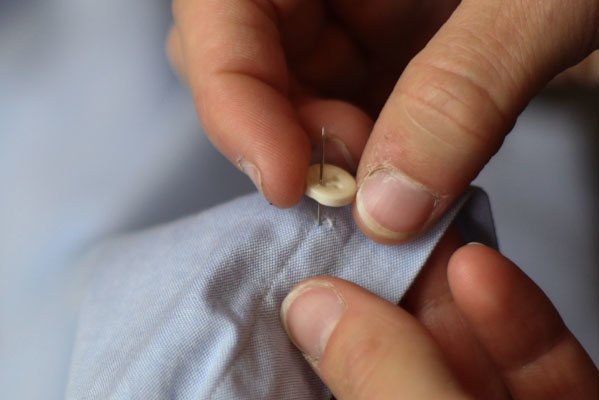
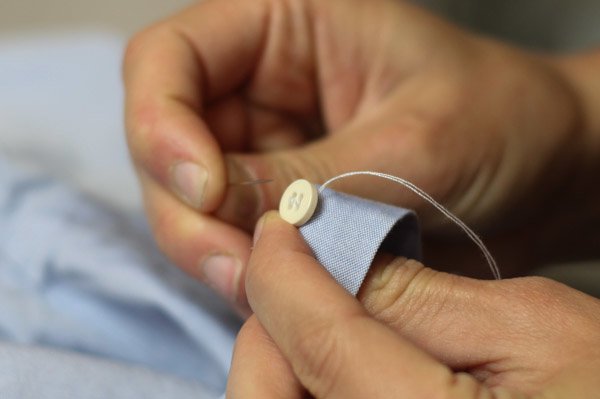
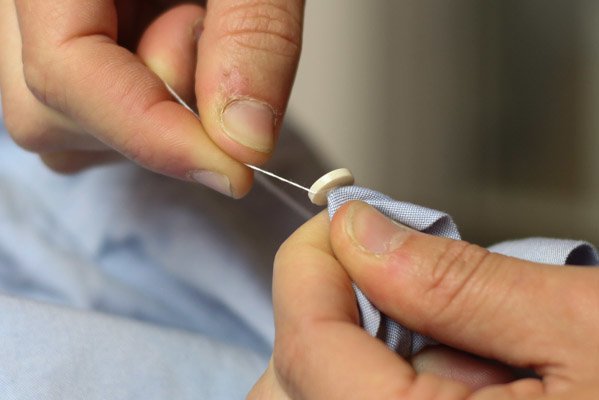
Step 9: Place Button Over X
Place your button over the X and bring your needle through.
Step 10: Sew on Right Side of Button
Thread the needle through the top right button hole and back down the lower right button hole. Don’t pull your thread tight yet.
Step 11: Sew on Left Side of Button
Now push your needle up through the top left hole, and down over the bottom left hole.
Step 12: Add Spacer to Button
Add a spacer, this will give your button wiggle room to fit over the second layer of fabric. Place the spacer underneath the line of thread you just formed.
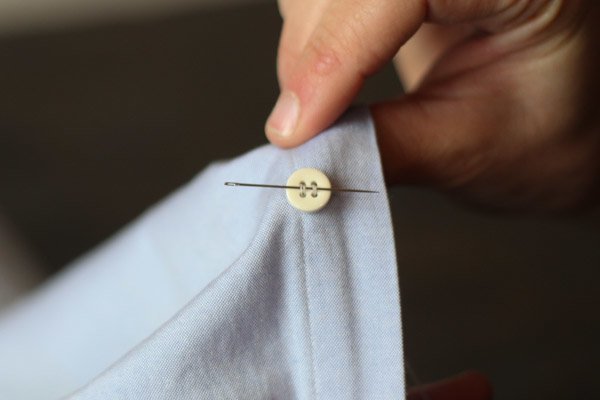
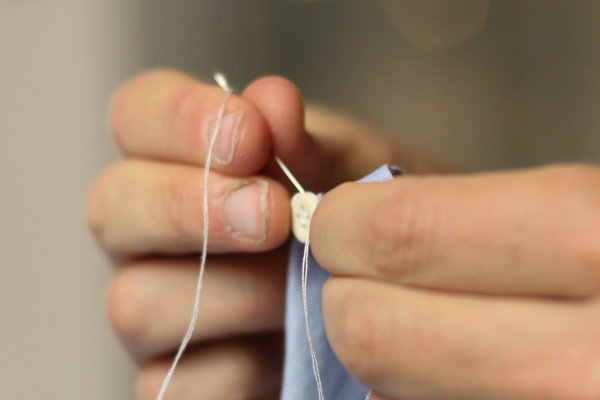
Step 13: Continue Sewing on Button
Repeat threading the needle through the holes of the button about 6 times. Up through one hole, down the other, and under the button. Pull the thread tight after each round.
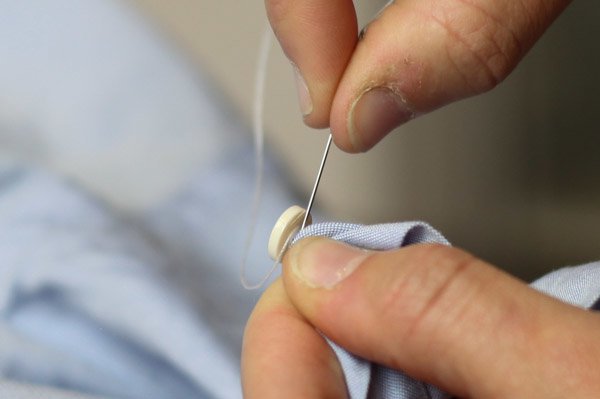
Step 14: Remove the Spacer to Sew on Button
Once the button is firmly in place, you’ll want to secure it with a shank. First, remove the spacer.
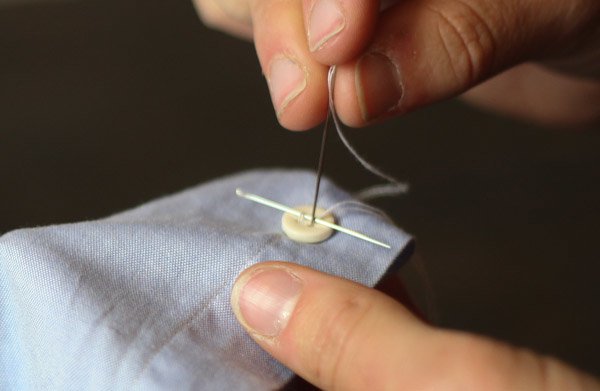
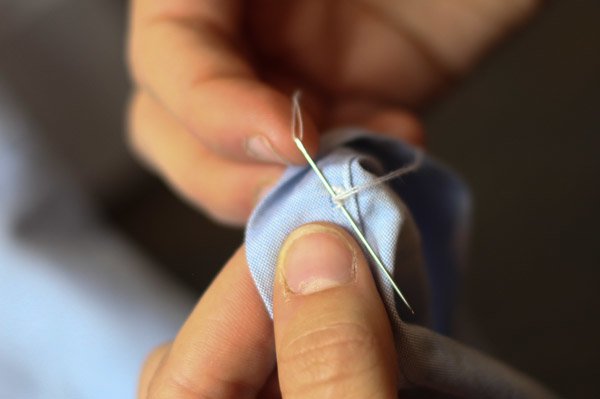
Step 15: Secure Button with Shank
Create the shank by poking your needle up through the back, but instead of placing it through a hole pull your thread to the side.
Step 16: Continue Wrapping Thread Around to Sew on Button
Wrap this thread around the newly formed button threads about 5 times. This creates the shank and will keep the threads in place.
Step 17: Pull Thread Tight, Bring to Back
Pull your shank tight and poke your needle back through the base of the fabric.
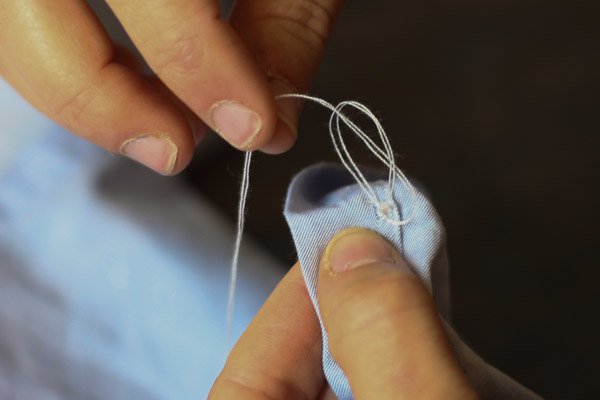
Step 18: Tie a Knot to Secure Button
Tie off your button with a basic knot by taking your threaded needle and wrap it under the fabric on the back, behind the stitches you just made.
Step 19: Finish Knot
Before you pull the thread tight, poke it through this new loop. This is your knot.
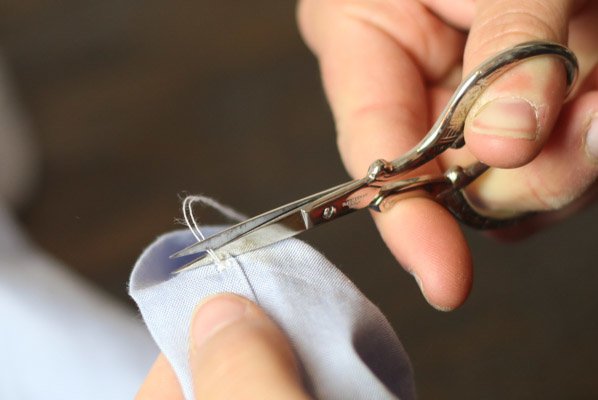
Step 20: Pull Knot Tight and Snip
Pull the thread tight to finish the knot, and snip off excess thread.
Finally:
You have now sewed your button on like a true tailor, thank goodness. Now you will always be prepared, and never have to worry about your buttons falling off again!
Like this post?
Check out another favorite sewing tutorial:
How to Sew Cute Makeup Bags | Free Sewing Patterns


