
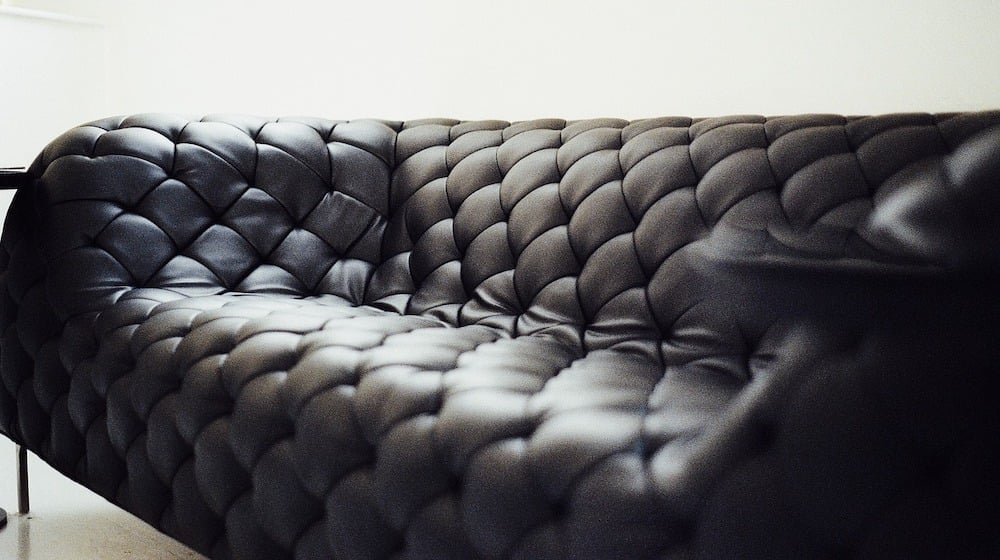

Leather can wear out after years or even months of heavy usage. On these occasions, you got yourself a sofa full of scratches caused by pets, belt buckles, or just the result of compromised leather due to wear and tear. If I had a penny every time I scratched the sofa, I’d have enough to buy a La-Z-Boy. But what I am about to show you are a few tricks on how to remove the scratches from your leather couch. These leather couch repair techniques were passed down to me by my father, and his father, and his father’s father.
DIY Leather Couch Repair | 6 Super Easy Steps in Fixing Cuts and Scratches
I am kidding about the techniques being handed down to me by my father. I learned them from a good friend of mine, who just happened to be an upholsterer.
Leather couch repair for cuts and scratches is very easy. I know some people get bothered with sending their couch to professionals, so these techniques are meant to prevent just that. In addition, it’s cheap and the items you’ll need should readily be available at any hardware stores. Check out the items you’ll need and see the instructions below!
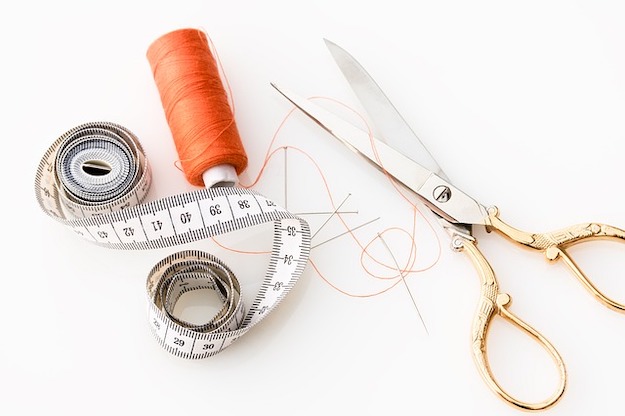
Things you’ll need:
- Piece of cloth patch
- Scissors
- Tweezers
- Small spatula
- Fabric glue
- Fine sandpaper(optional)
- Super glue(optional)
- Rub n’ Restore
- Plank of wood or a hard bound book
Instructions:
Step 1 – Cut the piece of cloth
The first step is to cut the piece of cloth to slightly larger than the actual cut and be sure to round the edges. While pointed edges can hold the leather together, it will make undesirable waves on the surface. Which is why I prefer making circular patches because they just contour and blend with the shape of the sofa.
Step 2 – Insert the patch

Once you’re done cutting the patch, it’s time to insert it inside the cut using a pair of tweezers. If you have small hands, tweezers won’t be necessary and this will be a lot easier for you. But if you’re using tweezers, don’t fret. It’s very tricky, which is why you need to be careful when you’re moving the patch.
Step 3 – Apply fabric glue
After inserting the patch, it’s time to glue the patch and the leather together. You only need a small amount, but this depends on how big the scratch or tear is. A pin-sized dab should be enough and it won’t be messy to apply. Bigger patches are messier and will require something else for application, like a spatula.
Step 4 – Flatten it out

Next step is to apply an even amount of pressure throughout the affected area. You can flatten the patched area with a wooden plank or any flat-surfaced object, like a hardbound book. If your wife asks you why there’s glue on the book, tell them it was for the betterment of the living room.
Step 5 – Apply super glue on cut(optional)
Once the fabric glue has dried out, you can apply a small amount of super glue on the seams. After that, sand the excess out with a very fine sandpaper (I recommend 220 to 320 grit sandpaper so you don’t scratch out the couch in the process). This step is optional because it’s only to make things look better.
Step 6 – Rub n’ Restore

Finally, it’s time to apply some Rub n’ Restore on the sanded area. Just rub an ample amount of the substance on the surface and your sofa will look brand new!
Click play to see the full instructional video from Rub ‘n Restore :
This 6-step restoration hack is all you need if you want to restore your old sofa back to its former glory! There may be some other techniques out there, but I find this super easy and effective! If you have other ideas on how to go about it, tell us through the comments!
For more DIY home transformation, click here!
Liked this article? You should also like these…

9 Non-Tools You Should Have In Your Toolbox
DIY Home Decorating Ideas For Mid Century Modern Lovers

Featured Image via Bridgewater Upholstery


