


Quick Answers: Homemade Resin Jewelry
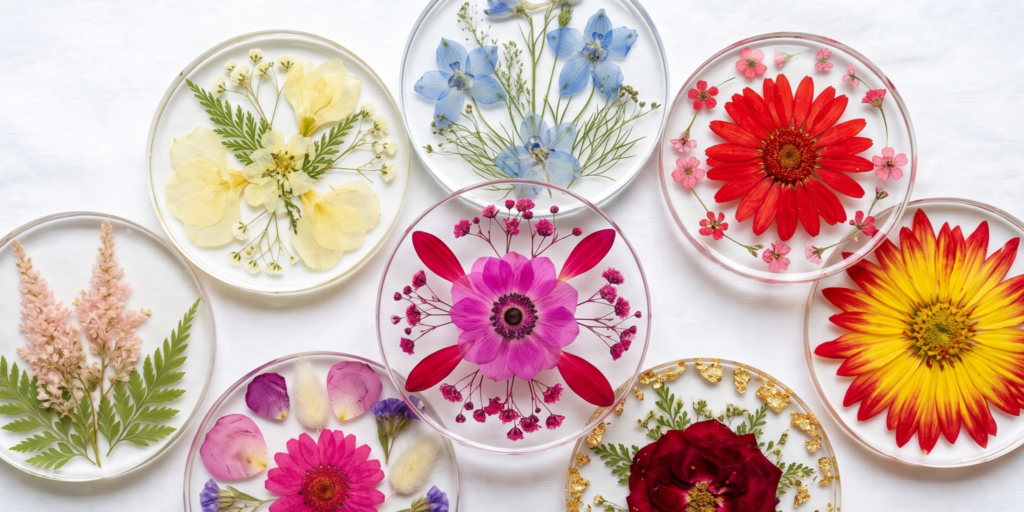
- Homemade resin jewelry is made by sealing pressed, fully dried flowers inside clear resin.
- The step most beginners rush is drying the flower completely before it ever touches resin.
- Thin, flat flowers like pansies, ferns, and baby’s breath press and dry more reliably than thicker blooms.
- Roses and other thick-petaled flowers tend to brown in resin no matter how long they dry.
- A basic resin kit with a mold and mold release runs under $30 to start.
- Each pendant needs about 20 minutes to set before a full overnight cure.
- No prior resin experience is needed to make a first pendant.
I’ve got a drawer full of flowers I pressed with good intentions and never used. If that sounds familiar, you’re in good company. Most people who end up loving this technique start exactly there, with a stack of dried flowers and a resin kit that’s been sitting unopened since the day it arrived.
The thing nobody tells you upfront is that the pour isn’t where pieces go wrong. It’s the drying. A flower that isn’t completely dry when it goes into the resin will turn translucent and brown over time, no matter how careful you are with everything after. Get the drying right and the rest of this is pretty forgiving, which is part of why it’s such a good technique to start with if you’re new to resin altogether.
This guide walks through both parts, picking and drying flowers that will actually hold up, and the pour itself, so your first pendant looks the way you pictured it instead of the way most first attempts turn out.
What You’ll Need
None of this requires specialty equipment. Most of it you can find at a craft store or already have around the house.
- A clear epoxy resin kit
- A resin jewelry mold
- Mold release spray
- A measuring cup you won’t use for cooking again
- Mixing cups and toothpicks
- Pressed flowers of your choice
- A necklace pinch bail
- A drill with a 1/16 inch bit
Choosing and Drying Your Flowers
Not every flower is a good candidate, and this is where most first attempts go wrong before the resin ever comes out of the bottle. Thin, flat blooms like pansies, ferns, and baby’s breath press well and hold their color once they’re sealed in resin. Larkspur and small daisies work well too, since their petals lie flat naturally.
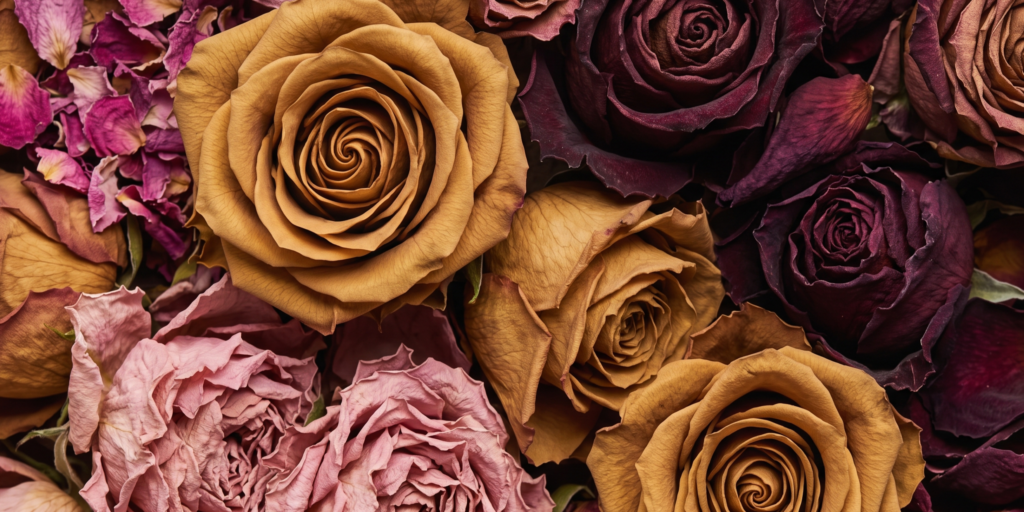
Thicker flowers, roses especially, tend to brown regardless of how long you dry them. There’s simply more plant material for moisture to hide in, and resin has a way of finding it. If you want to use a rose, pull the individual petals apart and press those separately rather than trying to flatten the whole bloom.
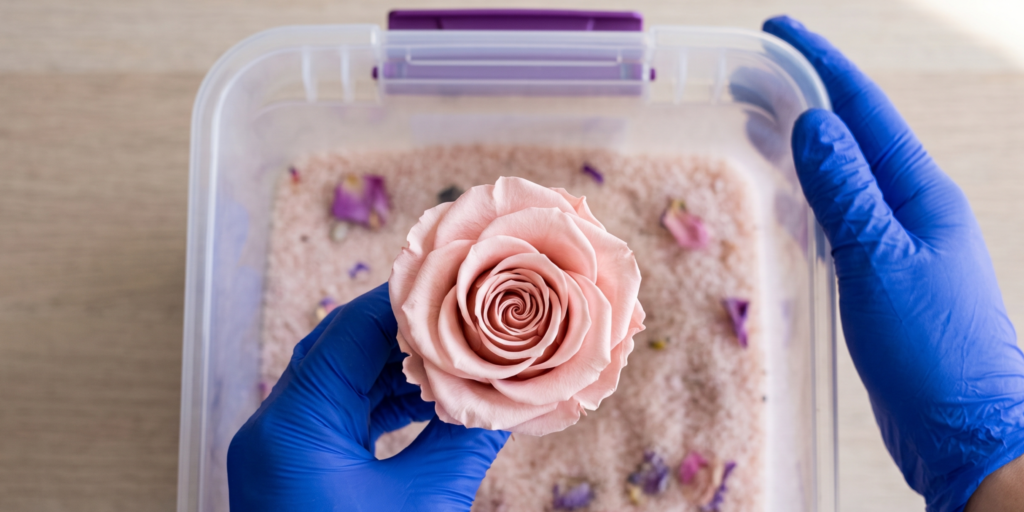
For drying, silica gel gives you the most control and the fastest results, usually just a few days depending on the flower’s thickness. Nestle the flower between two layers of the gel in a sealed container and check on it after 48 hours. If you don’t have any on hand, a heavy book works too, it just takes longer, closer to a full week, and you’ll want to swap in fresh, dry paper every couple of days so trapped moisture doesn’t sit against the petals.
Either way, the flower needs to feel completely dry and slightly stiff before you use it. If there’s any give left in the petals, or if they feel cool or slightly damp to the touch, it isn’t ready. Rushing this step by even a day is the single most common reason a finished piece turns cloudy or brown weeks later instead of staying clear.
Step-by-Step: Pouring the Pendant
1. Prep your mold. Wash a new mold with hot water and dish soap before its first use, and check it over for any rough spots or texture that would show up in the finished piece. A mold that looks fine dry can still have residue from manufacturing.
2. Apply mold release. Spray it in generously, let it sit about 10 minutes, then wipe it dry with a paper towel. This is what lets your finished pendant pop out cleanly later instead of fighting you for it.
3. Place your flower. Set your dried flower into the mold the way you want it to sit in the final piece. This is your only chance to adjust the placement, so take the extra minute here rather than rushing to the pour.
4. Mix and pour the resin. Follow your kit’s mixing ratio exactly, by weight if you have a scale rather than the marked lines on the cup, since even a small measuring error is a bigger percentage of the total in a small batch. Use a toothpick to guide the resin into the mold over the flower, and pour slowly, stopping before it overflows.
5. Pop any bubbles. Within the first few minutes, small bubbles will rise to the surface. A pin works fine to pop them before the resin starts to set. Check back once or twice over the next 10 minutes, since bubbles can keep surfacing as the resin settles.
6. Let it cure. The pendant will firm up within about 20 minutes, but don’t handle it yet, fingerprints show and are hard to fix once the resin sets further. Set it somewhere free of dust and drafts and let it cure fully overnight.
7. Clean up the edges. Once cured, trim any rough edges with scissors or smooth them with fine sandpaper until the edge feels even under your finger.
8. Drill and attach the bail. Use your 1/16 inch bit to drill a small hole through the top of the pendant, then glue the pinch bail closed around it.
9. String it. Slide the finished pendant onto a chain or a piece of leather cord.
If a Piece Comes Out Cloudy
It happens, and it’s not a sign you did the drying step wrong. Cloudiness usually comes down to moisture in the mold or a slightly off resin-to-hardener ratio, both fixable once you know which one you’re dealing with. I wrote a full breakdown of what to check here: [LINK TO CLOUDY-RESIN-FIX ARTICLE].
Final Thoughts
Pressed flowers are one of the most approachable ways into resin jewelry, and also one of the easiest to get genuinely good at once you know that the drying step matters more than the pour. If you’ve got flowers sitting around from a project that never happened, this is a good excuse to finally use them.
Once you’ve got this technique down, it’s worth trying a few others to see what else resin can do. I put together a roundup of other techniques worth exploring.
Frequently Asked Questions
Can I use fresh flowers instead of dried ones?
No. Fresh flowers still hold moisture, and that moisture gets trapped once the resin seals around them. The flower will brown and the resin around it can turn cloudy. Pressing and fully drying the flower first is what keeps it looking the way it did the day you picked it.
How long does a flower need to press before it’s ready?
It depends on the flower and the method, but plan on a few days with silica gel or up to a week with the book method. The flower itself will tell you it’s ready when it feels dry and slightly stiff all the way through, not just on the surface.
Why did my finished pendant turn yellow after a few weeks?
This is usually the resin itself reacting to UV light over time rather than a flower problem. Keeping finished pieces out of direct sunlight slows this down. Some resins are also more UV-stable than others, which is worth checking on your kit’s label if you’re planning to sell finished pieces.
Do I need a UV lamp for this project?
No. This technique uses standard two-part epoxy resin, which cures on its own over time rather than needing UV light. UV resin is a different product with its own uses, but it’s not required here.
Can I press leaves instead of flowers?
Yes. Leaves press and dry the same way flowers do, and thinner leaves like ferns or Japanese maple hold up especially well in resin.
Is this a good first resin project if I’ve never worked with it before?
Yes. The pour itself is simple and forgiving, and there’s no UV lamp or advanced technique involved. Most of what determines how it turns out happens before the resin comes out of the bottle, in how well the flower was dried.









