


Make your room vibrant by creating a fun and colorful pompom rug today! It’s a quick and easy DIY project you can do in a jiffy. Follow these steps and start crafting now!
Pompom Rug: A Quick™ DIY Tutorial
— This post is courtesy of Sewing.com and shared with permission —
Add a little splash of color to your room with this fun craft idea! I’ve made a step-by-step instruction to create this amazing DIY sewing project that will pop colors to your room!
After reinventing your homes with some decor and new furniture, your floors deserve a happy treat too! Actually, pompom rugs can also be homey gifts for your feet and eyes. I remember seeing this fluffy decor in my friend’s living room and I could not help but get one for my sewing room as well. To my amazement, this home decor is definitely easy to make! It’s also a relief for my feet after doing some sewing projects — so squishy!
Planning to decorate but on a budget? Today, I’m sharing an easy sewing project for your home – a DIY pompom rug that can be plain or of different colors. You can also make it cute or huge. It’s all up to you. If you’re hesitant to make one because you think it might be hard to do, worry not because this is so easy to make. I’m sure you’ll enjoy making this pompom rug plus you’ll be needing 4 materials only! So without further ado, let’s start making our cute pompom rug!
Materials Needed:
- non-slip rug pad
- 2 toilet paper rolls
- scissors
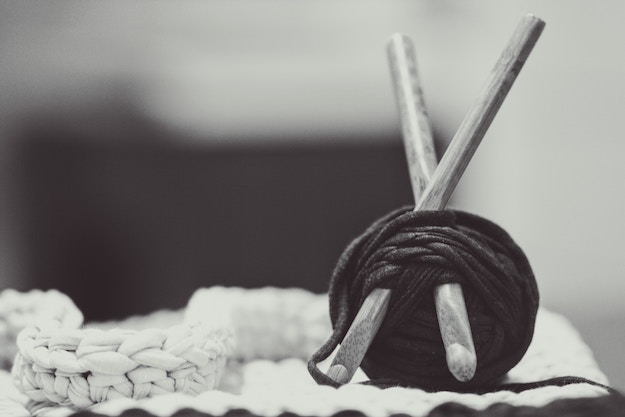
- lots of yarn
Step 1. Flatten The Paper Rolls
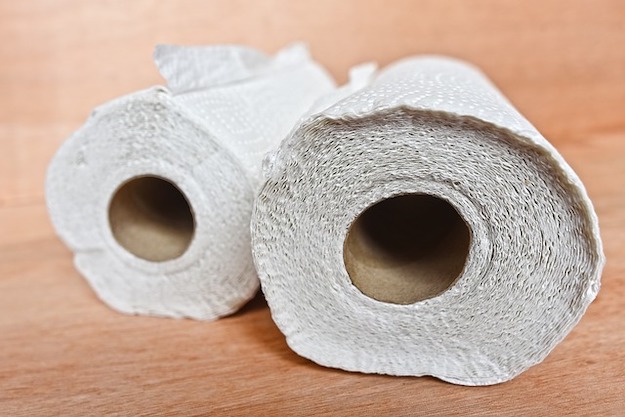
Using your hands, press the paper rolls to make them flat.
Step 2. Wrap It
Wrap your yarn around the paper rolls for a puffy pompom effect. Make sure the yarn is spread across the rolls evenly. The bigger the paper roll, the bigger the pompom will be.
Step 3. Cut The Yarn
Cut the yarn after wrapping the tissue paper roll.
Step 4. Make A Knot
Grab another small piece of yarn then wrap in-between the rolls. When you’re done, make a tight knot on both sides to ensure that the pompom is secured.
Step 5. Cut The Donut Shape Yarn
Once you’re able to create a donut shape, grab your scissors and start cutting to the loops around your donut-shape yarn.
By doing this, it will open your pompom and give it a nice, circular shape. As you see, the pompom still has ‘tails’. Be sure not to cut them because you’ll be using these tails later.
Want to see the full article?
Keep reading here on our sister site Sewing!
It’s affordable and easy, right? Spice up your living room with this pompom rug! At the same time – it won’t cost a hole in your pocket! Happy sewing and decorating!
This pompom rug is such an easy and amazing craft, right? I’m sure you have no problems making one, so share the pictures and ideas in the comment section below. We would love to hear them!
Do you want ideas on how to decorate your small living room? Check this out now!
![]()
Stay connected with us on Facebook, Twitter, Pinterest and Instagram!


