

Who knew that anyone could make a DIY phone case with just a hot glue gun and some baking paper? Check out the full tuturial here!
DIY Phone Case Made With Just A Glue Gun
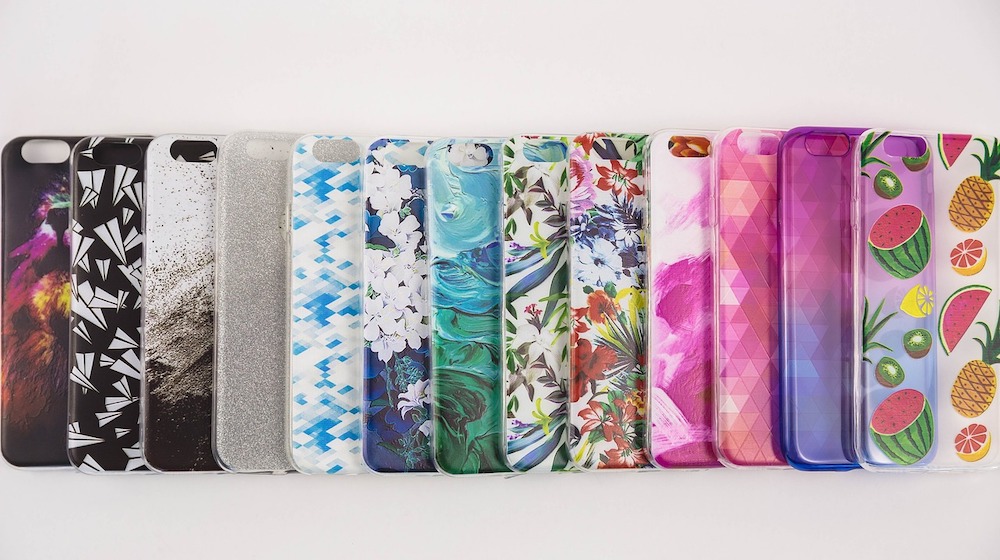
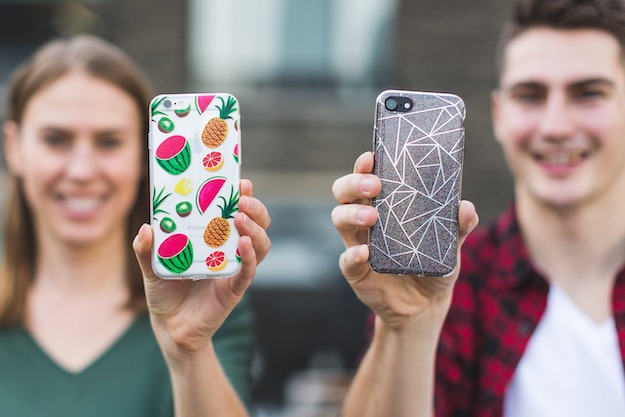
Phone cases are easy to find. You can buy them online, at mall kiosk’s and even at your local gas station. It makes sense that they’re everywhere: they help protect your phone, which can range in price from a few hundred dollars to almost a thousand.
No one wants a cracked screen, but what happens when you need phone case but can’t go out and buy one. Well, why not just make your own?
With the help of a glue gun and some baking paper, you can make a DIY phone case for any smartphone in about 15 minutes.
Check out the short tutorial, from YouTube user DaveHax, below.
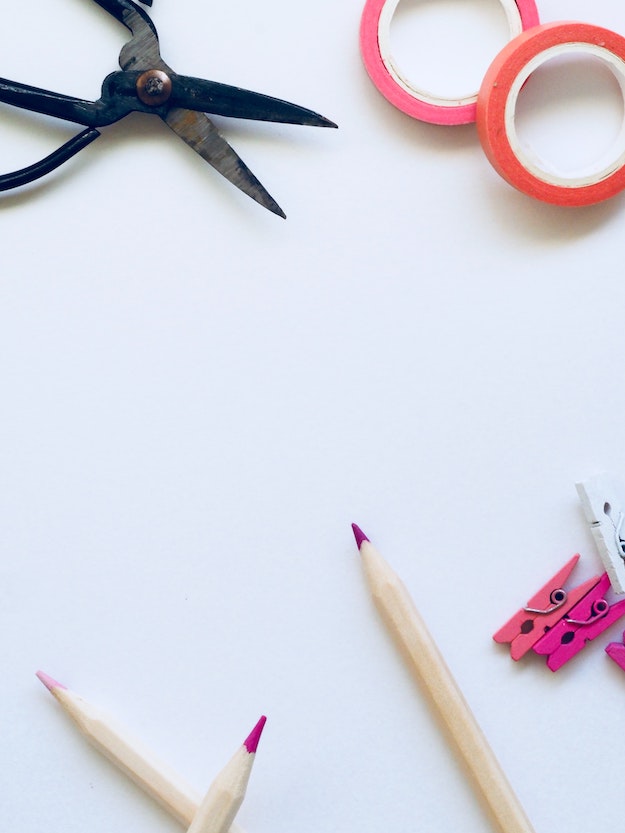
What You’ll Need:
- phone
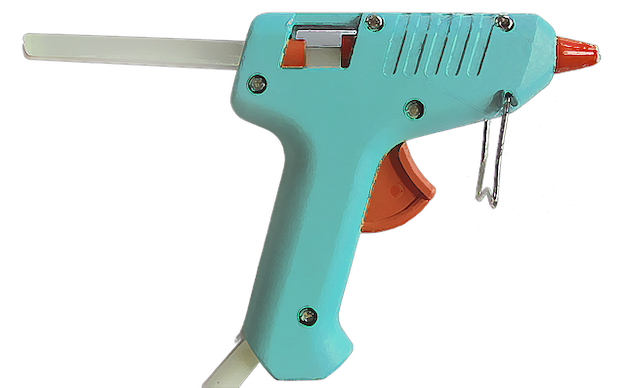
- hot glue gun
- baking paper
- tape
- scissors
Directions:
1. Cut off a sheet of baking paper
Place your phone on it and cut around the phone with enough space so that the baking paper can comfortably cover the entire phone.
2. Tape baking paper to phone
With the phone screen facing up, tape the baking paper around it. Make sure that the baking paper is taped only at the front of the phone.
No tape should be on the back of the phone. It should look like this.
3. Draw around phone buttons, charger dock and camera
Use a pencil to draw around the camera, flash, power and volume buttons and charging dock. You want no hot glue in these areas.
4. Glue around phone edge
Heat up the glue gun and draw around the bottom edge of the phone, which should facing down on more baking paper.
5. Start the back of the phone case
Once the edge is drawn, create the phone case design across the back of the phone. Get creative, but make sure that no glue gets in the areas that you drew in earlier, or else you won’t be able to access the camera, buttons, etc.
6. Let dry for 10 minutes and clean up case
After the gluing is done, let the case sit for 10 minutes. Slowly remove the phone from the case and use scissors to cut off any excess glue.
7. Use your phone case!
Pop your phone back into the case and you’re all good to go!
Also make sure to check out these 3 DIY Phone Cases and this DIY Hologram Projector For Your Smartphone!
![]()


