

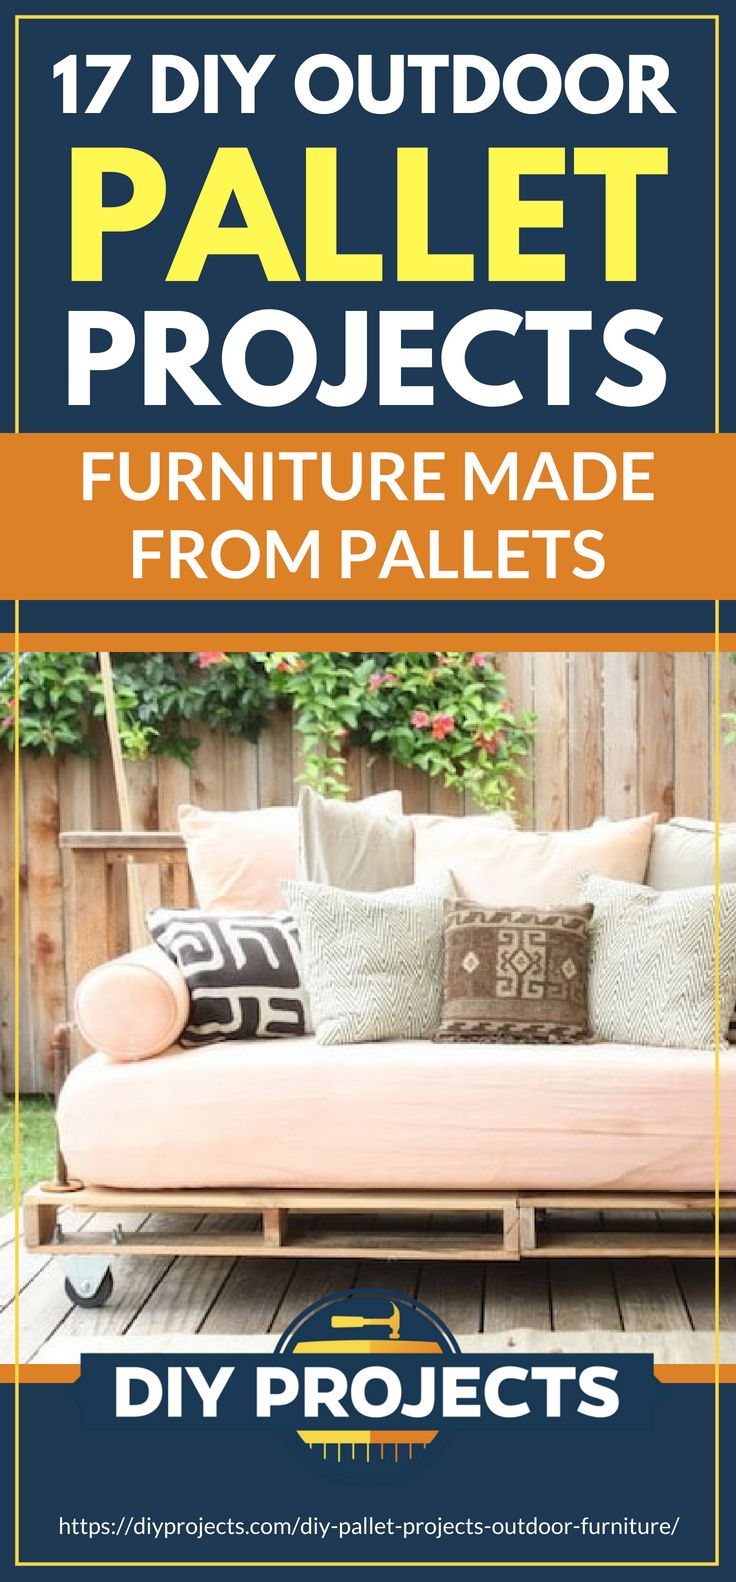
Want to work on some DIY outdoor pallet projects? Awesome! These outdoor wood pallet projects will not only spruce up your yard, they’ll also give you loads more reasons to spend beautiful days outdoors. These outdoor pallet projects will also sharpen your woodworking skills while producing backyard accents the family will enjoy! Find easy DIY pallet ideas for outdoors here to start working on today!
Cool Outdoor Pallet Projects for a Low-Cost Yard Upgrade!
1. Coffee Table
When working with pallet boards, it’s always good to have a power saw nearby. Don’t have one? No worries. You’ll still be able to make the coffee table. All you have to do is use a hammer, a chisel, and a nail remover to help disassemble the boards.
2. Porch Swing
Lounging on my porch swing is one of the ways I spend my hours in the backyard. Dave says not to worry if your leftover pallets have dirt and grime on them. A thorough sanding will get you cleaner pieces you can use.
3. Bar
Pallet boards make an excellent structure for a DIY bar. By the way, don’t forget to place a 1×3 wooden piece to help make the base sturdier and to prevent the different pallet boards from budging.
4. Daybed
It’s important to decide the size of your mattress before you begin constructing your daybed. That being said, if you’ll be using a standard twin mattress, a standard pallet size of 48×40″ will do.
5. Sandbox
Your kids will have loads of fun with their newly constructed sandbox! Want to save a few extra dollars with this DIY? Ask around for any spare tarpaulin posters that aren’t being used anymore. That way, you won’t have to buy a new one.
6. Kiddie Chair
Since your kids will be the ones using this piece of furniture, I strongly suggest thoroughly sanding each side of the pallets to be used. Doing so will avoid any unwanted cuts and scrapes from splinters.
7. Teepee
Spoil your kids with a DIY teepee right in the heart of your backyard! By the way, if you live in a windy area, Dave recommends adding slats at the bottom to prevent the teepee from falling over during strong winds and storms.
8. Couch
Depending on the size of your backyard or the preferred couch, you may find the standard pallet size to be a tad big to your liking. To remedy this, simply use a hand saw to cut off the extra lengths.
9. Outdoor Table
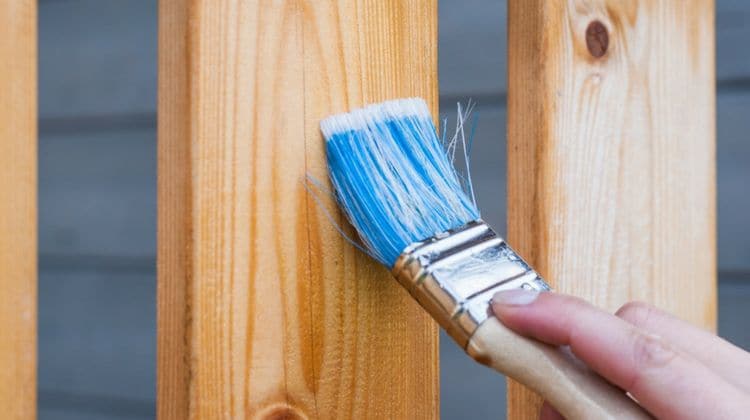
Once you’ve thoroughly sanded your pallet board, add legs to the bottom to turn it into a table. Then, paint it however you’d wish. If you’d like, you can even copy this tutorial, by painting the legs a different color and placing a stain on top.
10. Chair
Begin by disassembling your pallets and sanding each board. Then cut the boards according to the size needed. Remember to cut the boards in a straight line. This is especially important for the base pieces.
11. Bench And Gambion Table
One of the reasons I love this gabion table so much is because it doubles as a storage area for a few backyard toys. Just don’t forget to fill the bottom with a few heavy rocks or pebbles first. These will act as a weight for the table, making sure it won’t topple over.
12. Space-Saving Gardening Table
Since this gardening table might be holding a few heavy tools and pots, it’s good to ensure you have heavy duty C screws to attach to the pallet. Once you’ve determined if they’re strong enough, place them on the top of the pallet, leaving a space of about 2-3” from the end.
13. End Table
If you need help prying the boards apart, grab a jigsaw or a circular saw to help cut off the ends. Don’t forget to pry from the center support as well.
14. Lounge Bed
When placing the hinges on your lounge bed, it’s important to attach them to the third slat from the top. Doing so will ensure your backrest will have ample support from the base.
Double tap this photo if you love the great outdoors/indoors! 😂 #DIYprojects | 📷: HOLLY HUNT Design pic.twitter.com/uj3tXvx7rL
— DIY Projects (@DIYProjectsCom) April 3, 2017
15. Crate Storage Table
This crate table tutorial uses a plywood board for the table top, but it’ll work well with a few pallet wood boards as well. Just don’t forget to bind the pallets together by attaching smaller pieces of wood on the other side. Another trick is to attach these pieces of wood in the opposite direction of your pallets.
16. Swing Bed
Make the appropriate measurements and cuts of your pallets, once you’ve decided on the size of your mattress. Then, insert 2×4 lumber pieces through the pallets. Attach the rope by drilling holes in the bed’s corners and placing the rope below the pallet boards and around the lumber pieces. Then, tie the rope to a tree and place your mattress in.
17. Succulent Planter Table
Display your succulents for everyone to see with this gorgeous succulent planter table. When making the hole in the middle for the succulents, don’t forget to leave a good amount of space on the sides. At least half a foot on each side would be enough.
Looking for more outdoor pallet projects? This video by Cottage Life teaches you how to make an outdoor man cave:
I hope your family enjoys these outdoor pallet projects as much as mine did! To be honest, my family’s been staying outdoors a lot more because of these pallet accents, and Dave and I can’t help but feel ecstatic. After all, it sure beats a day spent indoors. For low-cost pallet projects, check out how to find free pallets here for your outdoor wood pallet projects!
Which outdoor pallet projects are you stoked to make? Let us know in your comments below!
Up Next: 5 Things to Look for When Choosing Wood Pallets for Your Projects

Stay connected with us on Facebook, Twitter, Pinterest, and Instagram!
Editor’s Note: This post was originally published on July 20, 2017, and has been updated for quality and relevancy.


