Have you been wanting to make a bow for practicing in the yard? Ideally something cheap to bond with the kids over, or maybe to be ready when you need to survive a real world situation? For many survivalists, when they think of a “Survival Bow,” they think of honing some hearty tree sapling in the woods. BUT….
The world is changing! There are many supplies available to use that might be more readily available to you, including scraps of PVC.
DIY Bow Weapons Making | PVC Fiberglass Bow
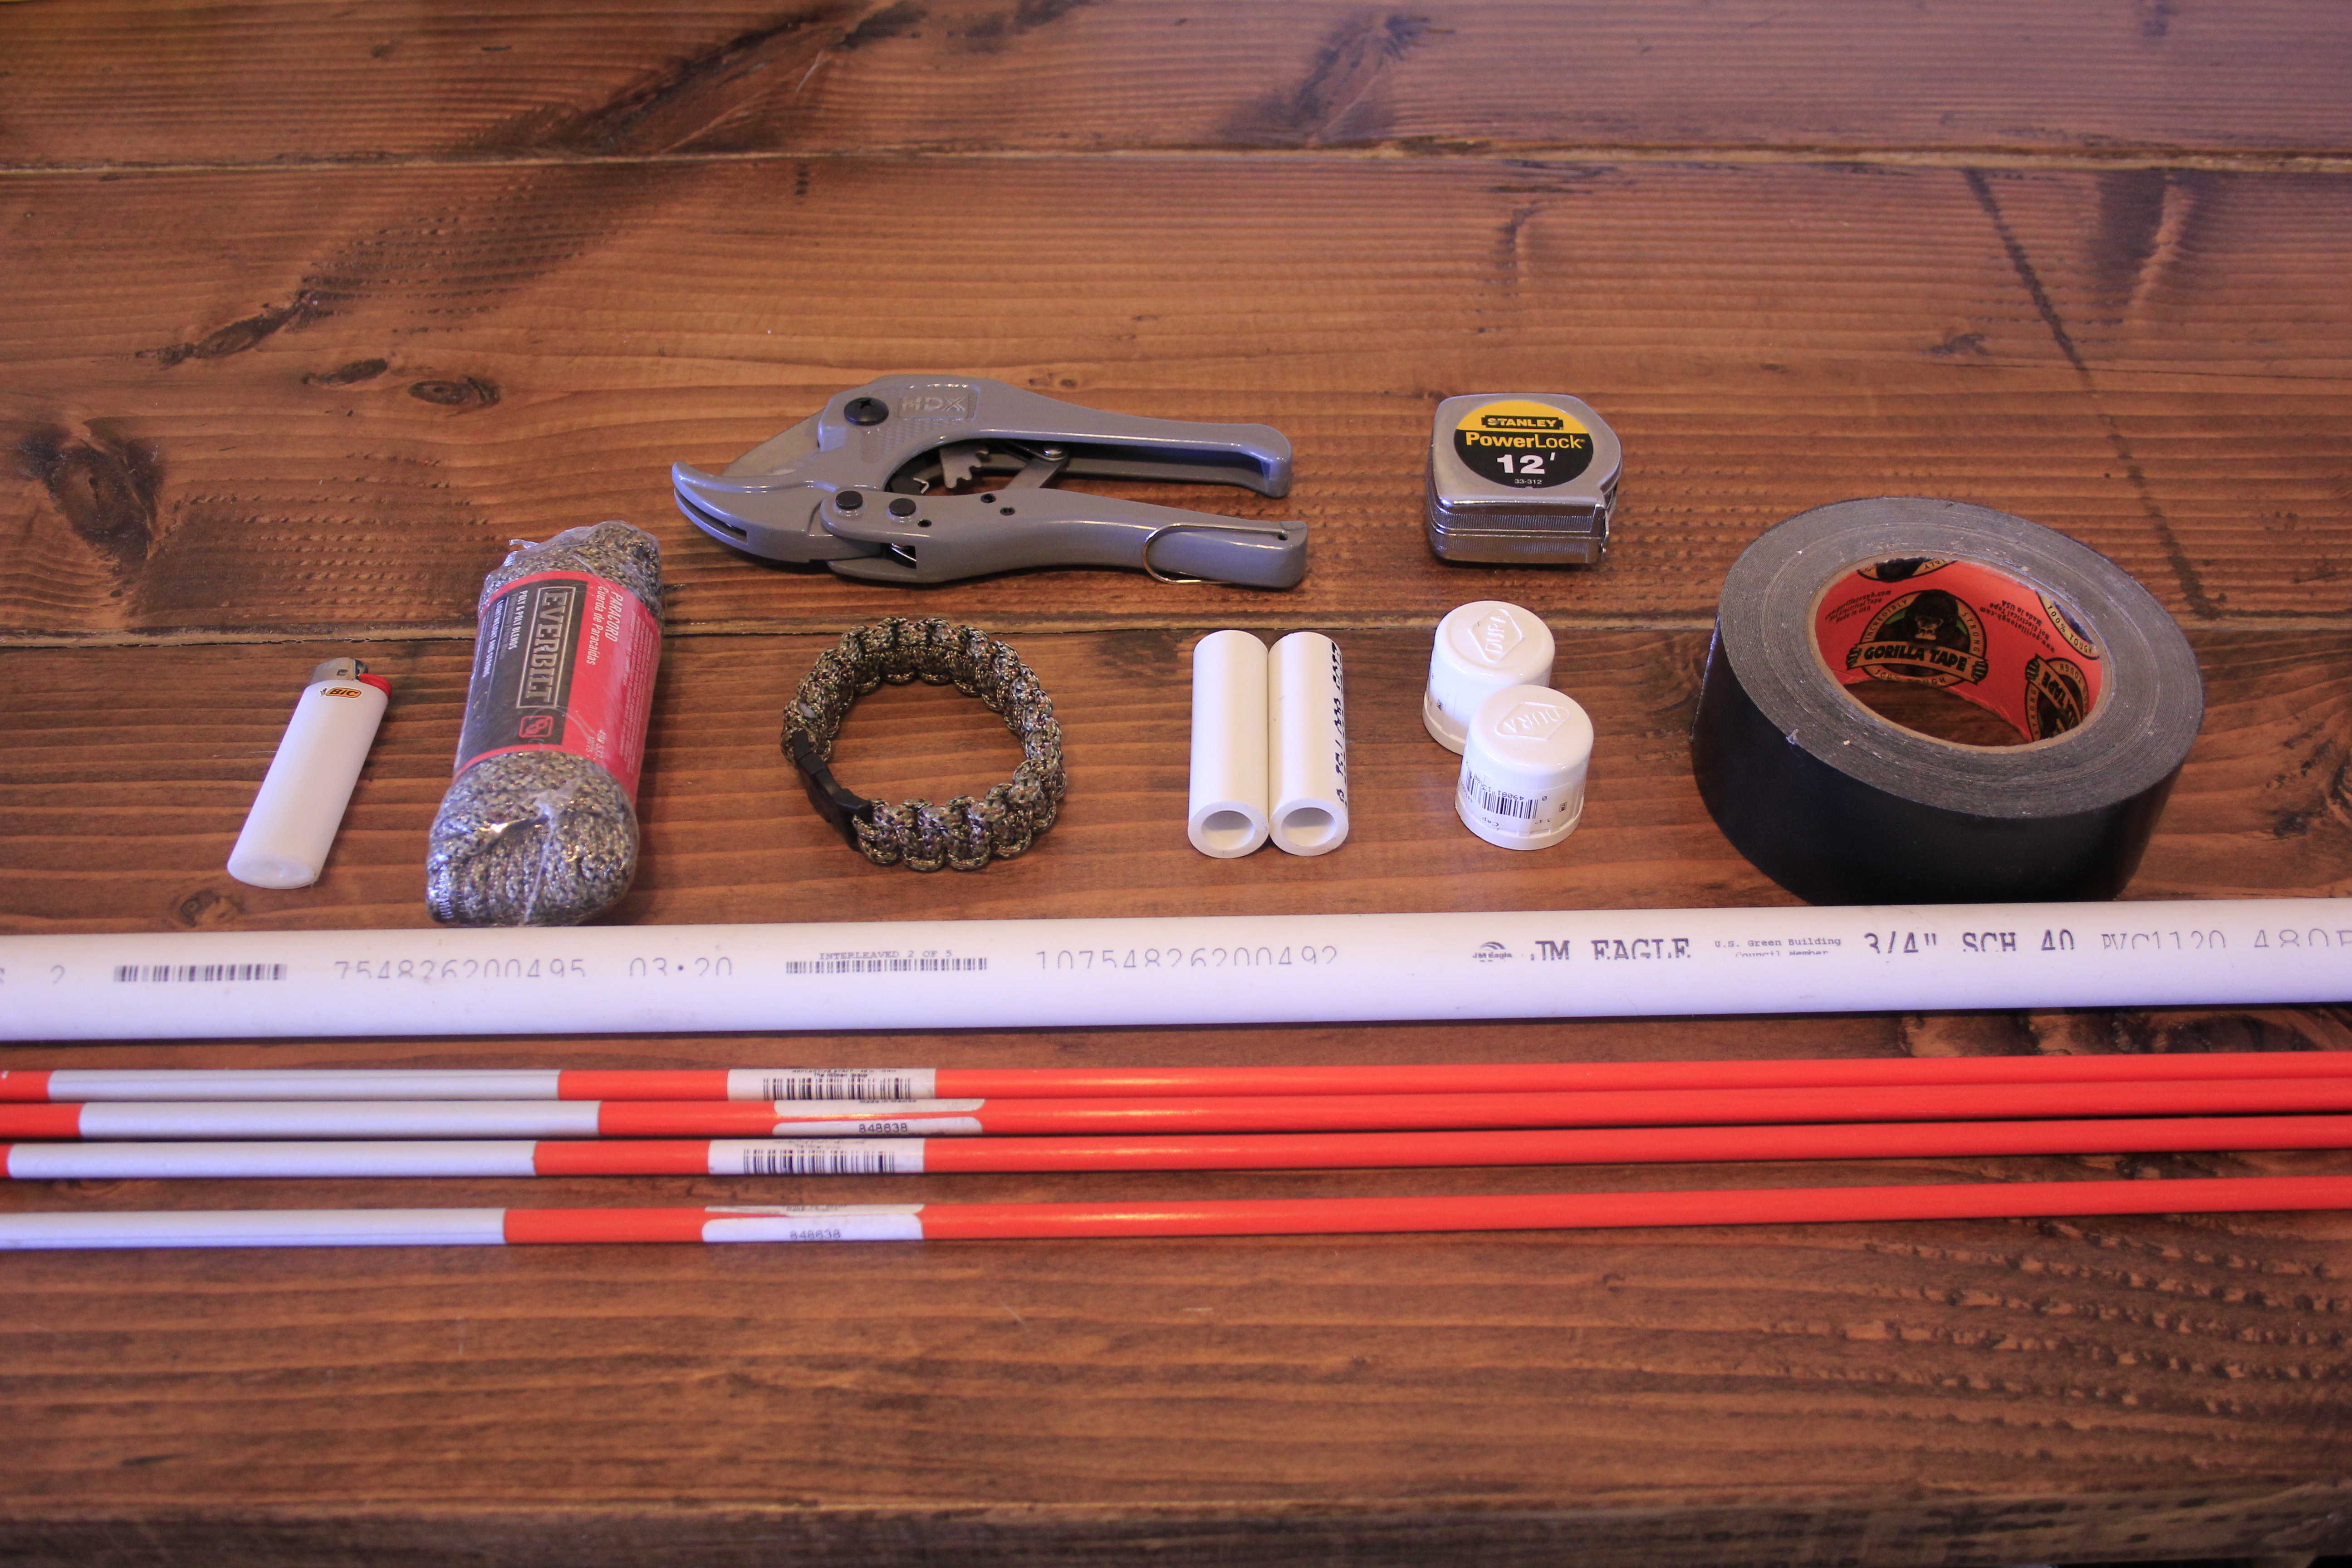
Supplies needed for your Fiberglass Reinforced PVC Bow:
- x1 – 62-inch length of 3/4-inch PVC Plumbing Pipe
- x2- 2-inch sections of 1/2-inch PVC Plumbing Pipe
- x2 – 3/4-inch PVC Pipe End Caps (optional)
- x4 – Fiberglass Rod Reflective Road Markers/Driveway Markers (available to most hardware stores)
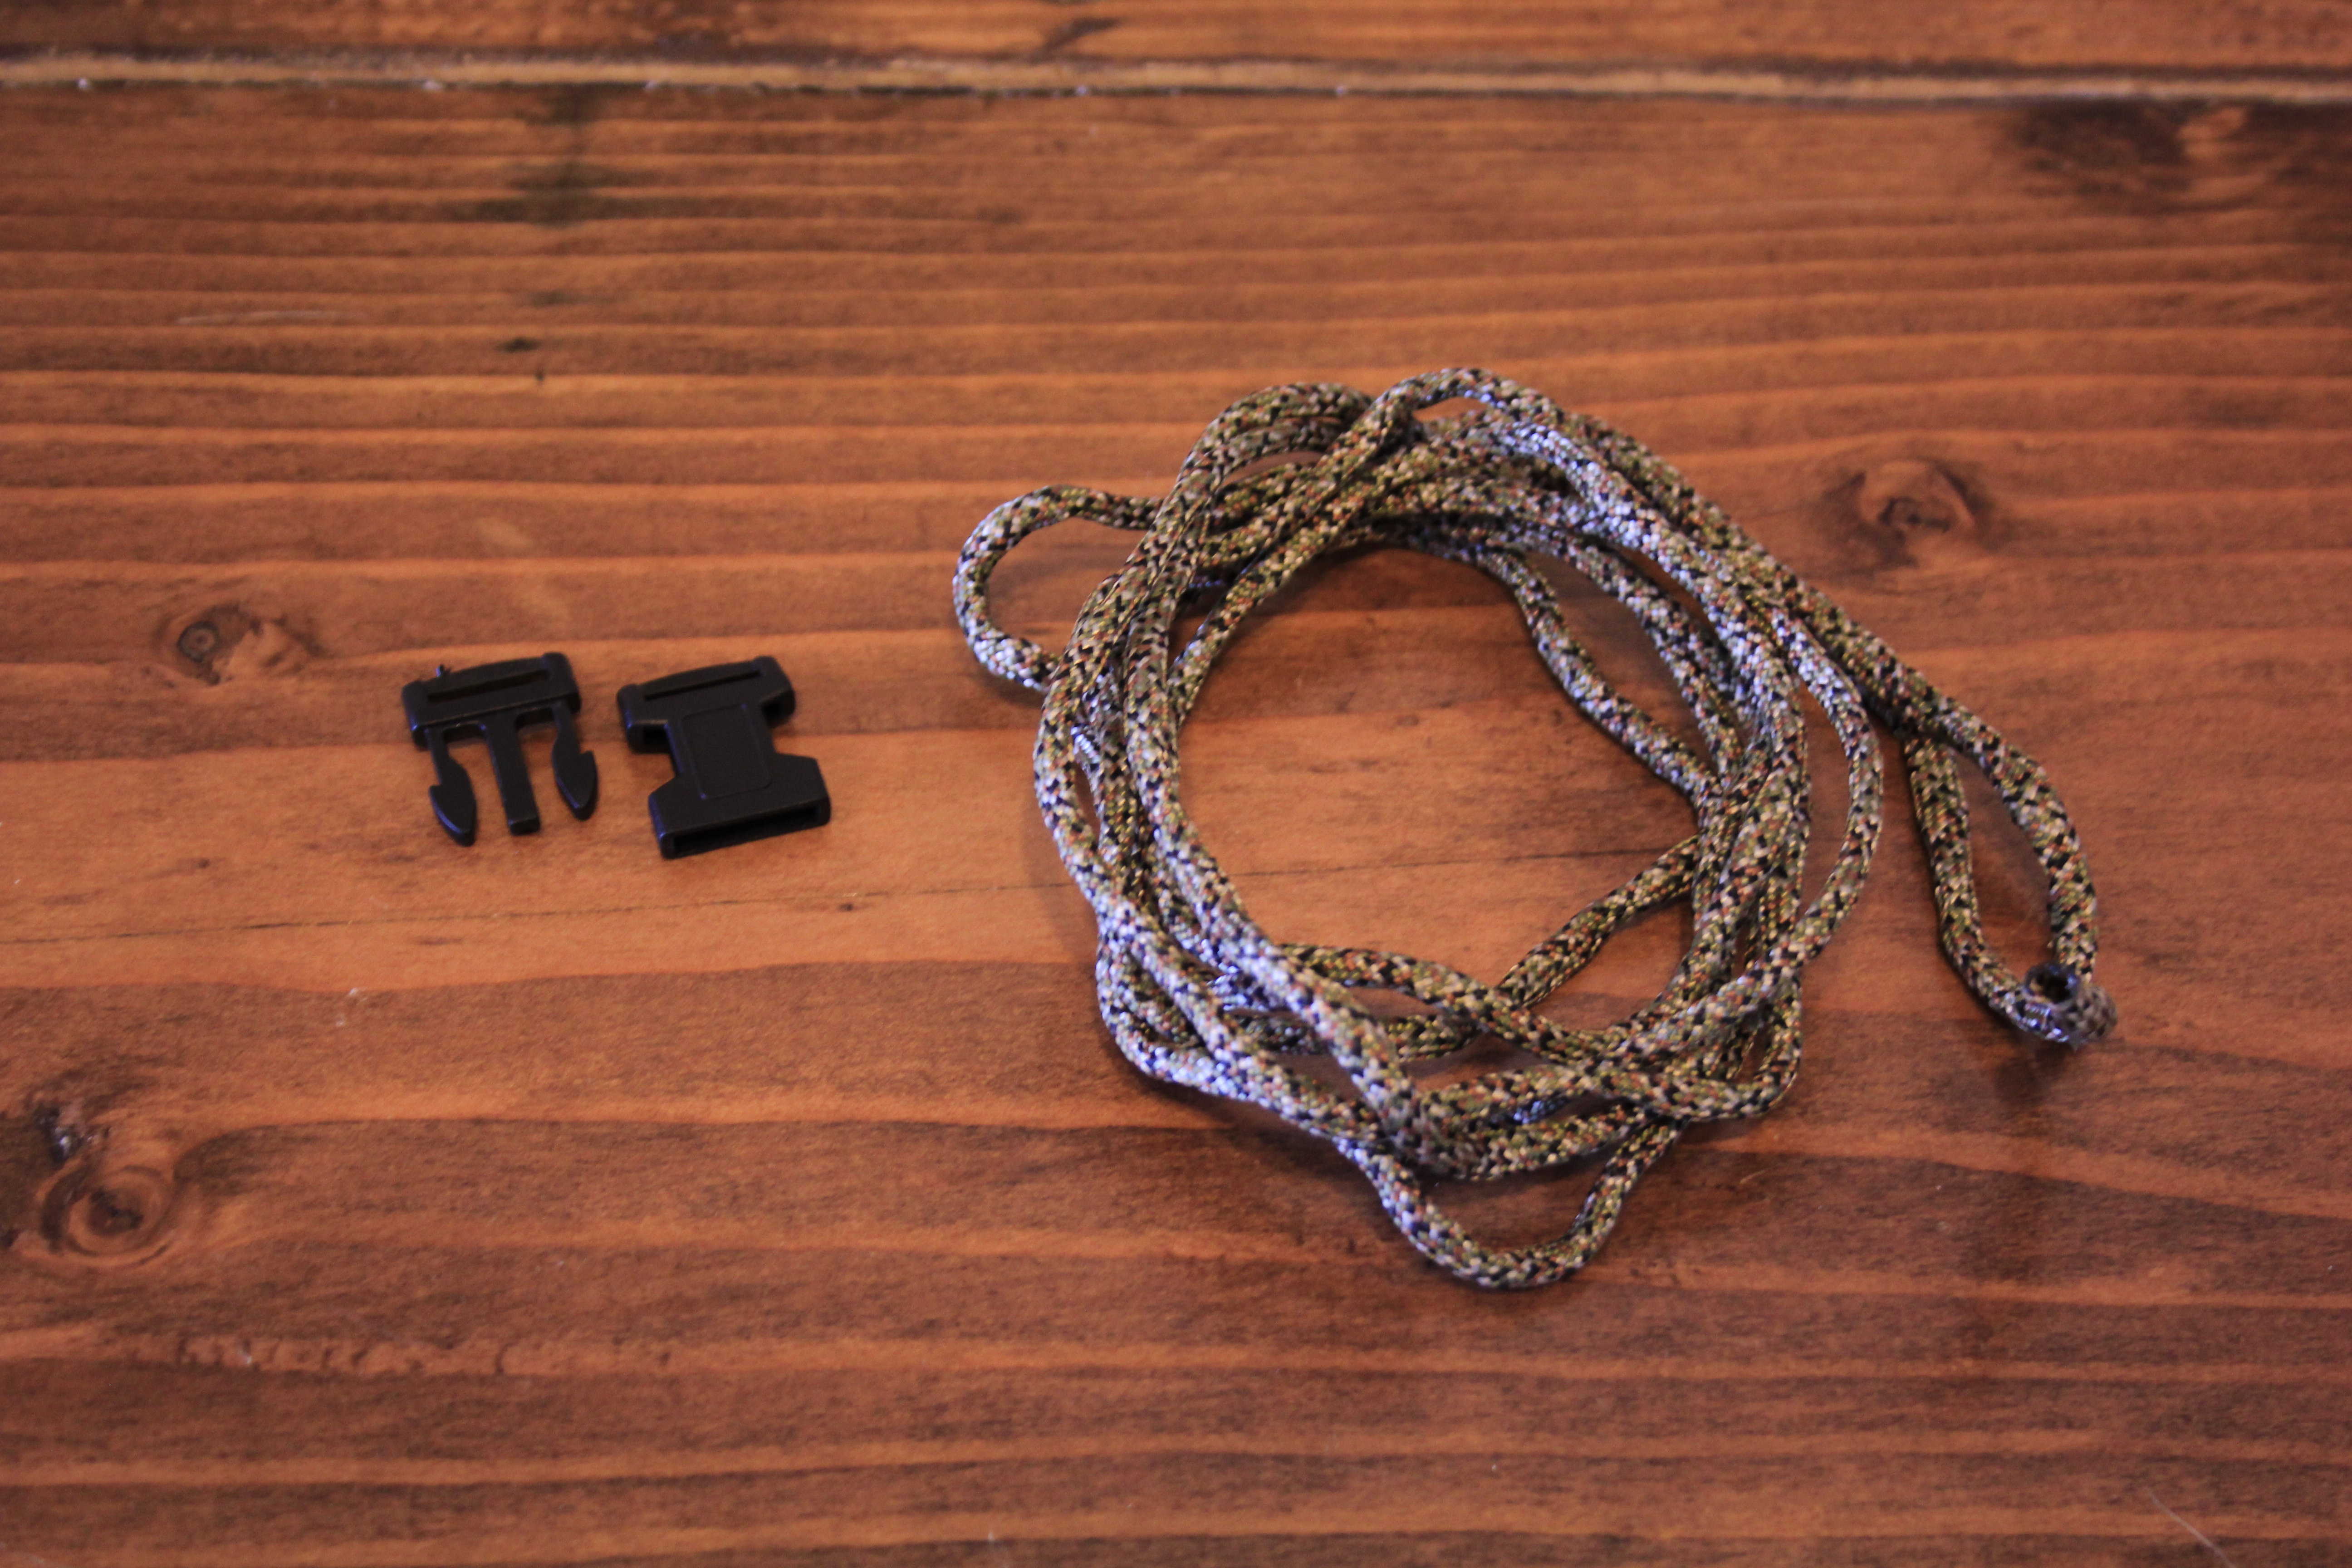
- x1 – Paracord Survival Bracelet or 7-feet of loose paracord (160+ pound test)
- x1 – Lighter
- x1 – PVC Pipe Cuter
- x1 – Tape Measure
- Optional: Paint to bad-assify your finished product
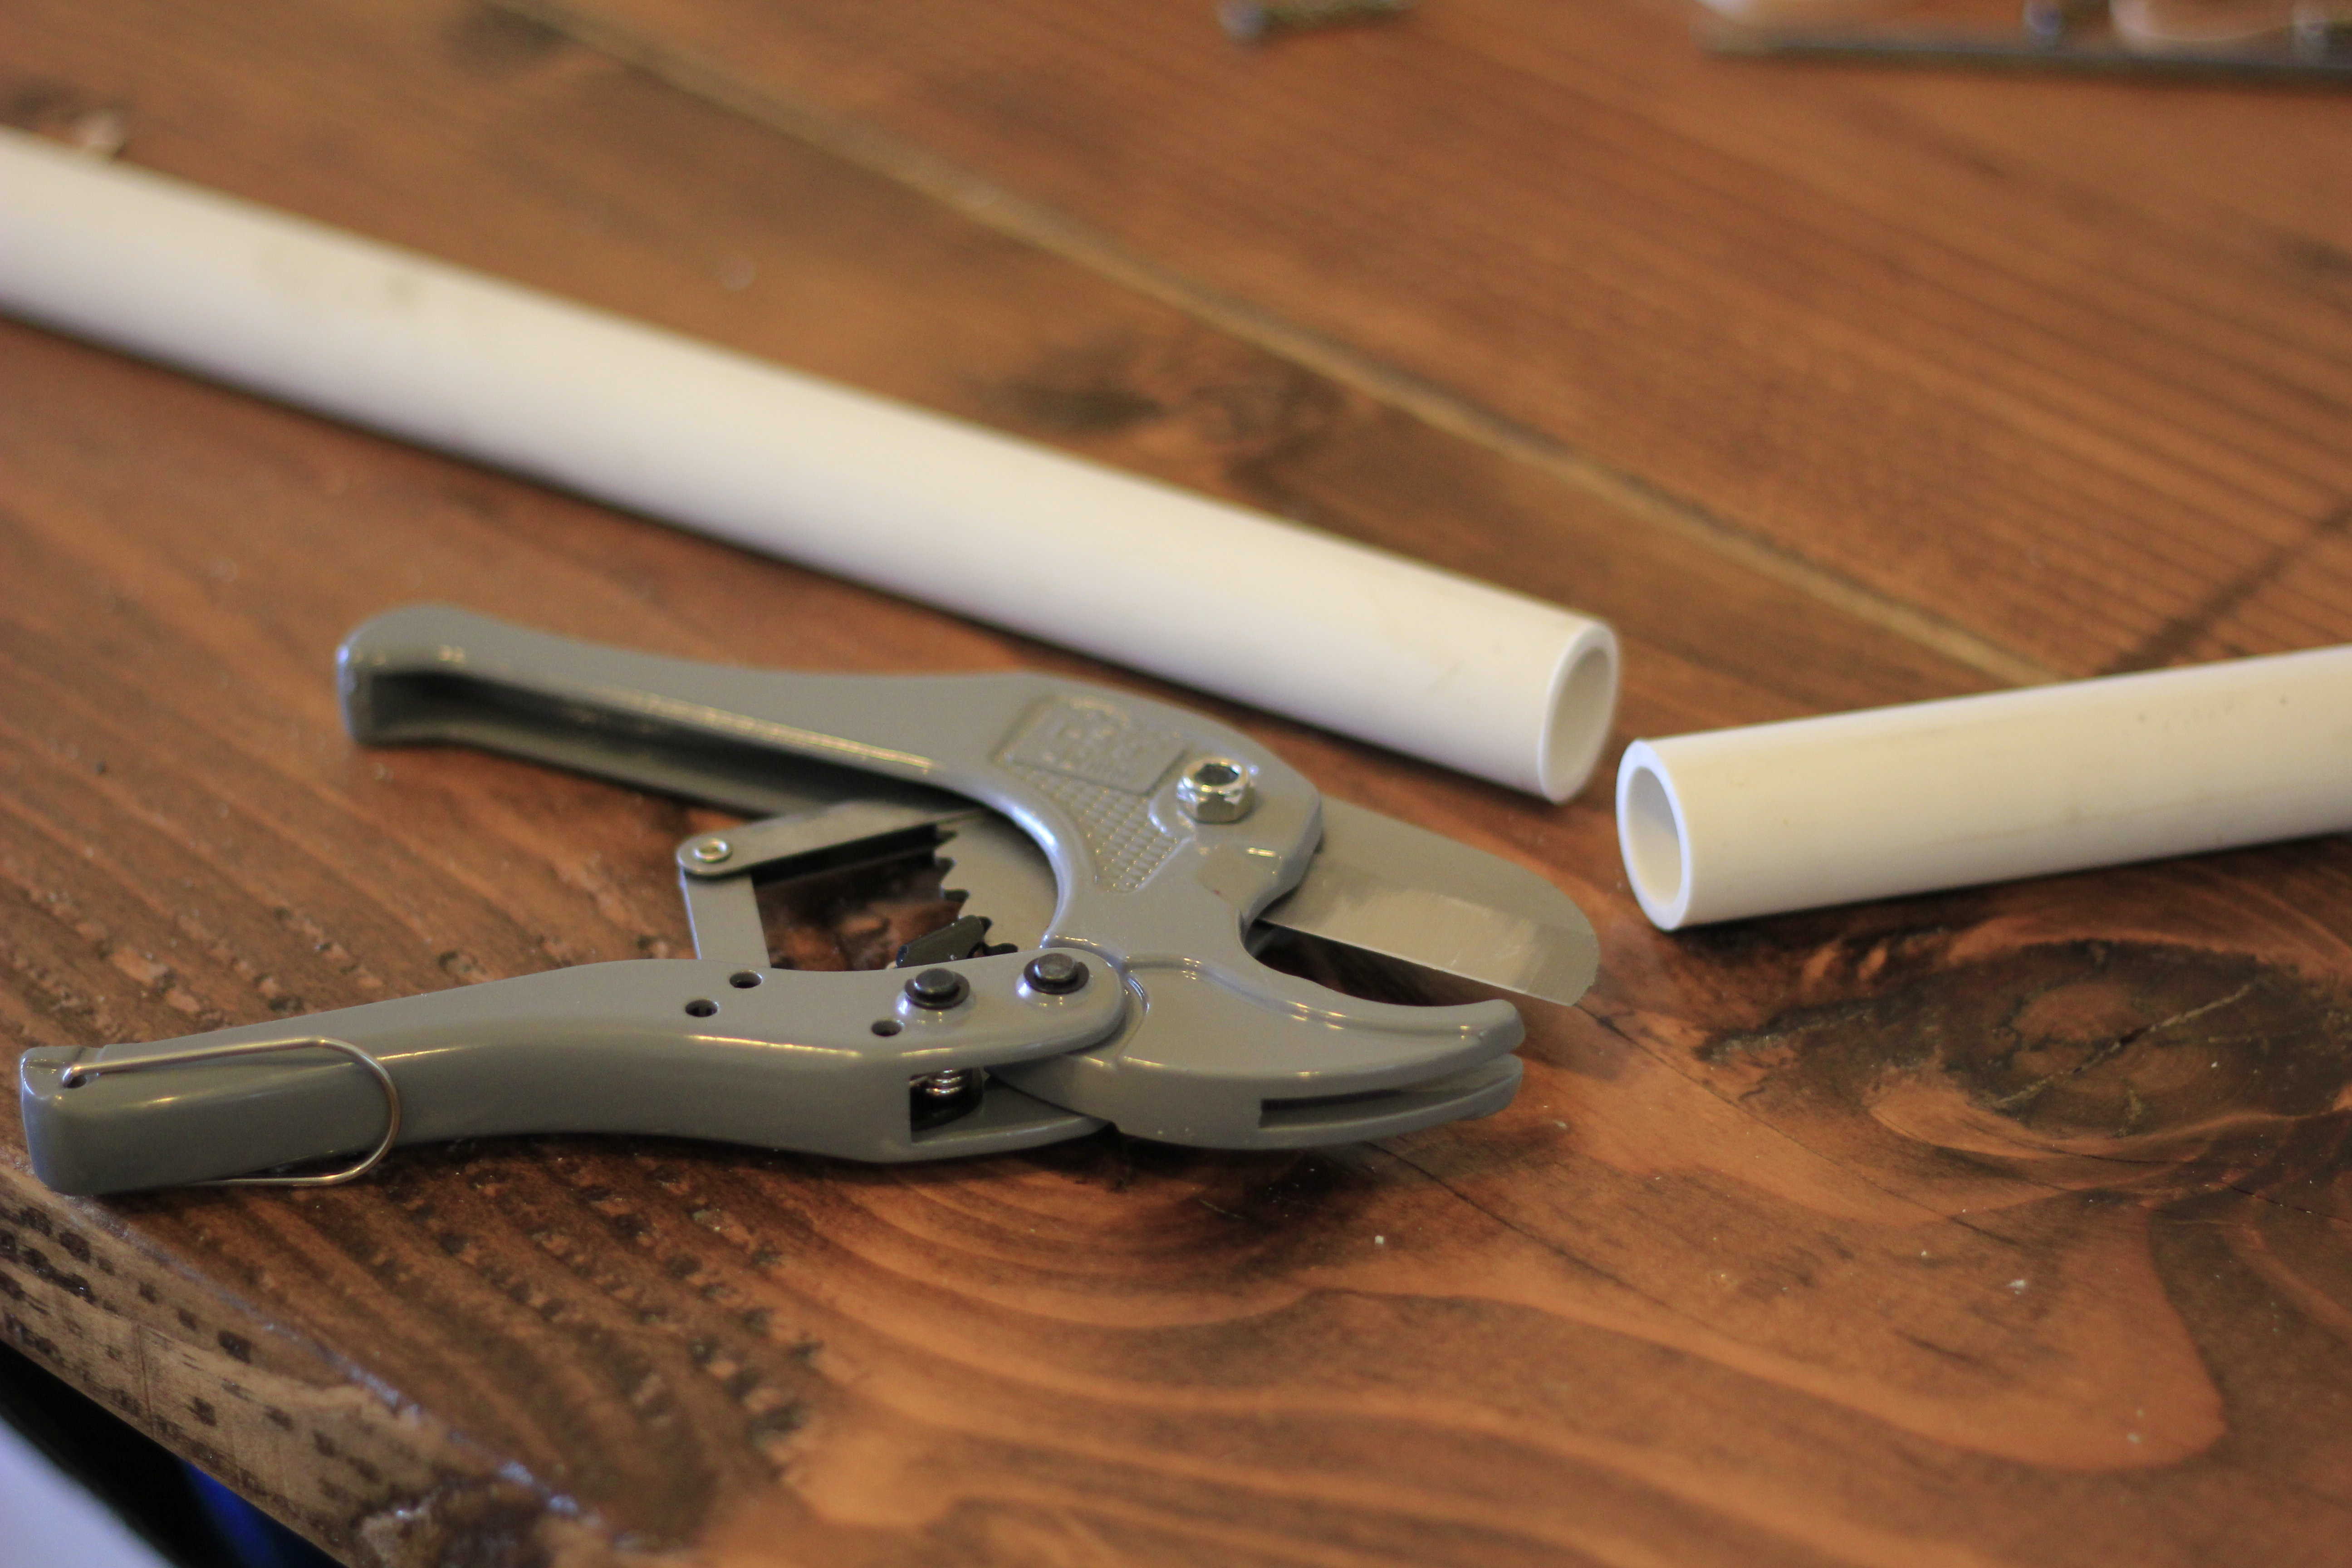
Step 1: Cut those pipes if needed
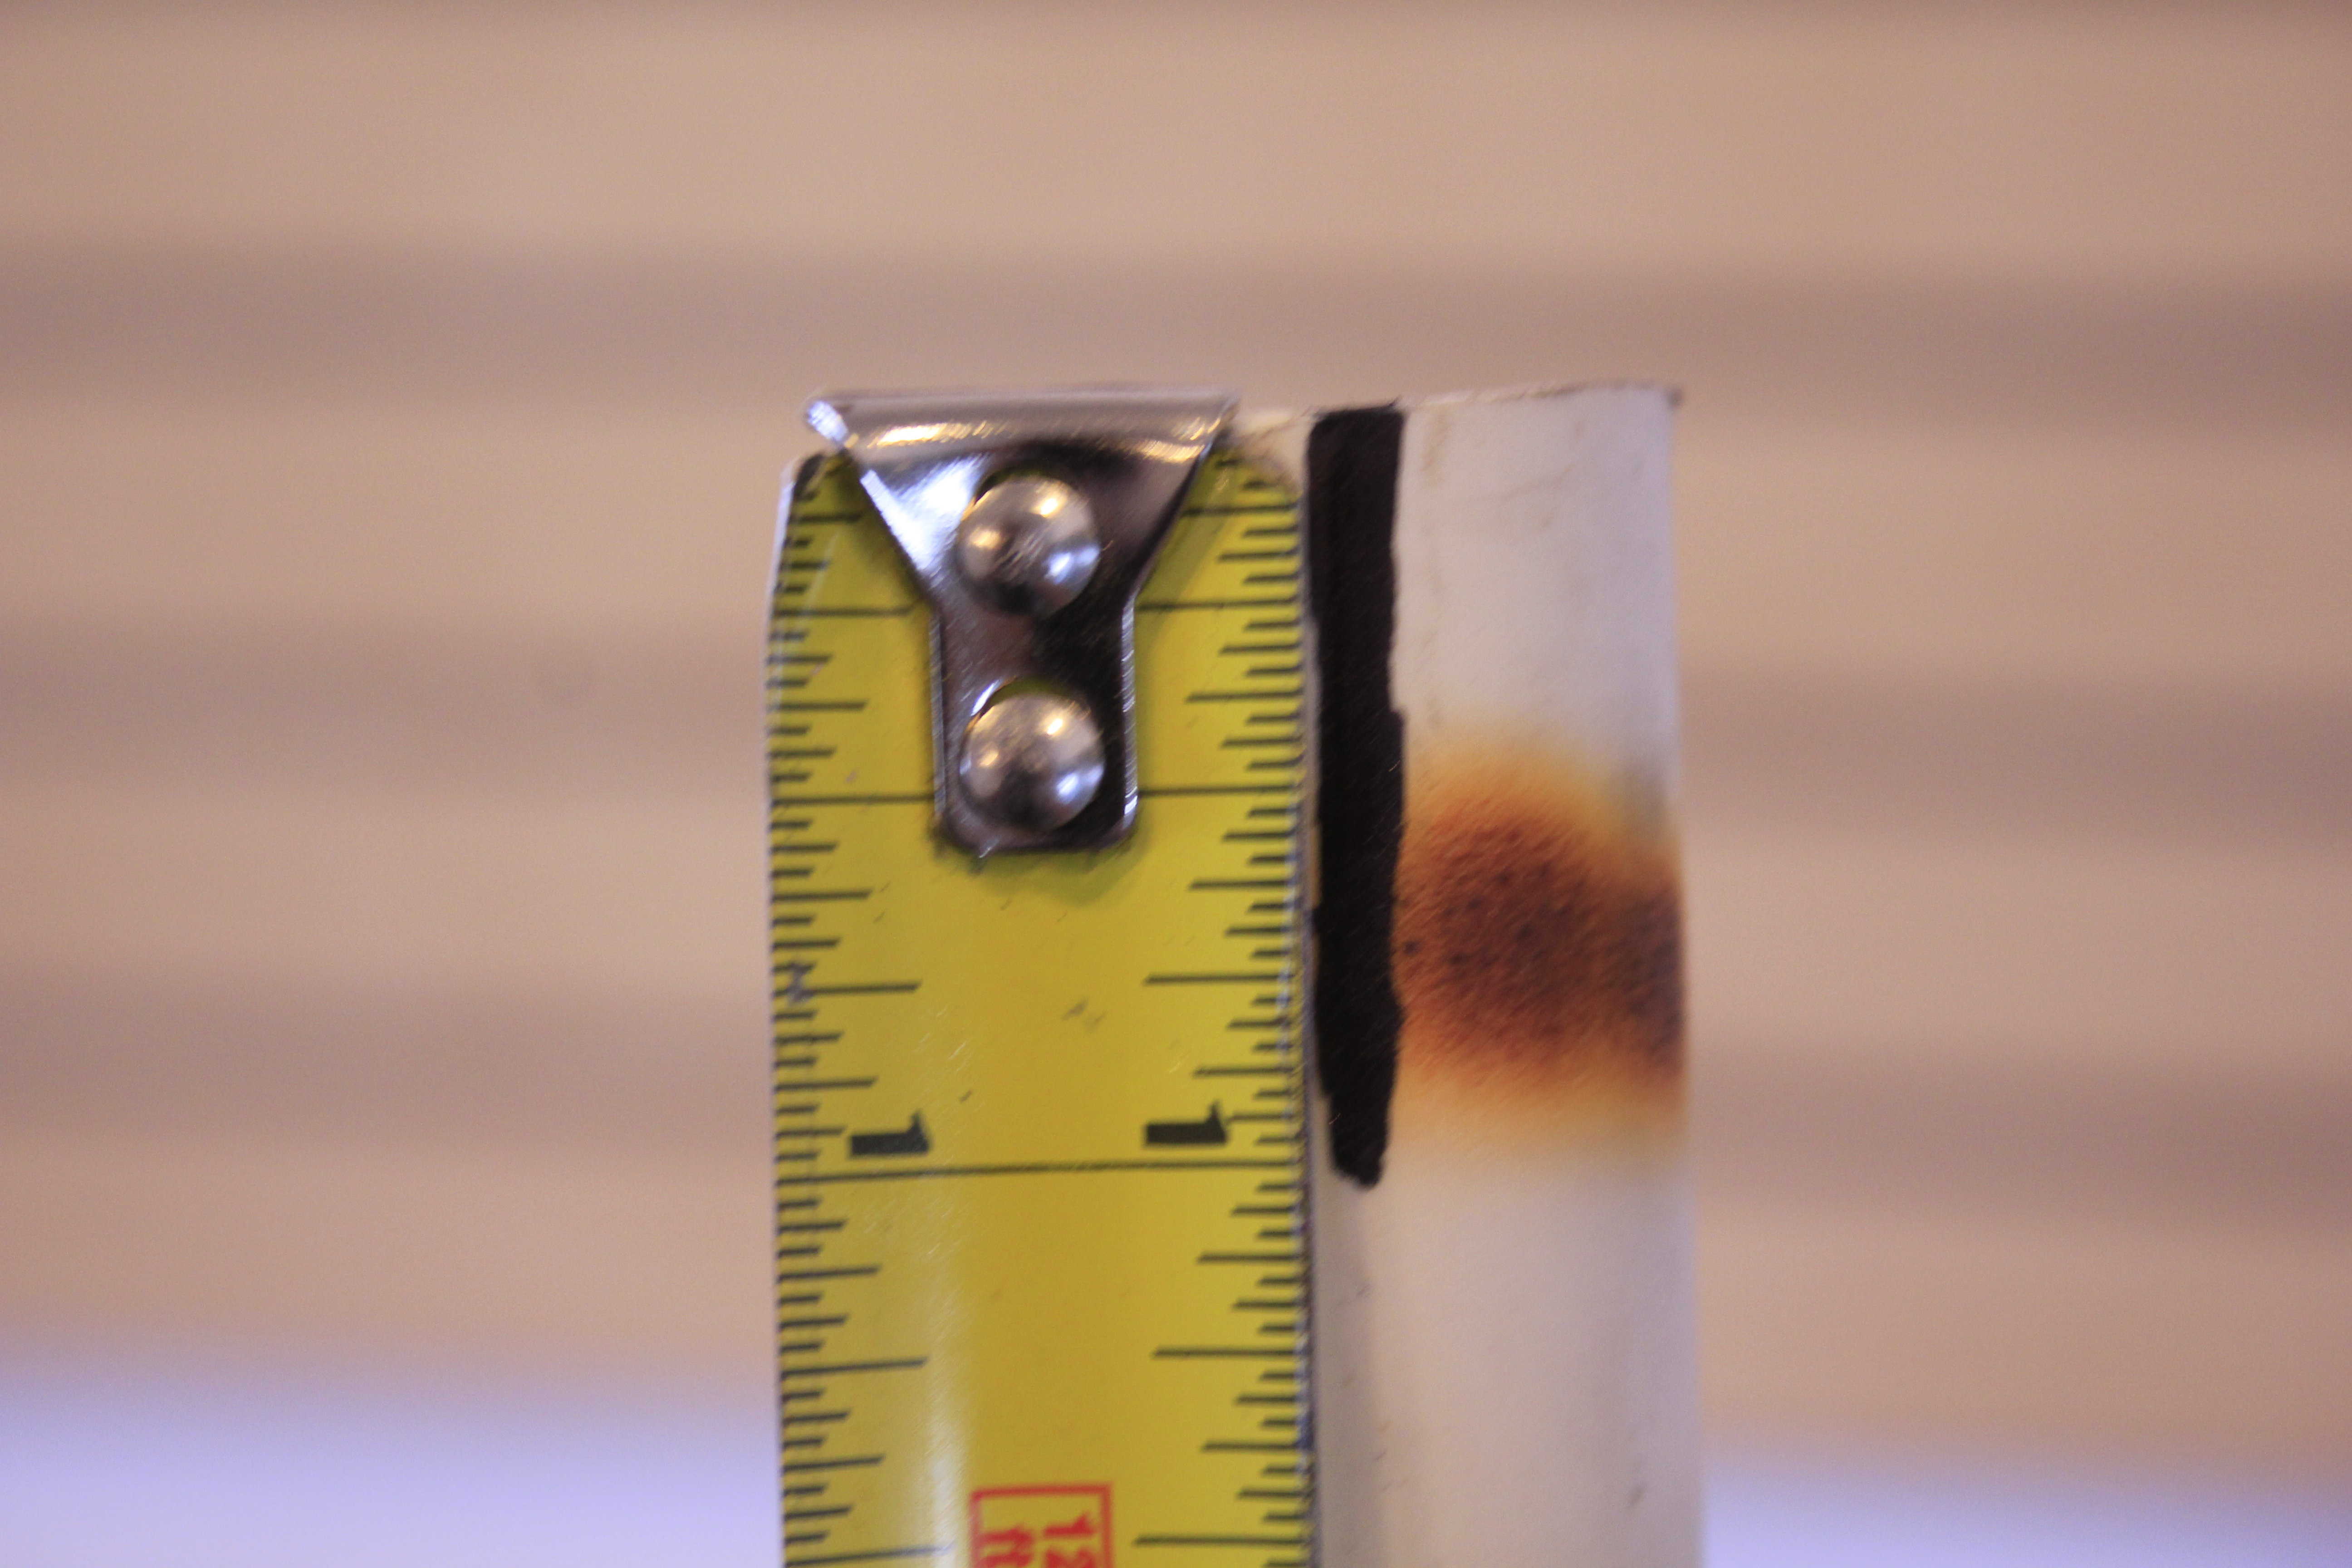
Use your PVC pipe cutter or, if in survival situation, your survival multi-tool saw bit to cut your main bow pipe to 62-inches in length. Do the same for you 1/2-inch pipe to create two sections, each 2-inches long. A PVC cutting tool like the one below works best, and leaves no traces of work behind like plastic shavings.
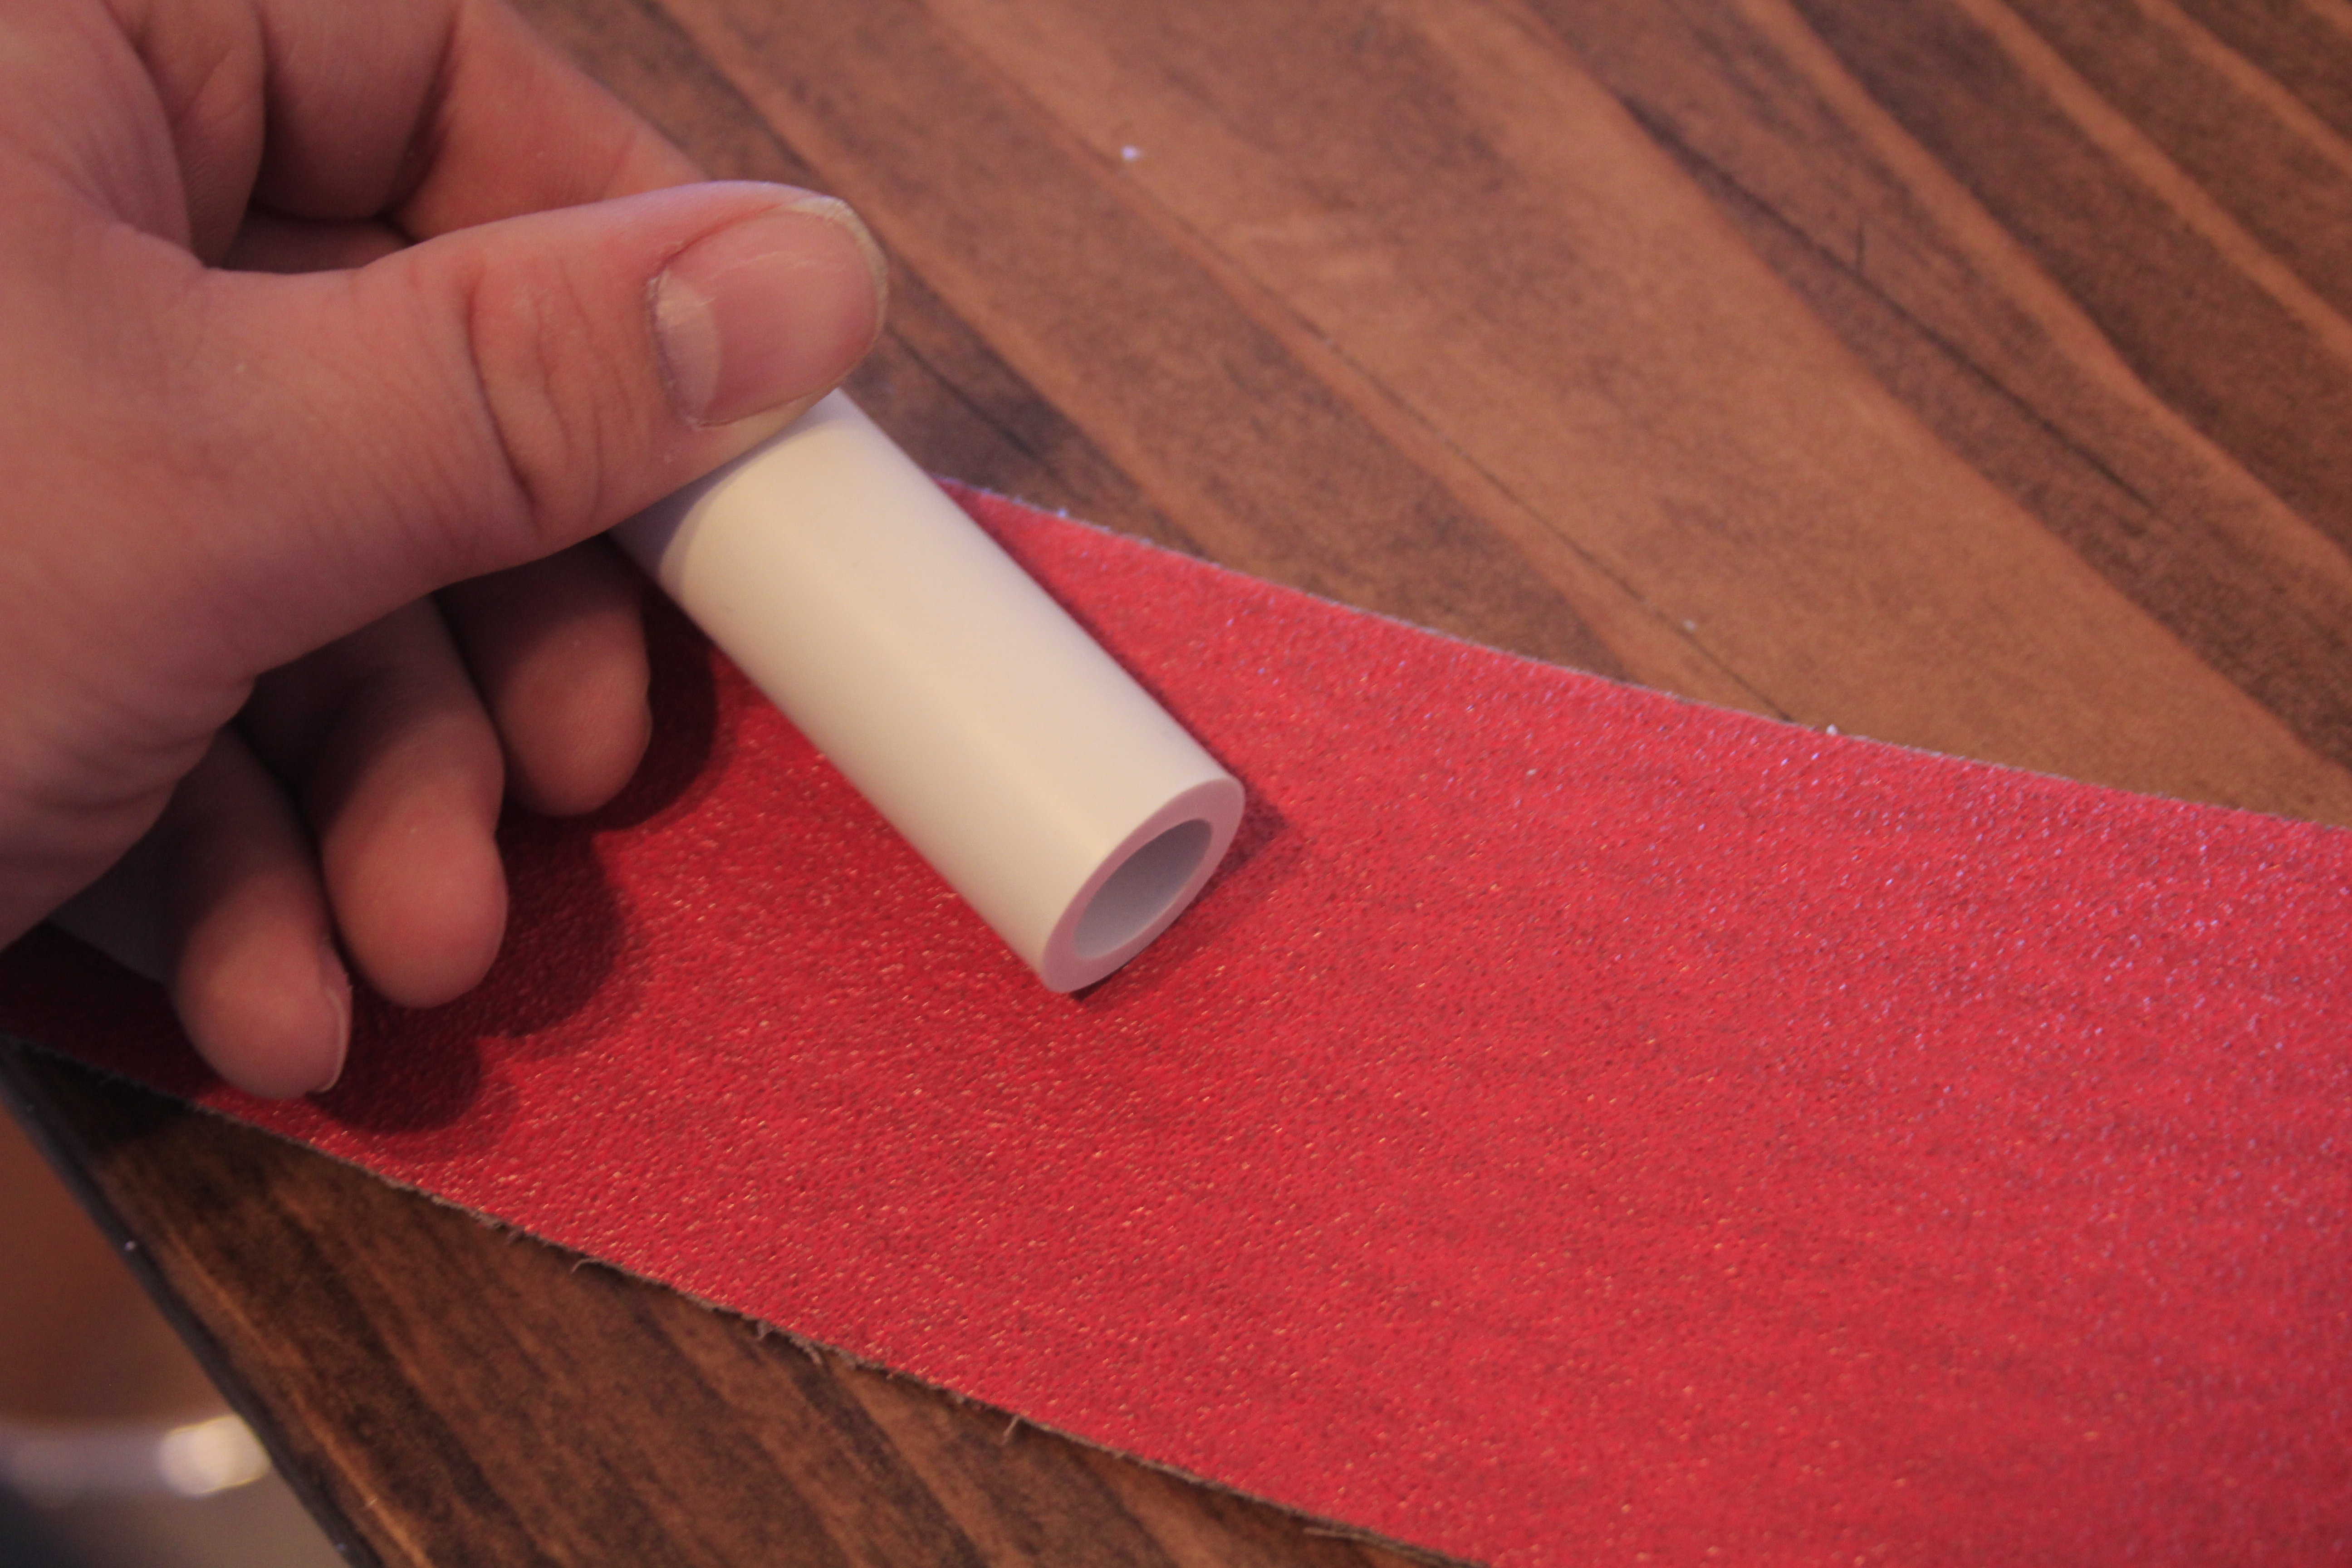
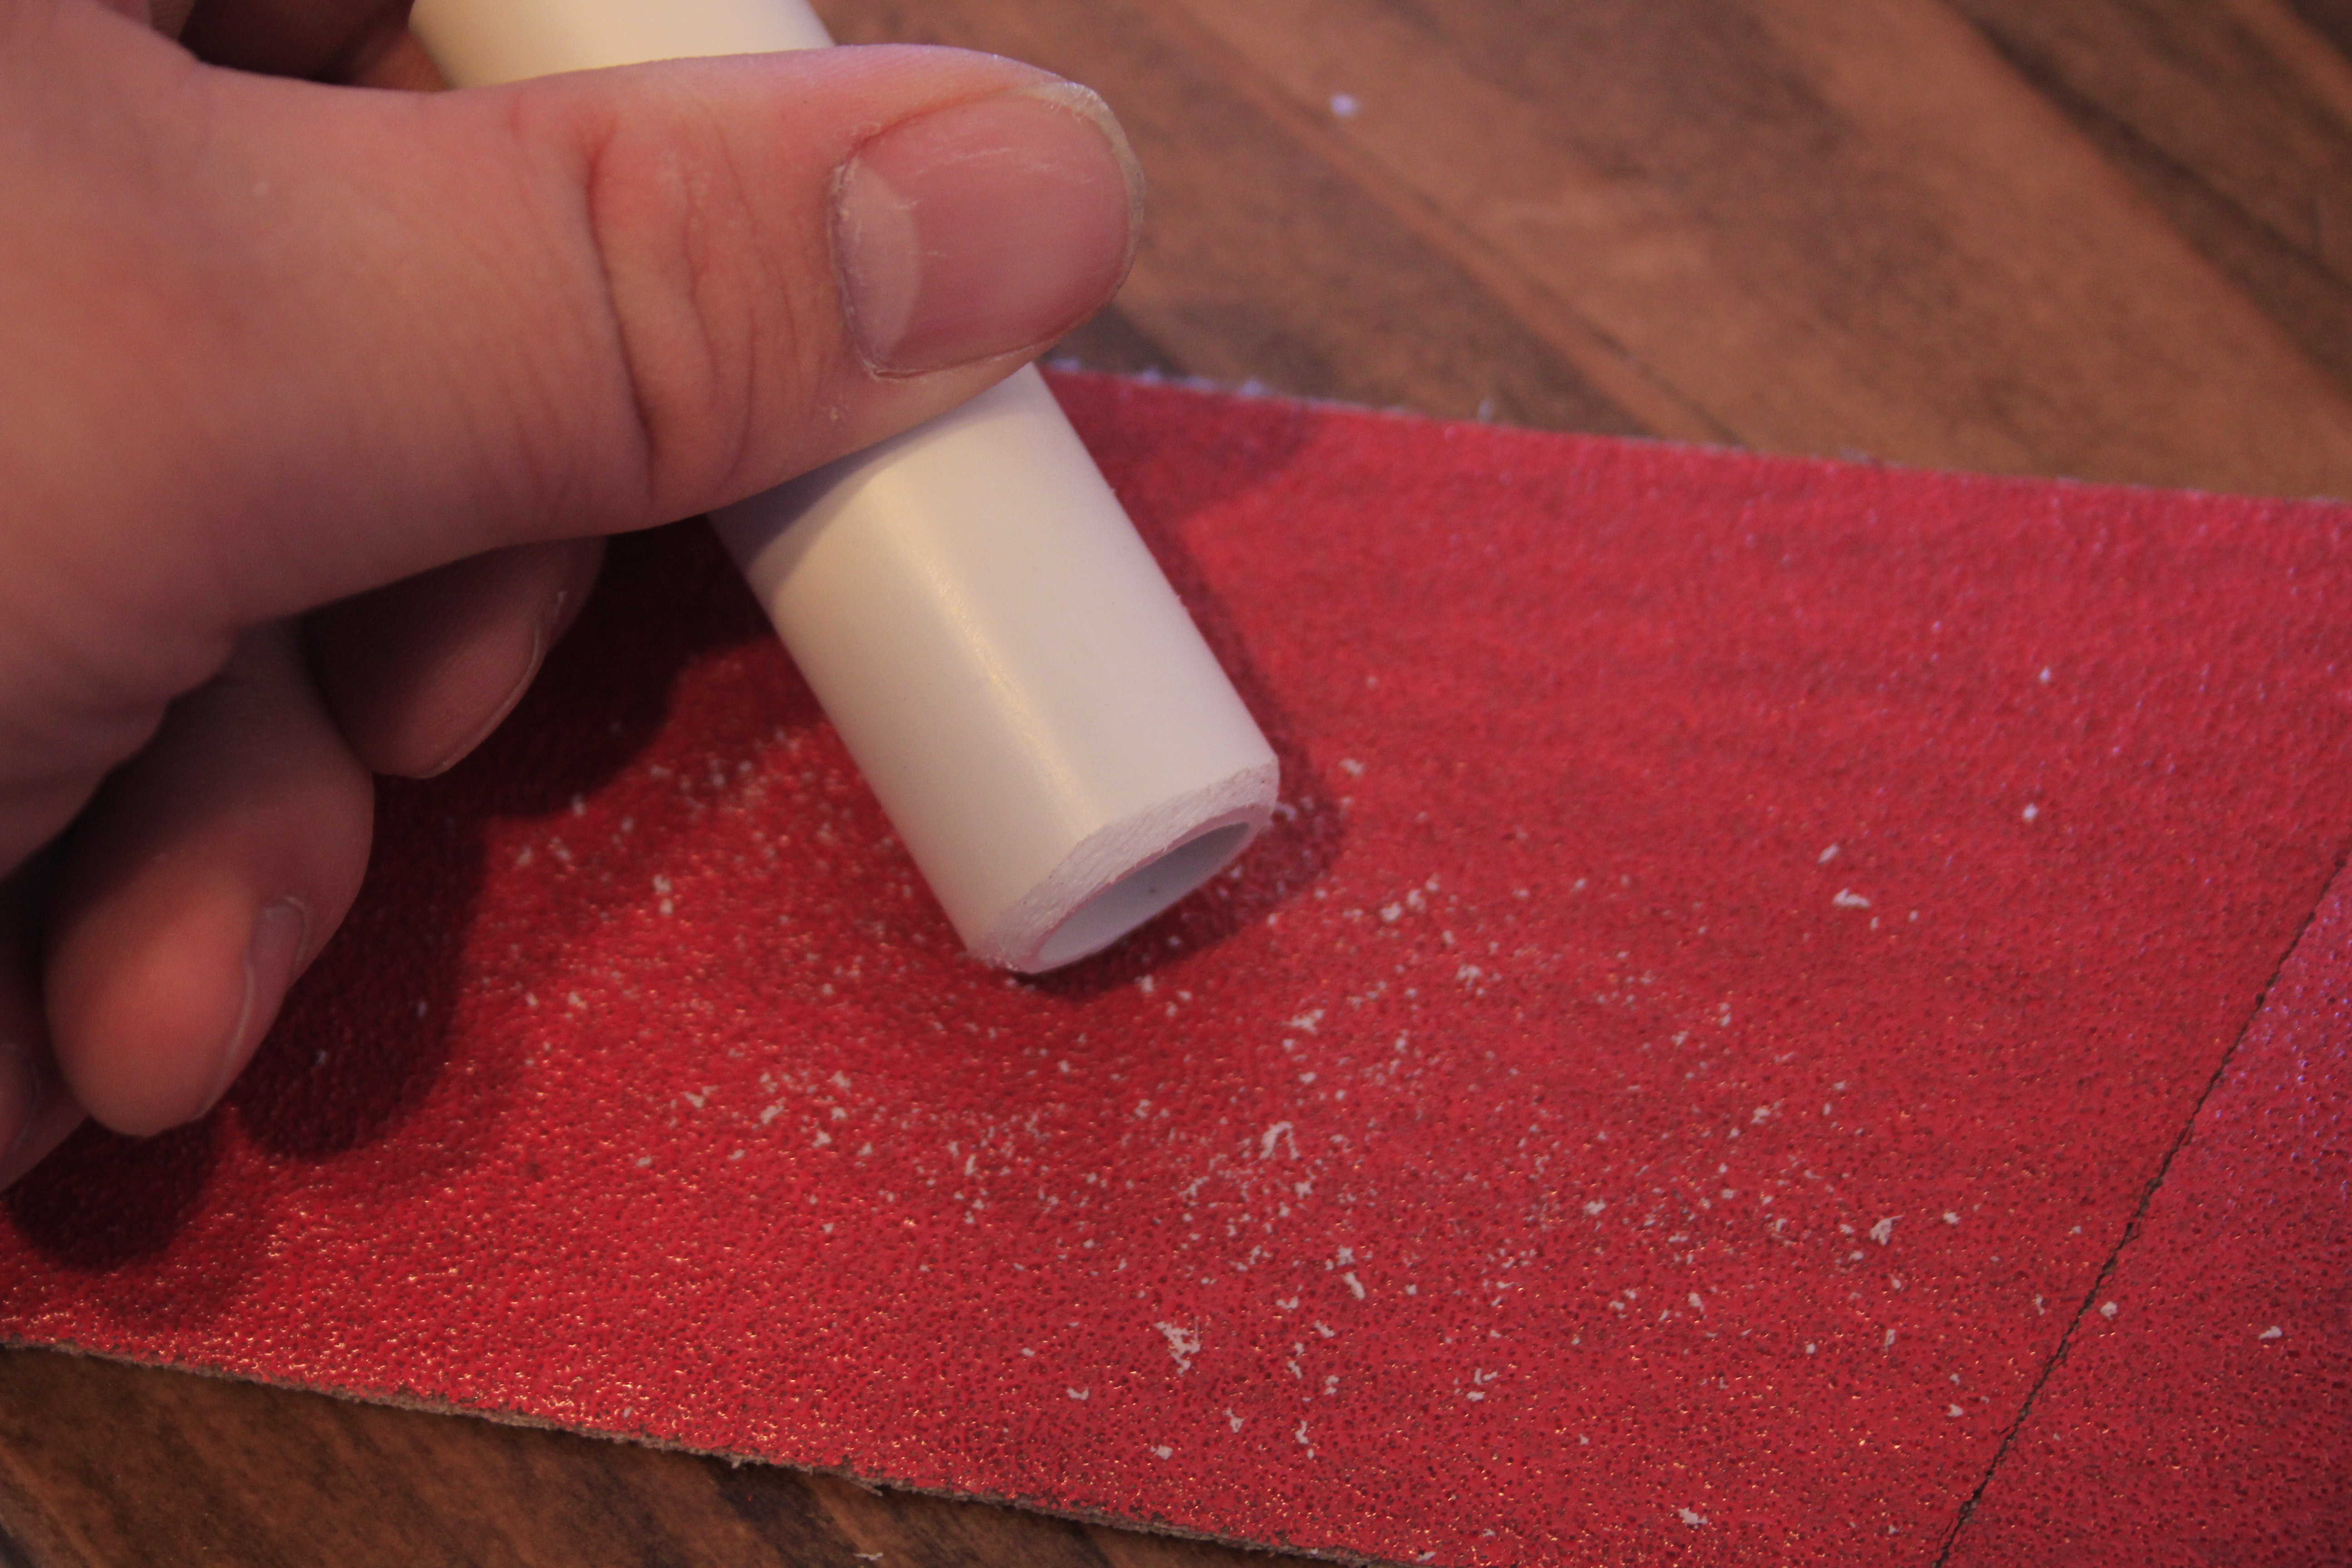
Step 2: Sand your insert edges
We need to sand one edge of our little 1/2-inch pieces, because pretty soon we’re going to slam them into the 3/4 bow pipe as reinforcement inserts. Hand sanding is fine, just taper one end of each piece so it can slide easier into the hollow portion of the 3/4-inch pipe. It will be a tight fit!
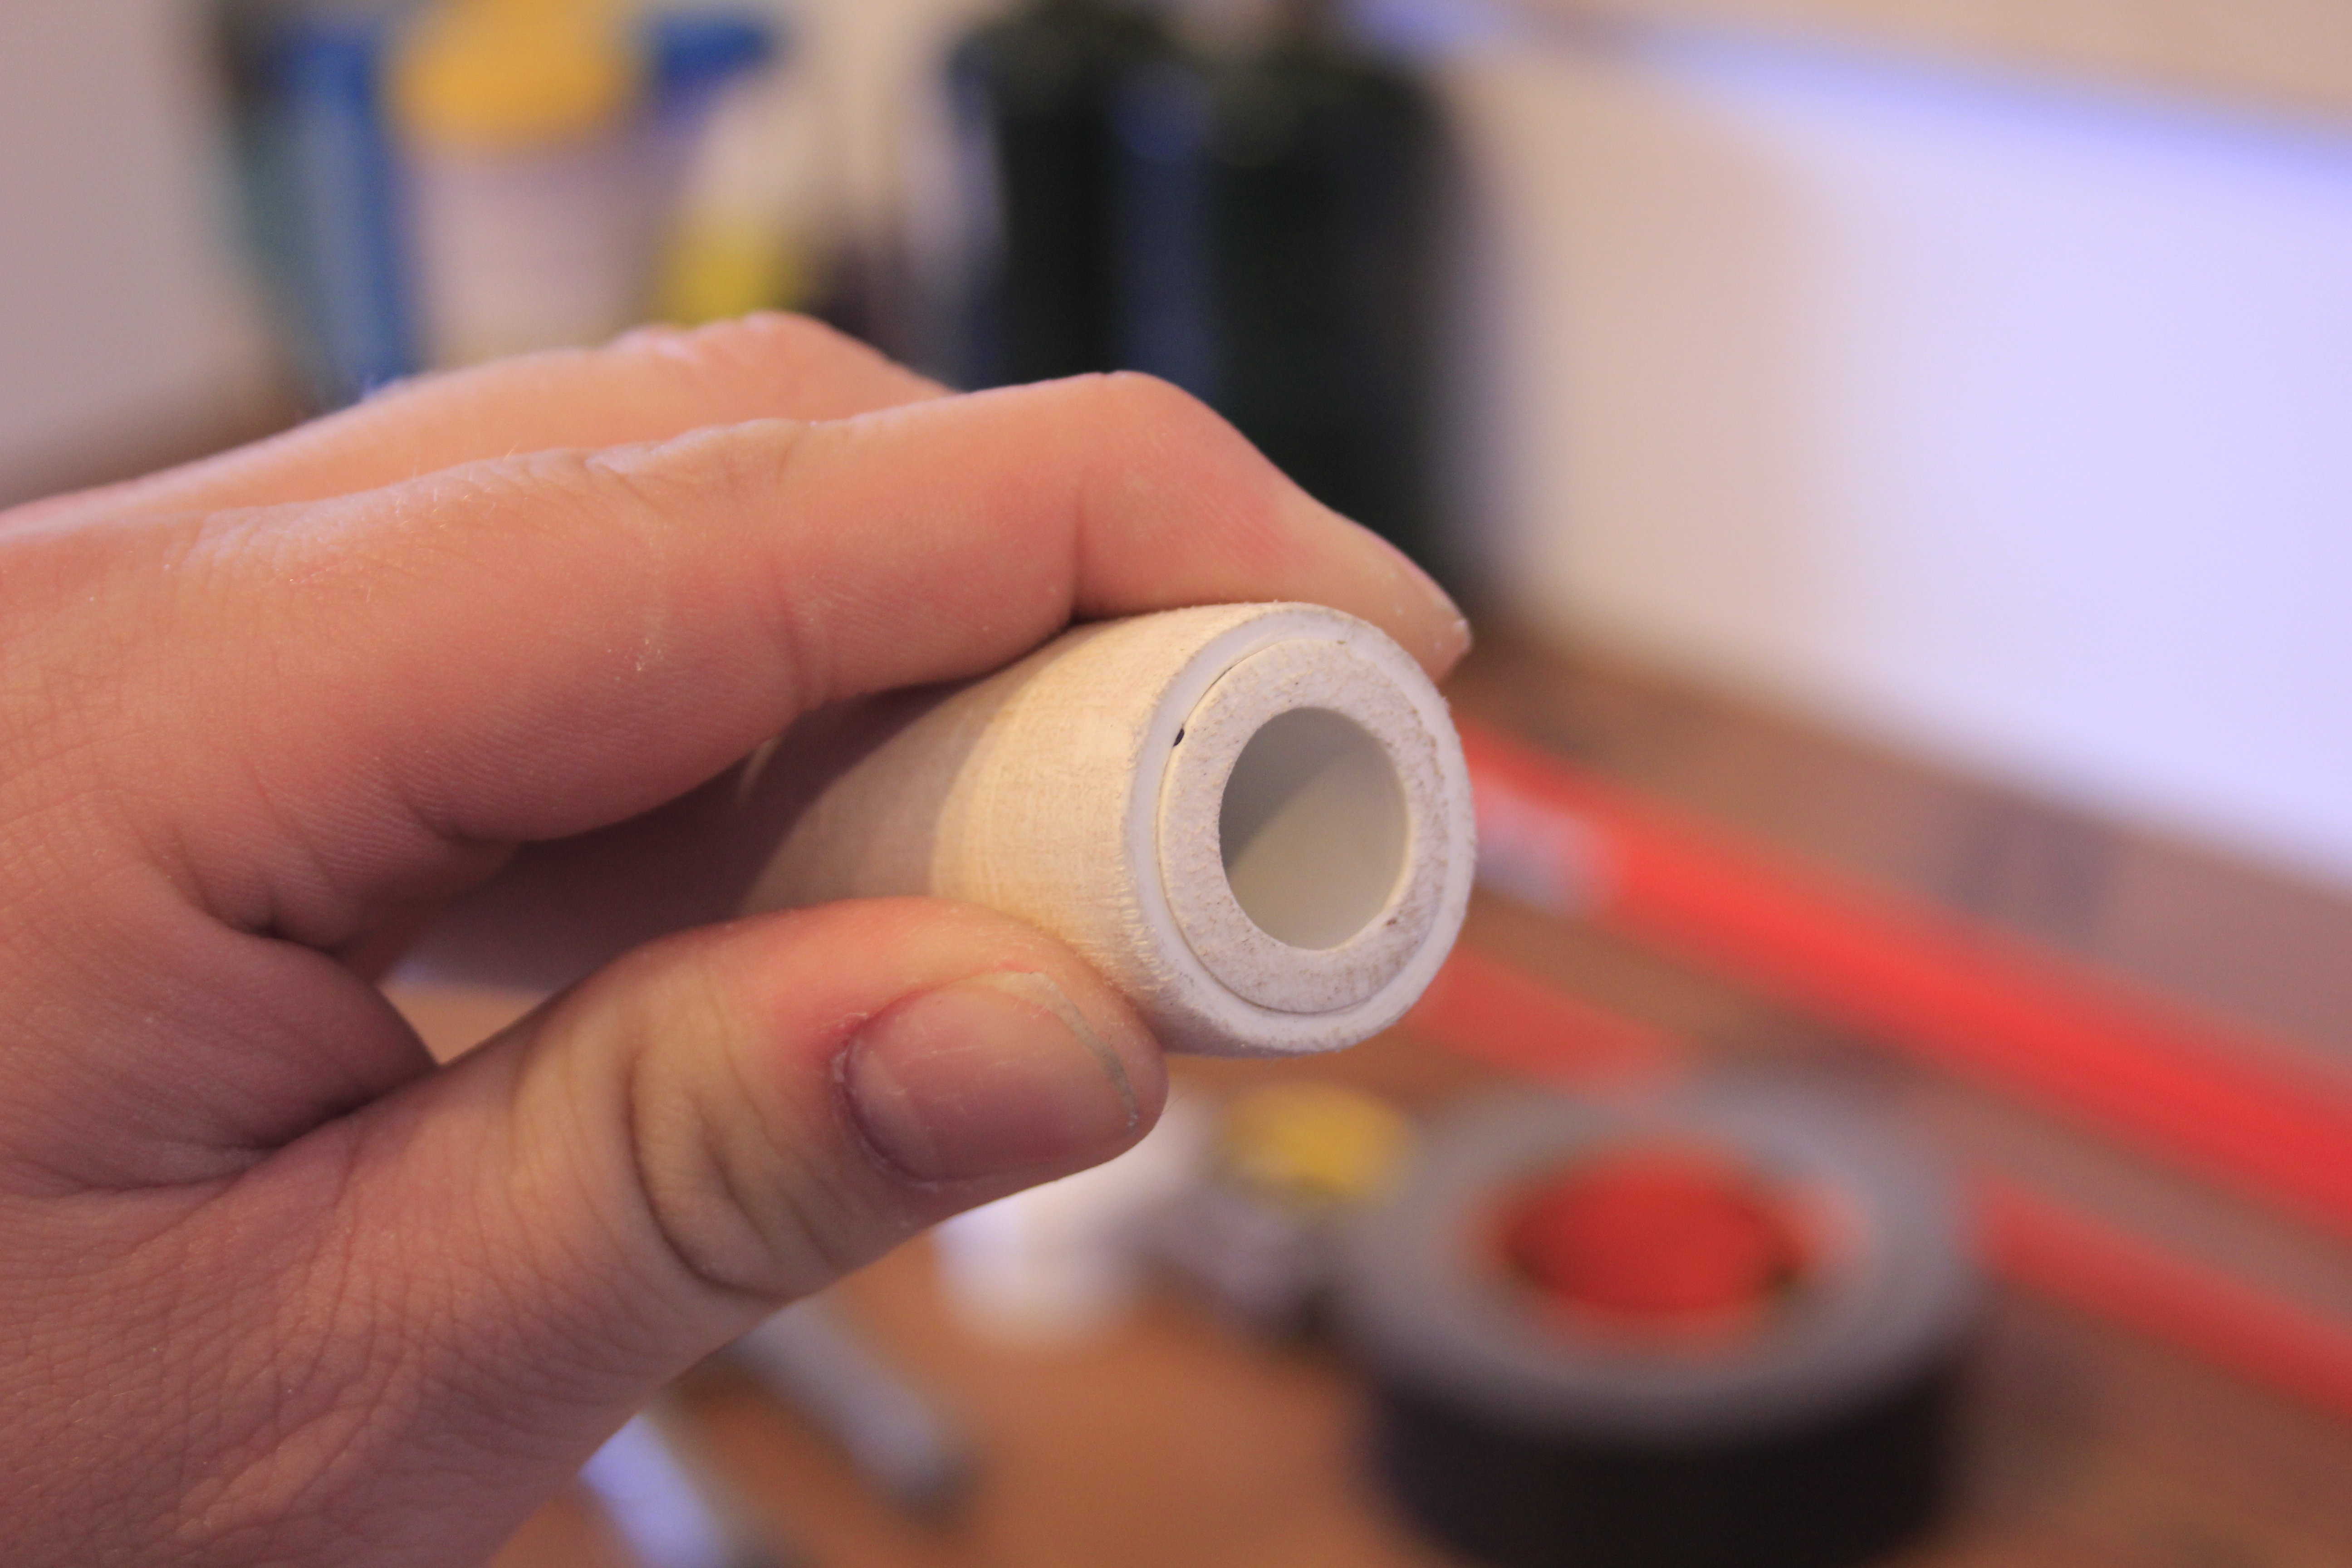
Step 3: Hammer them tips
Get one of your 2-inch pieces and line it up on the hollow end of your 3/4-inch pipe. Give it a few solid whacks with a hammer (or any blunt object) to seat it into the post.


Step 4: Binding Fiberglass Core
Start by taping together all of your rods so that you have two cores, each made from two rods taped side-by-side.

Now take your other 1/2-inch pipe insert and place it next to the end of your bow, as this will give us an idea of how much room we have inside the bow. We then line up the rods, so the tip of the rods end at the point where the insert starts.
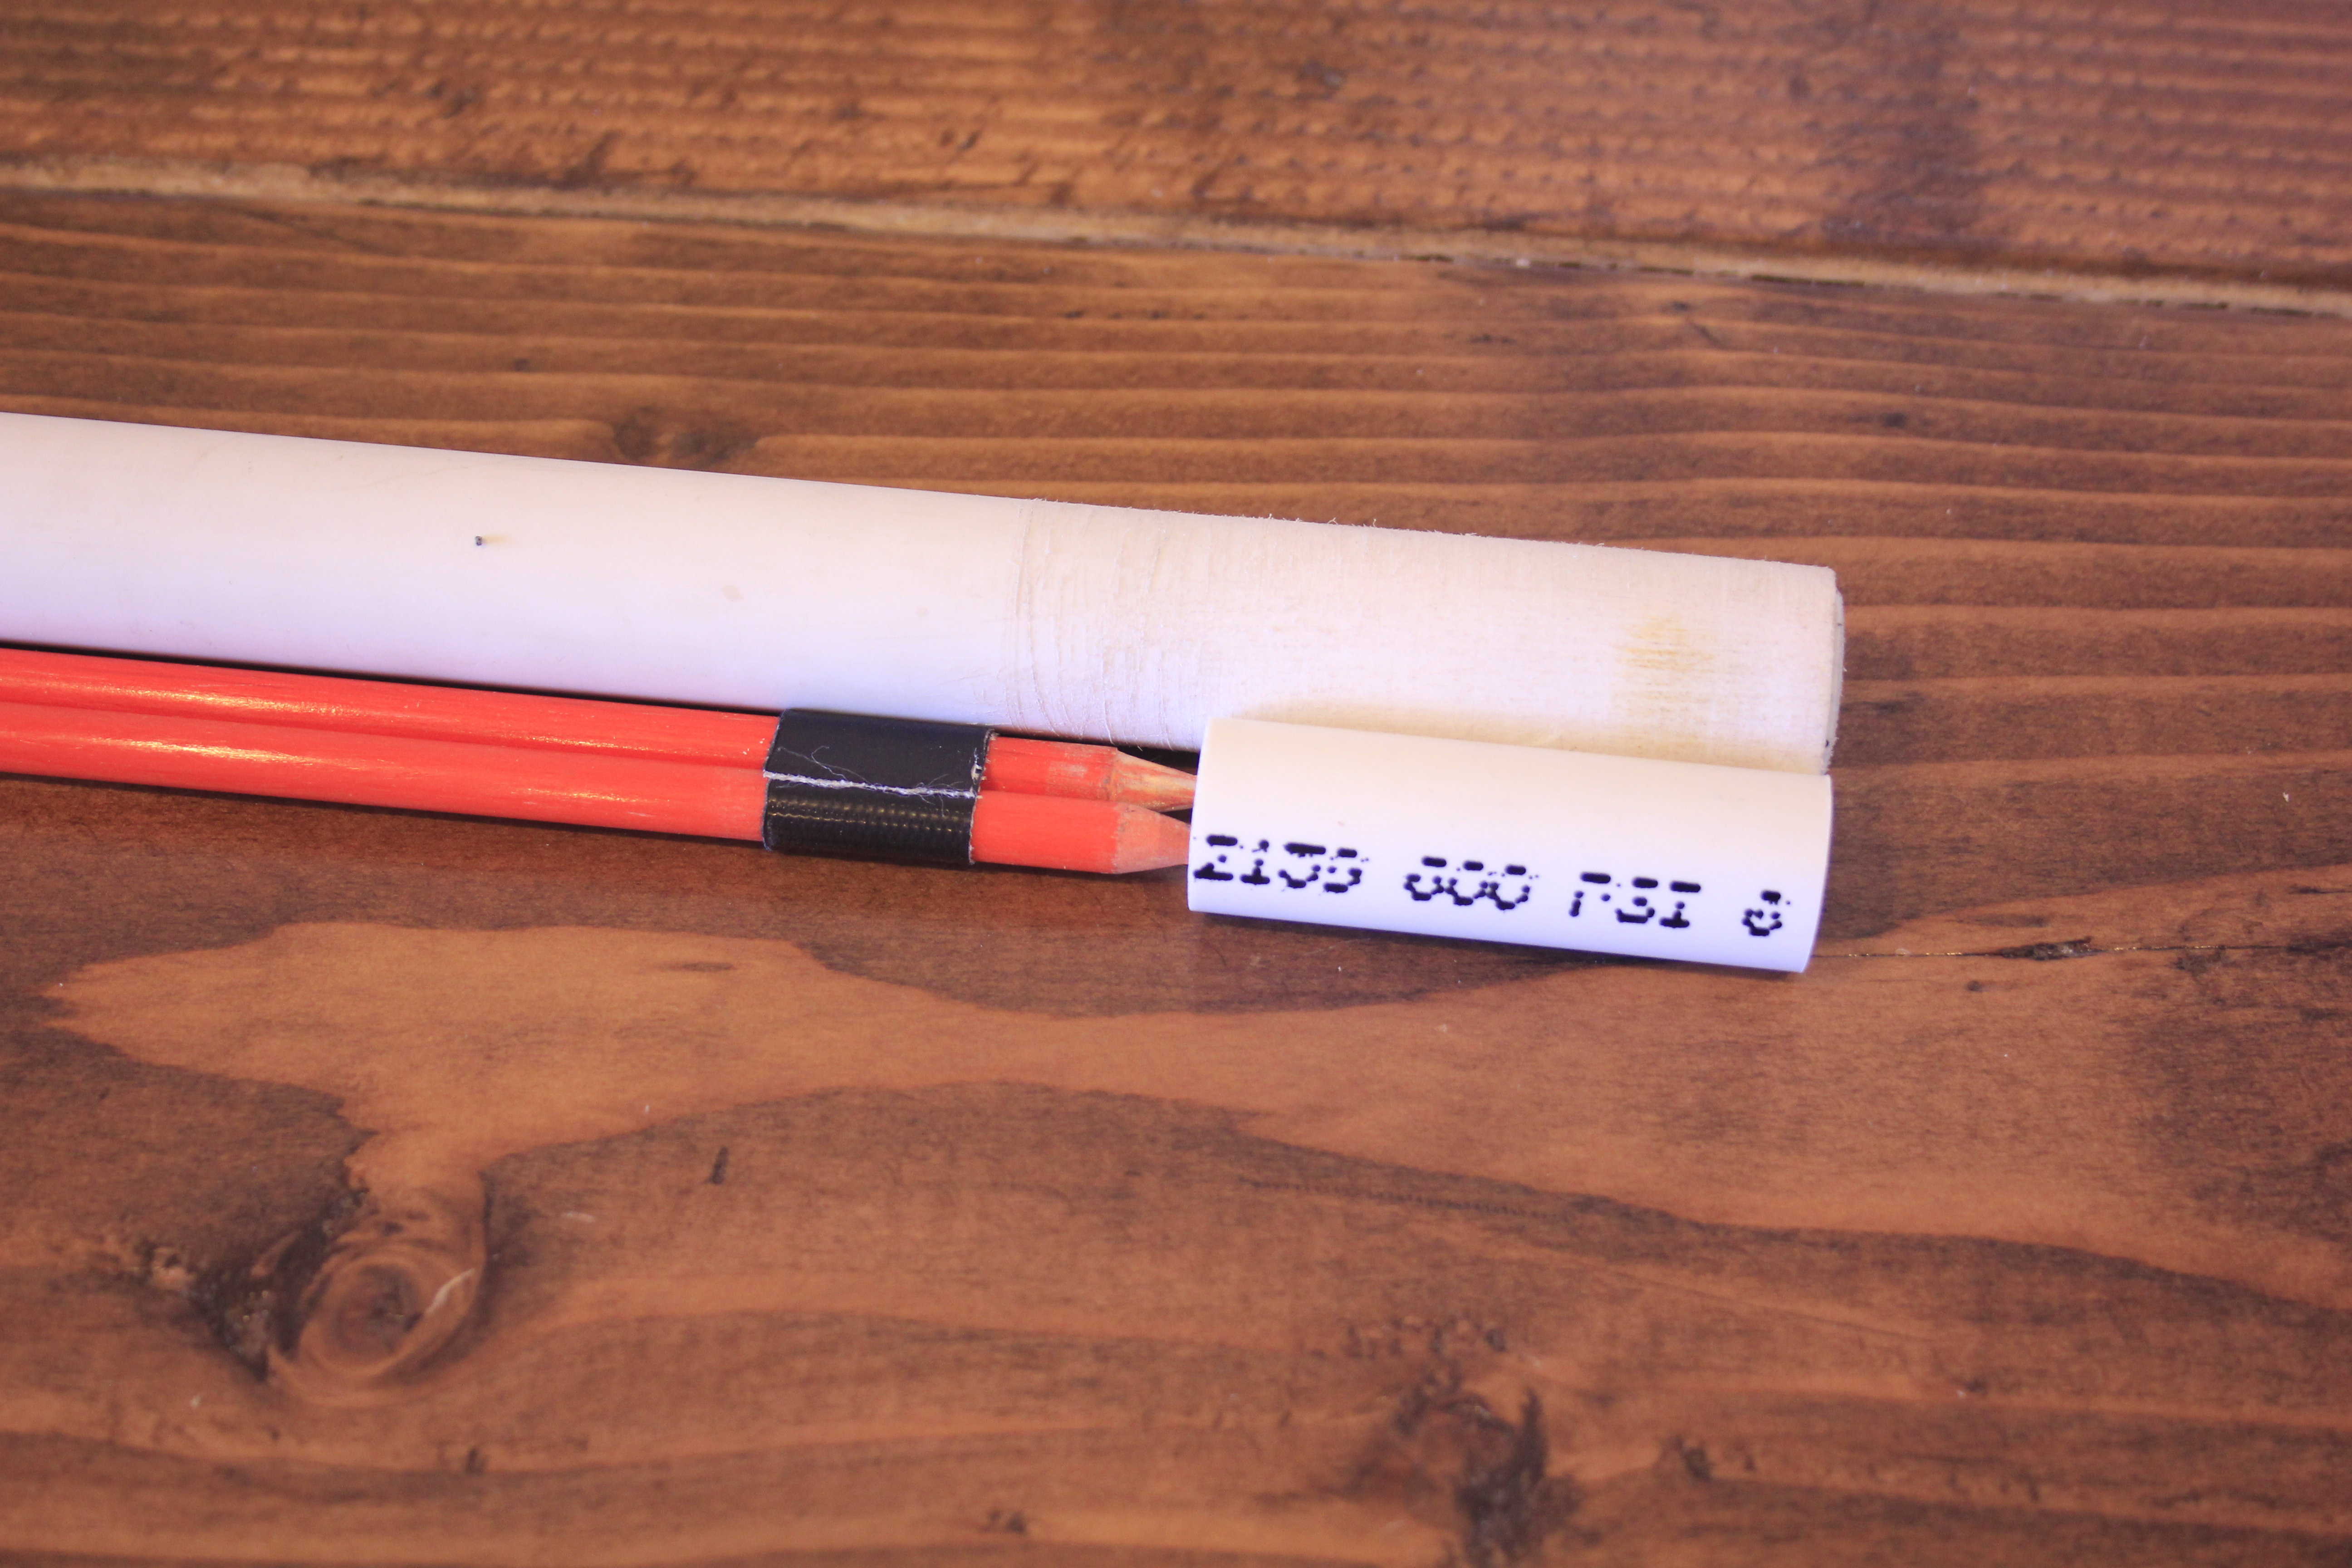
These standard rods are not long enough to go all the way down the bow by themselves, but that is okay, because we are going to layer them on top of each other.
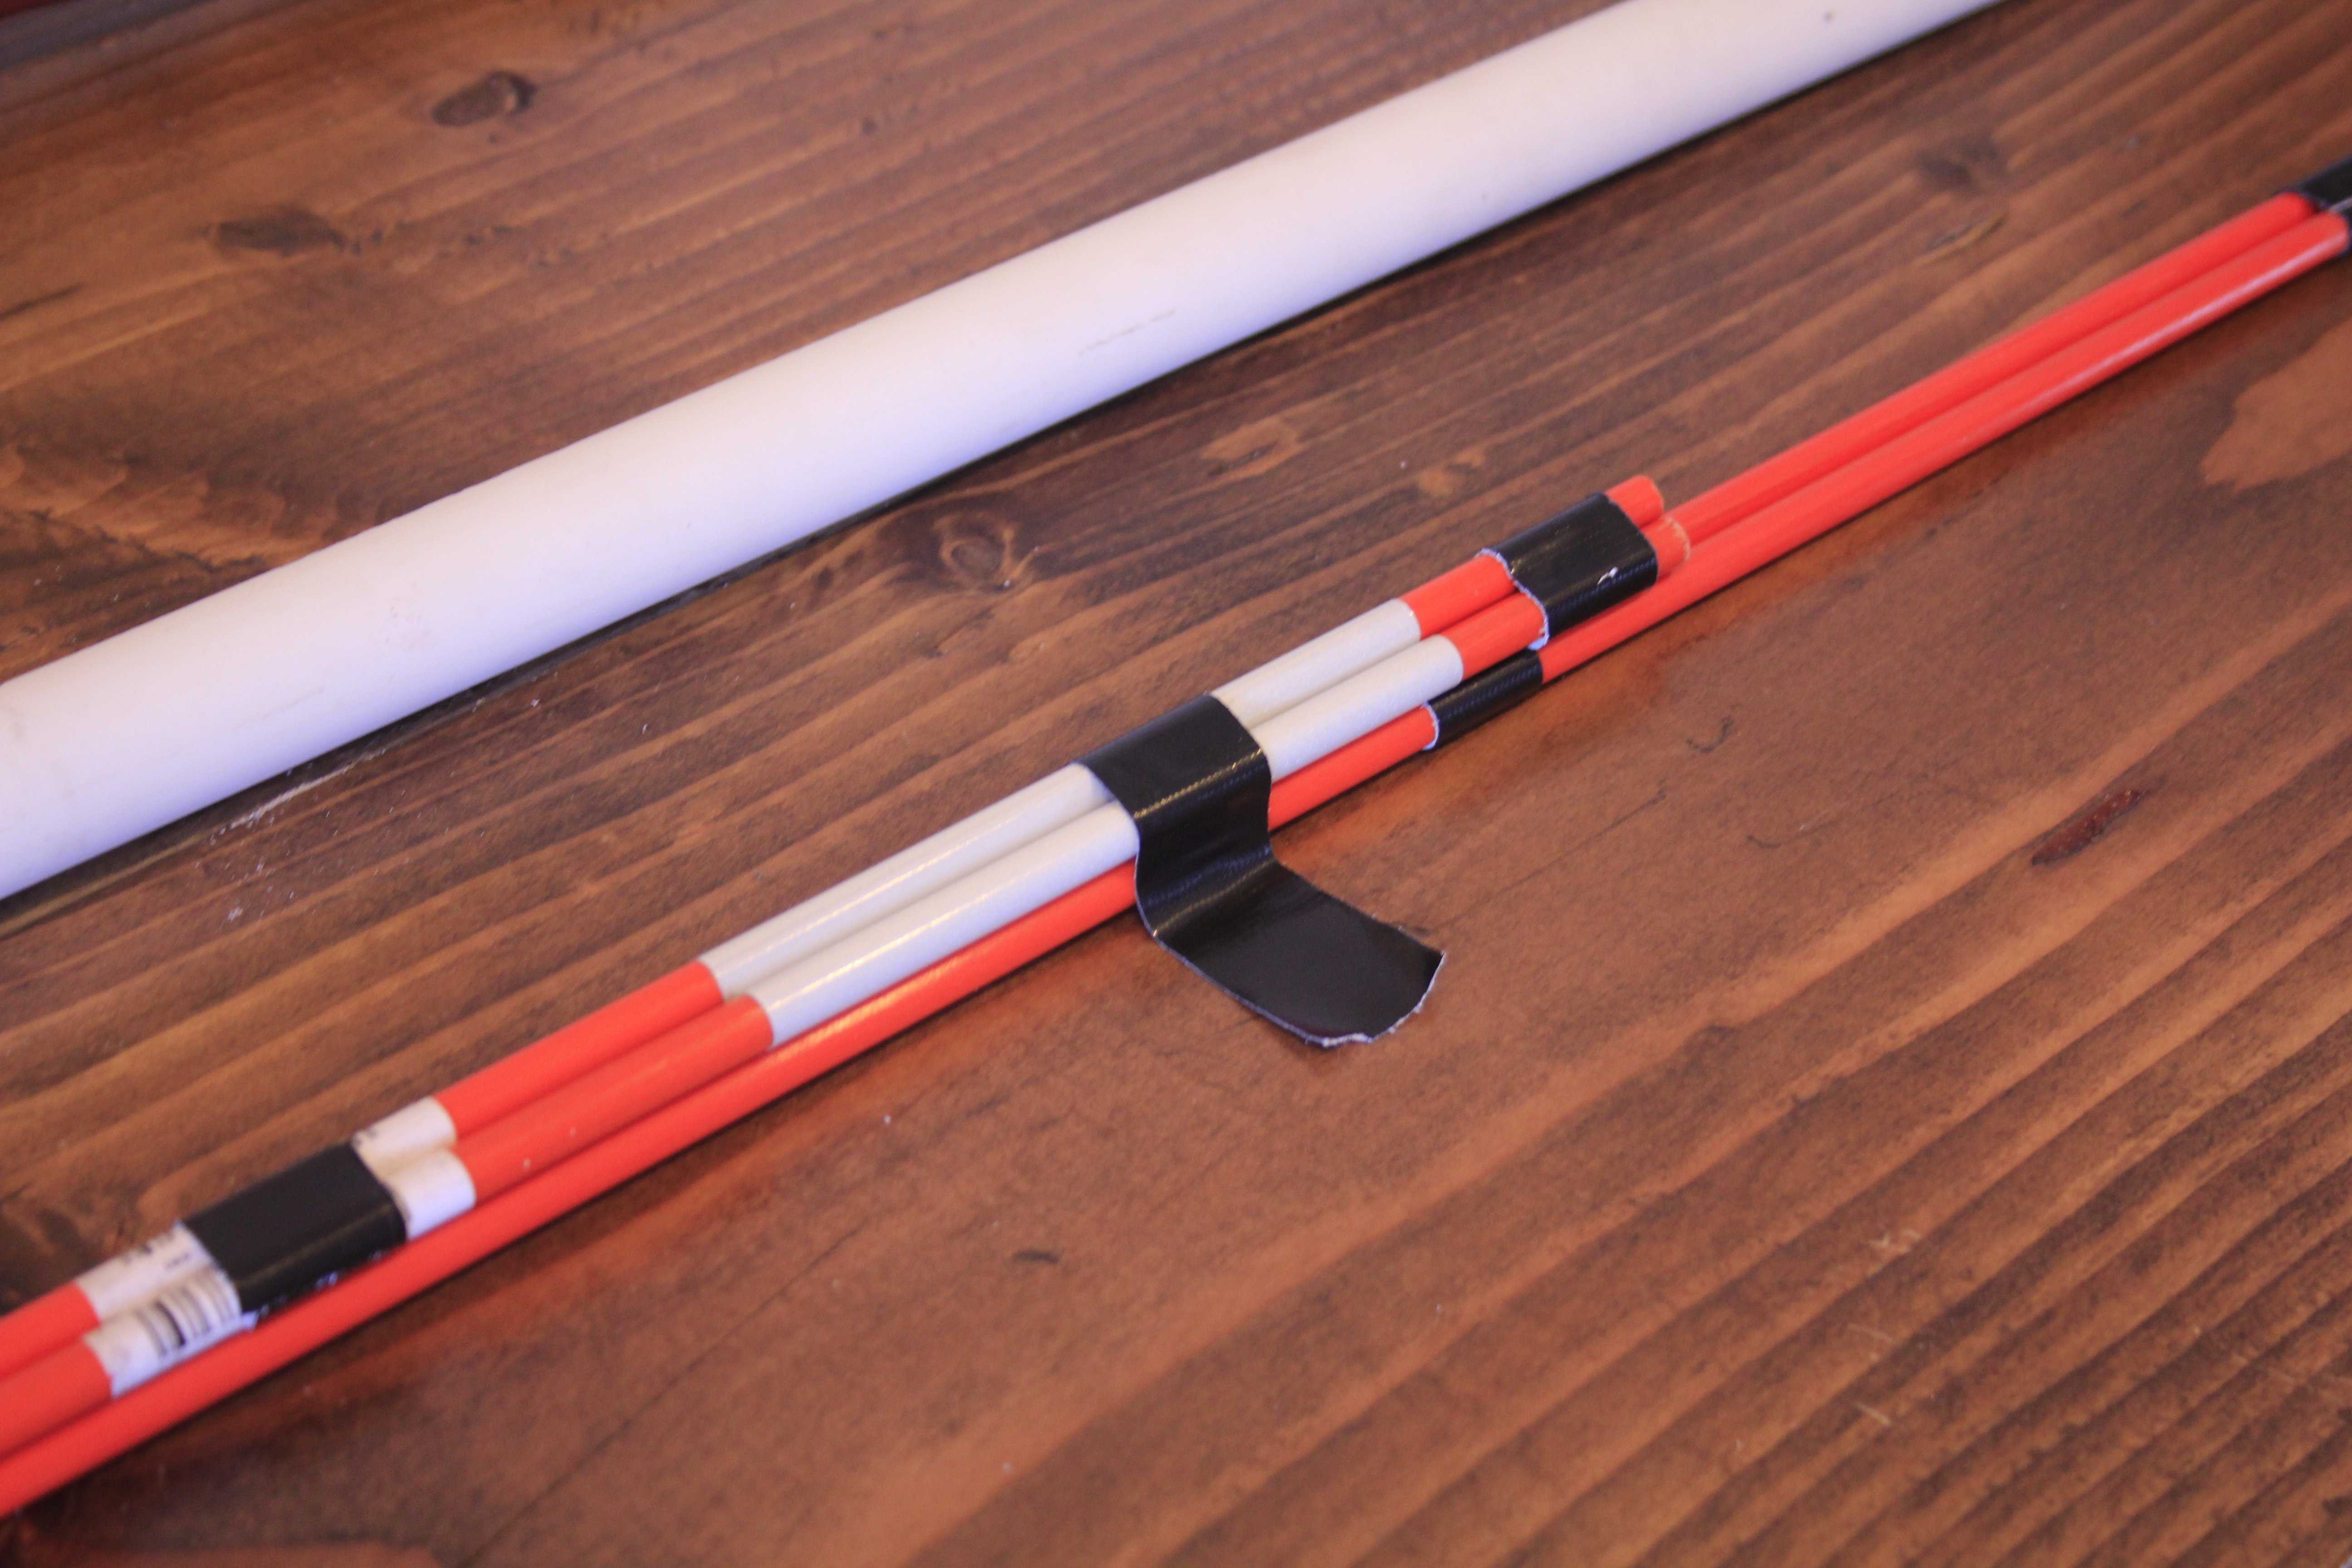
As you can see below, if one of our rod pairs is touching the bottom of the 1/2-inch PVC (the one we haven’t slammed in yet) we can place the other rod pair about a foot down the line.
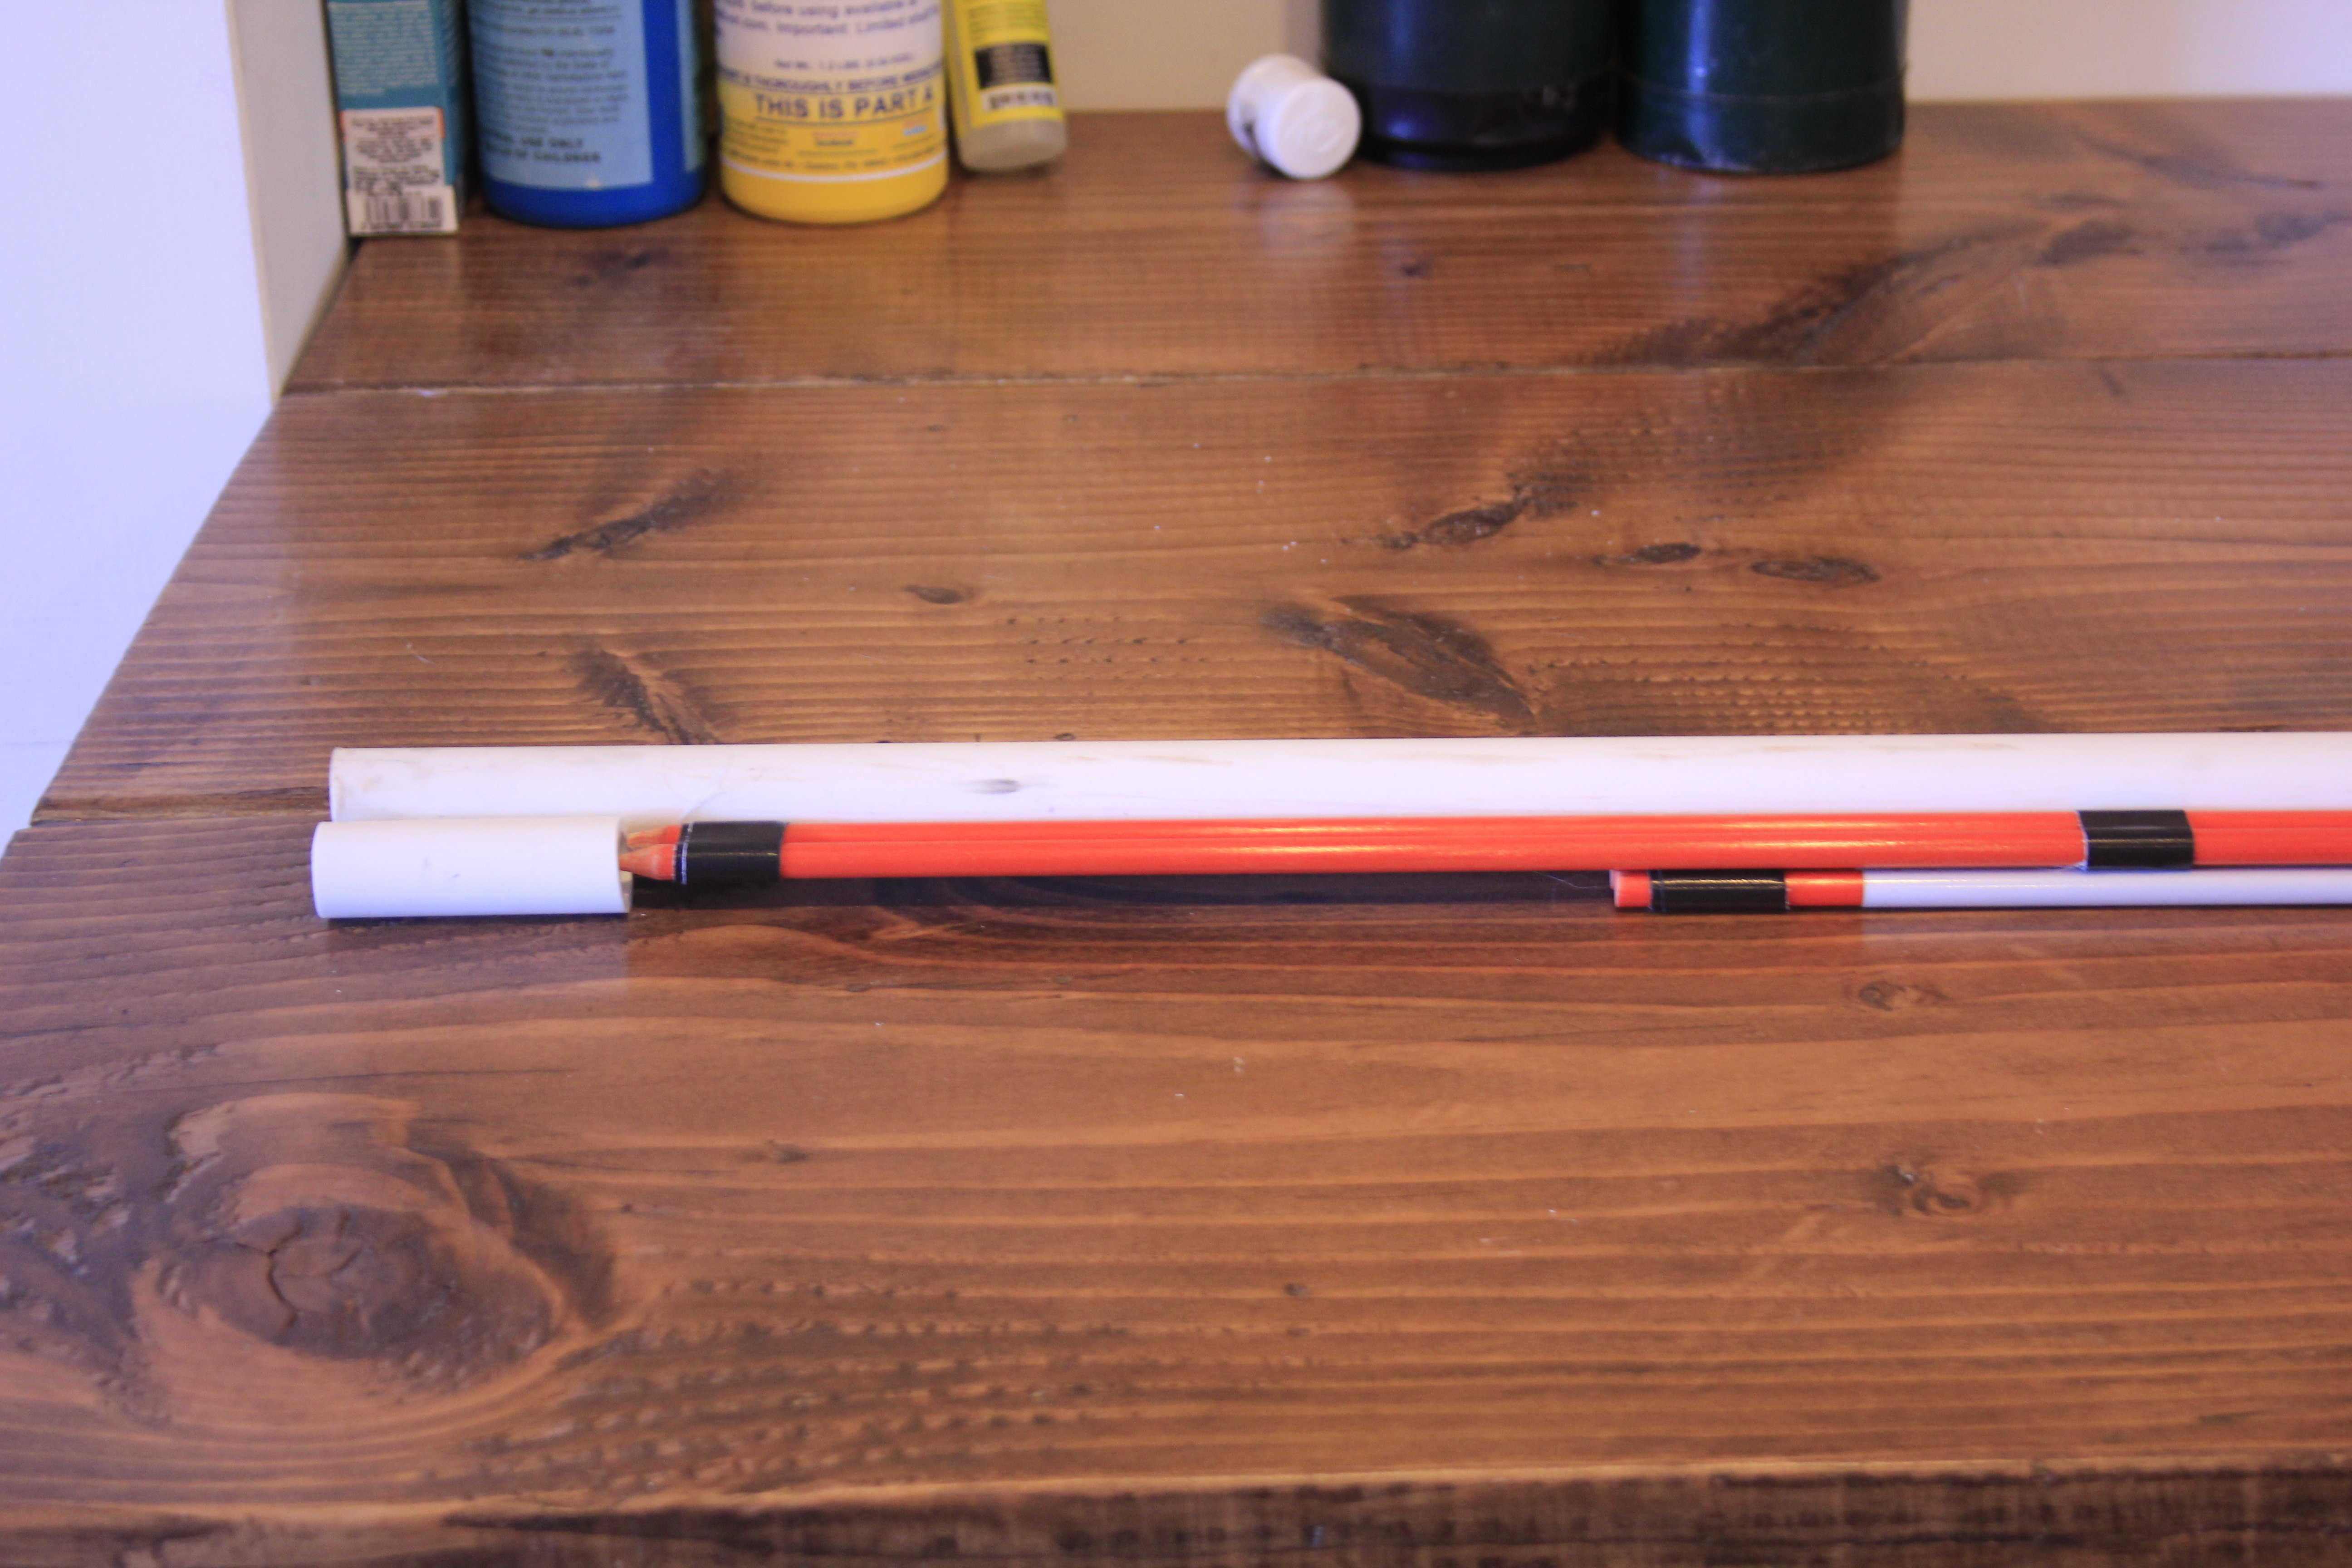
We line up our second rod pair so that it reaches to the other end of the bow, also accounting for the insert, and tape this whole system together.
This layered 4-rod system should be about 58-inches long. We know this because our pipe is 62-inches, and it has (or will have) the smaller 2-inch inserts on either end. These rods will eventually sit inside the bow pipe in-between the space left by the 2-inch inserts on either end.
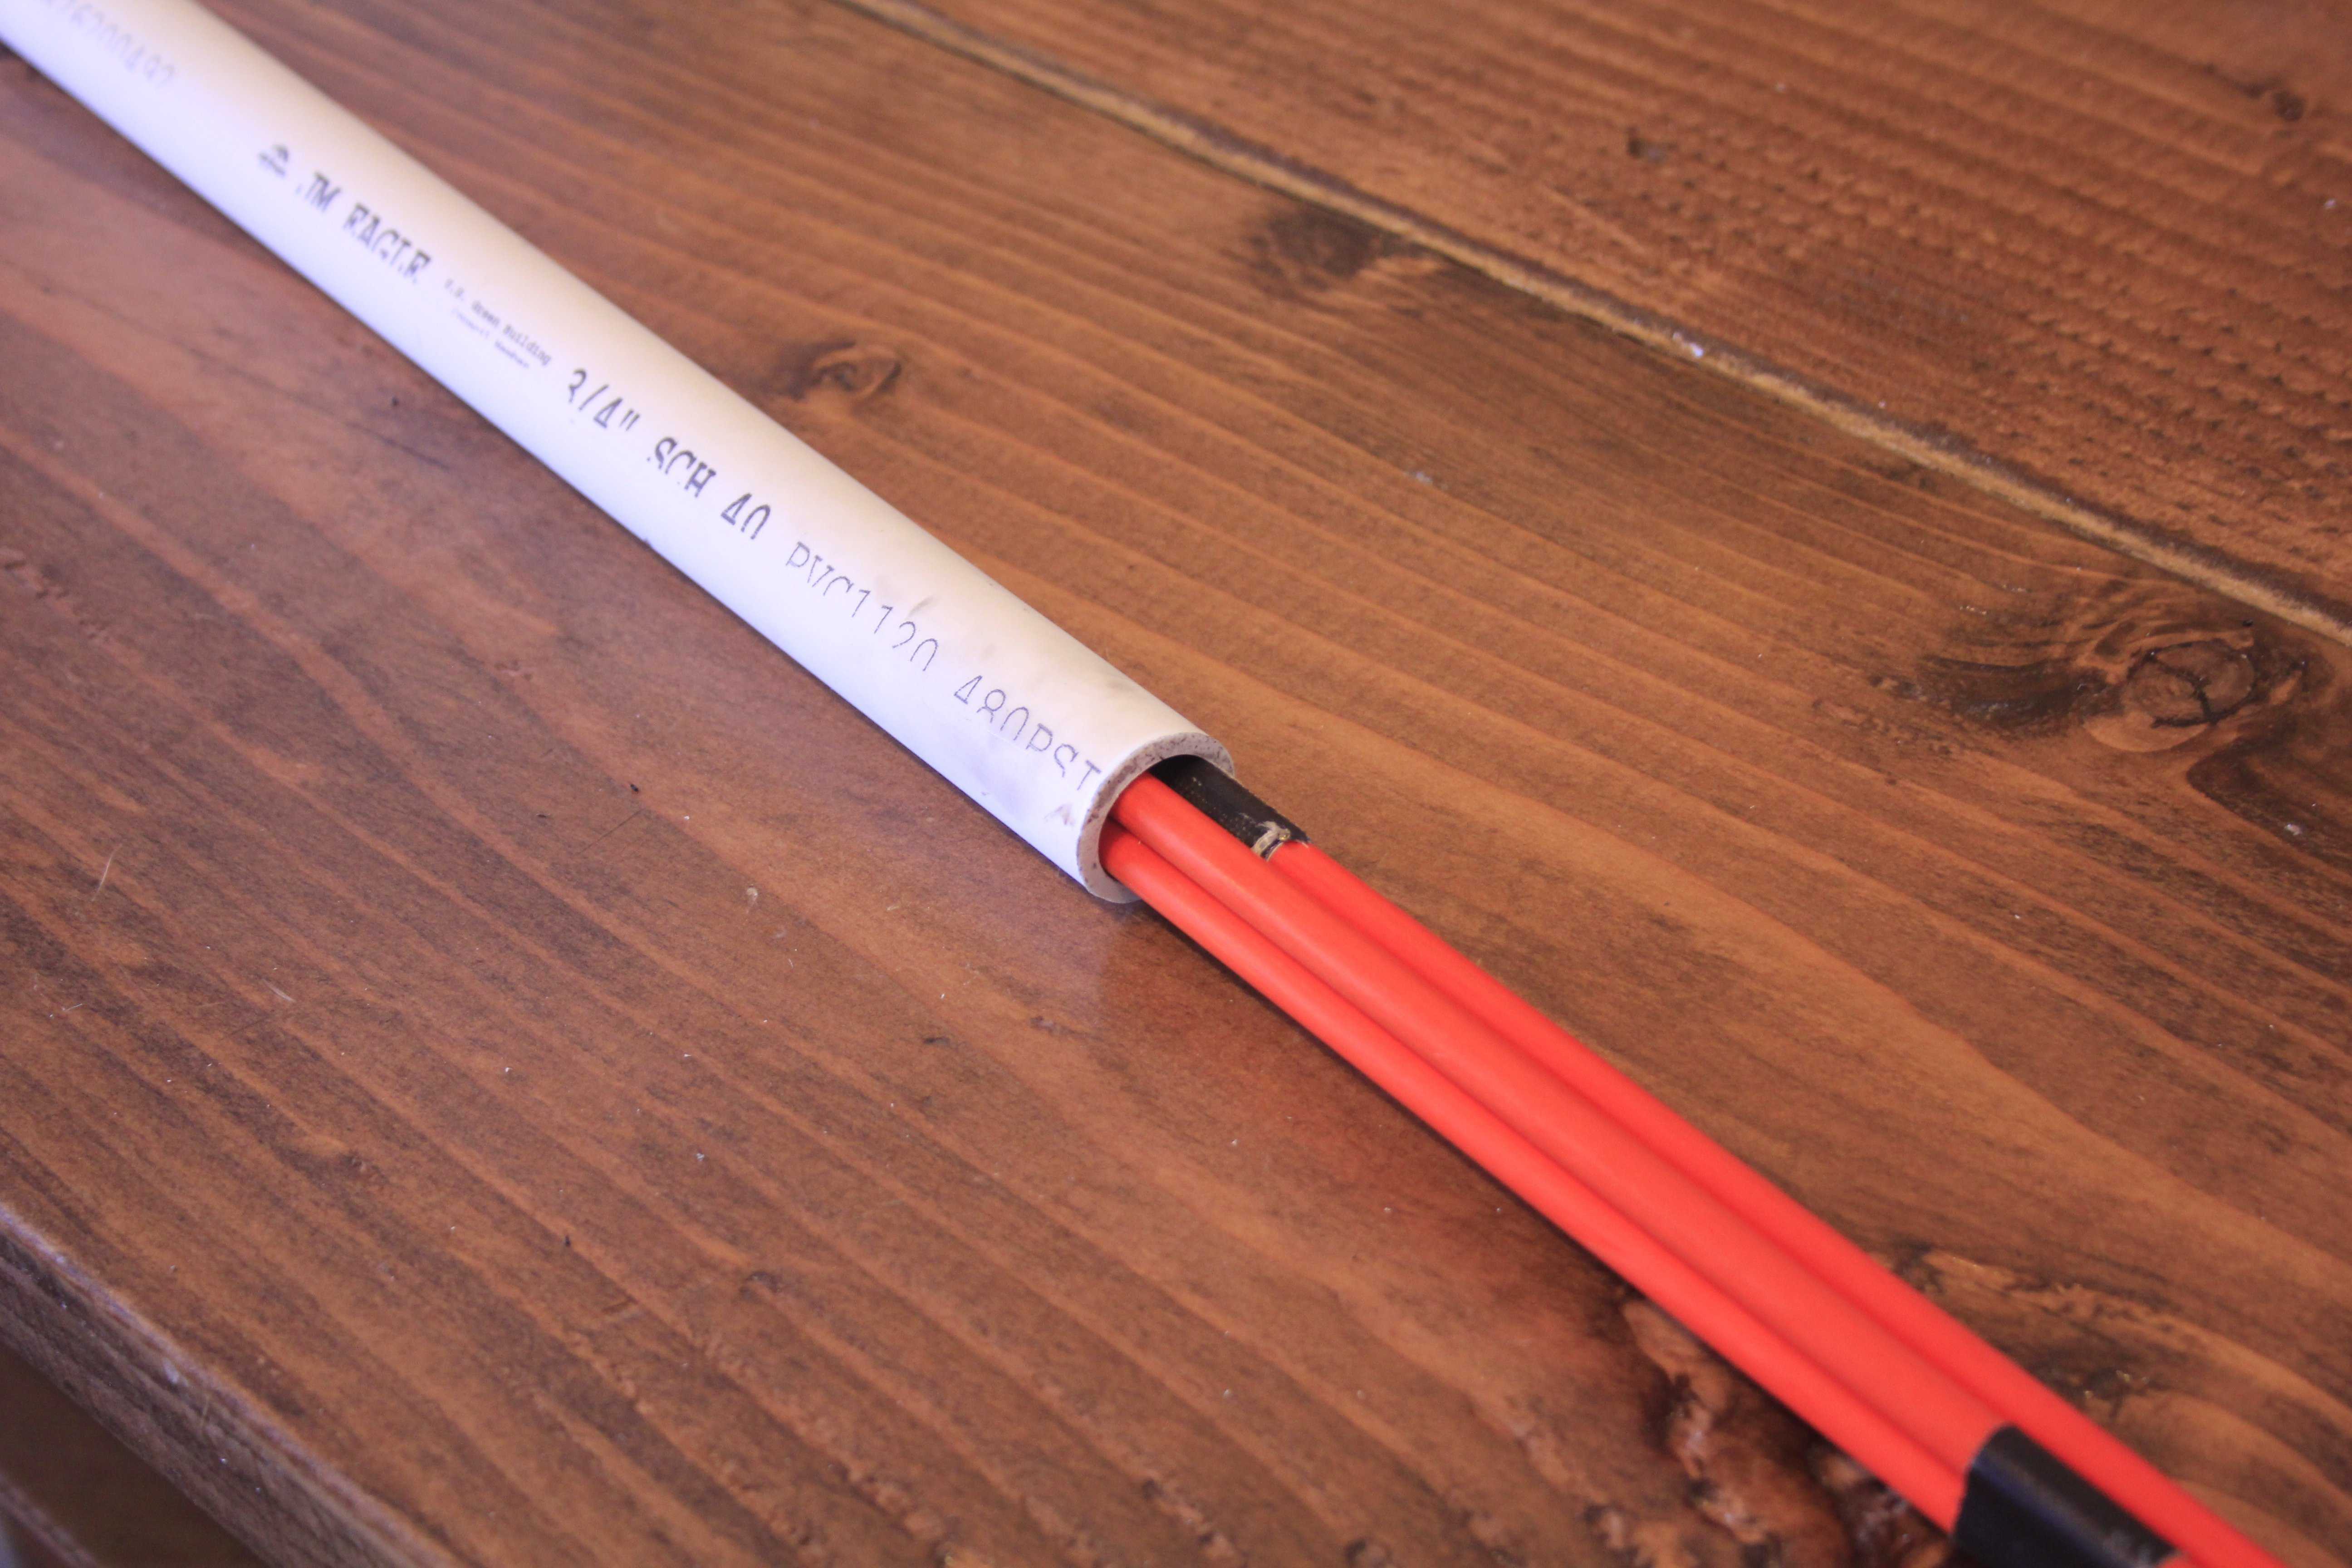
Step 5: Stuff the bow
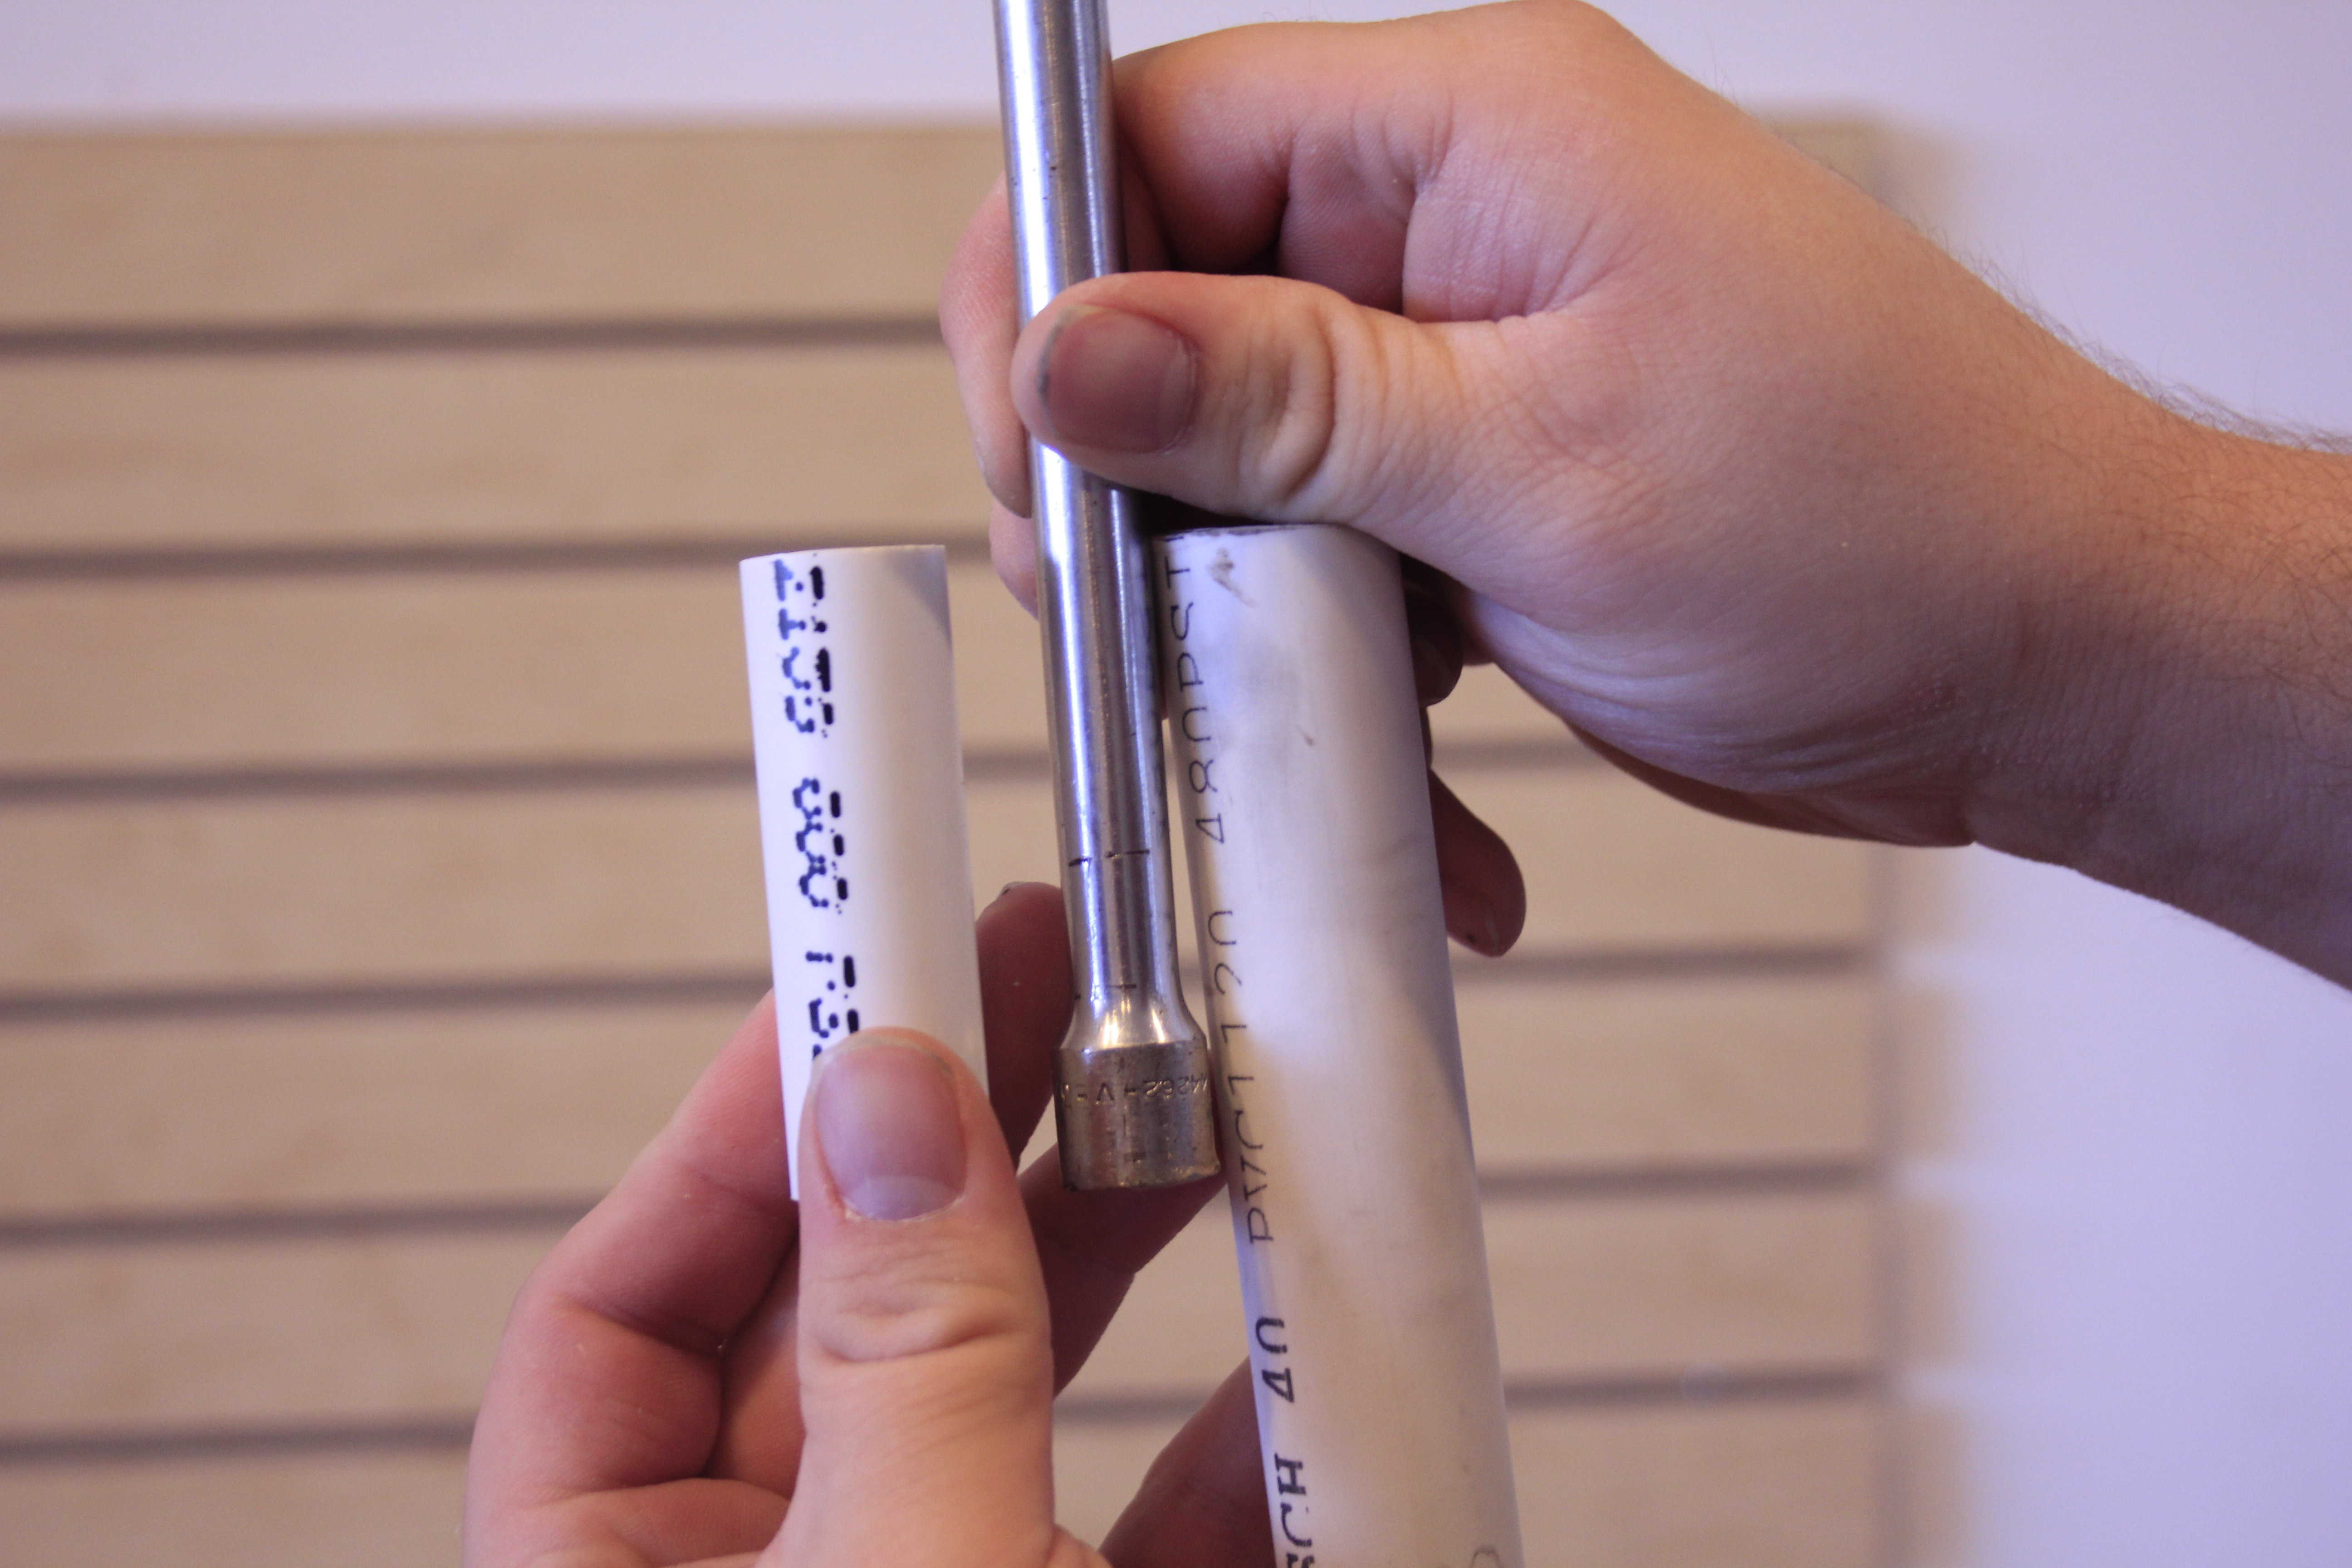
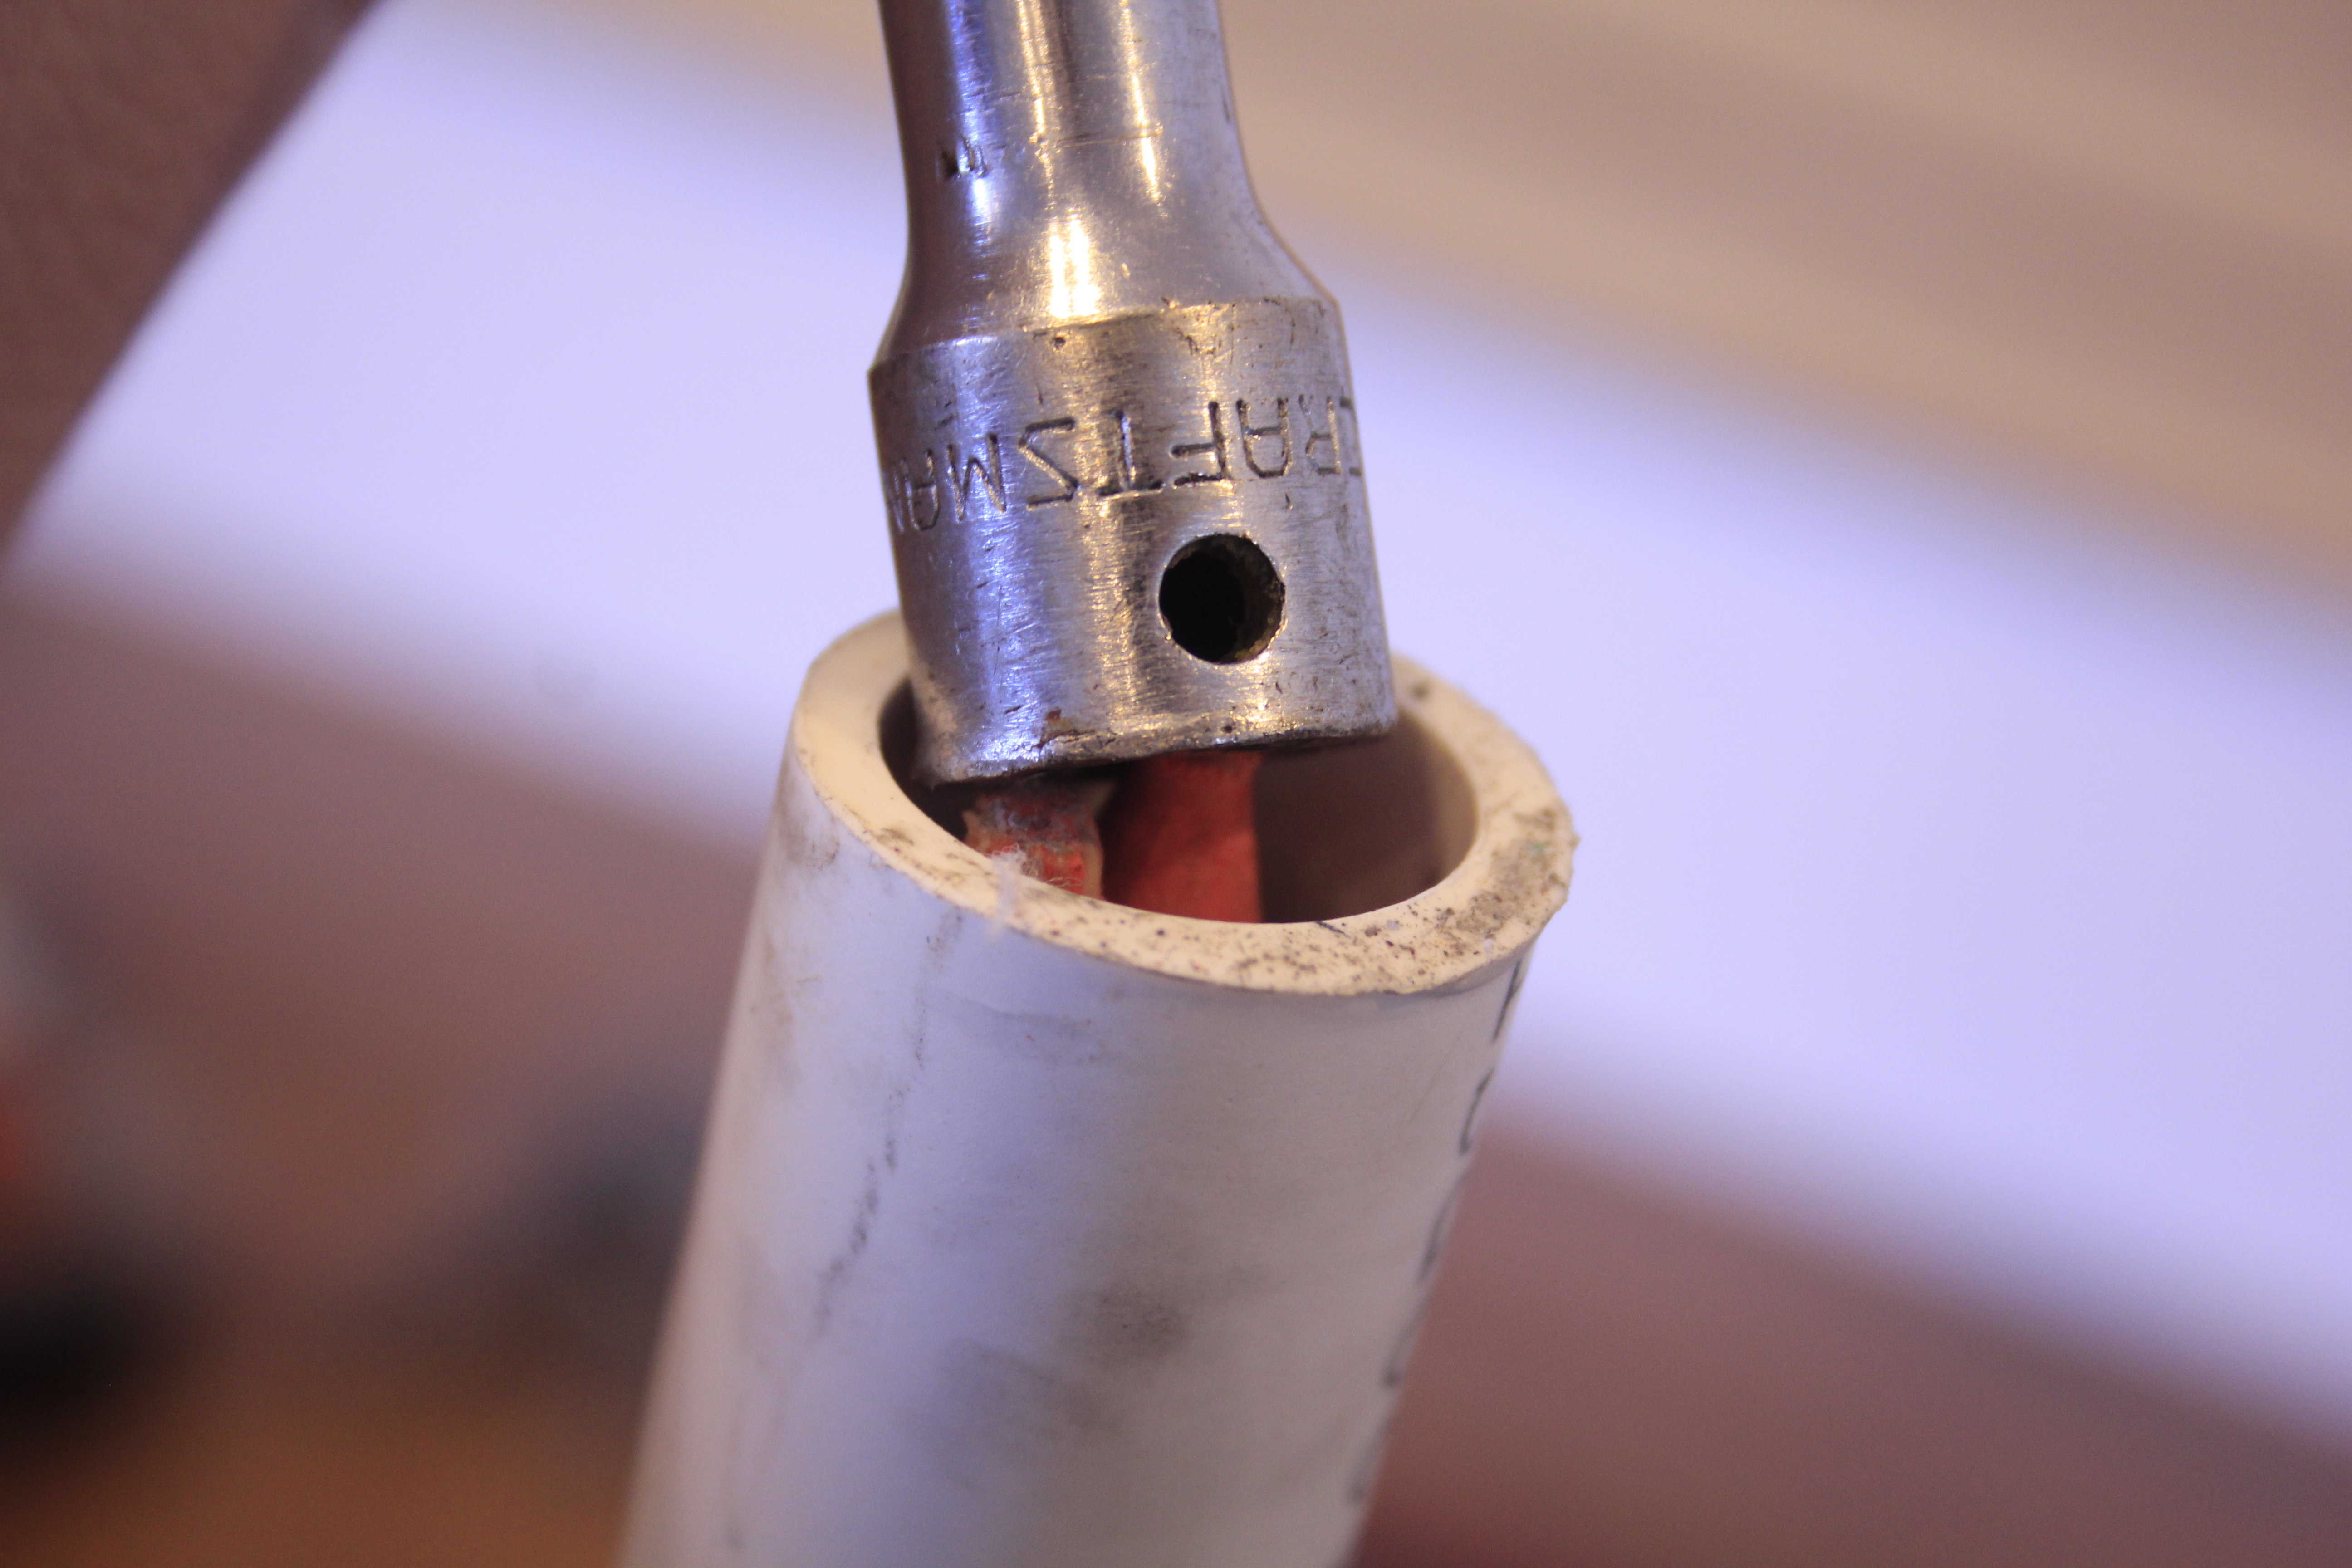
Now that you have your core, stuff it in the bow pipe from the end that does not yet have the 1/2-inch piece in it. Once you get to the last inch of rod sticking out, use a pipe, stick (or in our case, a socket wrench extension) to push the rods the rest the way into the pipe.
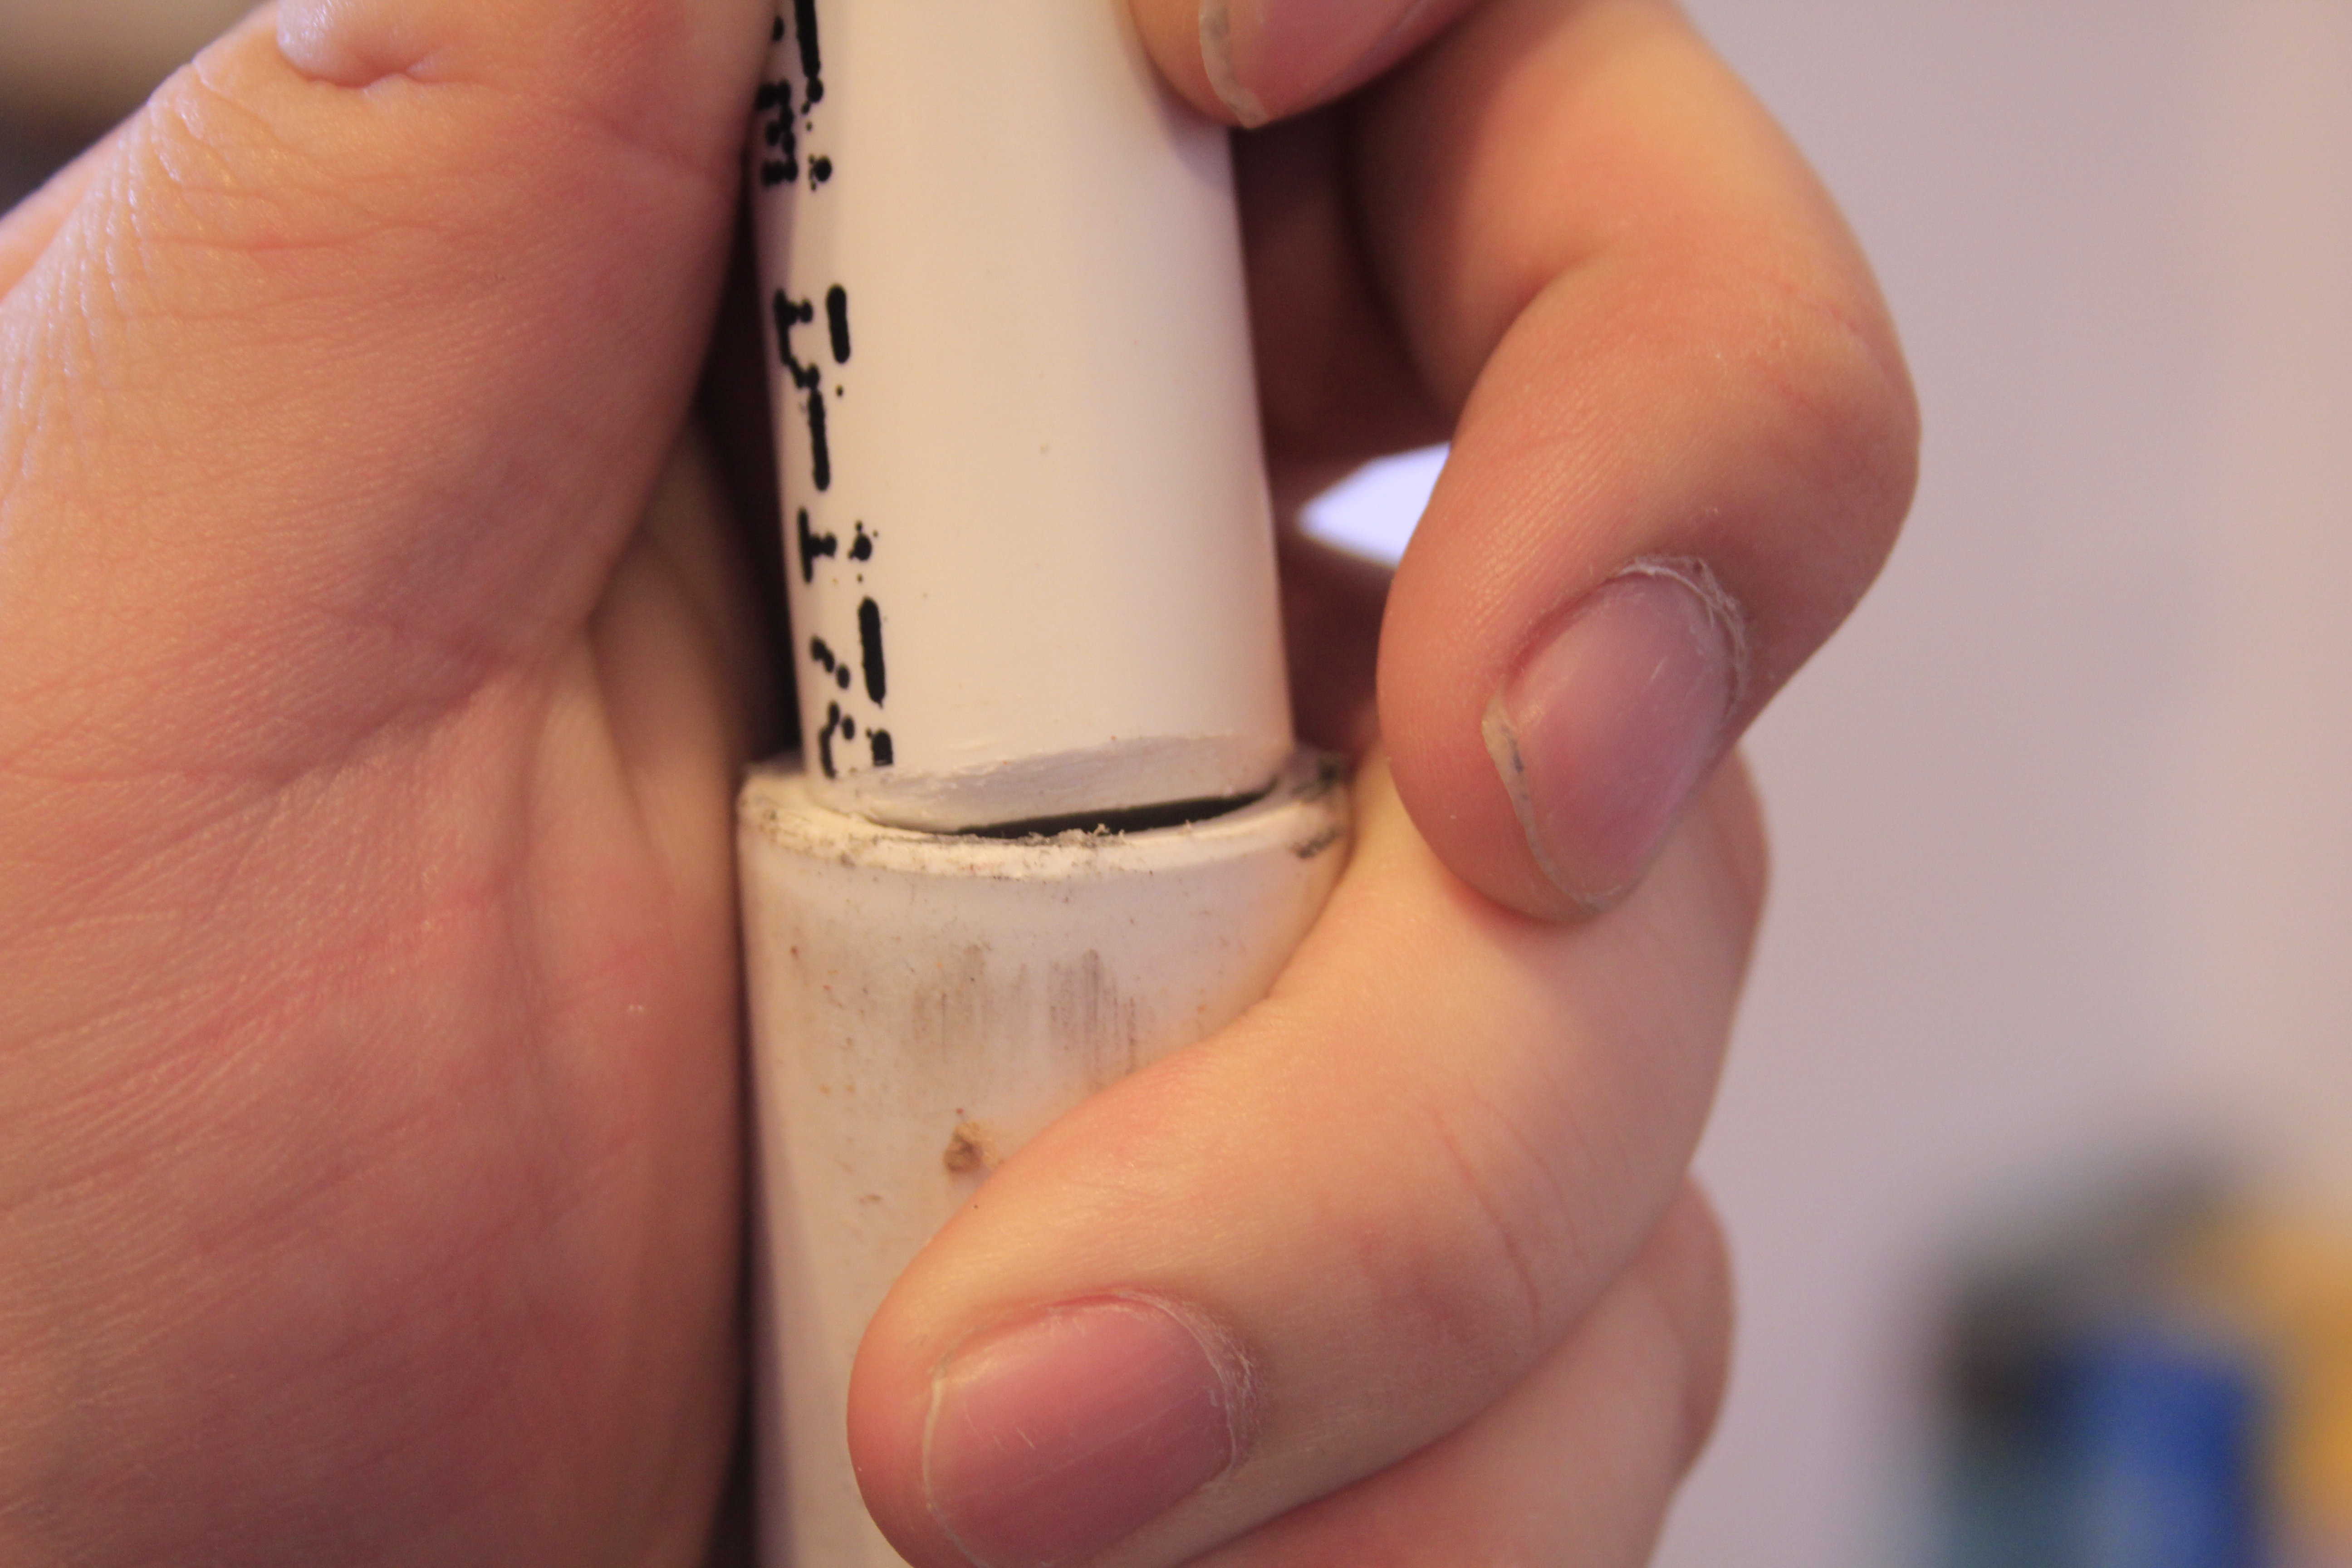
Step 6: Put in Second insert
Hammer your other 1/2-inch limb reinforcement pipe into the end now that your fiberglass core is snugly in place. It should seat perfectly, creating a tight system of rods inside the bow.
Step 7 – Mark your limbs
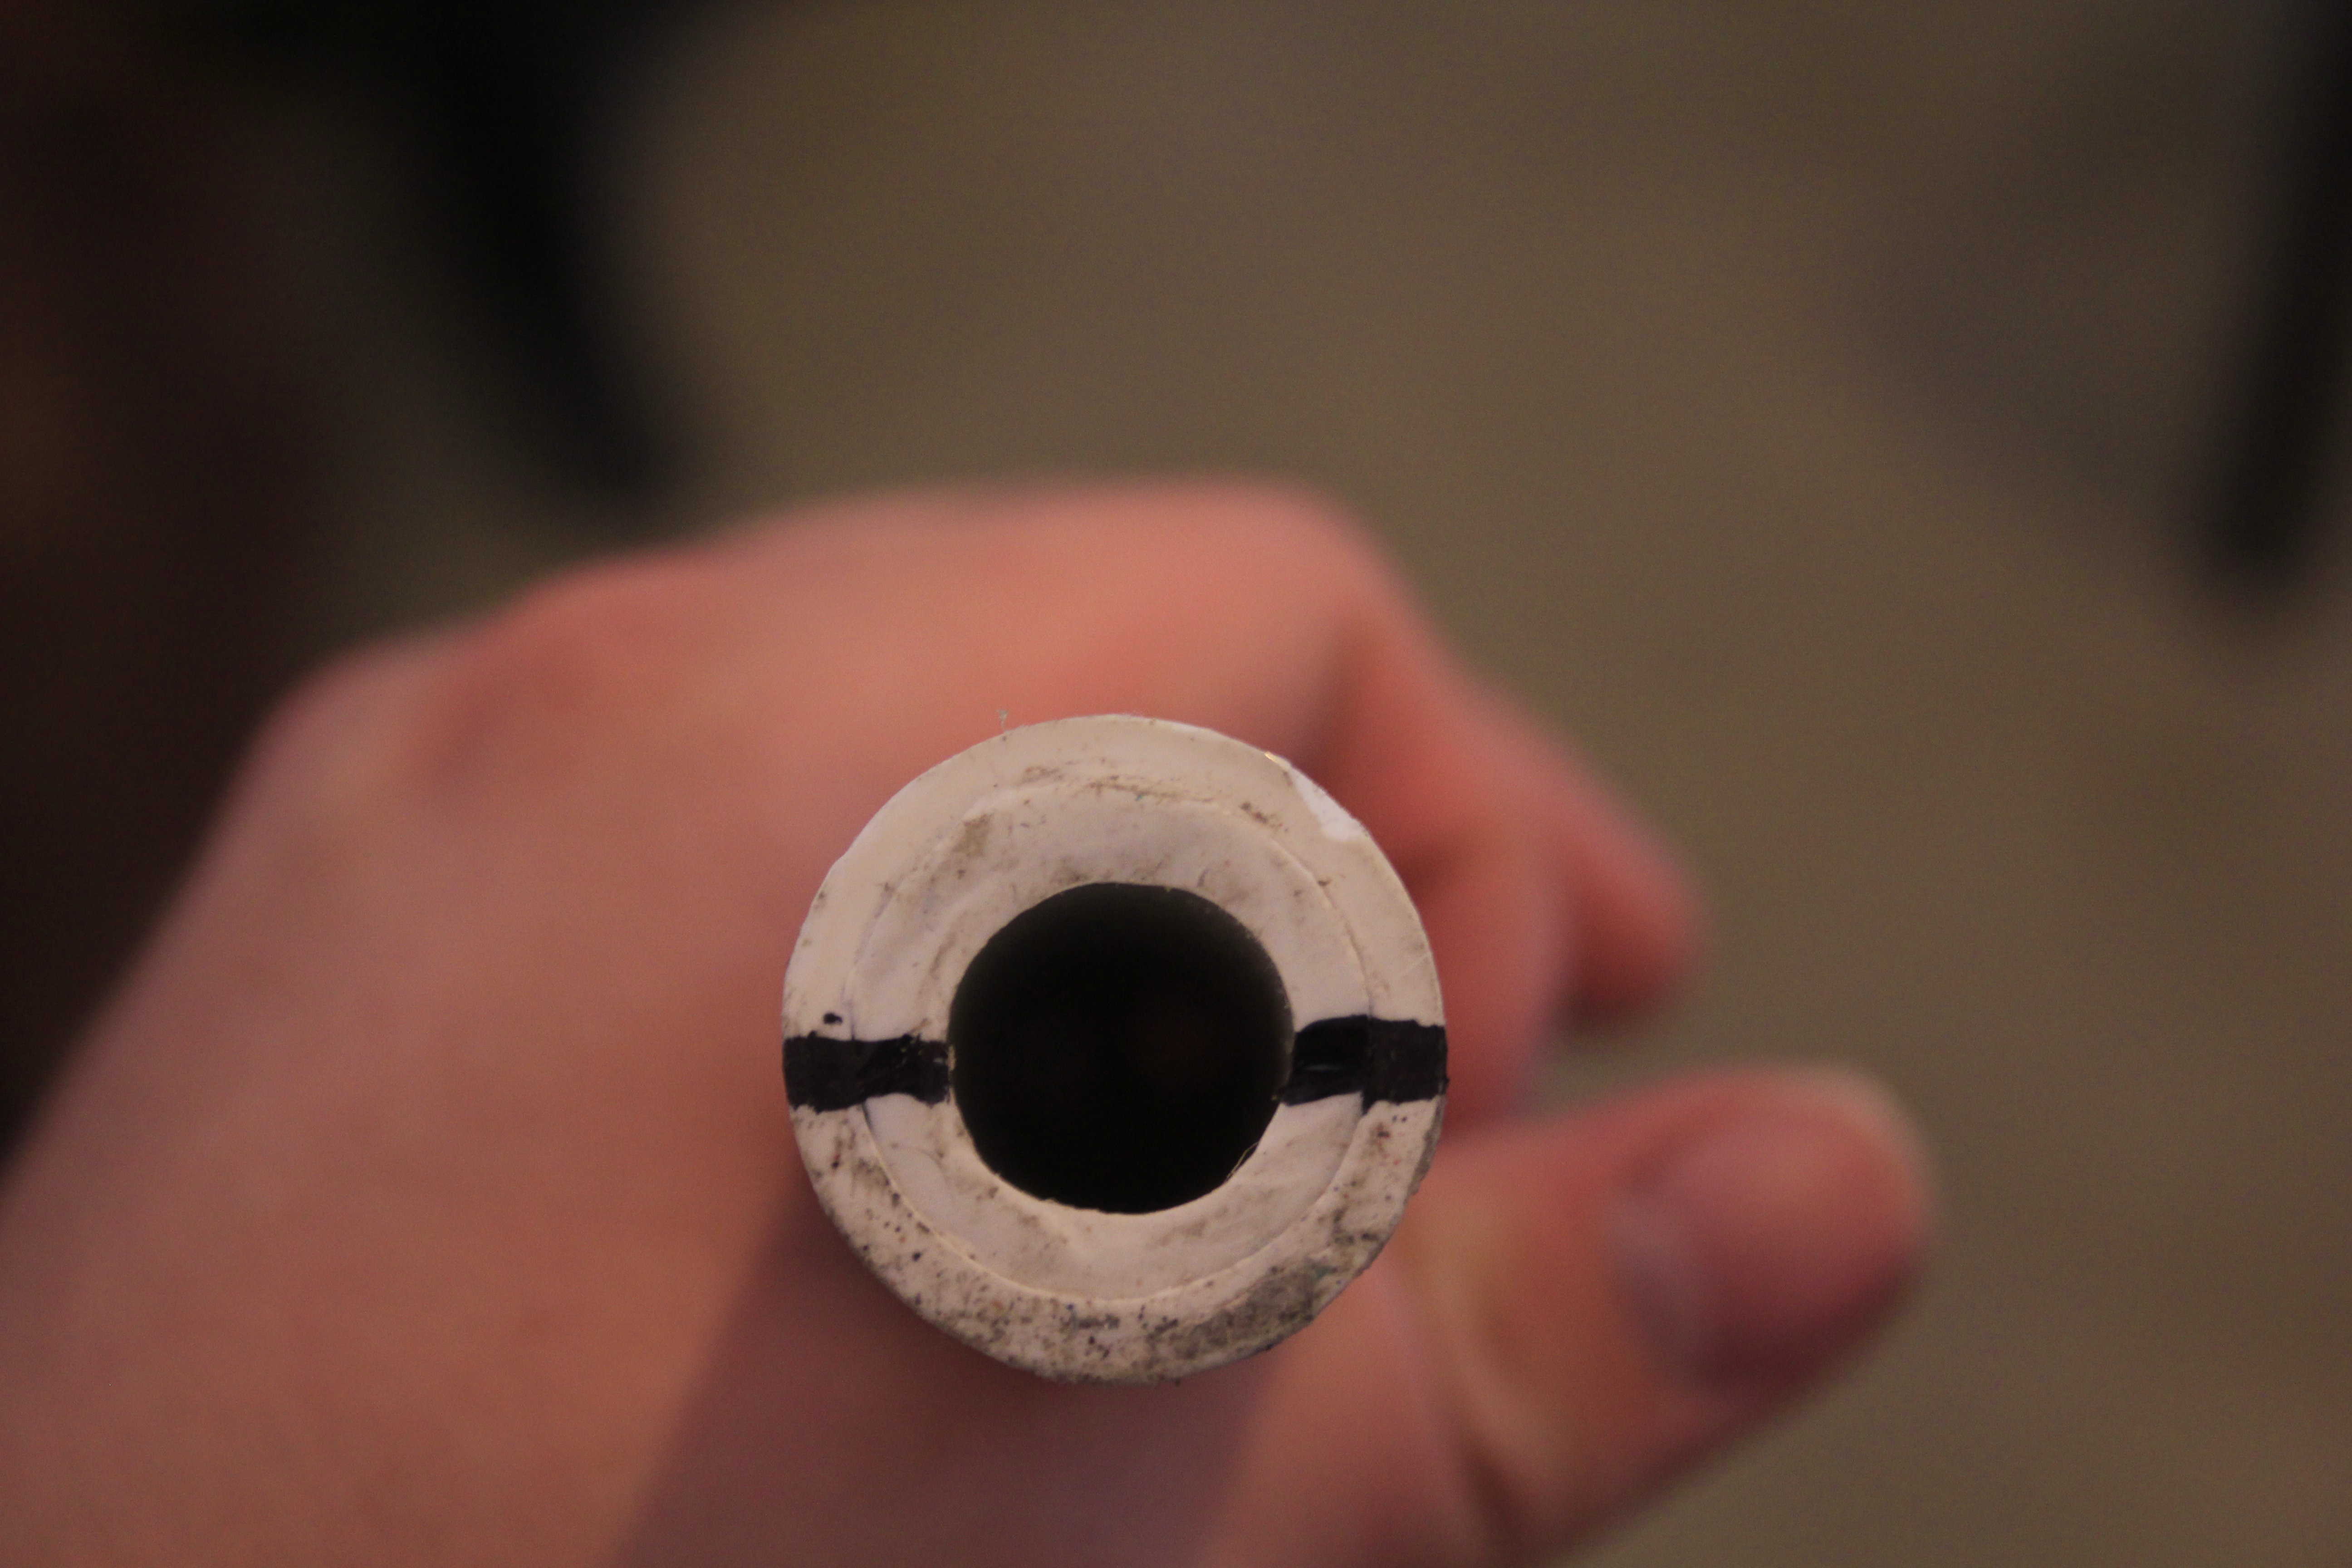
Peer down into your bow pipe and you should just be able to see the two fiberglass rods. Mark the top of your 3/4-inch pipe so that the lines on either side line up with your two rods. Your line needs be this way so the front of the bow and the fiberglass core line up.
The first photo is overexposed so that, if you look closely down the pipe, you can see the faint orange of the two rod we just pushed down with the socket extension.

We did not move the pipe in the next image, so you can see how the pen marks line up with the fiberglass core.
Measure down one inch from each line and mark the pipe.
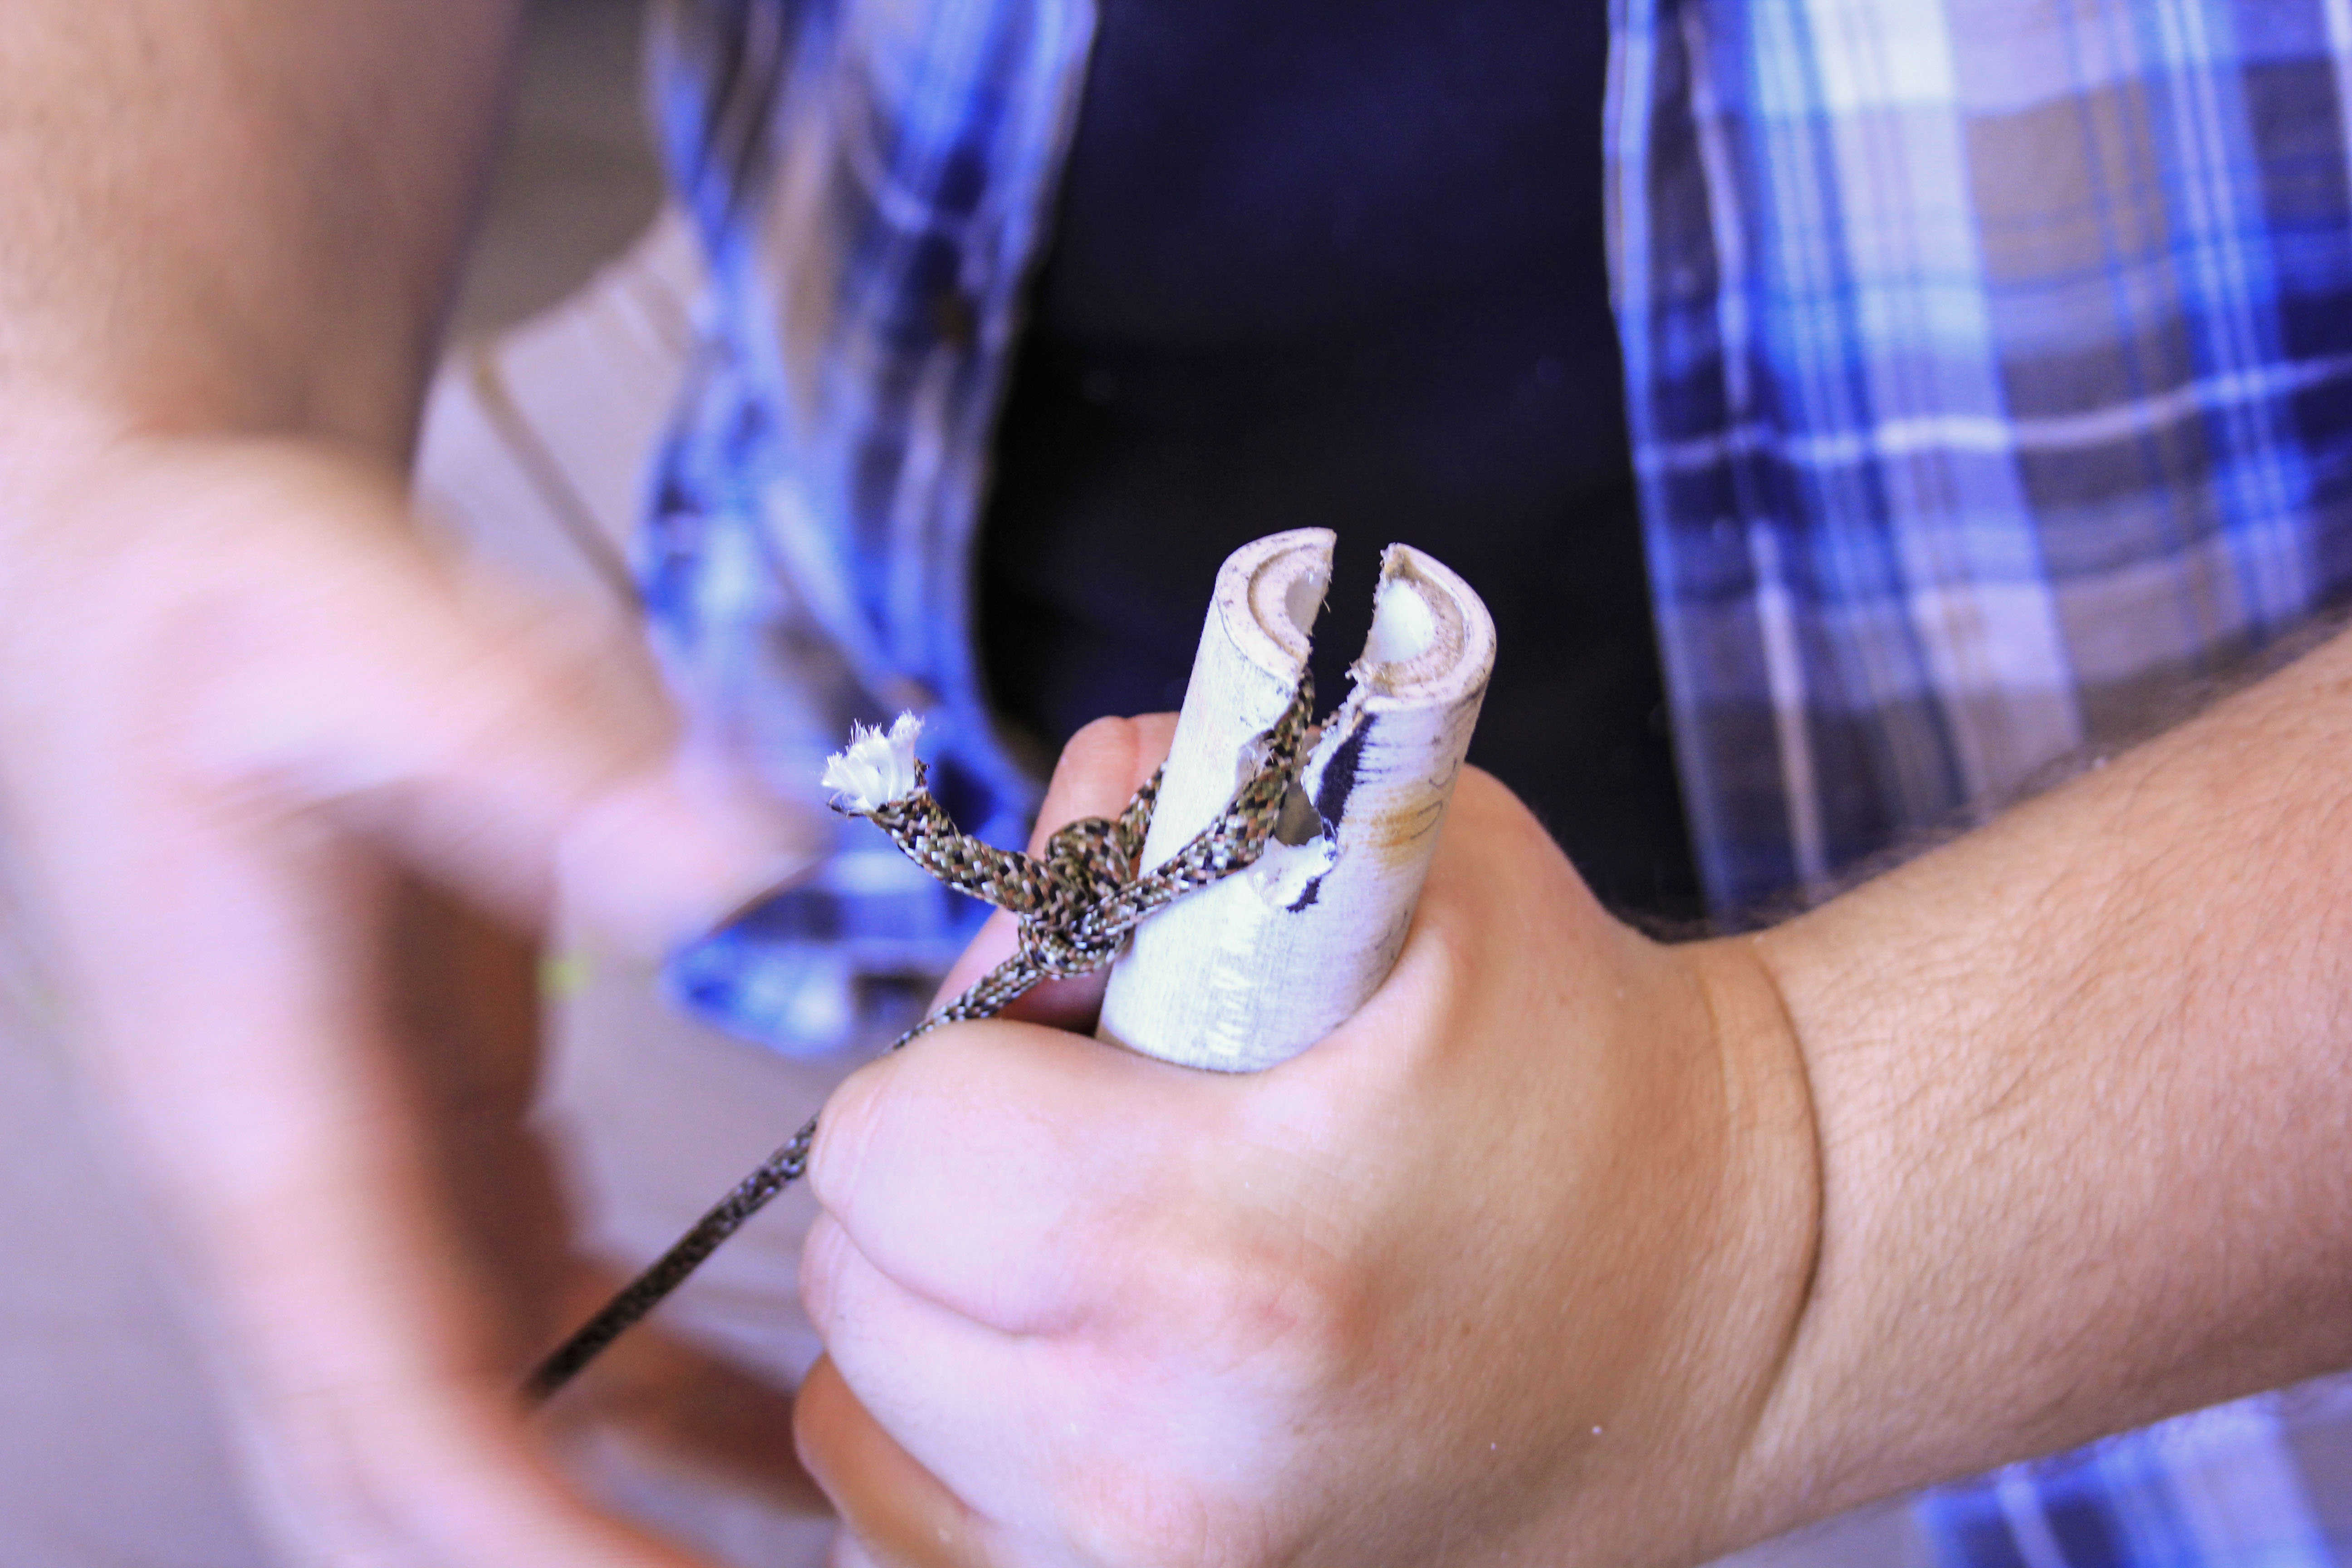
Step 8: Cut your string insert
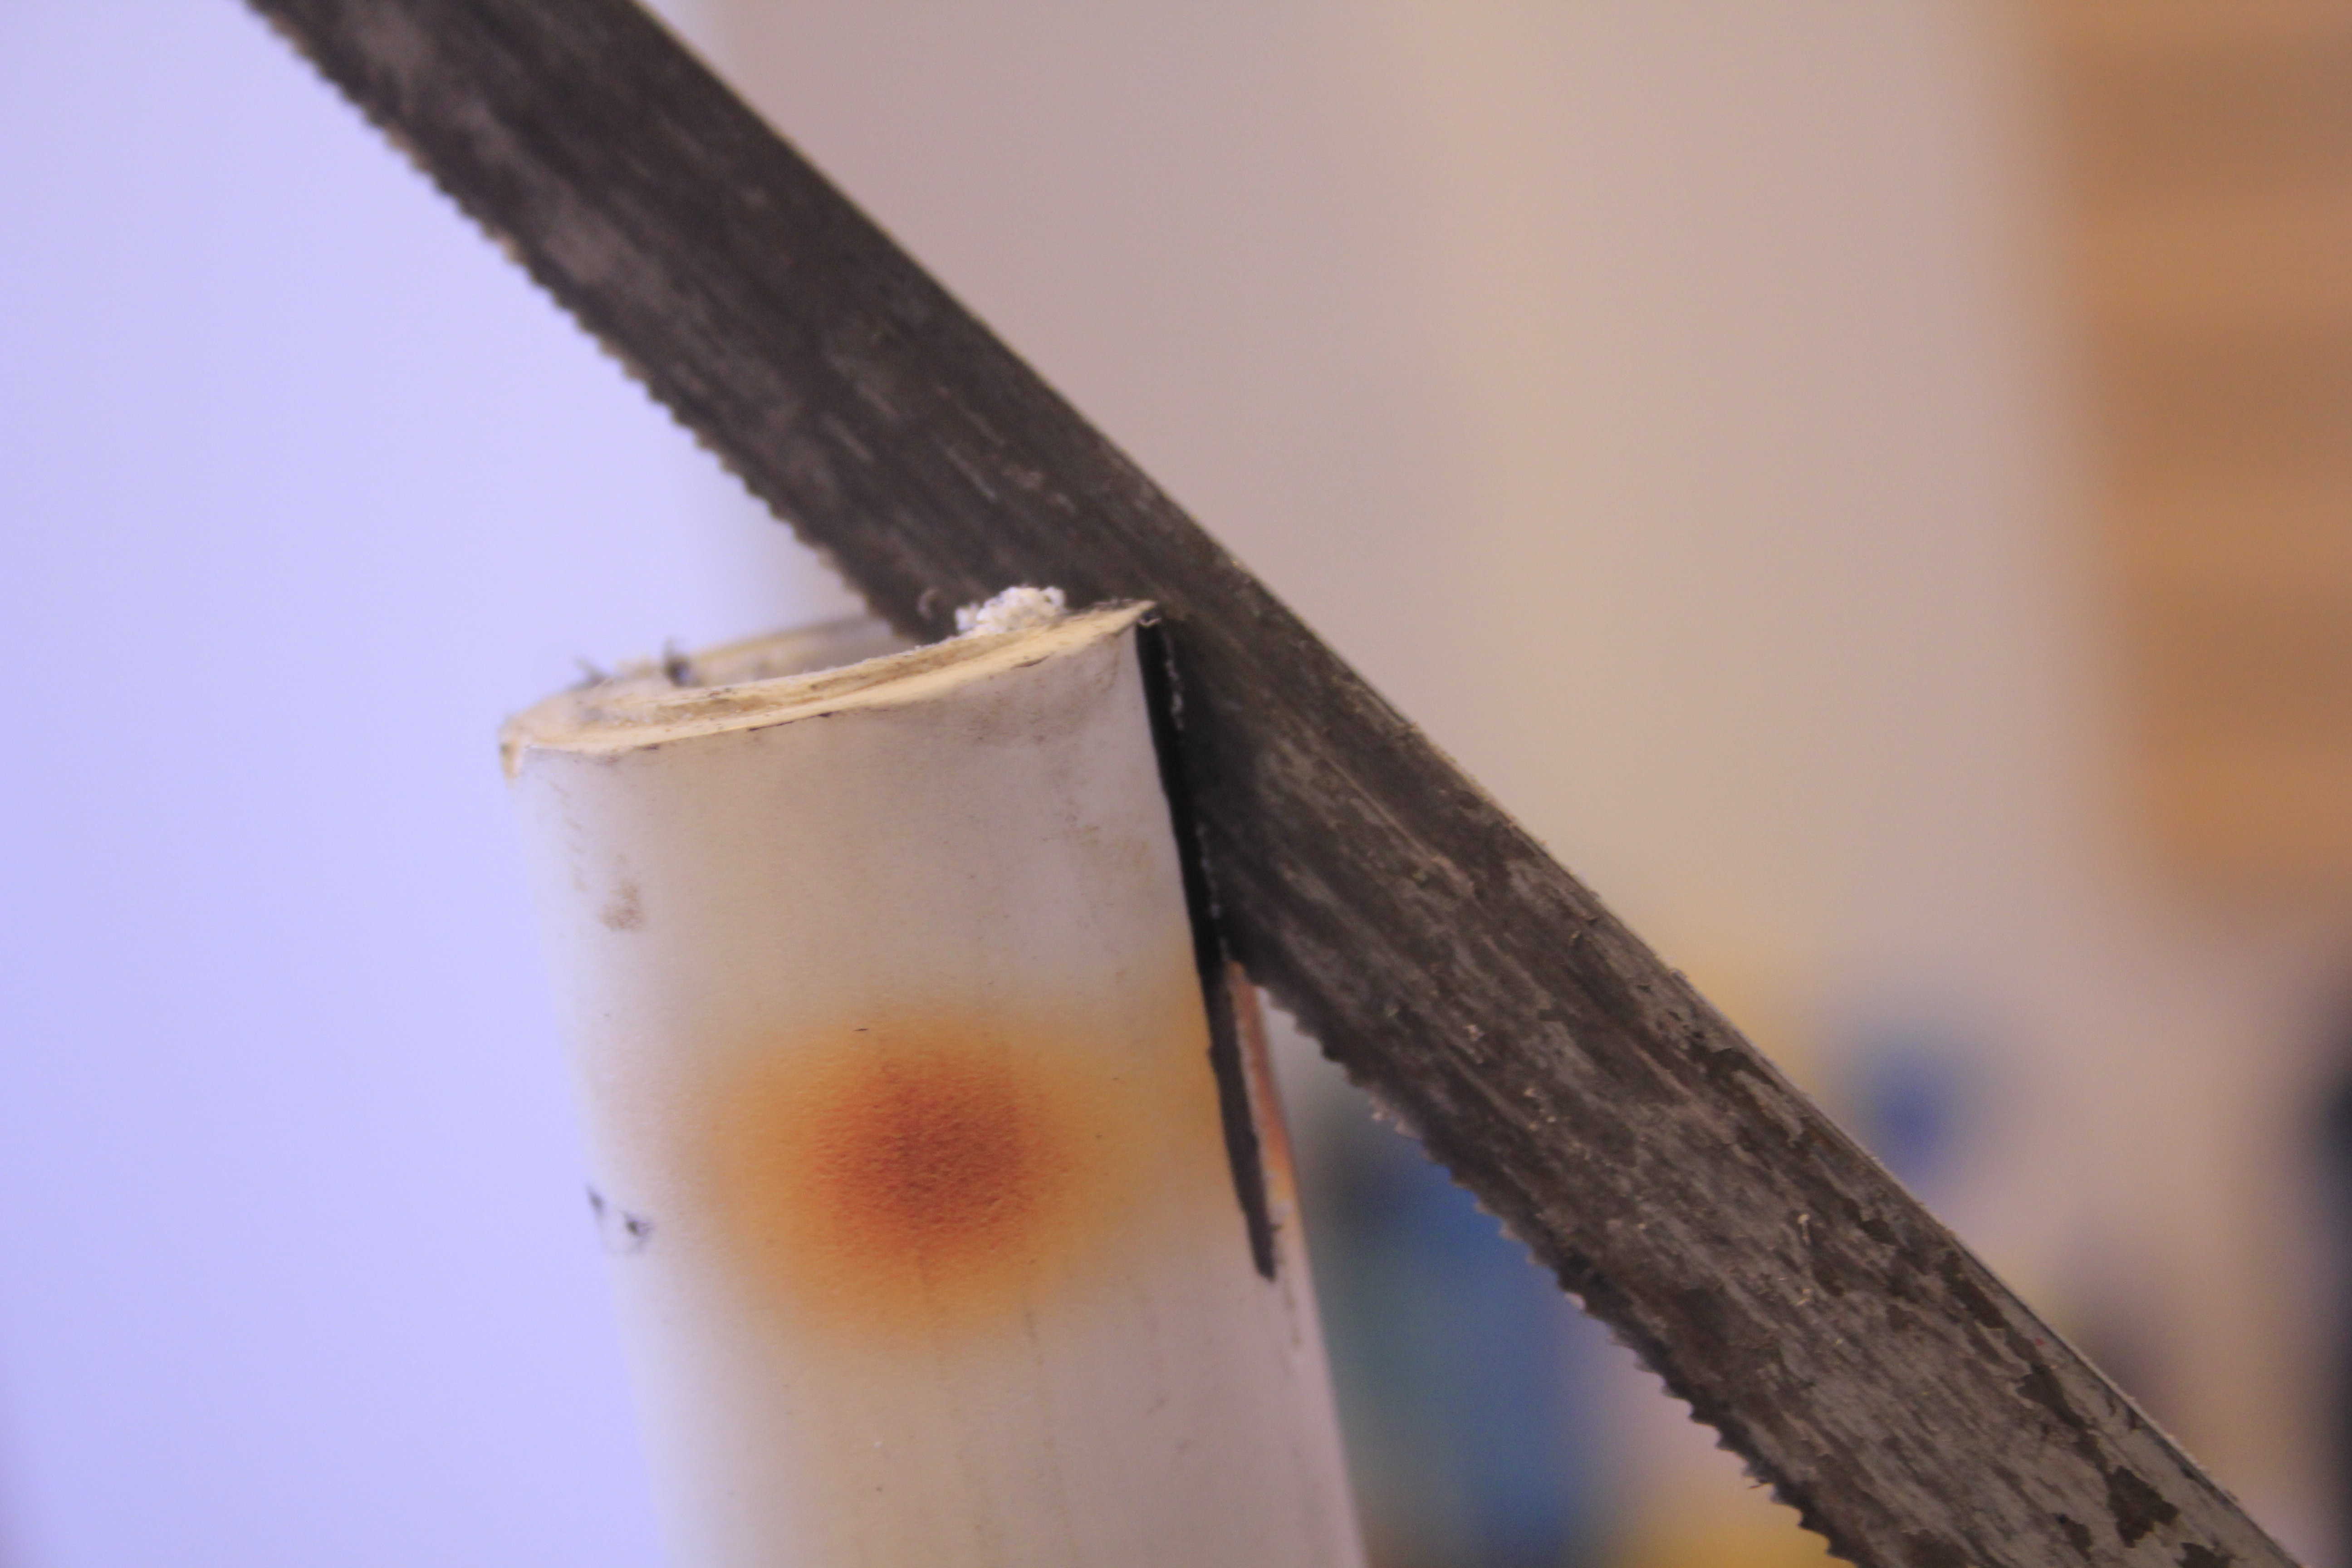
We used a hacksaw to cut down each side of our sharpie marks. You want to use a blade that is not too big, as your bow string is going to sit into the area we are cutting out.
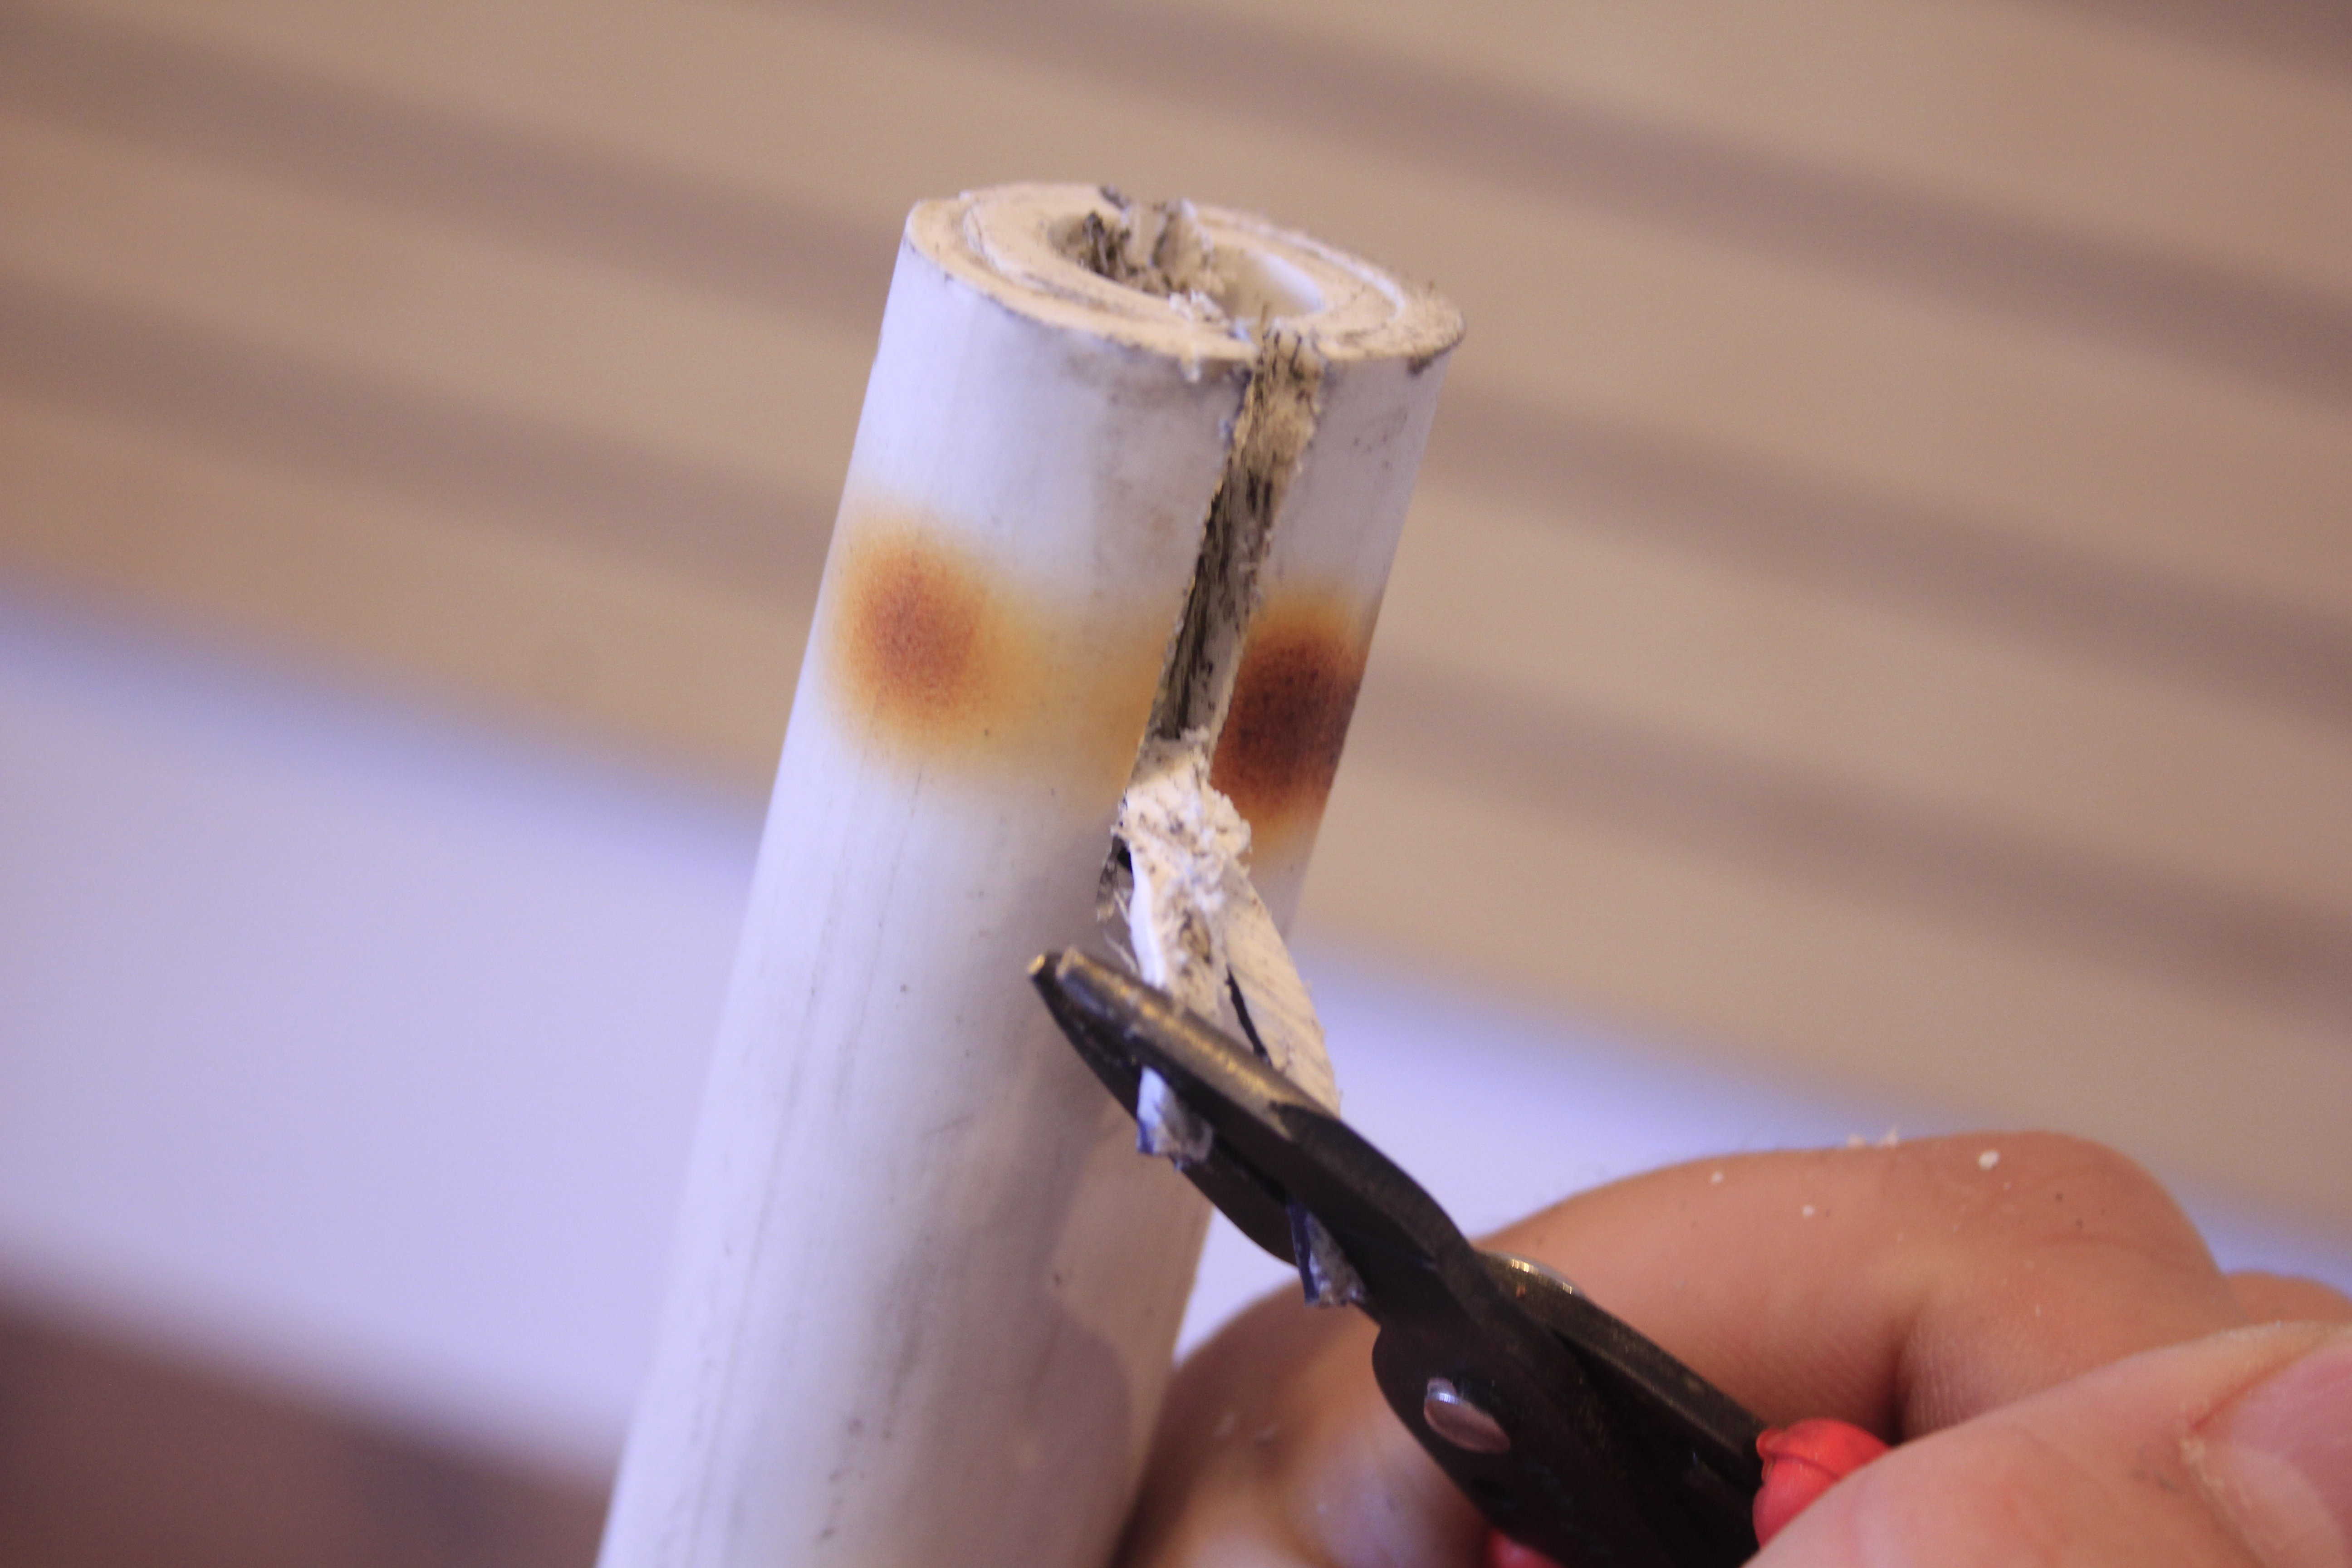
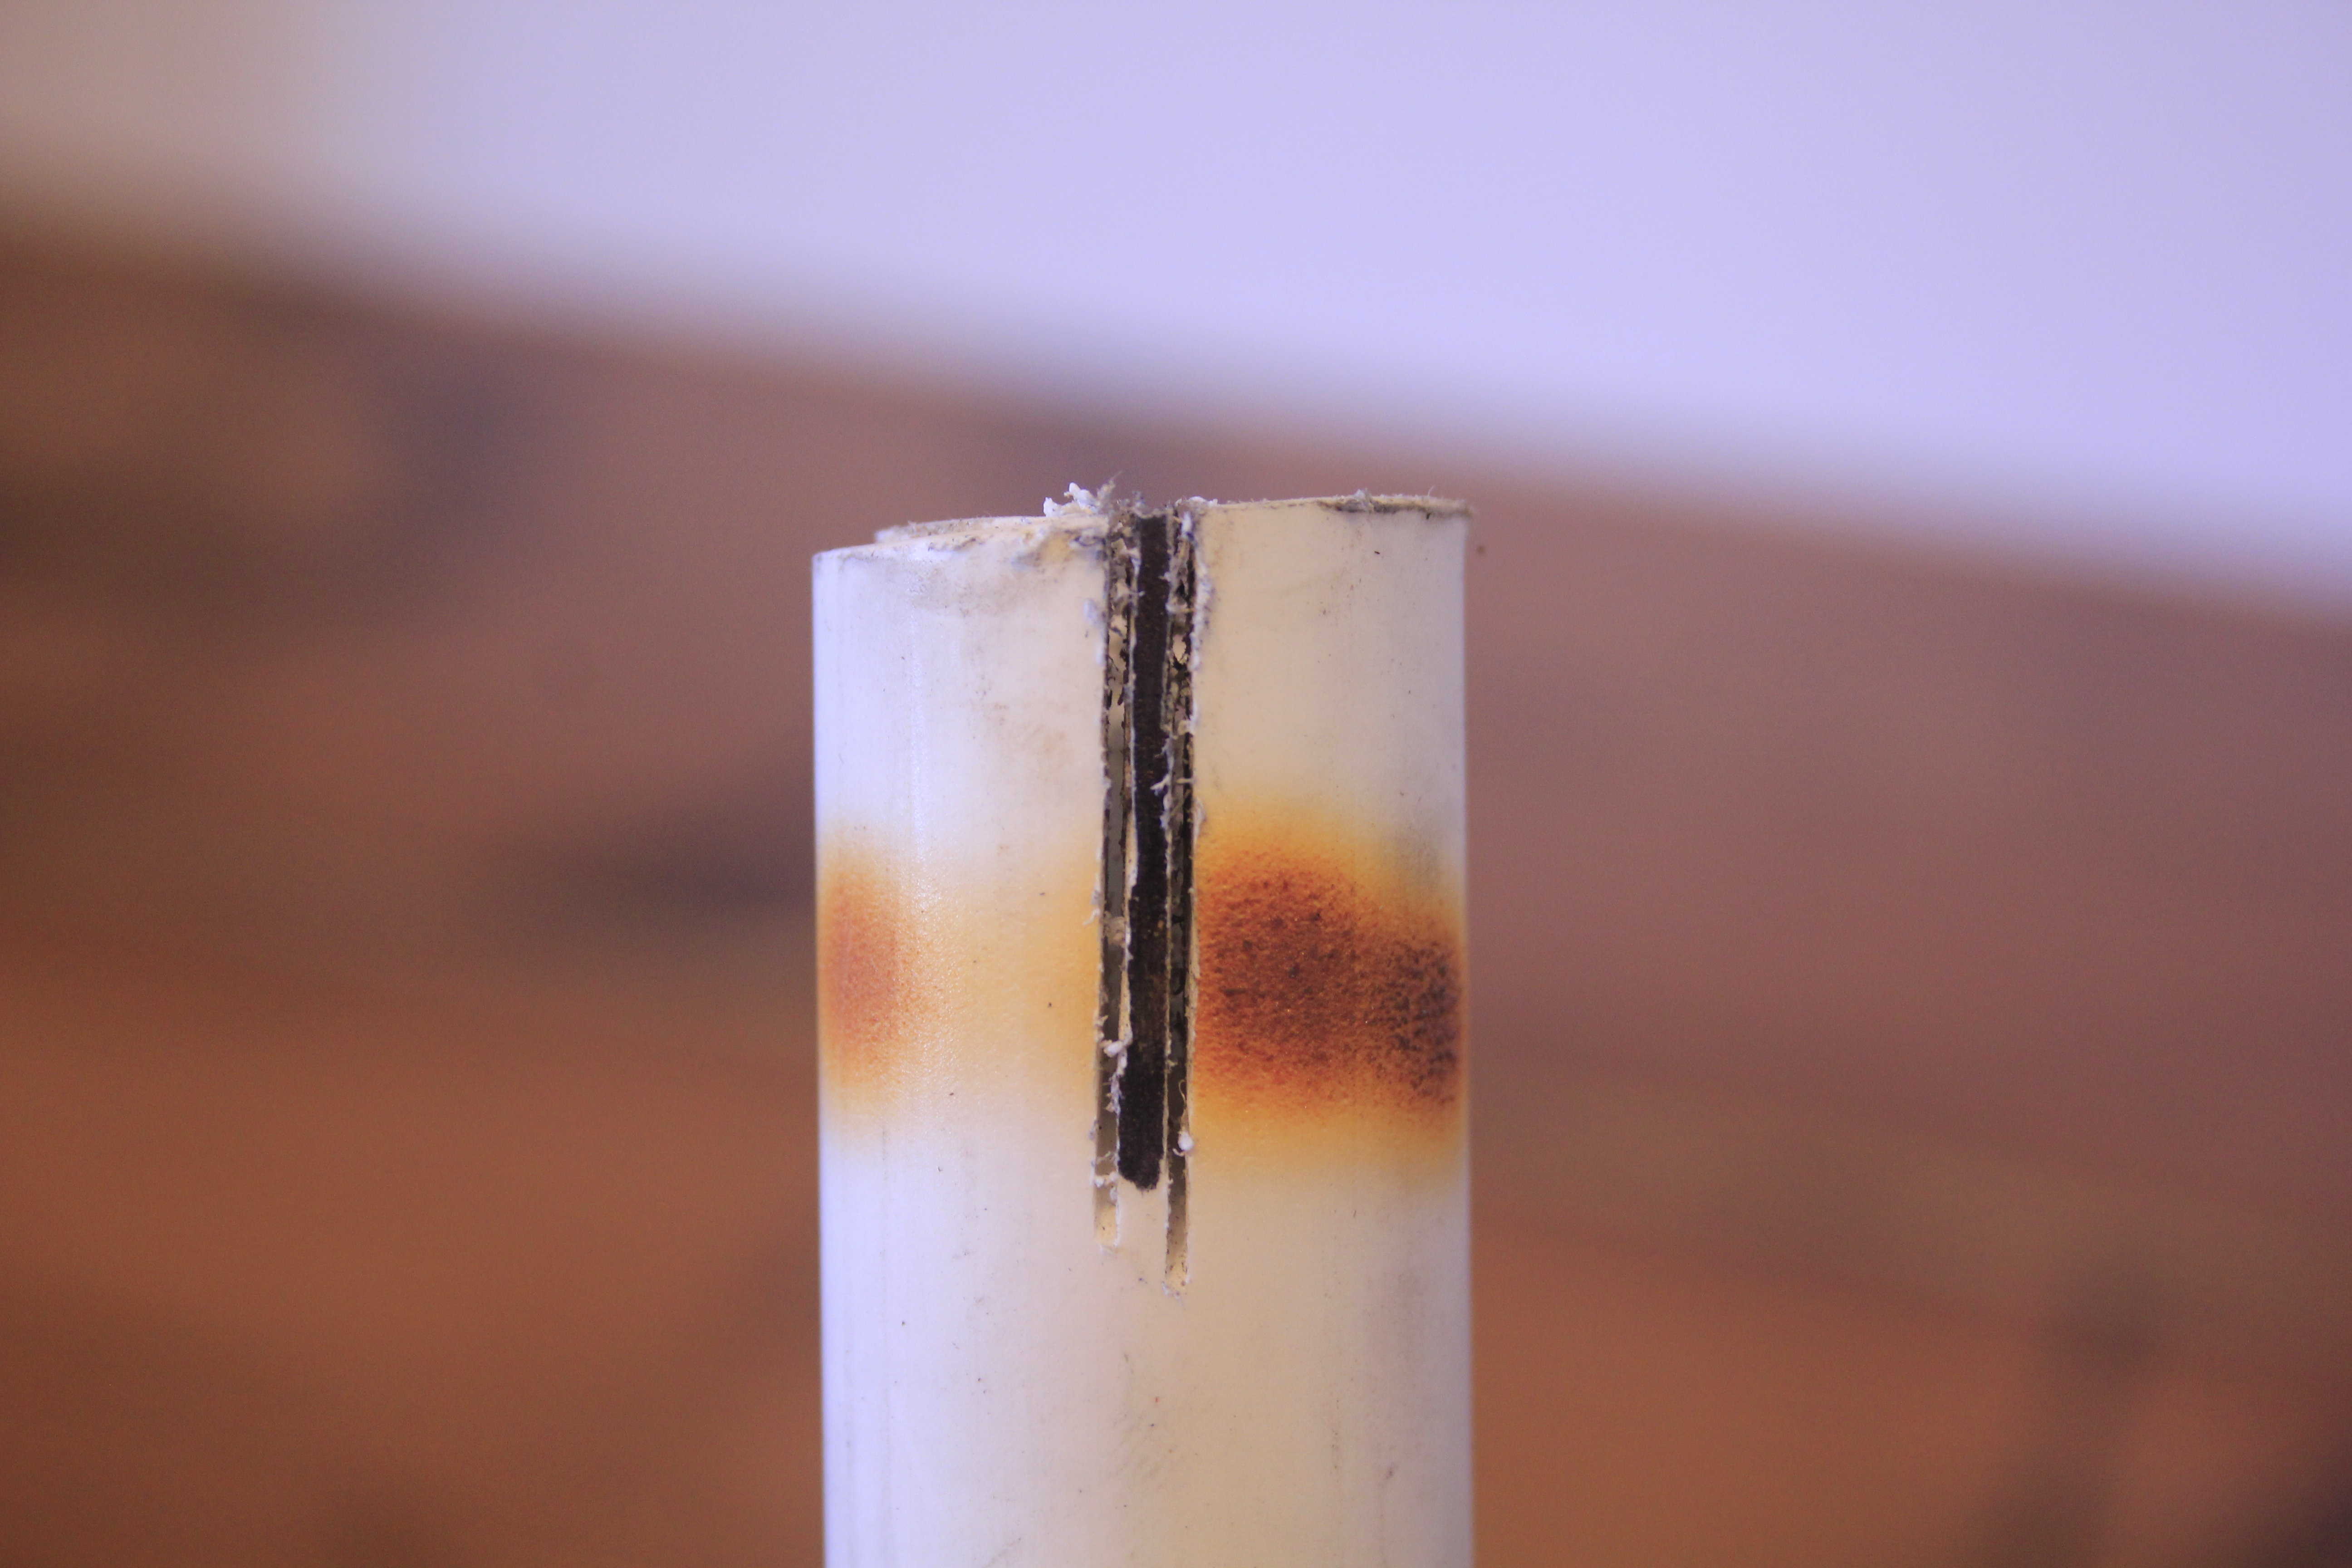
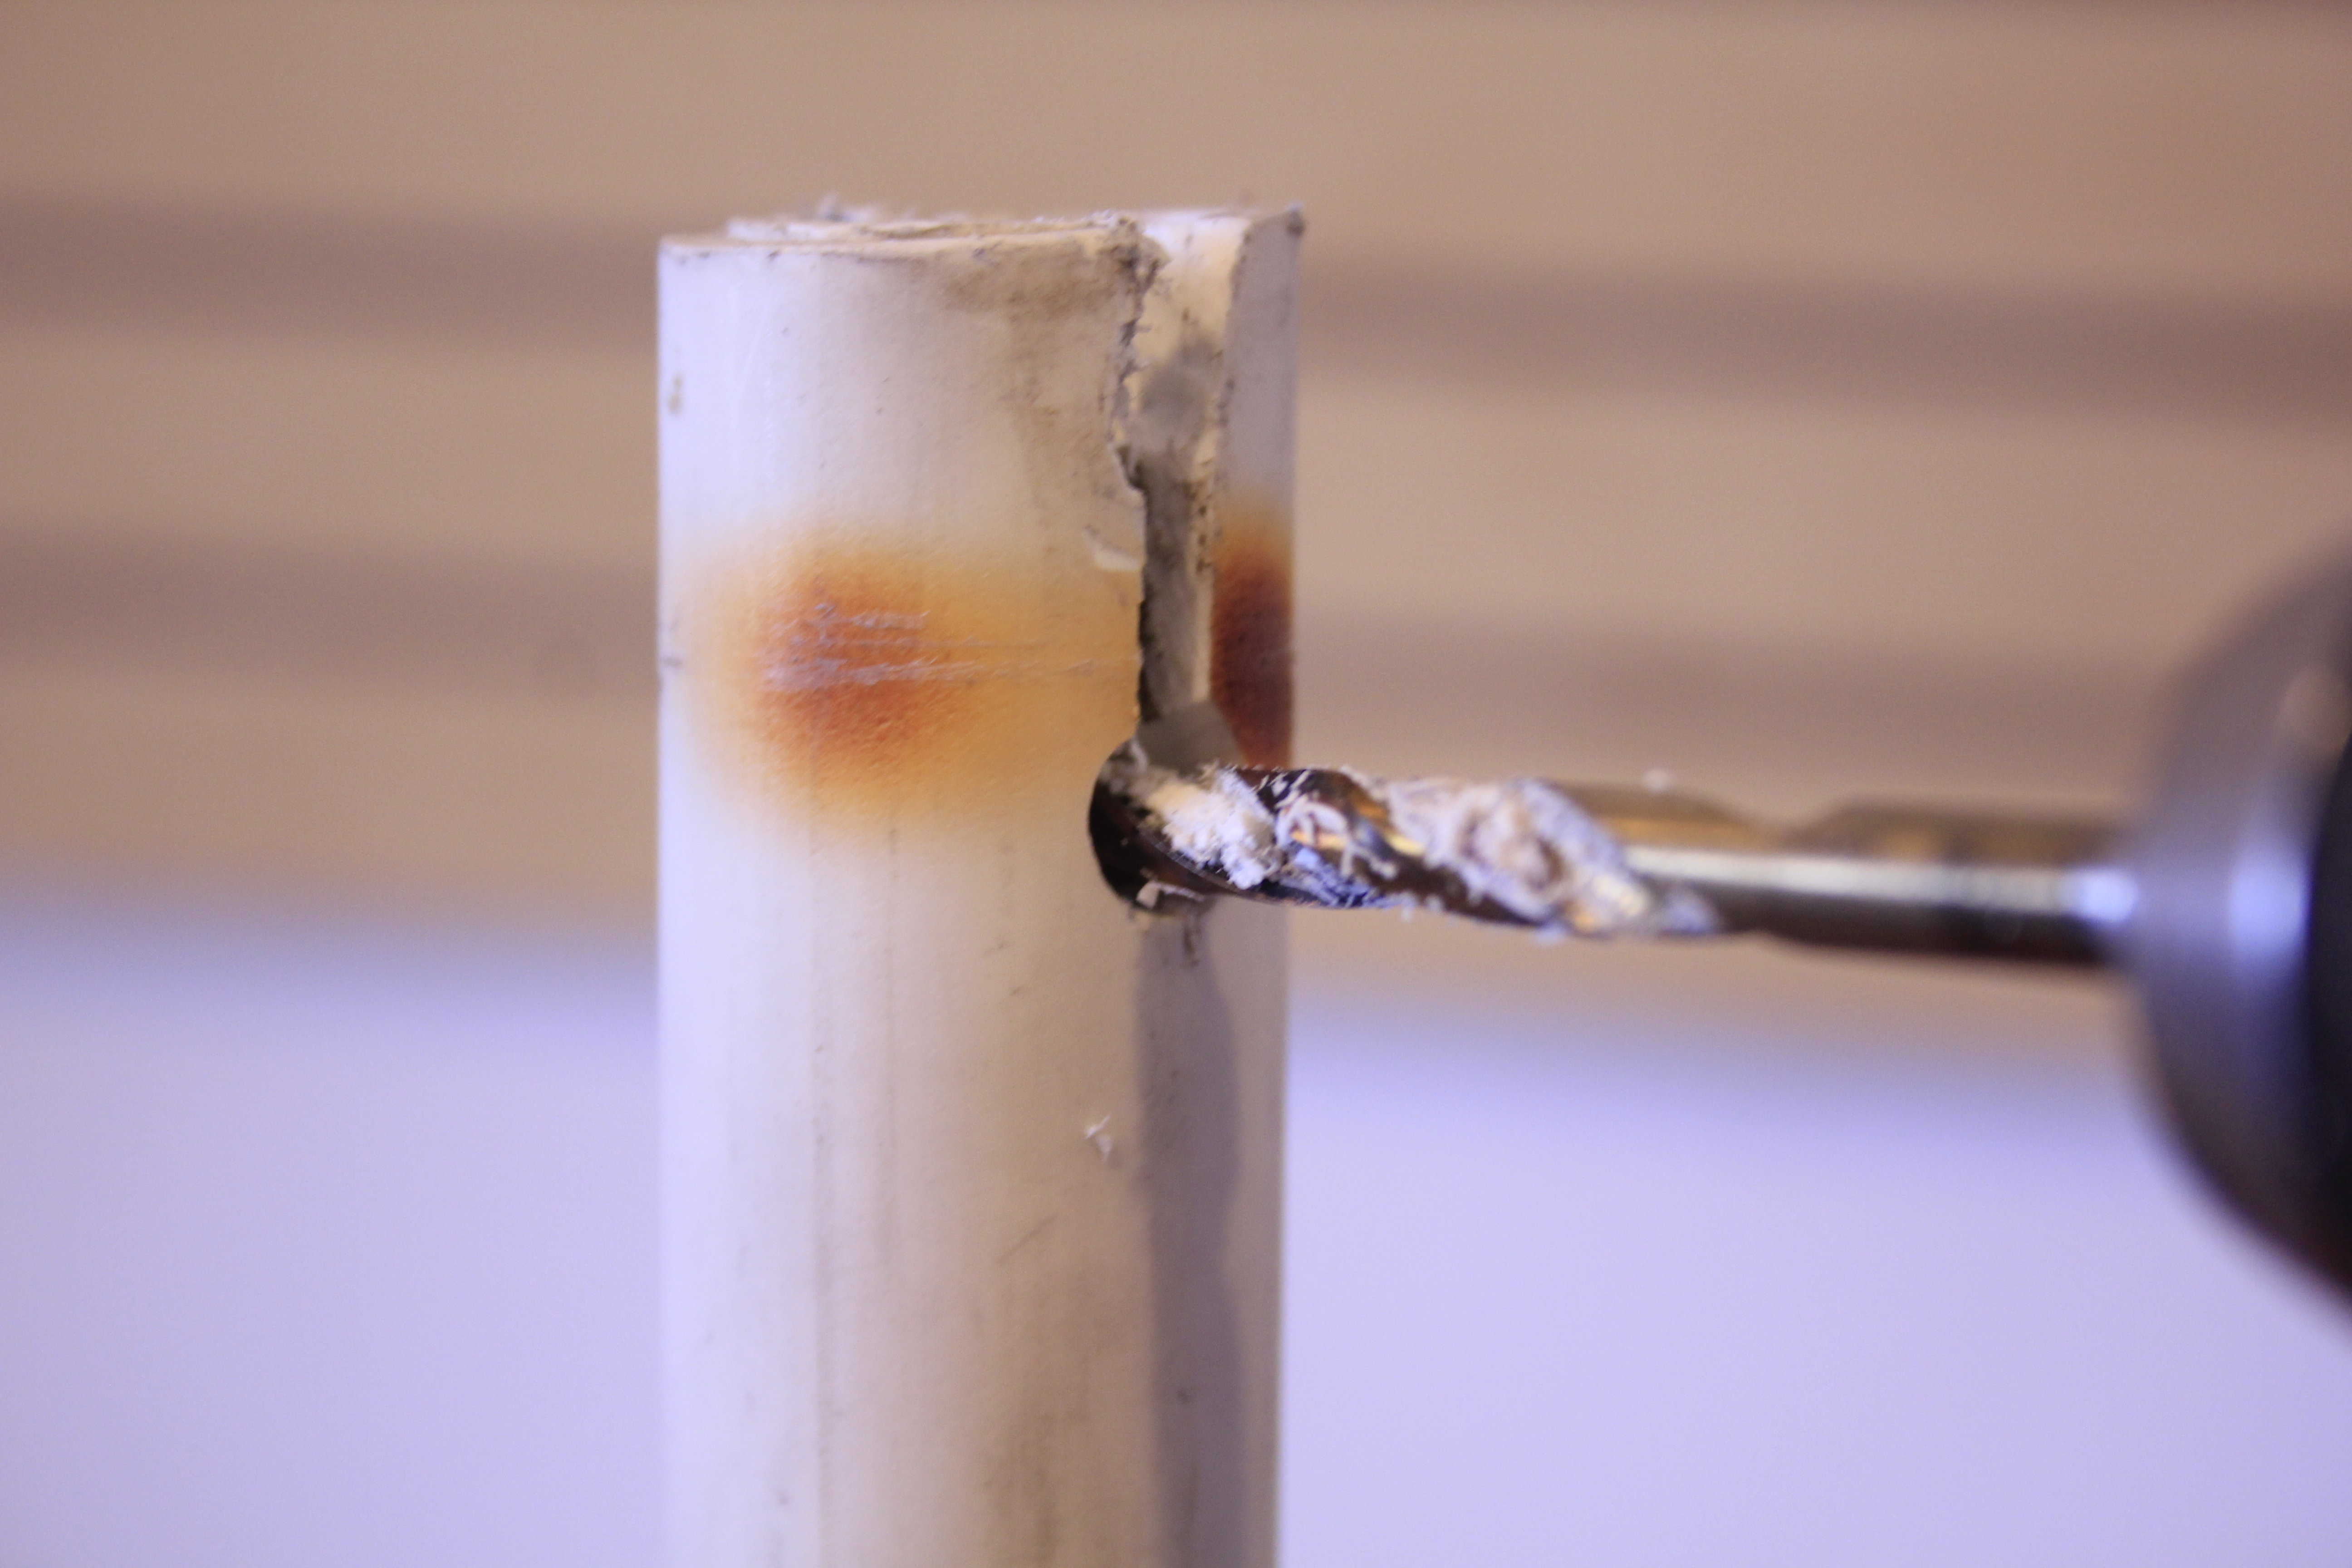
If you use a small blade like this and need to make the gap slightly bigger, just throw a small drill bit onto your drill and run it up and down the existing cut line. This will also allow you to widen the bottom of you cut, giving your bow string a smooth place to sit.
Step 9: First bow string loop
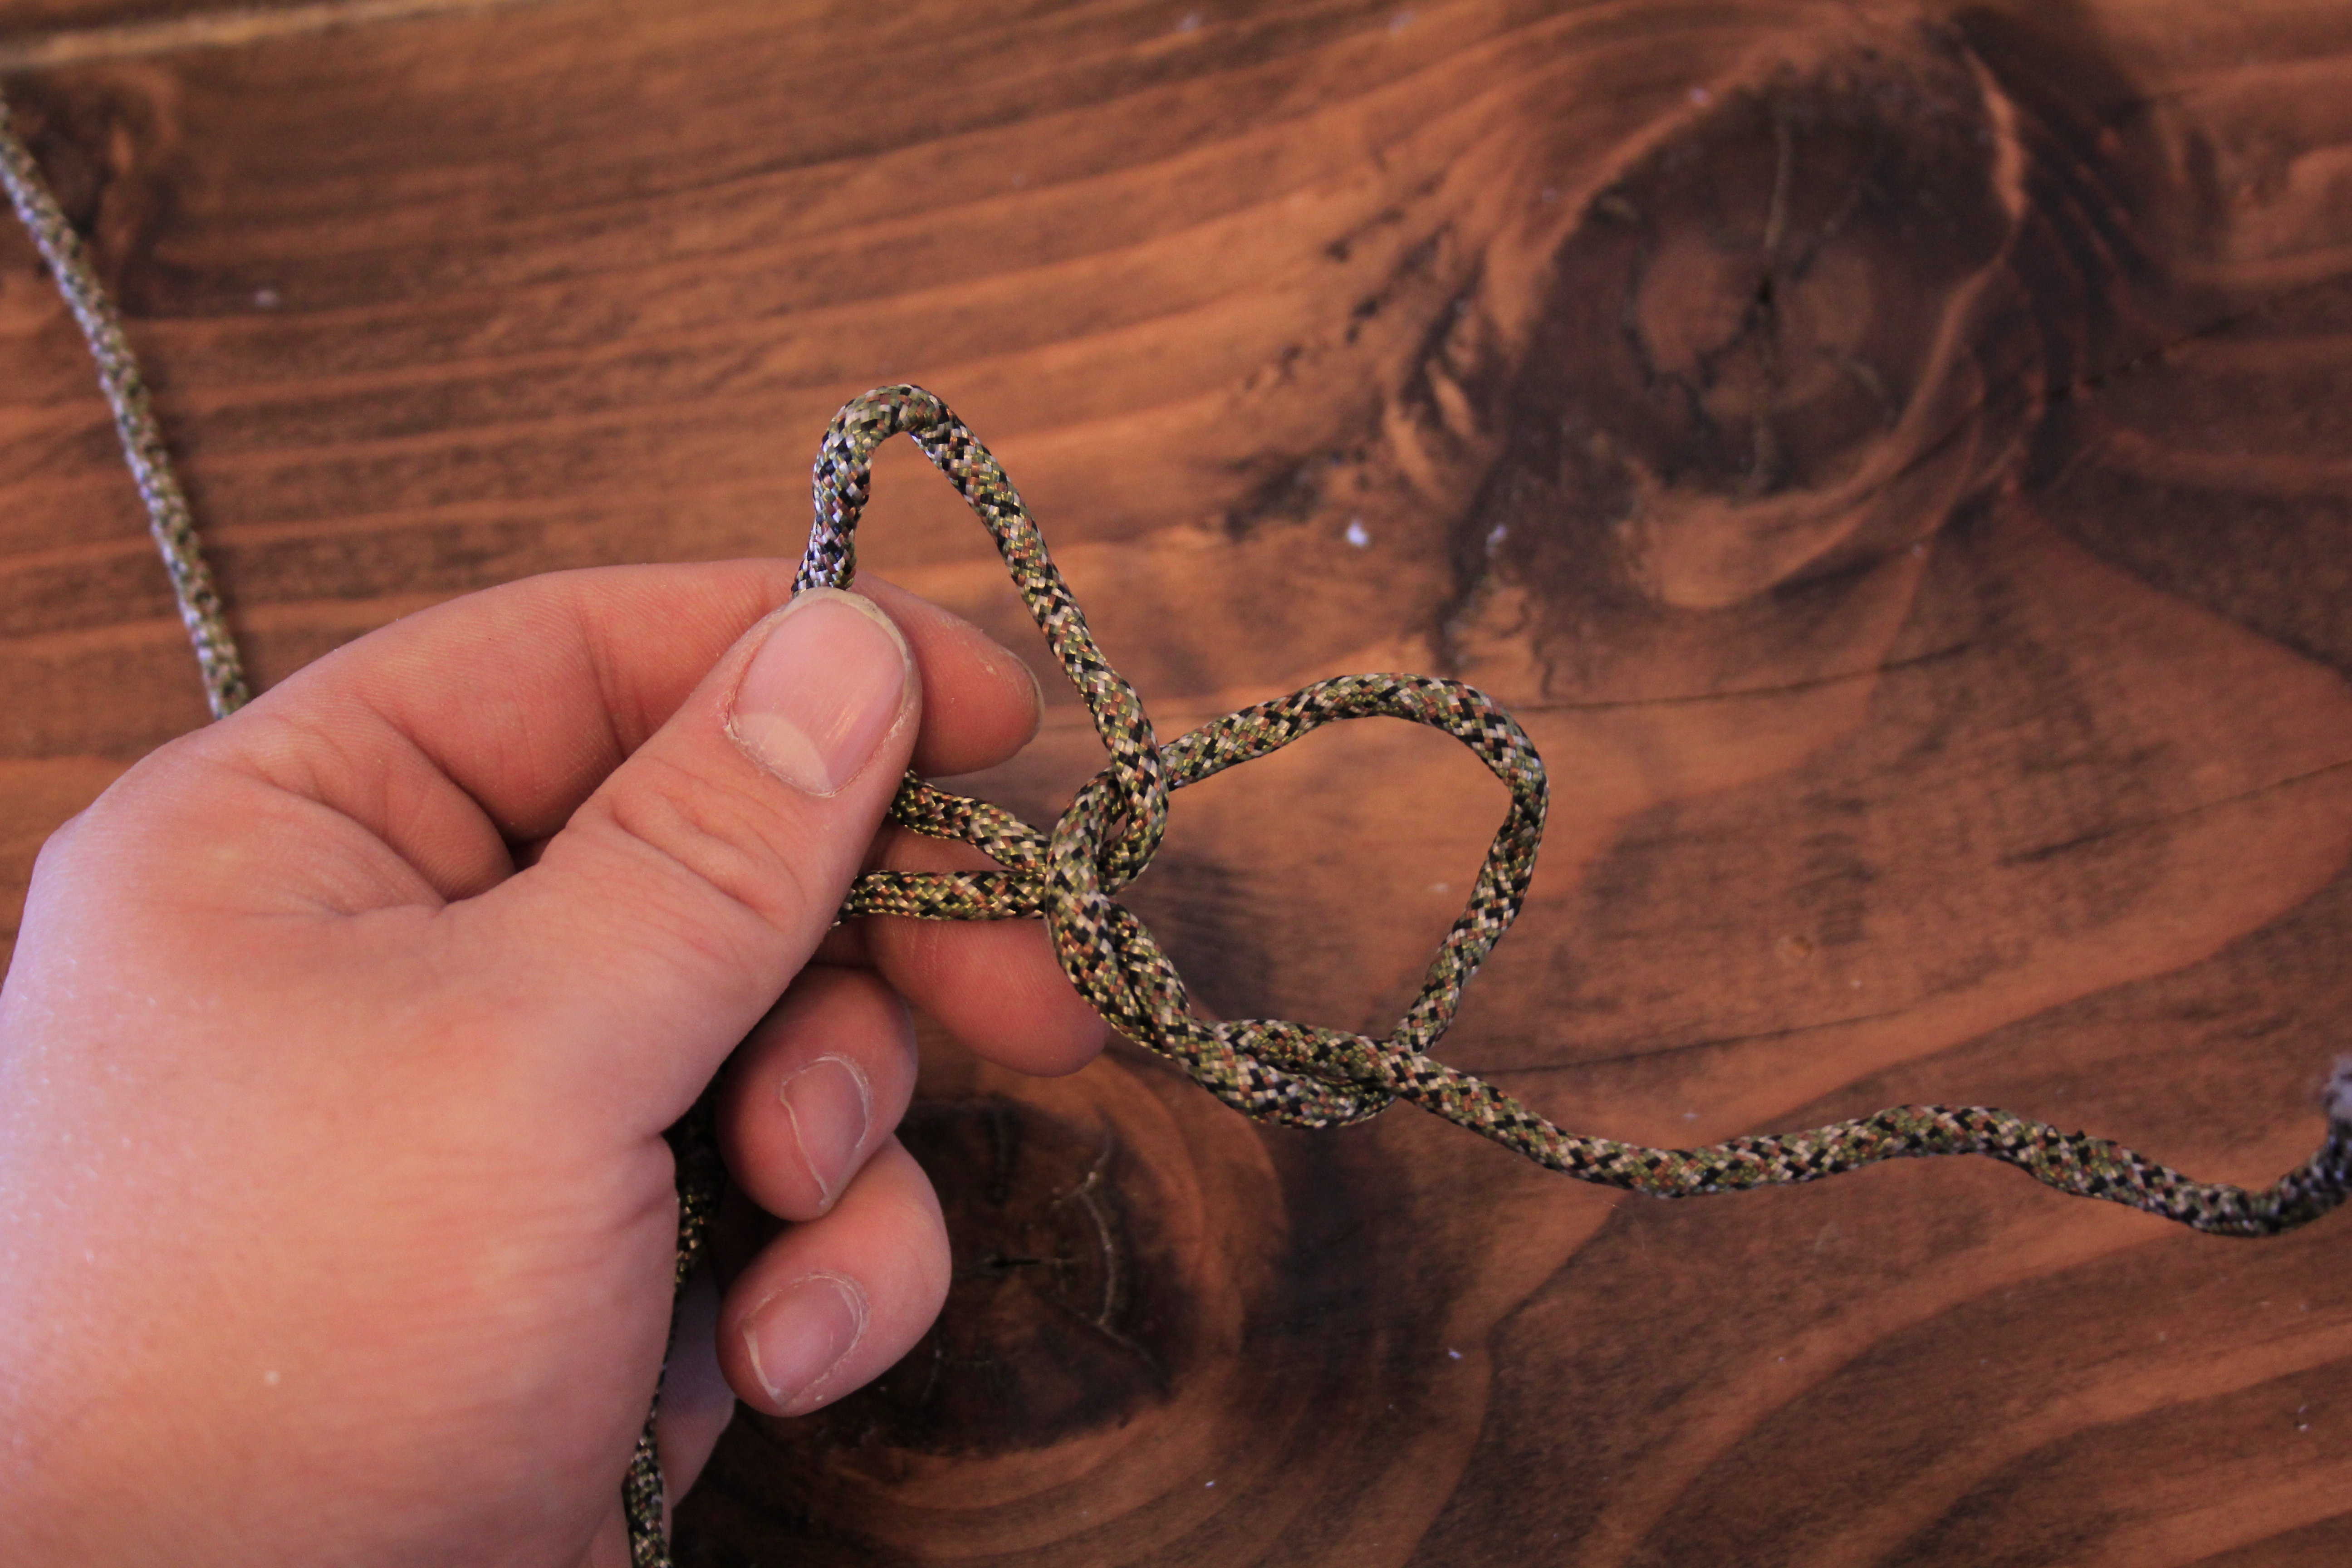
Take apart your paracord bracelet and make a loop knot at one end.
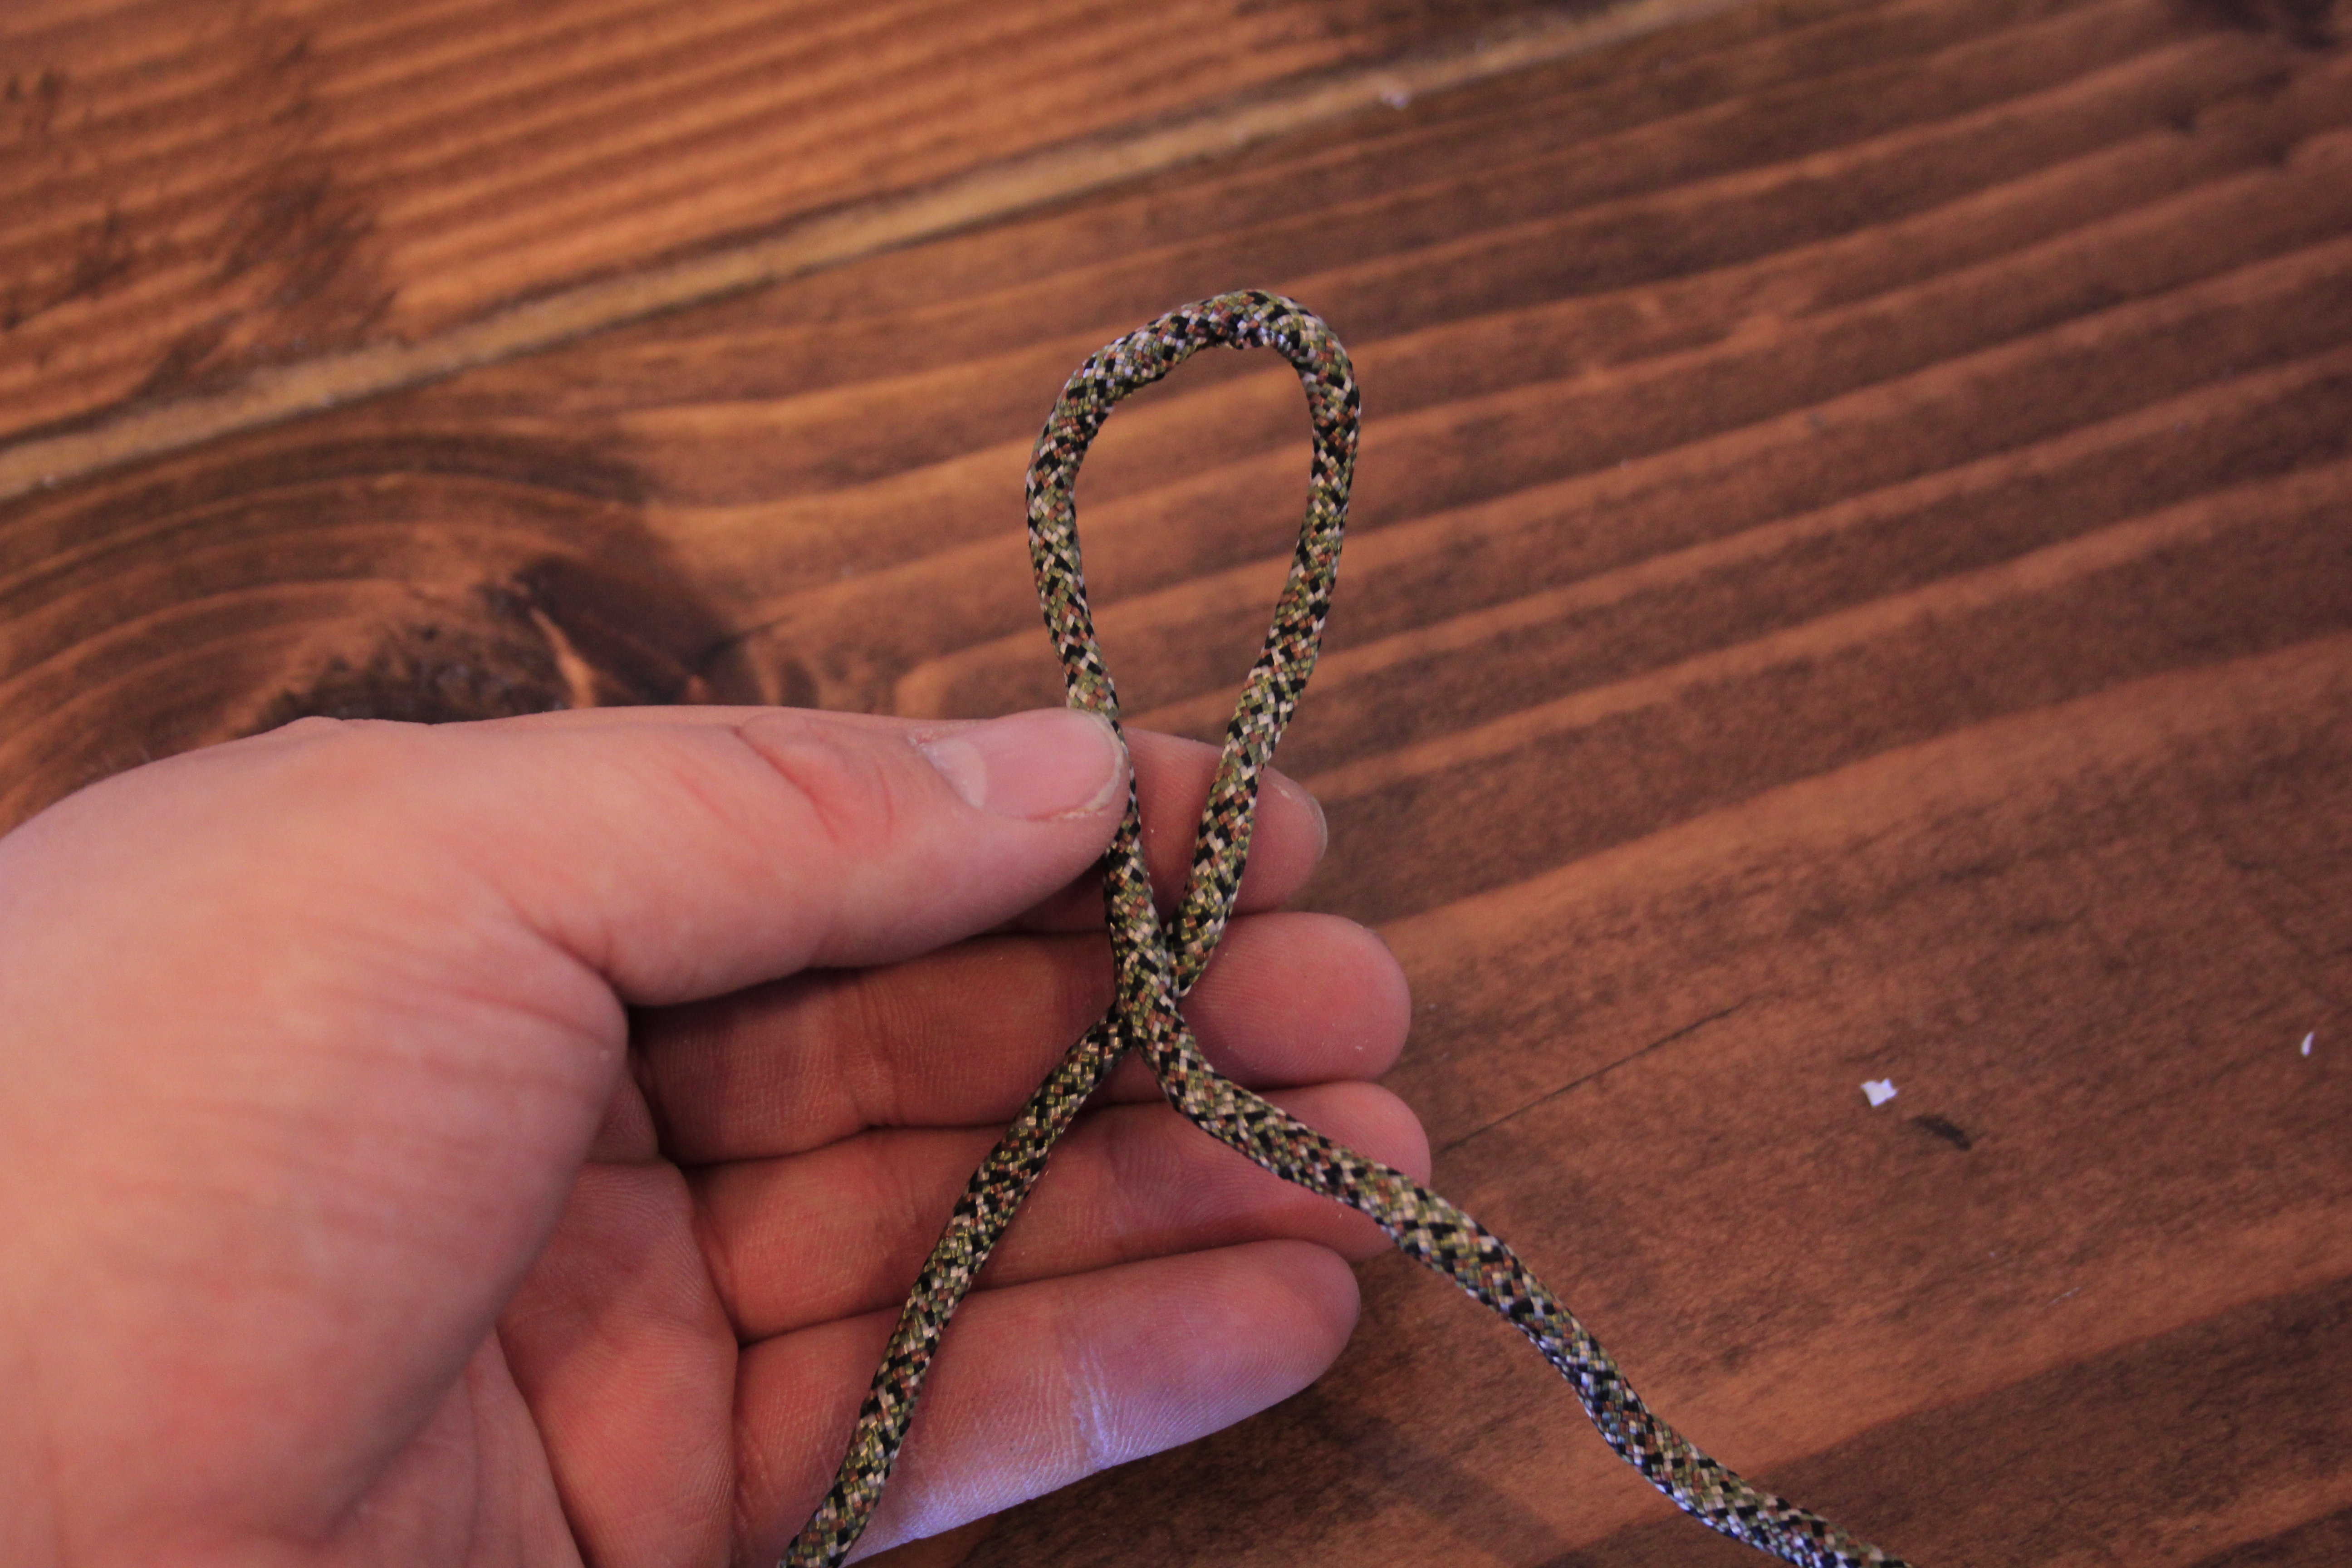
Just make the loop and pass the free end of your cord back through it.
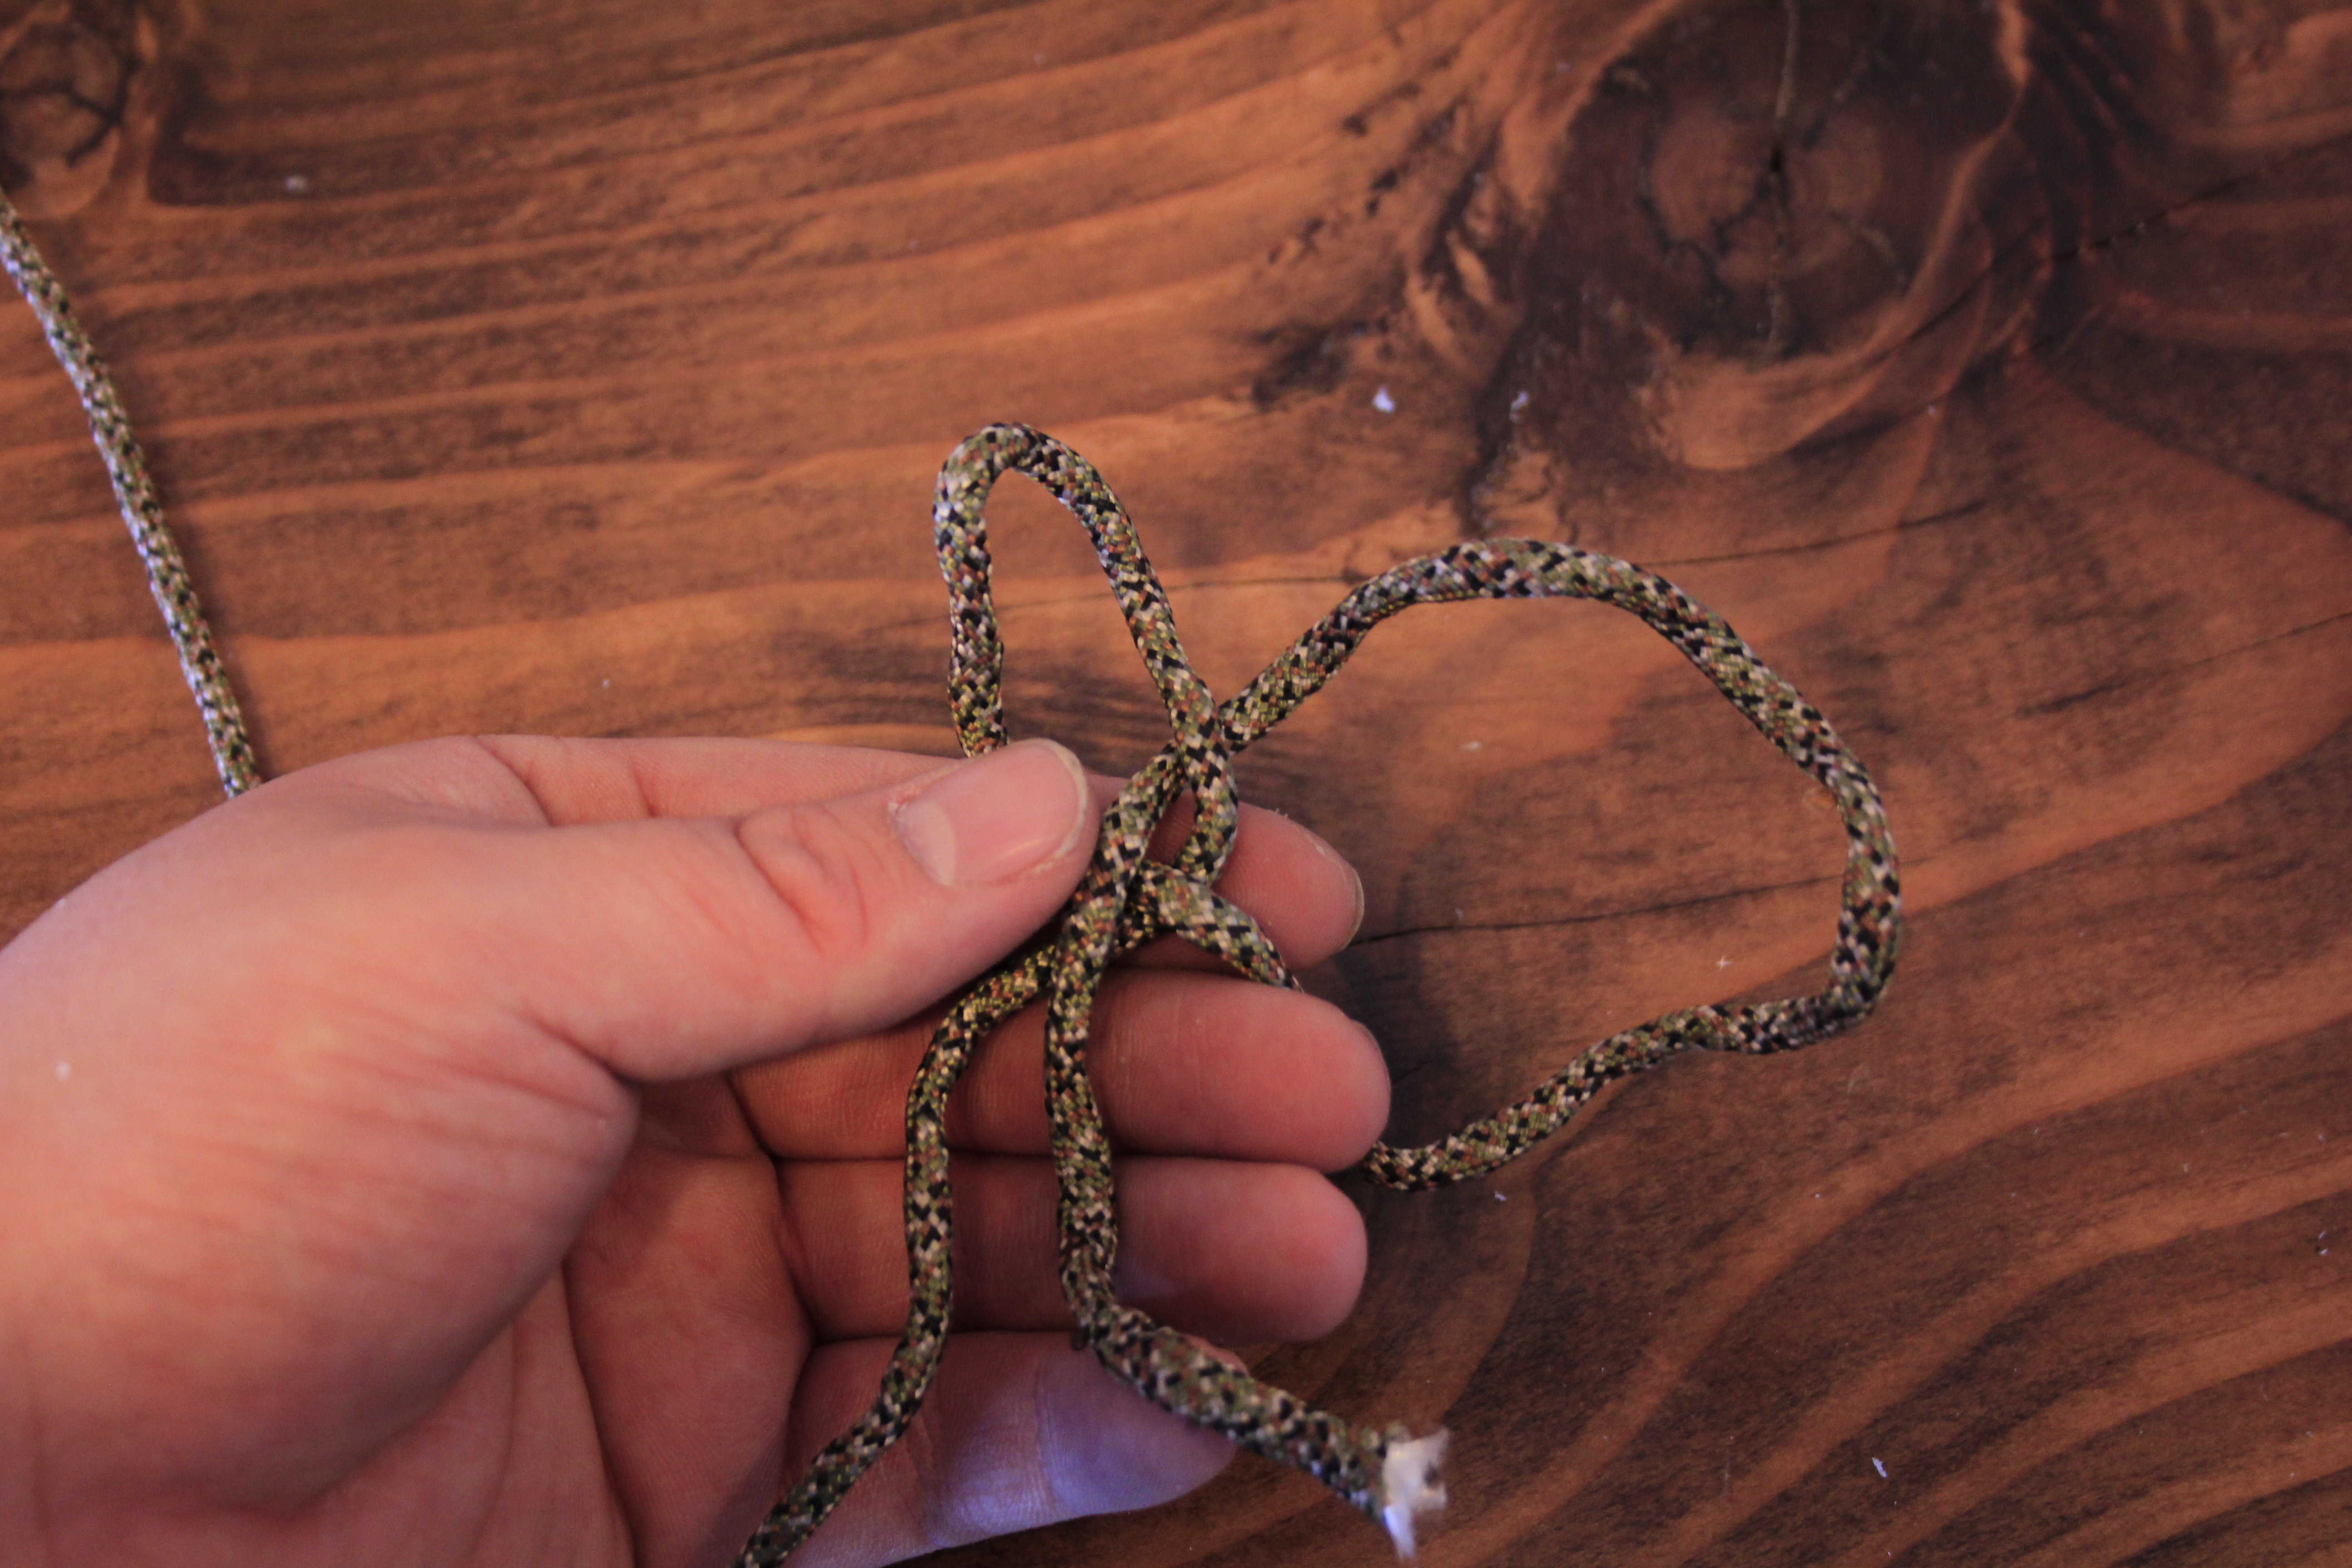
Then pass the free end through the second loop you just created.

And pull tight.
Cut off any excess, your first loop is done!

Step 10: Second bow string loop
You make the second loop on the other end of the line in exactly the same way, but you want the loop to terminate 9-inches down from the other end of your bow. This will create the literal bow in your bow once the other end is affixed.
Measure down 9-inches from the end of your pipe.
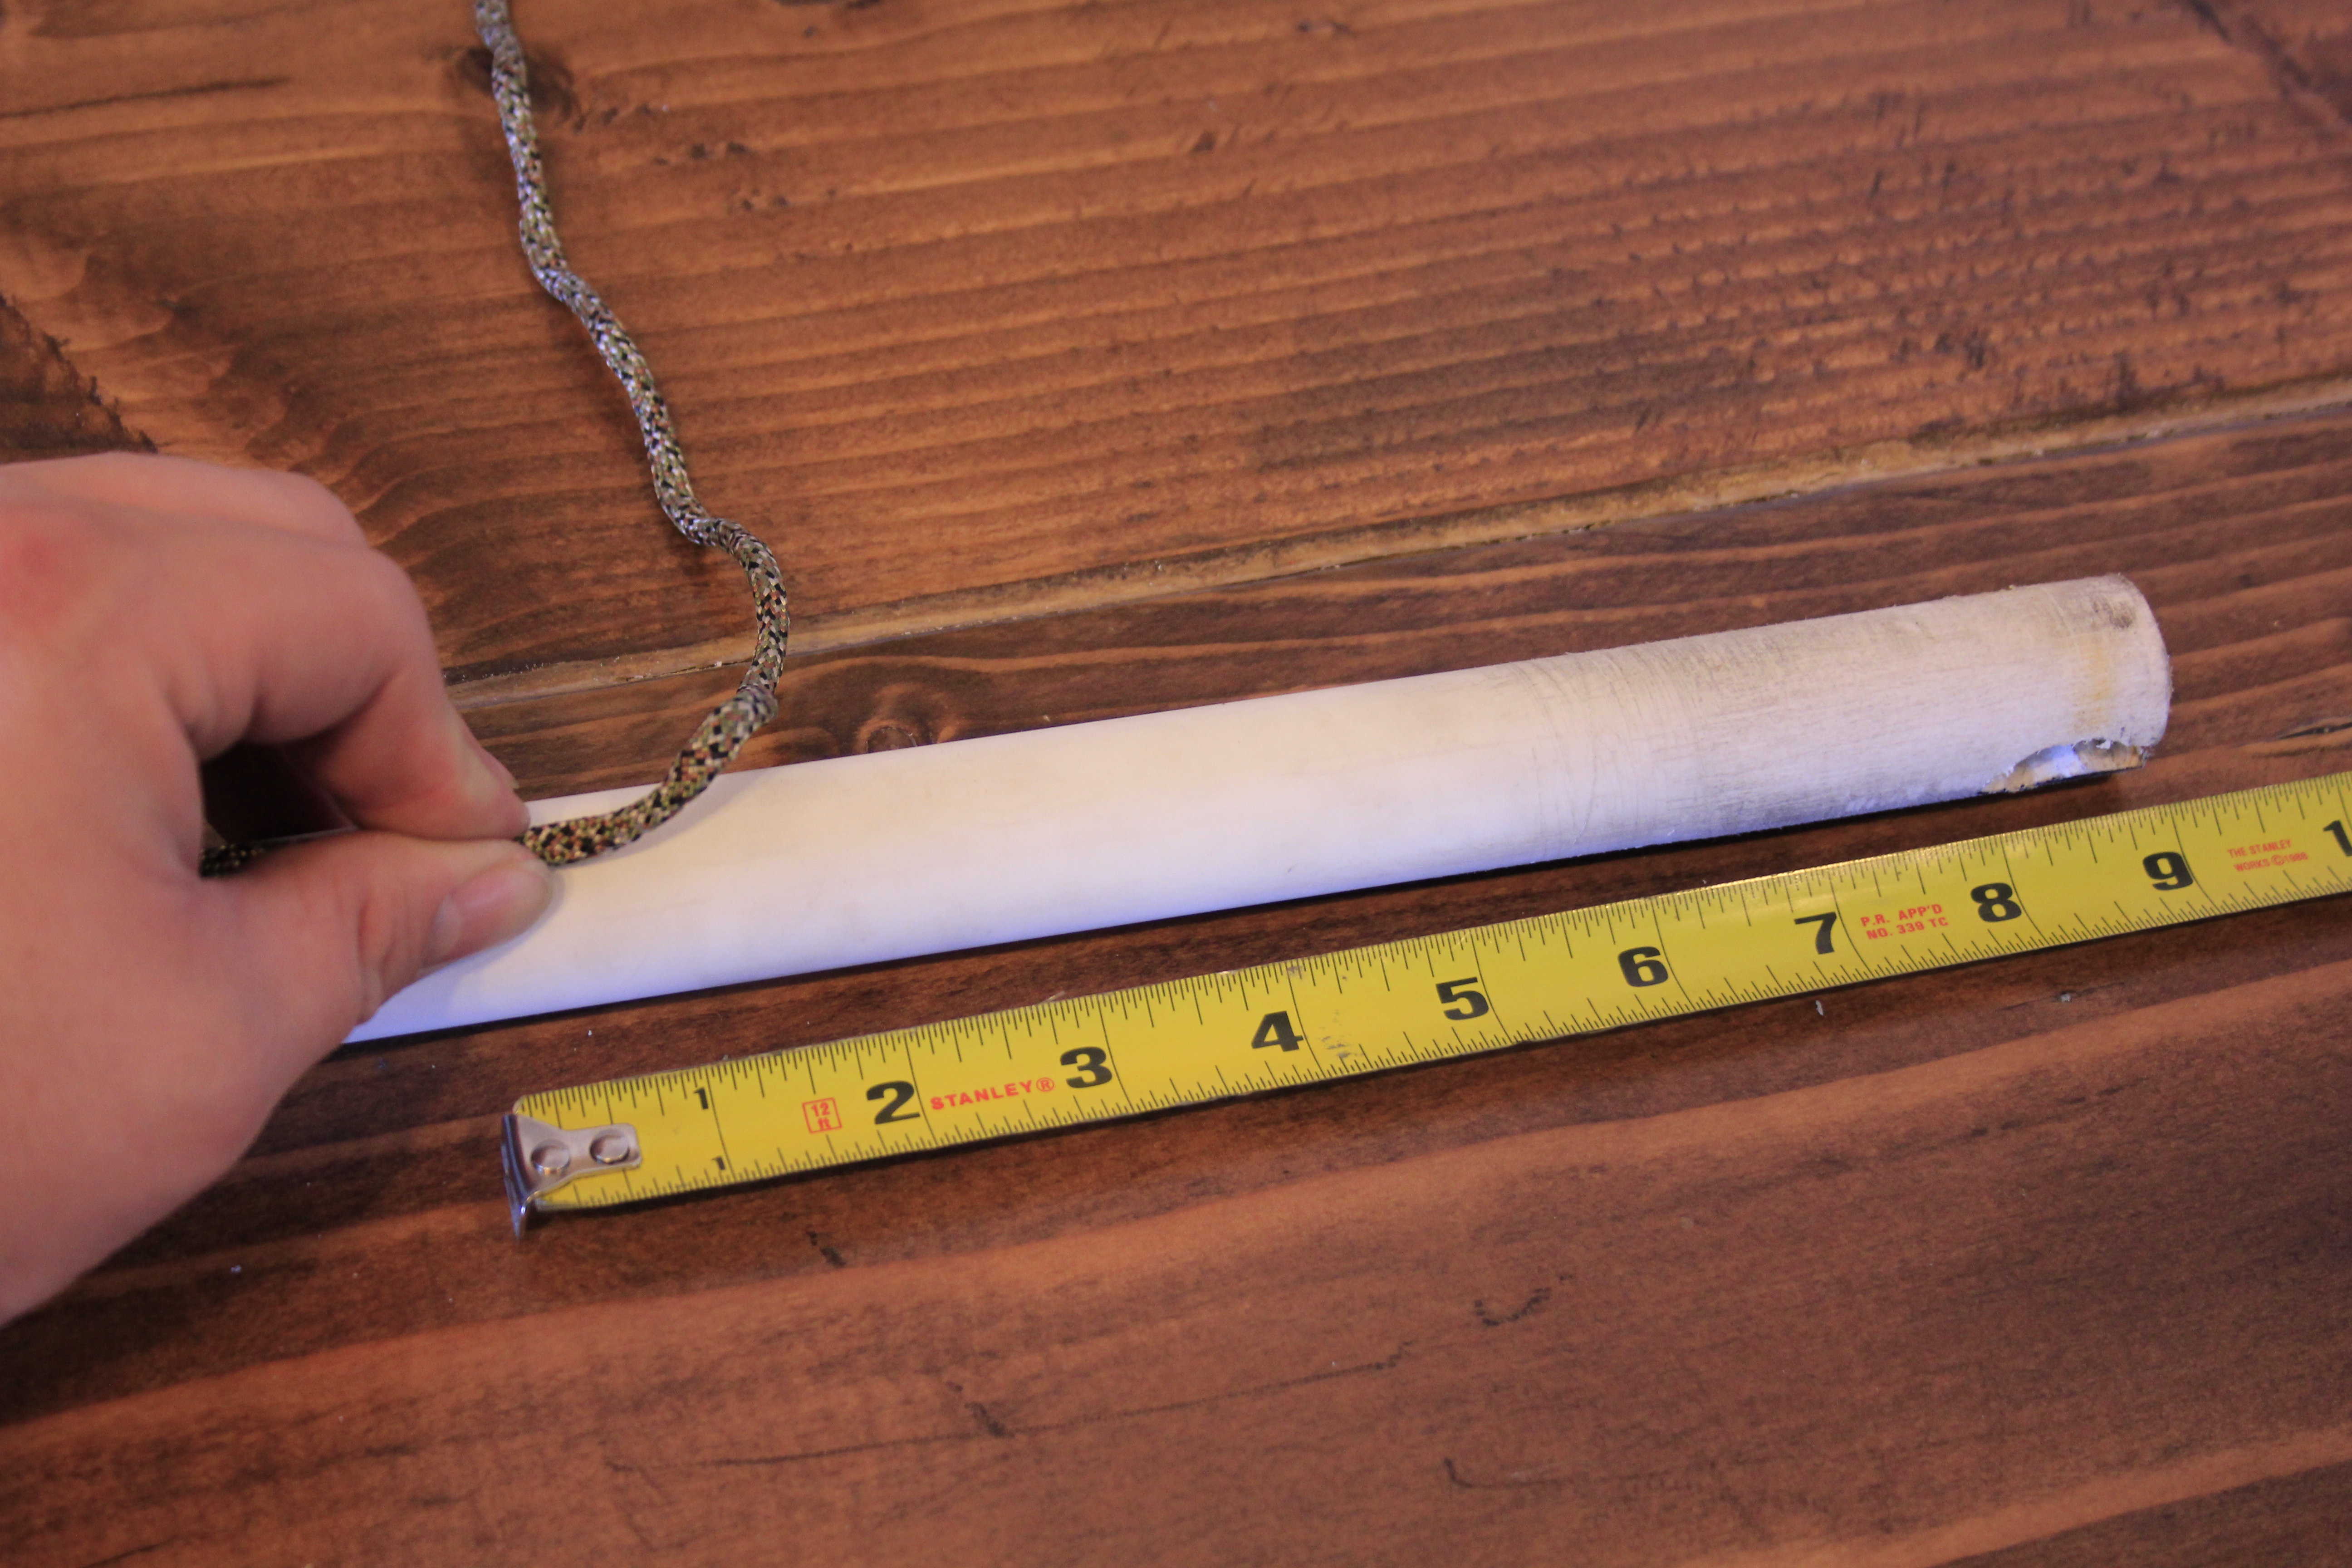
And repeat the loop knot so your second loop ends at this 9-inch mark. You can play around with this length, but we found this setup gave us really firm action on our bow string without making it impossible to put on.
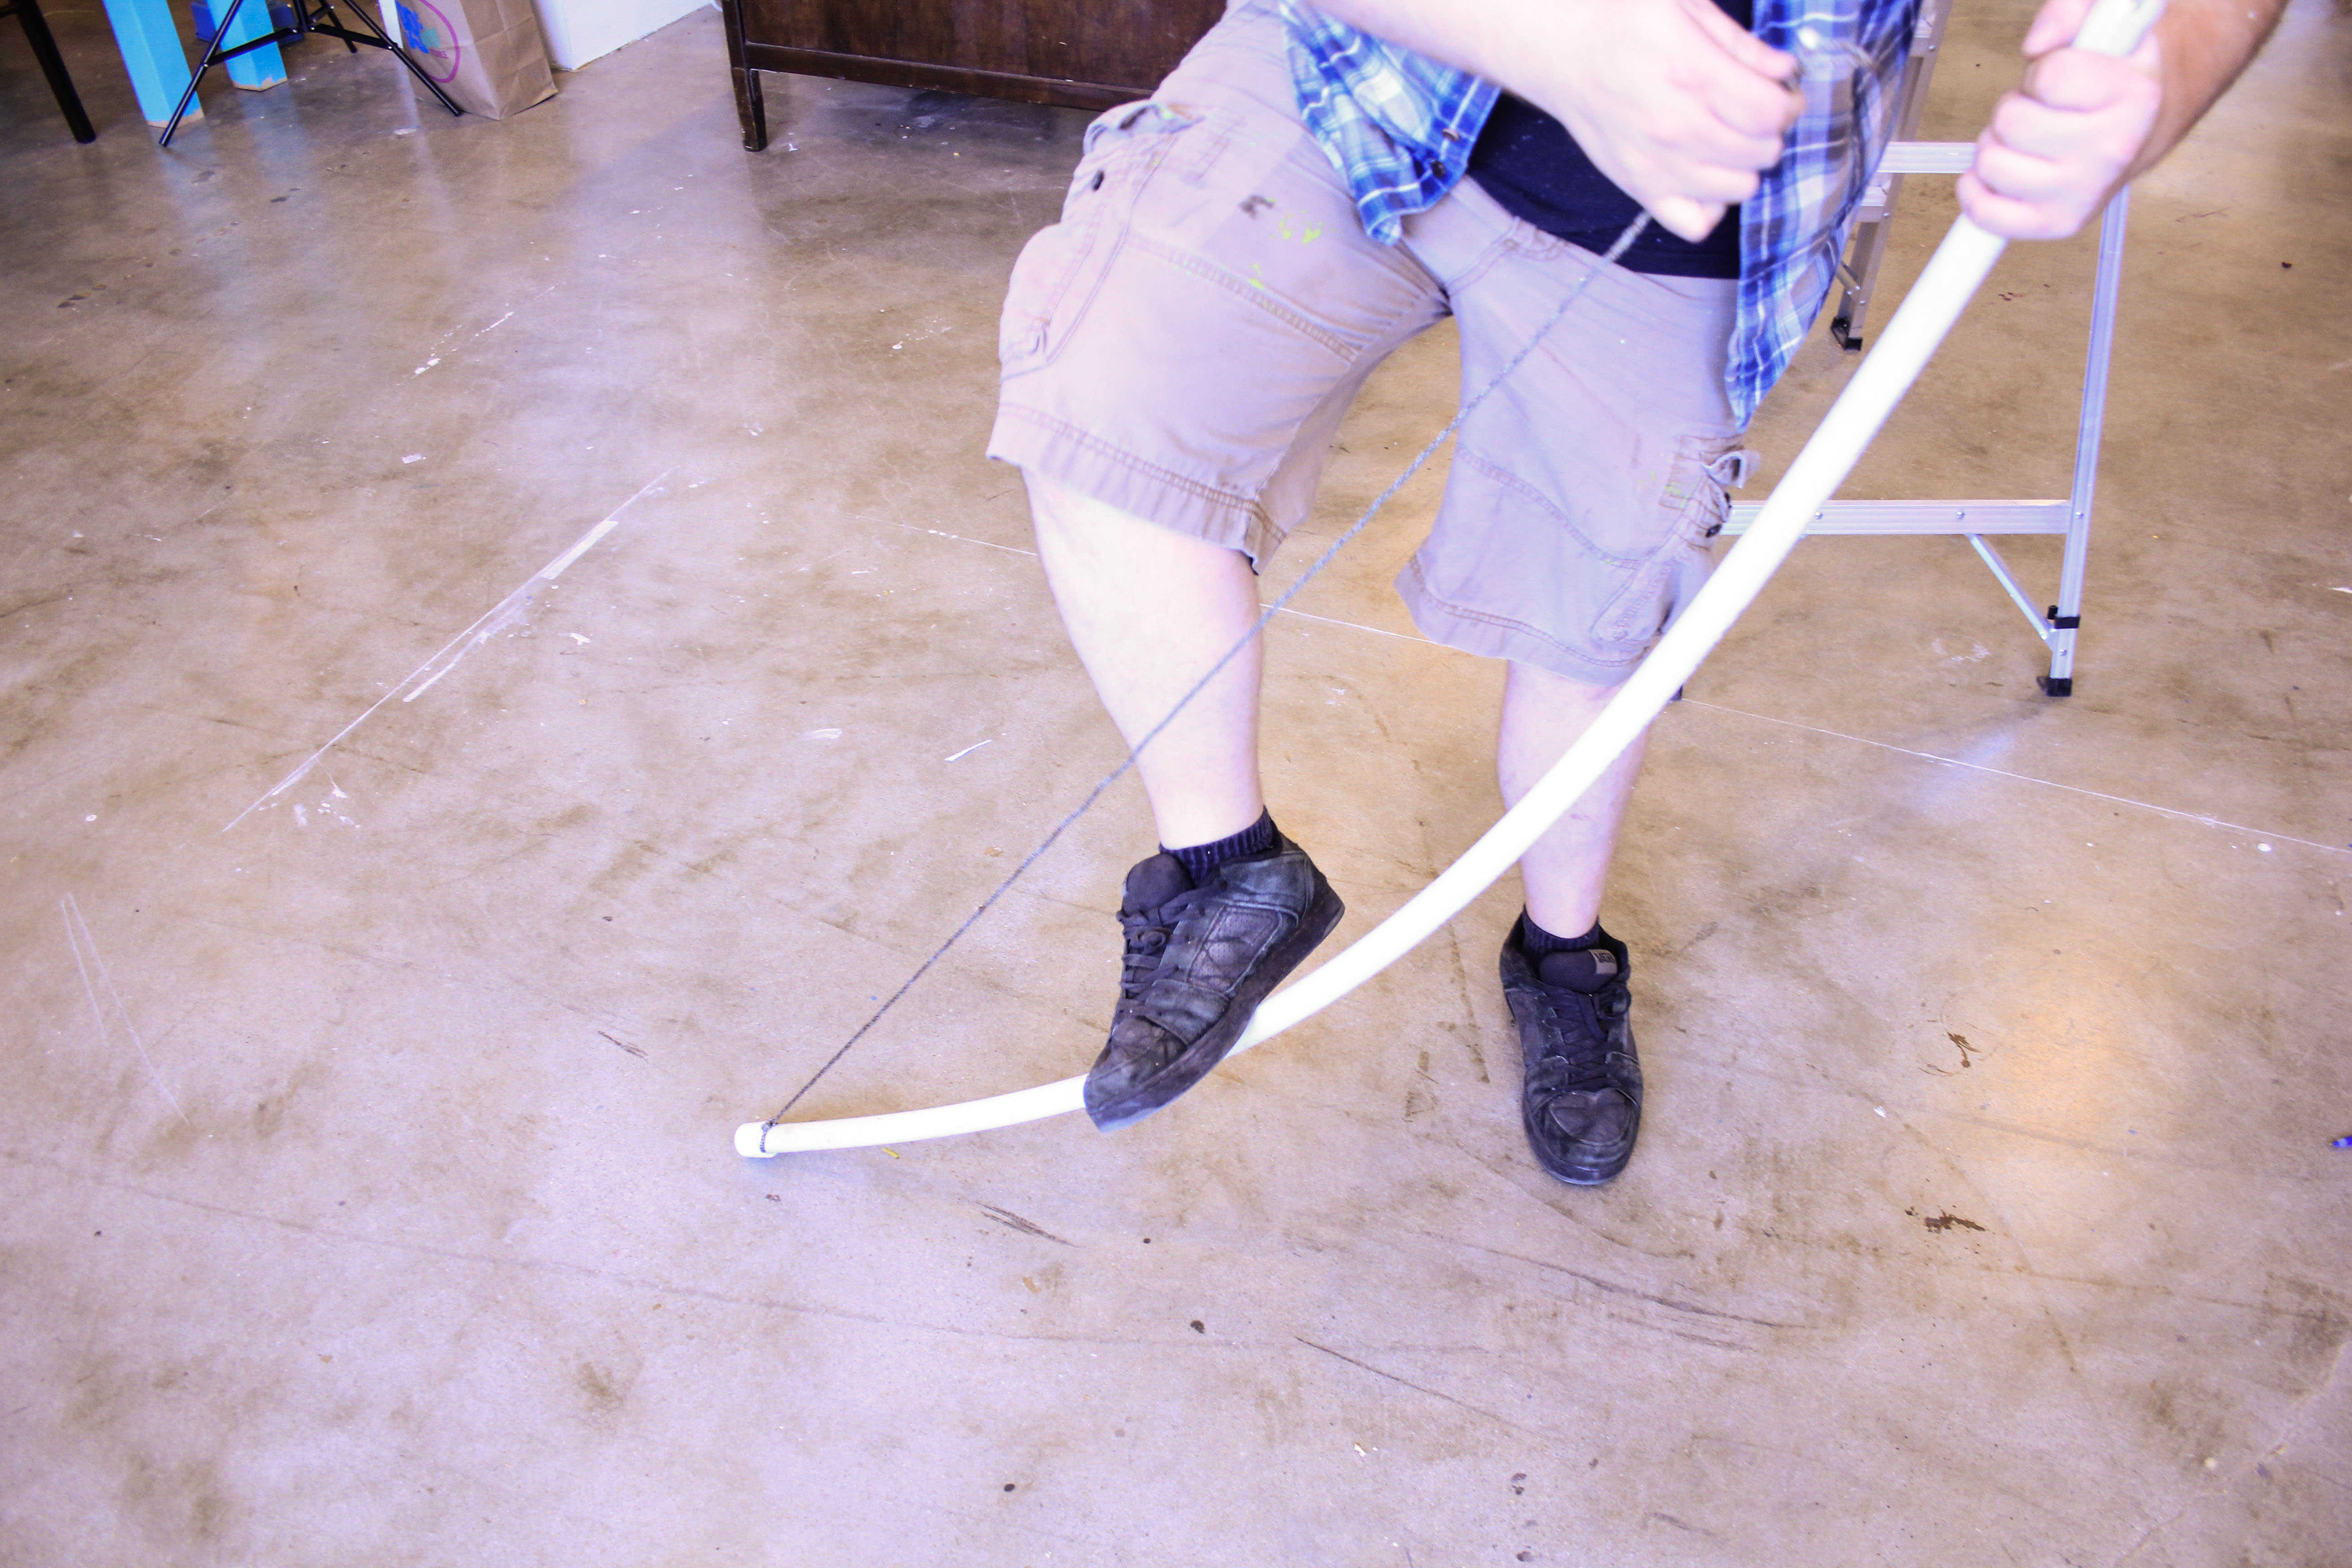
Step 11: String the bow
Attach the string to one end by threading your loop over the cut lines. Then use your leg to get leverage on the 3/4-inch pipe and bend it down towards your second loop.
Once both ends are threaded with the loops, you have the option of dropping on some end caps to pretty things up. This is technically optional, but it will help protect the ends of your bow string.
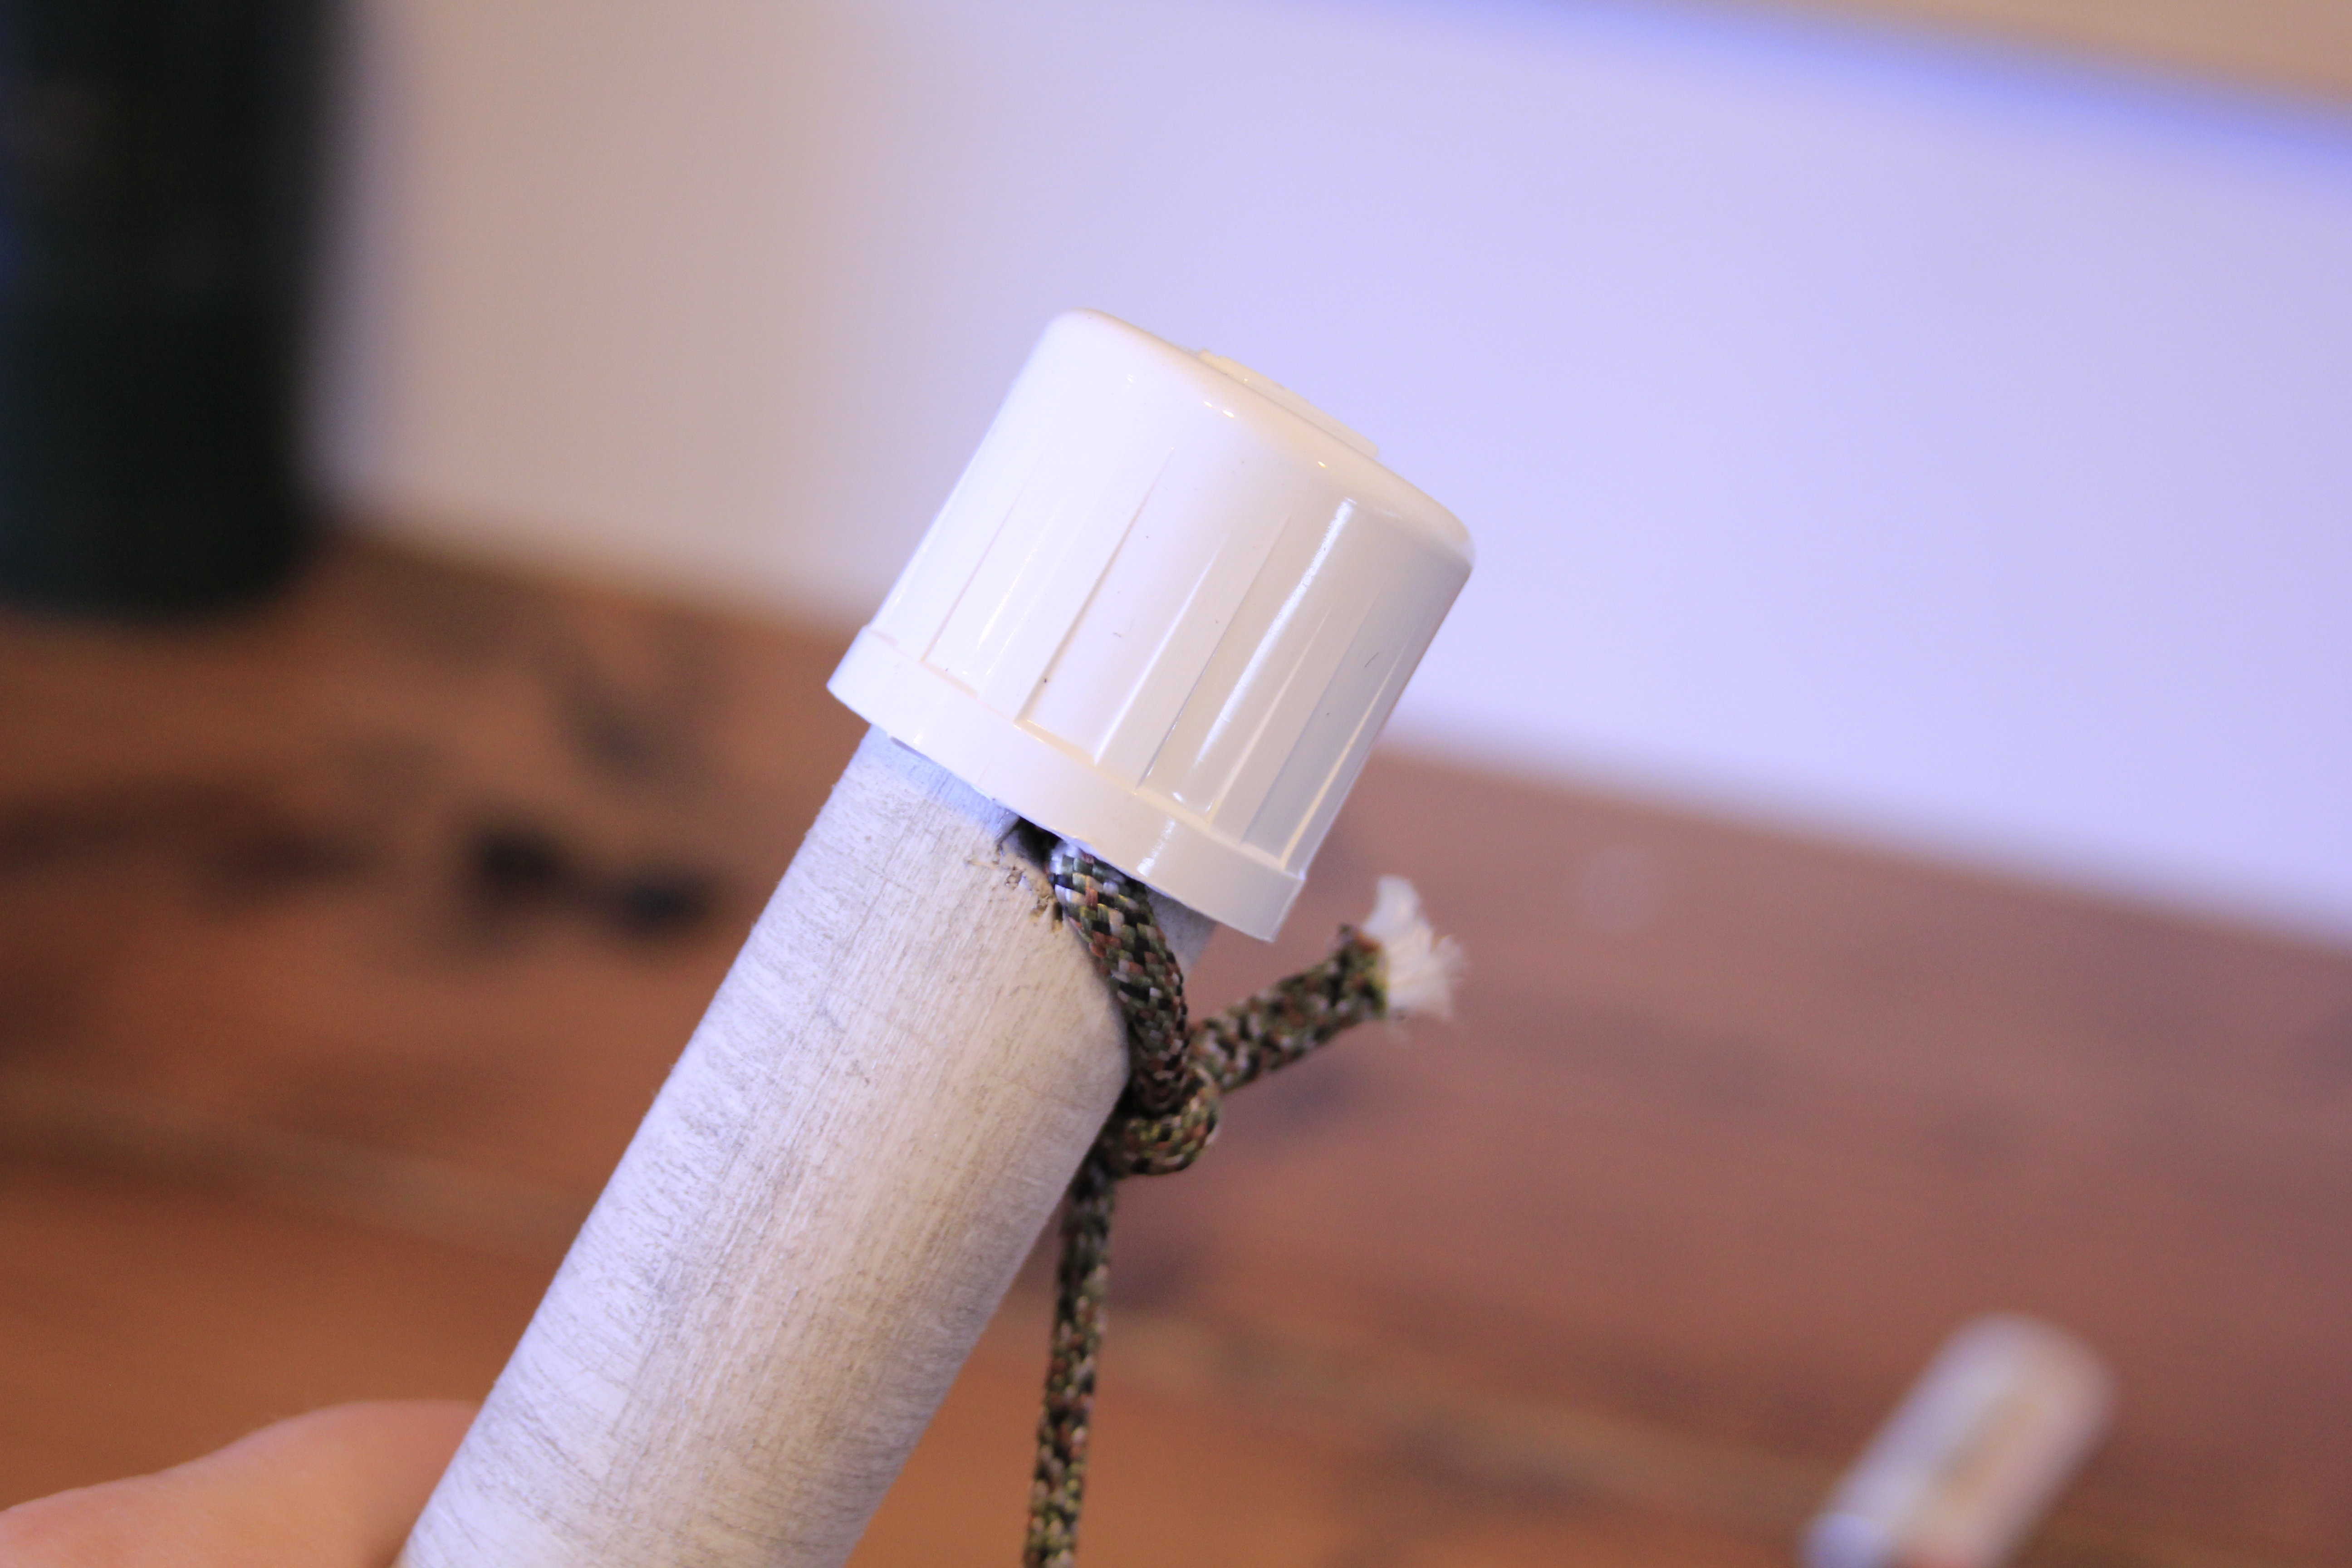
Don’t glue the caps on. Otherwise if your string ever breaks it will be a nightmare to re-string it.
Step 12: Paint if up (optional)
Grab some cool metallic paint and give your bow added appeal if the spirit moves you.

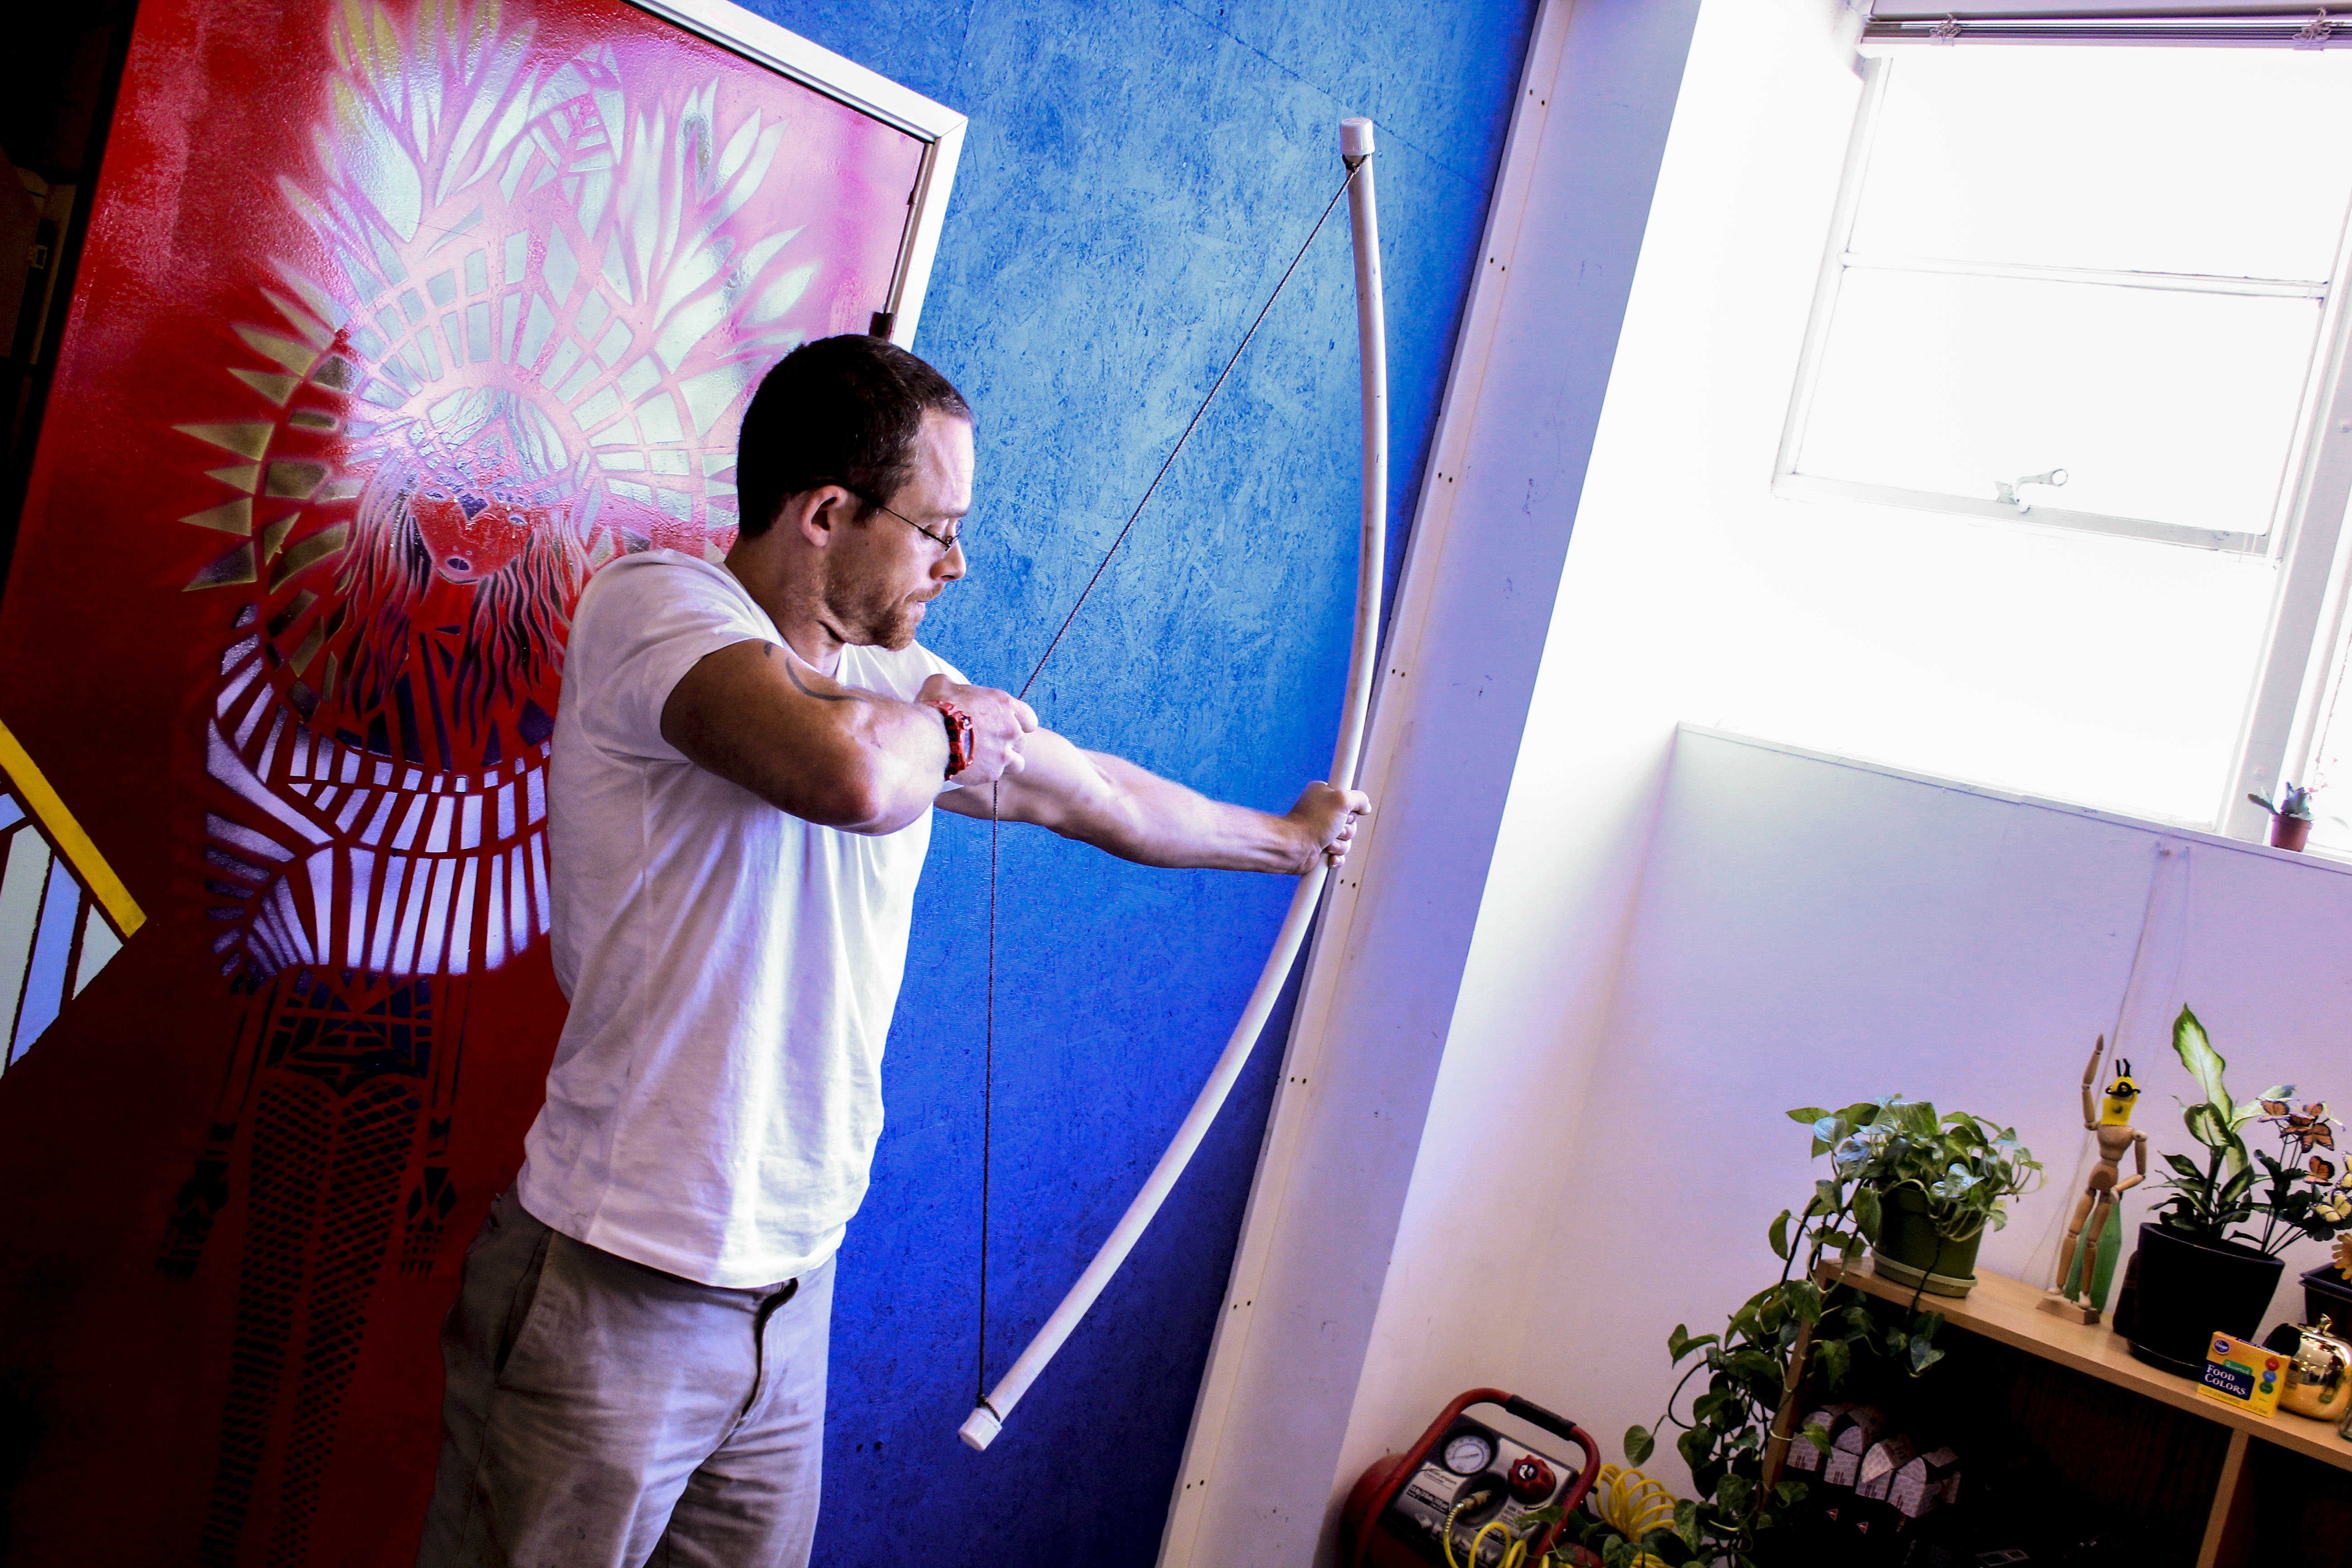
Step 13: Give it a try
That’s all that is needed to get you in working order to use the bow. You will need arrows, of course, which you can buy at any decent sporting goods store.
Or…if you poke around the site…you can probably find a tutorial on how to make your own arrows too! Hint hint, nudge nudge.