

Is your knife so dull you can’t even cut butter? These DIY knife sharpening kit will give you a quick and easy way to sharpen all of your knives with things you probably have in your garage!

DIY Knife Sharpening Kit: Inexpensive & Easy to Make at Home
You always want your knives to be as sharp as the first time you bought them, and we all know this requires having a good knife sharpening kit to make it happen. However, a good set of sharpening stones can be very costly. And when the stones are used repeatedly, it results in an effectual “bowl” shape. To reverse this requires yet another stone, called a flattening stone. This means additional dollars out of your pocket… To help keep those dollars wherethey belong, we’ve put together a great, cost effective DIY solution to accomplish all of these things!

How to Make a Homemade Knife Sharpener
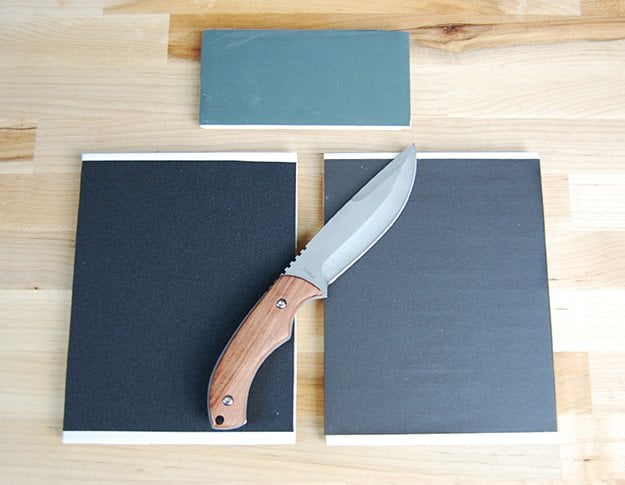
This DIY knife sharpening kit will be capable of making your knife sharp enough to shave with, utilizes easily obtainable materials, and never “goes bad” or develops “bowl”-ing problems. This do-it-yourself knife sharpening kit can be made simply by attaching sandpaper onto a bathroom tile. It easy to do and it works just like a sharpening stone. All you have to do is replace the sandpaper once it’s old.
Materials and Tools Needed
- Container of acetone (fingernail polish remover)
- Adhesive spray
- 5 variety packs of high grit sandpaper (800-2,000 grit)
- Scissors
- Cotton cloths
- Rubber bumpers (optional)
- 5 smooth bathroom tiles
- Wax paper

With sandpaper, the higher the grit number, the finer the sanding. You’ll want to use 800, 1,000 or 2,000 grit sand paper (at the very least). 200-400 grit sand paper is only good for sharpening a knife that is really dull and dinged up. If you want to sharpen you knife to effectively shave your face, 2,000 grit sand paper is the way to go.
The Process
First, make sure you are in a relatively clean, well-ventilated area. You do not want to be in a non-ventilated area while using the acetone.
Step 1: Clean the Tile
Put a bit of acetone on the cloth rag to clean the bathroom tiles. You need to remove of the fuzzy material left on the tiles. Wait for a few minutes for the acetone to flash off of the tiles.


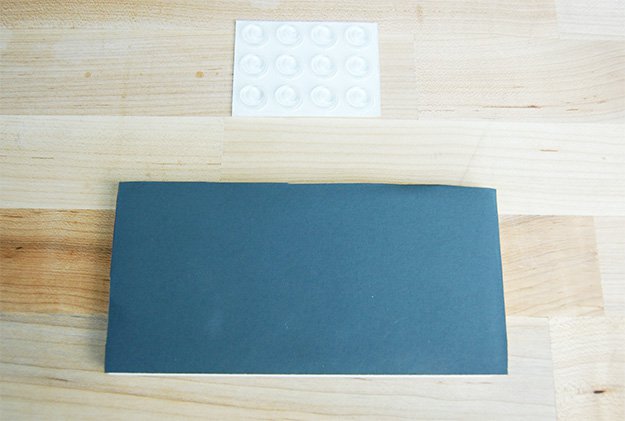
Step 2: Attach Sandpaper
Next, you want to attach the sandpaper to the bathroom tile. In a well-ventilated area, spray the bathroom tile and the back of the sandpaper sheet with the spray adhesive. Let them sit for as long as the adhesive suggests, then attach them together properly.


Step 3: Compress and Cure
Lay a sheet of wax paper on top of the sharpening tile. Then you want to place a large flat weight on top of the to compress the sandpaper sheet onto the tile, and let it sit and cure.


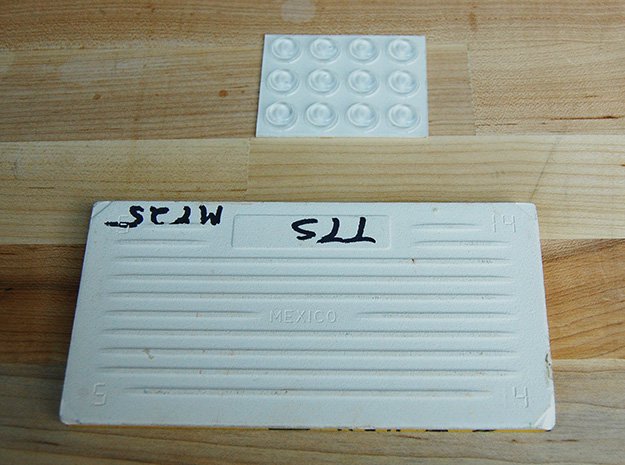
Step 4: Repeat for Each Grit You Want
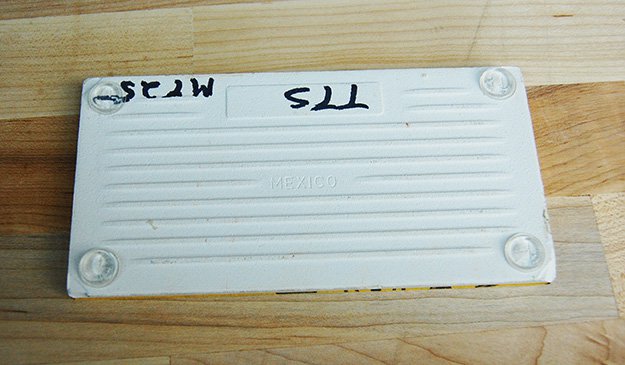
Repeat this same process for the other four bathroom tiles using the other grit varieties of sandpaper. You will want to label each tile with what grit sandpaper it has on it. This way you will know which tile you want to use depending on the condition of the knife you are sharpening. You will need to wait for at least an hour or two before start using the sharpening tiles in order for the adhesive spray to cure.
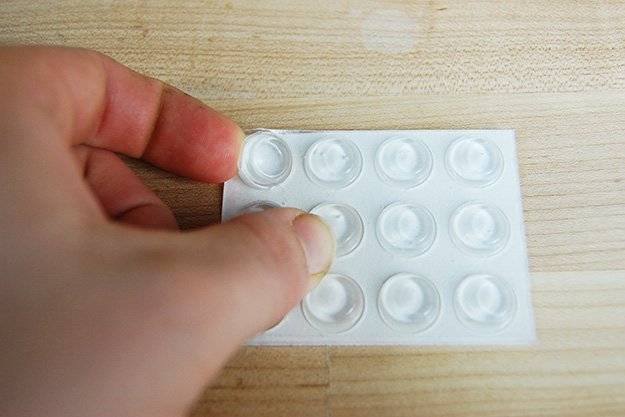
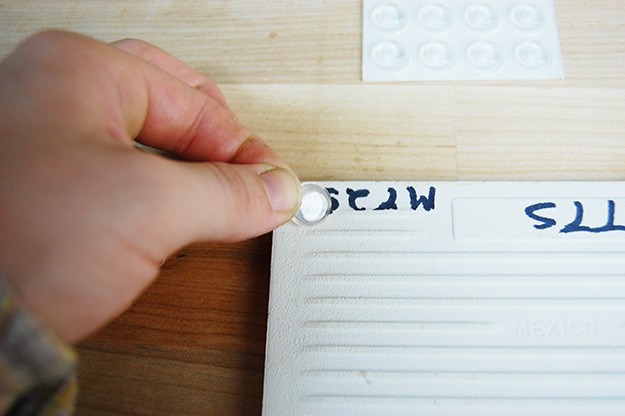
Optional Addition:
You can use little rubber bumpers on the bottom of the bathroom tiles. It helps stack the tiles without worrying about damaging the sandpaper sheets. In addition, it is easier to sharpen the knives without the sharpening tile moving. When changing the sandpaper from the bathrooms tiles, once it gets old or damaged, just use peel the sand paper off and remove the adhesive using the cotton cloth and acetone.
 Important:
Recommended sharpening method:
If you don’t know how to sharpen a knife using a sharpening stone, you will want to watch some videos to learn before trying to sharpen your knives. When you are sharpening using this kit, you only want to PULL the knife back as you sharpen it; Do not PUSH the knife forward to sharpen it. This will prevent damage to the sand paper, and extend the life of the sharpener.
Always use water as a lubricant. Since the sand paper is of a wet or dry type, just use water — that’s what it was made for. The 800, 1,000 and 2,000 will be your most used grits/tiles. Any grit less than that should only be used for knives that are extremely dull.
Now go enjoy sharpening all of your knifes! And remember — be careful with sharp objects! We don’t want you cutting yourself!
Like this post?
Let us know in the comments below! Your feedback matters. The more interest we get in posts, the more likely we are to do more like that.
Ready To Make Your Own DIY Knife Sharpening Kit?
I finally found supplies locally, but they were not available at any of my local hardware stores. I actually had to go to two automotive stores before I found this grade of sandpaper. I checked Amazon, just to be able to provide product links, and was surprised to find they offer this sandpaper at about half the price of what I paid.
Here are my favorite picks for supplies:
Sandpaper Pack: Assorted Grade
3M(TM) Wetordry(TM) Sandpaper, 03006, 3-2/3 in x 9 in, Assorted, 5 sheets per pack

Sandpaper Pack: Assorted Grade
3M 03024 Imperial Wetordry 3-2/3″ x 9″ Sandpaper with Assorted Grit Sizes, (Pack of 5)

Spray Adhesive : Super 77 (my favorite) 
3M 77 Super Multipurpose Adhesive Aerosol, Clear 16.75 Oz. Aerosol Can


