


 Looking for a fresh way to display your jewels with an awesome DIY jewelry organizer? Are you tired of your necklaces tangling together or having to search through rows of chains before finding the one? This DIY necklace holder is a simple solution will have you proudly displaying your necklaces in no time, there’s a bonus, this beautiful tree branch necklace display is also kind of fun to make!
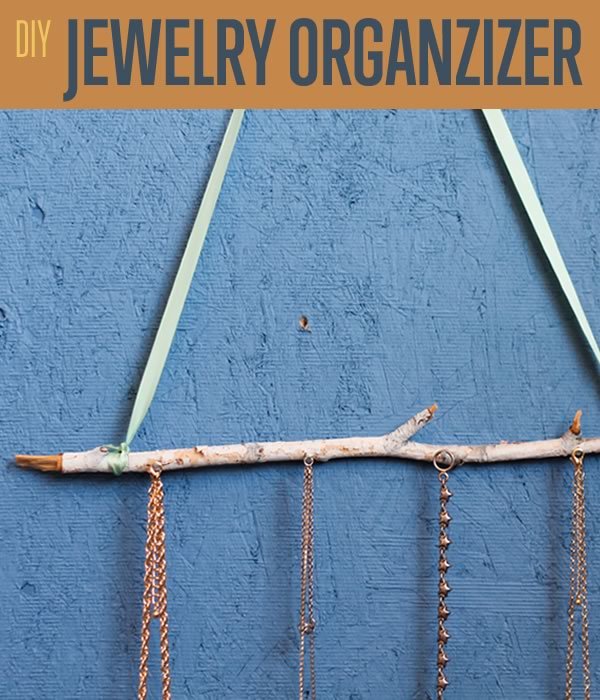
How to Make a DIY Jewelry Organizer | Necklace Holder
All you need to make a DIY Necklace Holder is:
- a branch from a tree
- spray paint (optional)
- small nails
- a hammer
- ribbon
You may want to prepare your branch with paint. Mine was found painted white, it looked so much like an aspen that it was hard to believe it was just spray paint until I saw it peeling off in a corner. Spray paint your branch white, gold, red, or whatever color you desire, and wait for the paint to try before you begin the following steps. You can also leave it in its natural wood colored state.

Step 1: Nail it
Once your branch is ready you will want to hammer in the nails. Decide which way your branch will face on the wall, and hammer each nail directly perpendicular to the back of the stick. All of your nails should face the same way. Since I was working with a rather short branch I didn’t want to overwhelm it with holes, so I decided to hammer in 4 evenly spaced nails across the straight part of my stick. I left the part that curved upward empty to act simply as a decorative feature.

[sc:DIYBK-PostBanner]
Step 2: Tie it up
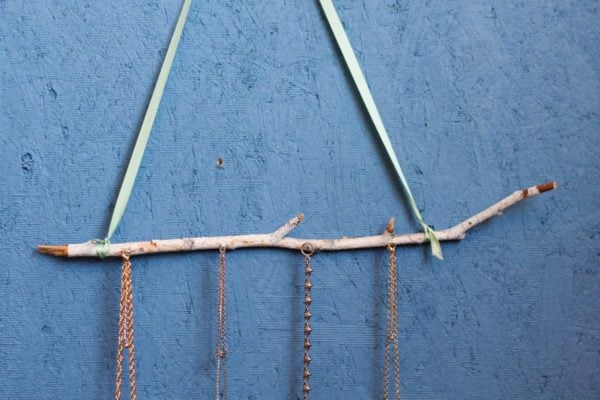
Take your ribbon, about 2 yards, and tie it around the ends of your stick. Tie off the knot so it lands on top of your stick to ensure that gravity works in your favor once you hang it. You could also use twine, string, or thread according to the aesthetic you want to achieve.

Step 3: Hang it
Hang up the new necklace holder over a nail, or a decorative peg in your room and fill it with necklaces. Now you can enjoy this simple new work of art, and easily get to your accessories!
Enjoy this new piece, and the artful and natural beauty element it adds to your home. You could also try this technique for a series of picture frames or a key holder. You could even find a larger more sturdy branch and use it for pots and pans in the kitchen! With just some tools and found elements of nature, you can rework an entire space. Happy crafting!


