


If you’re looking to add a touch of whimsy to your home, you’ve come to the right place! This funfetti candle is a fantastic addition to any room, and it’s a great way to decorate for your birthday! Plus, who doesn’t love funfetti? Check out the tutorial below to see how it’s done, and be sure to leave your own DIY candle ideas in the comments.
Decorate Your Room With This Ingenious Funfetti Candle
Celebrate your birthday all year long with this tasty-looking funfetti candle! This DIY candle project is quick, simple and fun – plus, it’s just plain adorable. Add a few drops of your favorite essential oil to make a scented candle, or leave it unscented if you’d prefer. Check out the tutorial below to create your own candy-coated candles, and let us know your own candle DIY ideas in the comments! Ready to make your own funfetti candle?
What you’ll need:
- 2 pint-sized (16oz) mason jars
- Pre-waxed wicks
- Hot glue gun
- Pencil
- Scotch tape
- 2 tbsp. water
- 1 tbsp. corn syrup
- Small paintbrush or cloth
- 1/2 cup rainbow sprinkles
- Paraffin wax
- Essential oils (optional)
- Measuring cup with spout
How to make this funfetti candle:
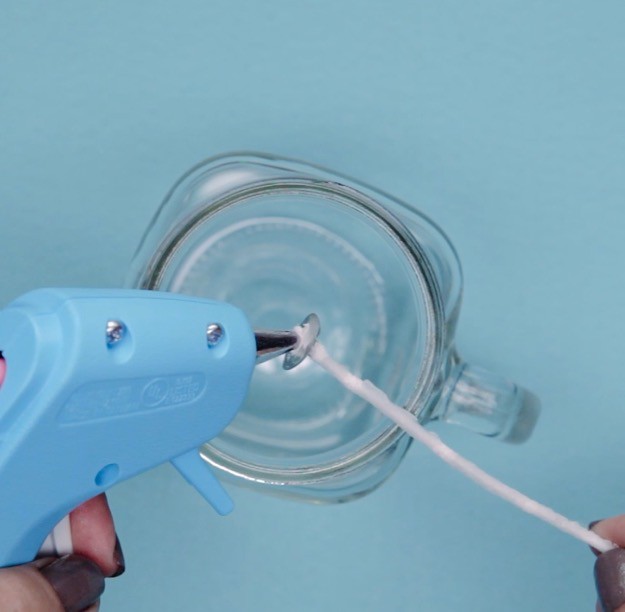
Step 1: Use a hot glue gun to attach a wick to the bottom of the jar.
Try to center the wick as accurately as possible.
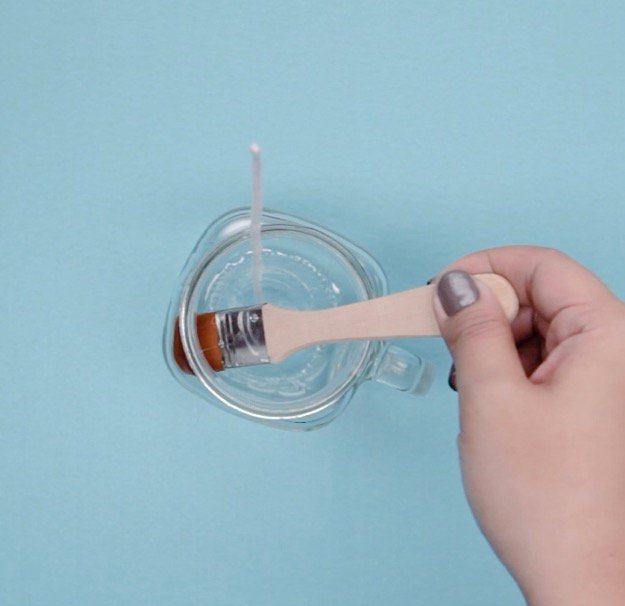
Step 2: Combine corn syrup and water in a separate bowl, then coat the inside of the jar. A small paintbrush can help you reach the lower parts.
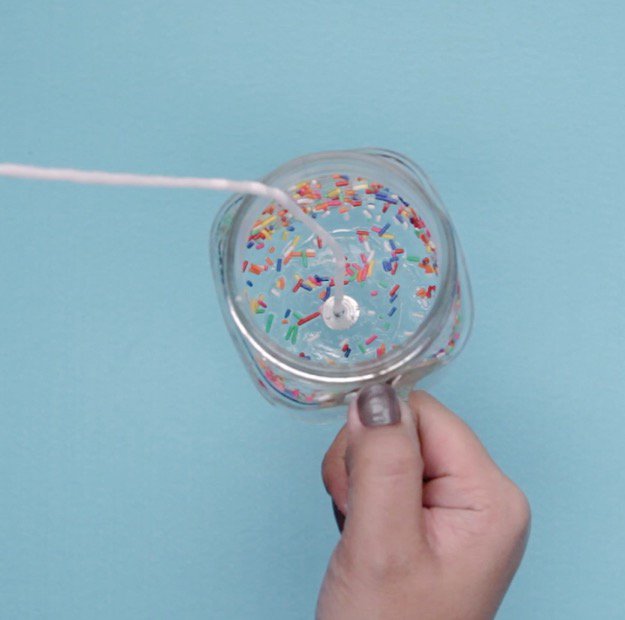
Step 3: Hold the jar horizontally and add a spoonful of sprinkles. Slowly roll the jar around to mix them up inside. Add another spoonful and repeat until the jar is coated completely.
Step 4: Pour melted wax into the jar.
Optional: Add essential oils to make a scented candle.

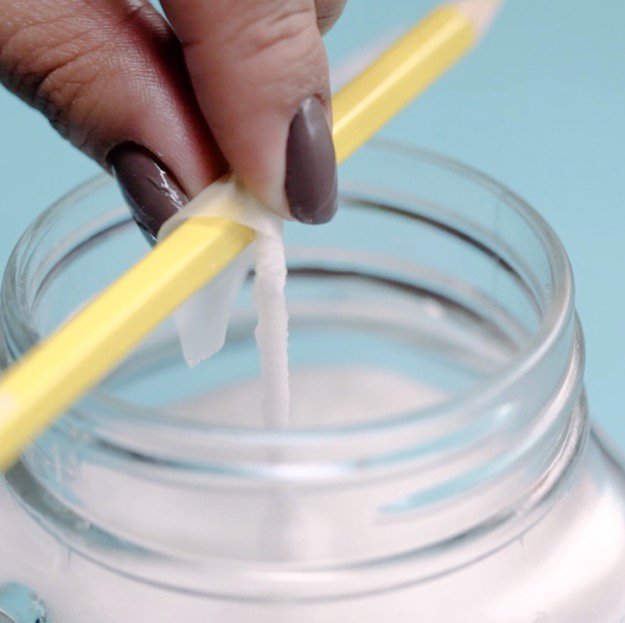
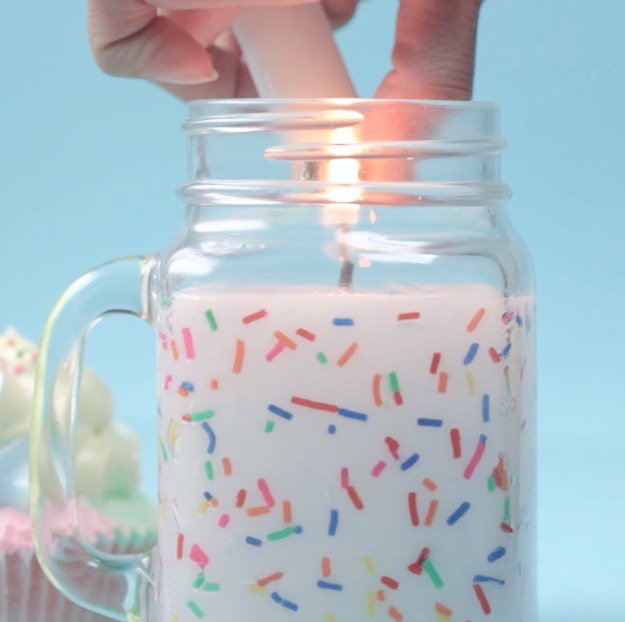
Step 5: Attach wick to a pencil, then rest it on the jar’s surface. Let it cool.
It should be completely cooled after 30 minutes to 1 hour.
Step 6: Cut the wick, then light your funfetti candle.
Enjoy your new candle!
Check out the full tutorial in the video below!Do you have any DIY candle ideas of your own? We’d love to hear about them! Leave a comment and let us know!And if you are looking for DIY Christmas gifts to your list, check out these 25 DIY gifts you can make in under an hour.![]()
Stay connected with us on Facebook, Twitter, Pinterest and Instagram!


