


Love the look of beaded bracelets, but can’t find the right one that fits in your budget? I love the way wrap bracelets look, but couldn’t ever find one that was just right. So, of course, I did what I always do and learned how to make a DIY beaded bracelet of my own. It was actually a lot easier than I expected so I thought I’d share with you all how to make this beaded wrap bracelet too. DIY jewelry making is one of my favorite new pastimes! I’ve now made a few of these cool bracelets for myself, and also given a few as last minute DIY gifts.
DIY Beaded Bracelets Tutorial
Make this beaded bracelet with these easy DIY bracelet instructions.
Supplies Needed for A DIY Beaded Bracelet:

- Thick Cord
- Thread
- Button (for closure)
- Beads
- Needle (optional)
Step by Step Instructions:
[sc:DIYBK-PostBanner]
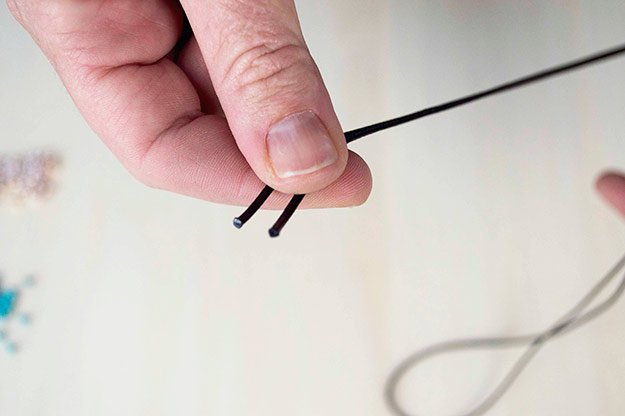
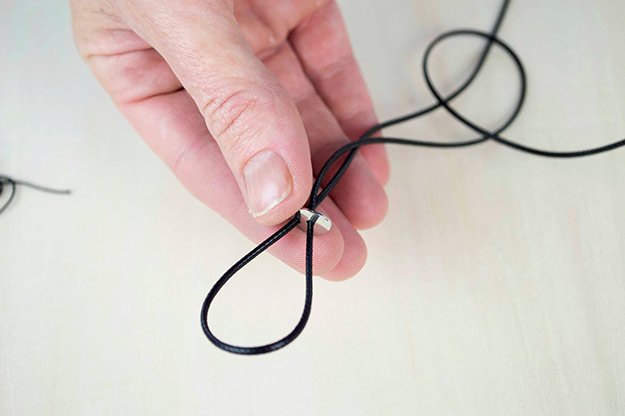
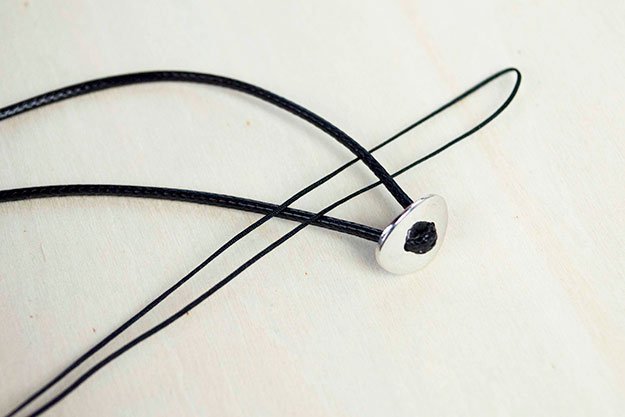
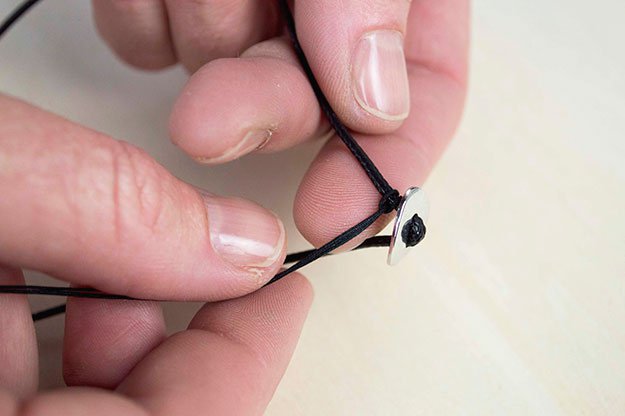
Step 1:
Take your beading cord and your button. Run the cord through the underside of the button, then back down through the top. Pull the cord through until the ends are even — essentially, you are folding your cord in half.
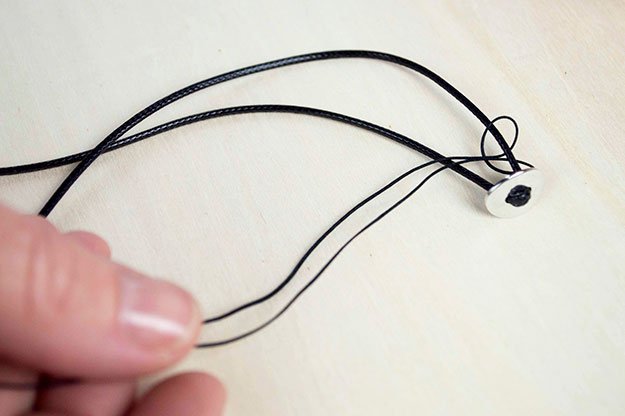
Step 2:
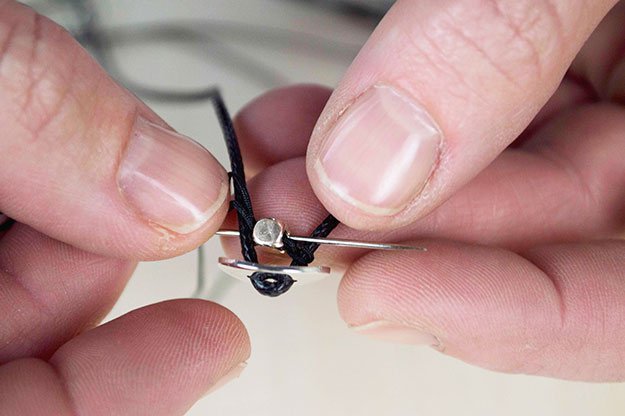
Take your beading thread and a sewing needle. Pull the thread through the needle until it’s folded in half. Then, take that loop and run it under your beading cord.
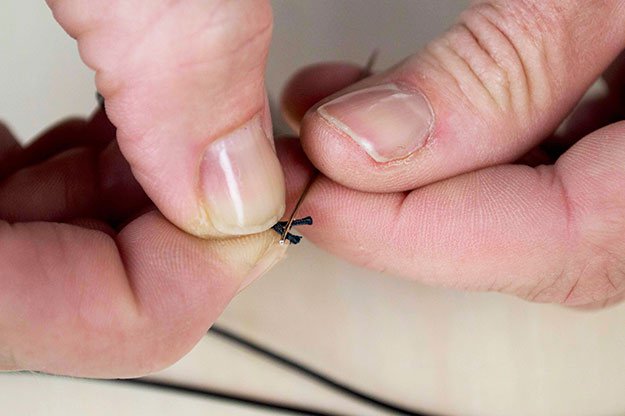
Step 3:
Take the other two ends of your thread and run them through the loop you just made. This will create your first knot.
Step 4:
Take both ends of your thread and run it through your sewing needle. If you like, you can put a dab of clear nail polish on the ends of your thread to keep them from fraying as they go through the needle.
Step 5:
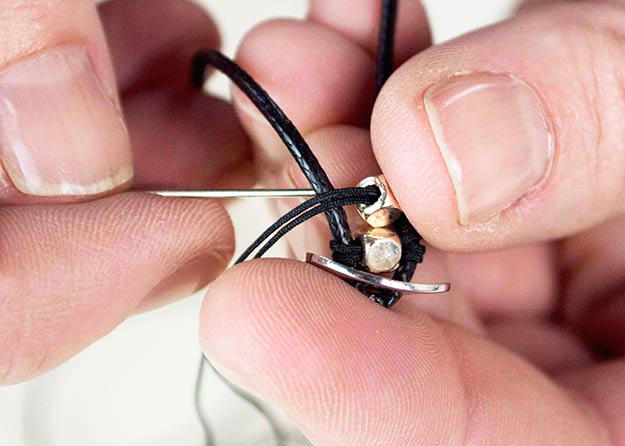
Now that your needle is threaded, you’re ready to start with your beads. You have an equal number of turquioise and gold beads. I like to go in a pattern, and I started with gold. Choose your starting color, then thread your first bead through until it reaches the knot that you tied earlier.
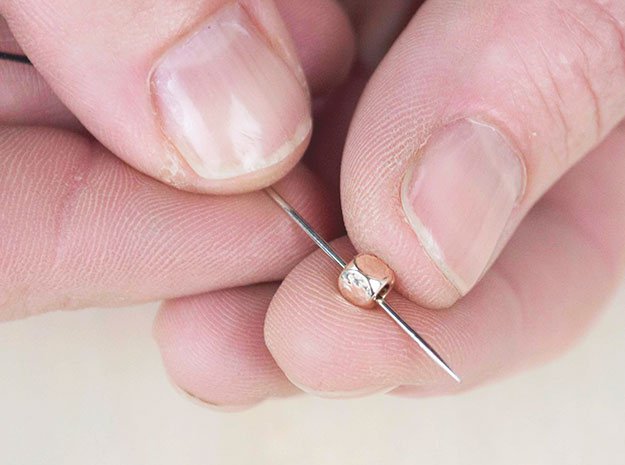
Step 6:
Wrap your thread around the corn once, then run your needle back through the bead, holding your cords together.
Step 7:
Push the thread through the bead a second time, coming from the other side. Continuously pull the thread to make sure it’s taut.

Step 8:
Wrap your thread around the cord again, then put another bead on the needle and repeat steps 5-7 with the second bead.
Keep stringing your beads in this fashion until you reach 10 beads. Then, start with the other color. (The pattern is up to you, but this is how I made mine.) Repeat this process until you’ve reached the end.
Step 9:
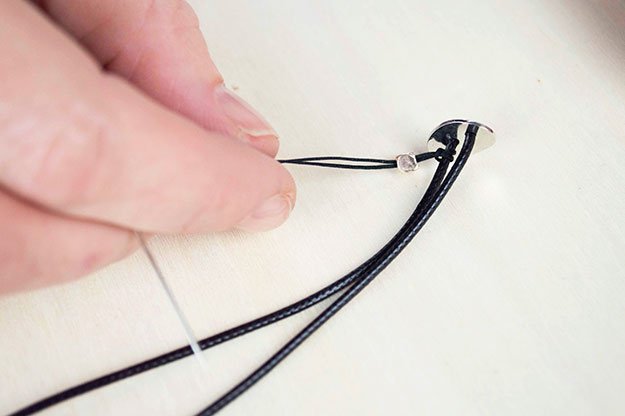
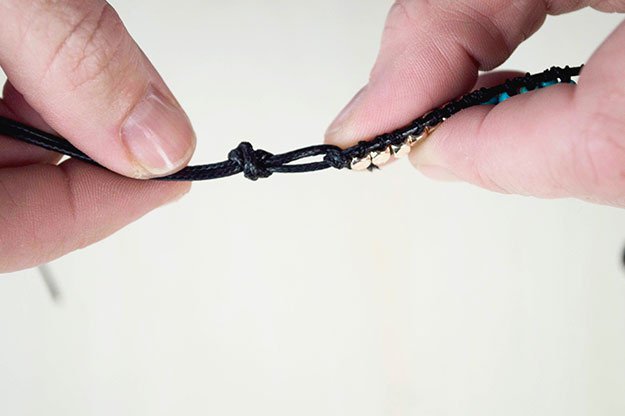
To tie off your thread, simply knot the thread around the cord, making sure it’s secure. Trim the excess with a pair of scissors.
Leaving about a fourth of an inch from your final bead, tie a knot in your beading cord and trim the excess.
Step 14:
Pull the button through the space left at the end of your bracelet to keep it in place.
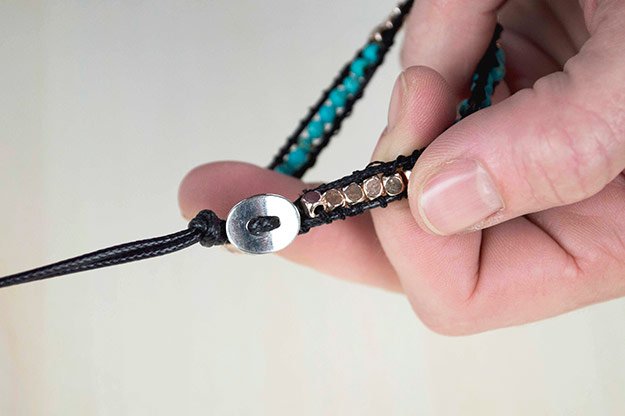
Step 15:
Proudly wear your handmade DIY Beaded Bracelet!
I am just loving this new jewelry making project. This beaded bracelet can be made with any color of cord or beads, and the button can be almost anything you like, whether it be simple like this one, or a sparkly large accent. My favorite combinations so far are this gold and turquoise on black cord, gold and pearl with cream cord , coral and gold on brown cord. Any one else have a combo you have liked and tried? Please tell me about it in the comments below.
As always, DIY Projects strives to bring you the best step by step DIY tutorials and save you from Pinterest fails. The last thing I want anyone to do is waste their time or money. If you have feedback on these instructions and want to share ways I can improve the tutorials, please share them with me!
Love this DIY Bracelet?
Pin it by hovering over the image below and hitting the big red “P” Pinterest button. Also check out DIY Projects Projects and Crafts on Pinterest. We have lots of cool DIY ideas to share with you.

Looking for more cool DIY jewelry making ideas?
Check out these crafty do it yourself tutorials:


