


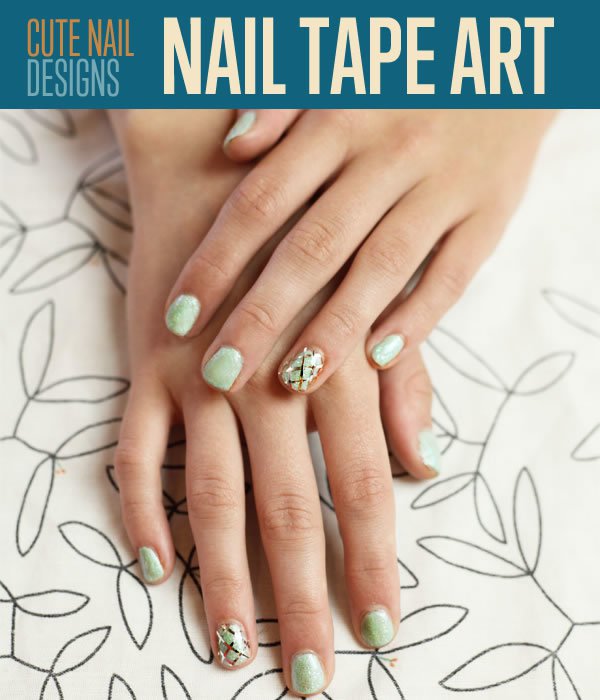
Want to try easy and cute nail design? Look no further – Nail tape is about to be your new BFF. In this tutorial, we’ll use nail tape to create a fishnet design. This metallic silver nail tape with a mint green nail polish combo screams mermaid, which is perfect for summer. Read below on how to turn your dull digits to into a mermaid mani!
How to Do Nail Designs Using Nail Tape:
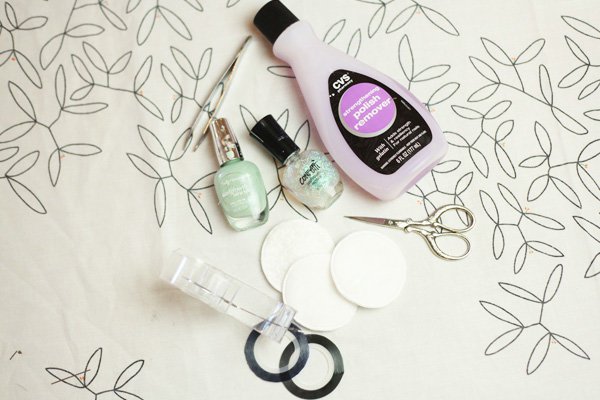
Supplies Needed for This Nail Tape Art Tutorial:
- Pastel polish of your choosing
- Glitter top coat
- Nail polish remover (hey, we all make mistakes)
- Cotton balls or pads
- Cuticle scissors
- Metallic nail tape
- Tweezers
Instructions for Cute Nail Tape Art | Tutorial
Step 1: Apply Pastel Base Polish
Prep your nails by washing your hands and cleaning off any polish you may have on already. Now that you’re squeaky clean, lets start painting these mini canvases.
Cover your nails with the pastel polish of your choice. I find that starting in the center of the nail and painting long vertical stokes covers the nails more evenly and helps with drying time. Let your nails dry before applying the glitter polish top coat.

Step 2: Apply Glitter Top coat
Time to shine! Total déjà vu here; repeat step two with your glitter top coat. Allow dry time before continuing on to next step. Patience is a virtue!
Step 3: Cut Nail Tape Strip and Apply to Ring Finger Nail
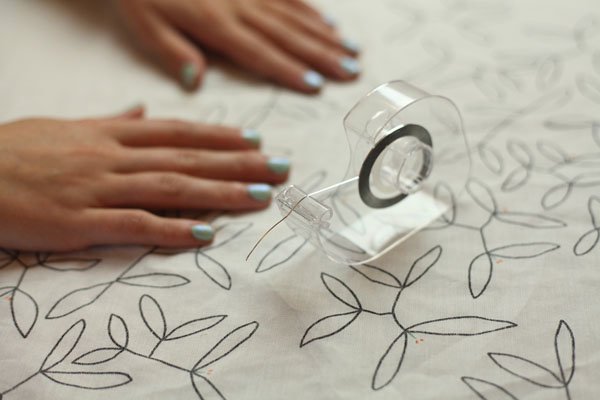
After your top coat as dried, set up for the nail tape detail. Here’s a tip – a regular scotch tape dispenser is a wonderful way to keep your nail tapes organized. How perfect is that?
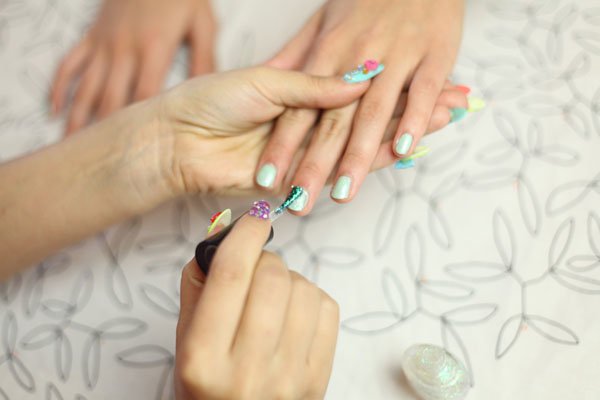
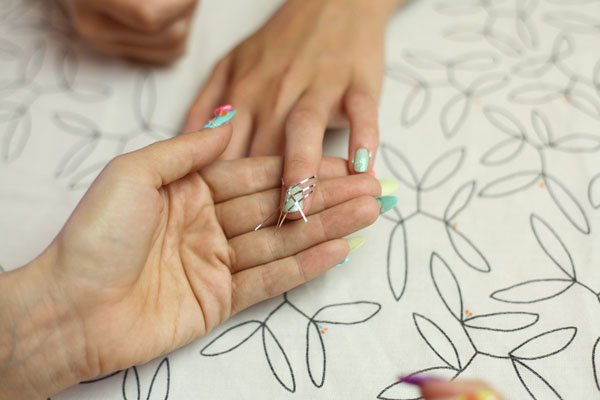
First, cut off a strip of the tape longer than your nail actually is. The first line we make is the most important, as this design is all about symmetry. Start by laying the tape diagonally across the nail with your tweezers. This may take you a couple tries, which is why we want the polish completely dry before starting this step.
Step 4: Add More Nail Tape Stripes to Nail
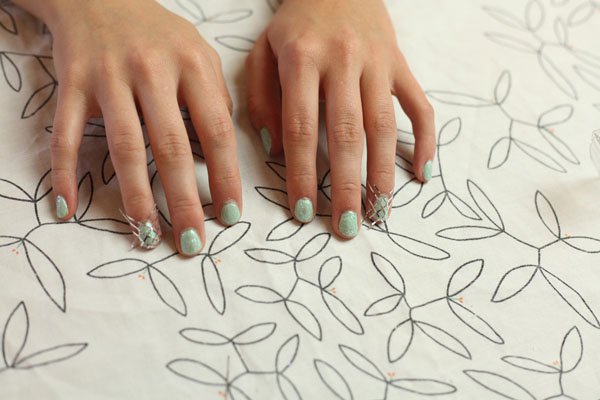
Repeat the diagonal nail tape design above and below the first strip, all going in the same direction. If you want smaller fishnet details, space the lines closer together. I used three stripes, feel free to use as many as you like! Get creative!
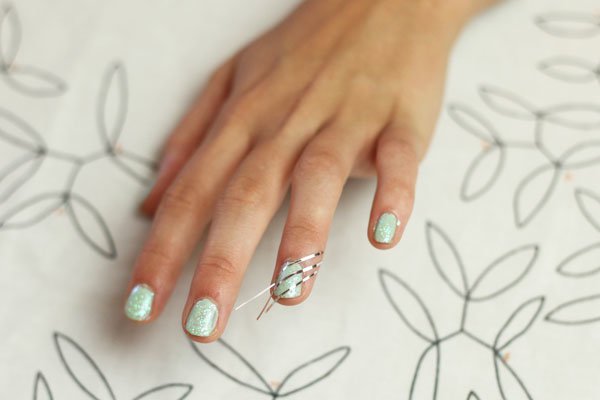
Step 5: Create a Criss·Cross Effect with Nail Tape
Move on over to the right side of the nail. Repeat steps four and five. Remember to line up your tape from right to left diagonal. I used the tape as an accent design, however this design would look rad on two, three or even all five nails!
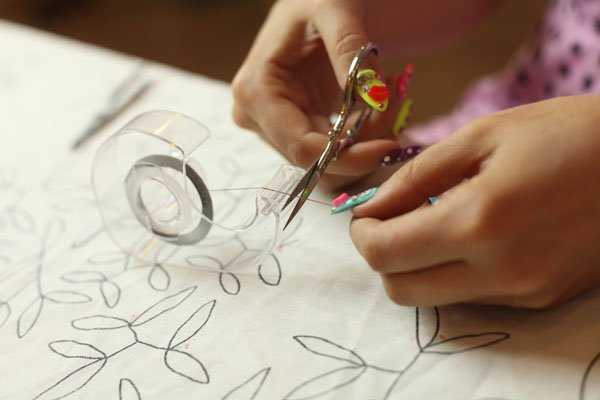
Step 6: Cut Off Unwanted Nail Tape
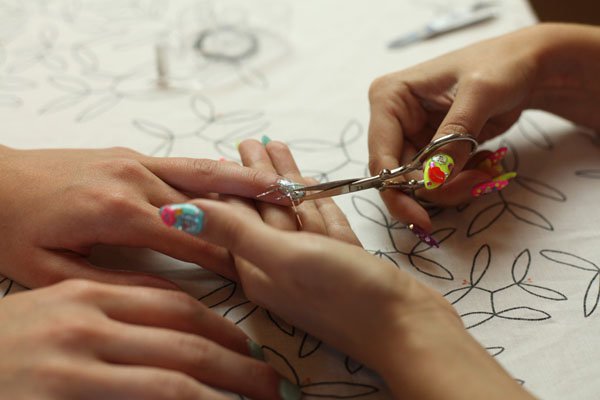
Okay, now to discuss this hot nail tape mess we have. Clean up the nail but using your cuticle scissors to cut away any unwanted tape. Use your tweezers to remove the left over pieces. I also used the tweezers to press down the edges of the tape – gotta make sure this art isn’t going anywhere!
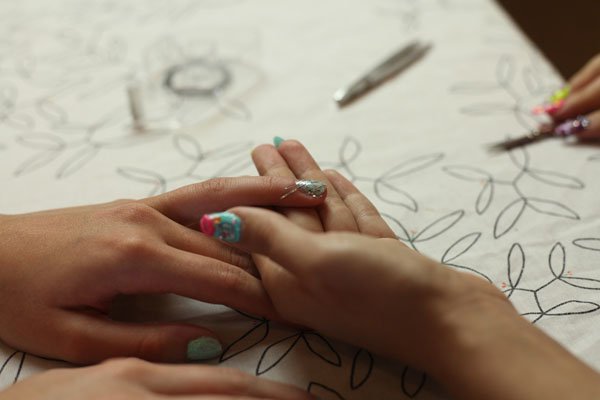
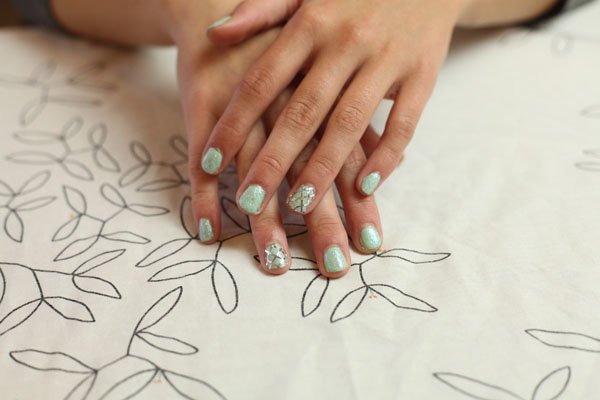
Ta-da! The only thing left to do now is grab your swim suit and head to the beach, little miss mermaid! Want even more nail designs and nail art ideas? Swim around our site for more fun and easy beauty tutorials.
Like This Post?
Check Out
Create professional looking canvas prints out of your own photographs. Visit Canvas Factory


