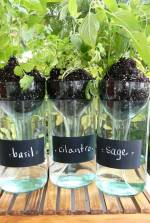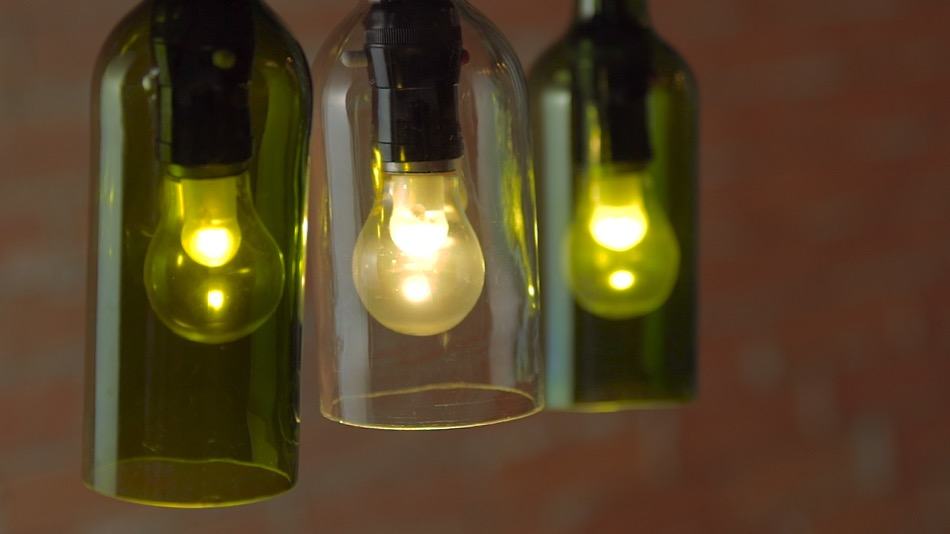

Add a touch of cozy to your home with these beautiful wine bottle lights. Any wine bottle can be transformed into a beautiful piece of home decor – just in time for fall! Check out the tutorial below to learn how you can upcycle an old wine bottle into a hanging light.
How to Make Your Own Wine Bottle Lights
As the weather starts to get a little cooler, it’s always nice to add touches of fall into your home. If you love repurposing glass bottles (and any excuse to drink wine), you’ll love this wine bottle DIY. The steps are super easy to follow, and these hanging lights are a lovely touch to any room in the house. Check out the steps below to make your own!
What you will need for your wine bottle lights:
- Empty wine bottle, label removed
- Acetone
- Cotton wick
- Scissors
- Lighter or match
- Ice water
- Sandpaper
- Hanging light bulb socket
- Light bulb
- Cork (optional)
How to make your wine bottle lights:
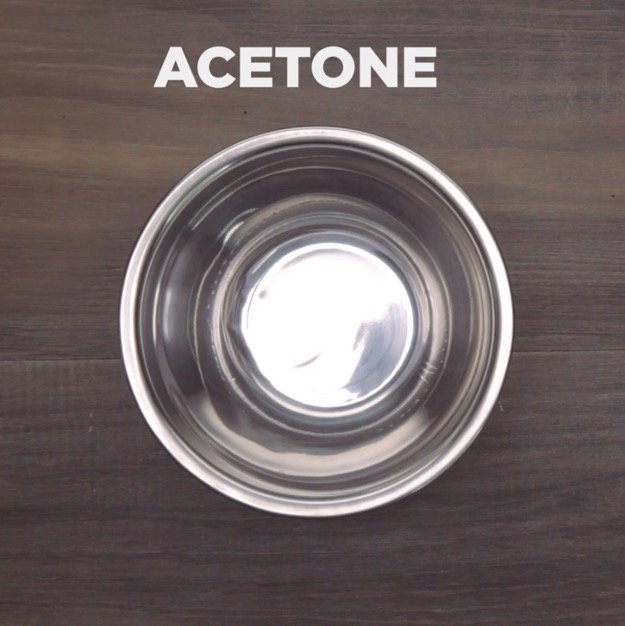
Step 1: Begin with a medium bowl filled halfway with acetone.
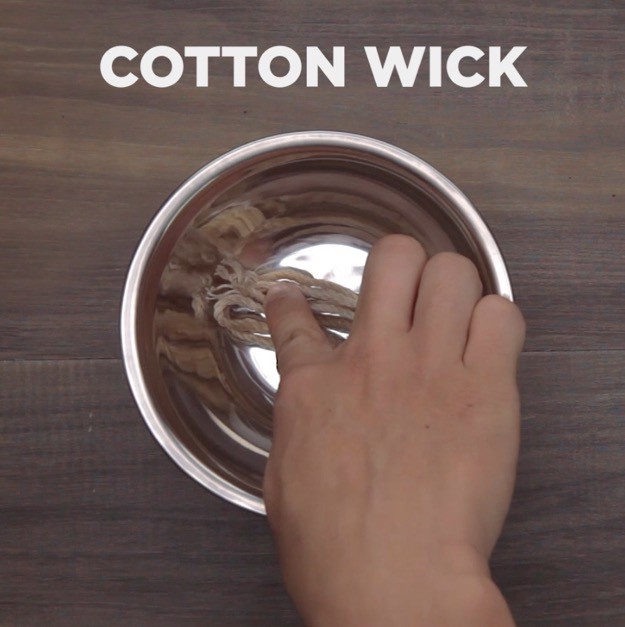
Step 2: Immerse your cotton wick completely in acetone.
Step 3: Wrap the wick around the wine bottle, about one-third from the bottom.

Step 4: Tie the wick around a second time, then make a tight knot.
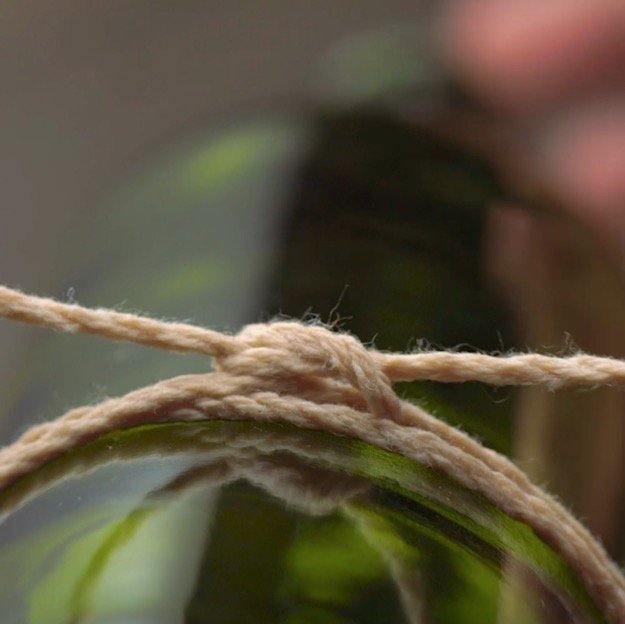
Step 5: Carefully light the wick with a match or lighter.
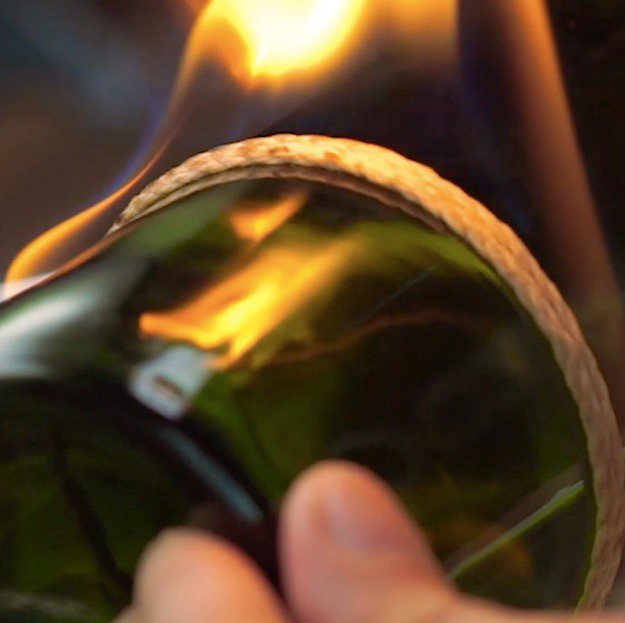
Slowly twist the bottle to make sure the flame catches all of the wick.
Step 6: Dip the bottle into a bowl of ice cold water.
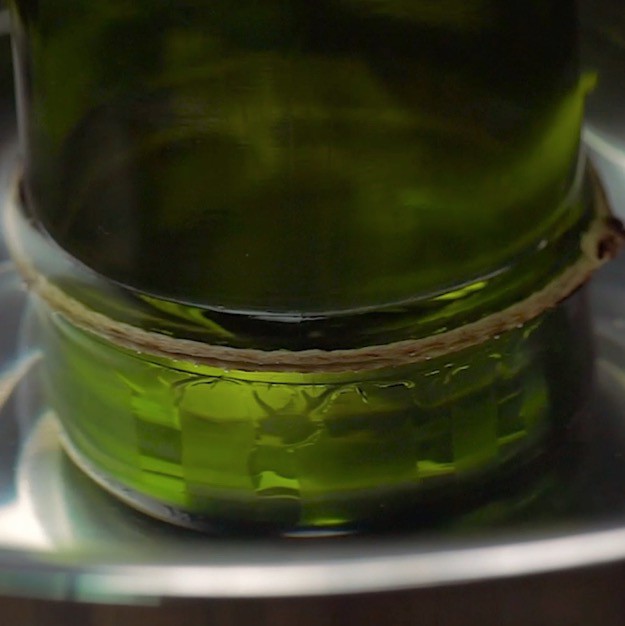
Step 7: Gently lift the bottle from the water. The bottom should remove itself completely.
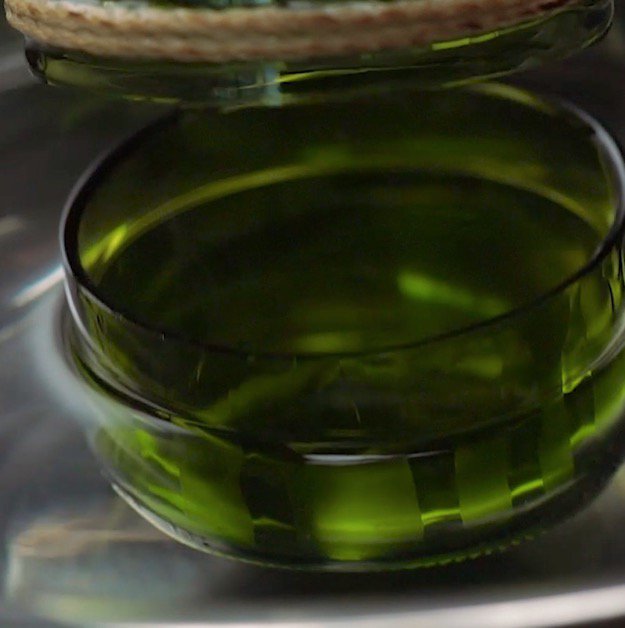
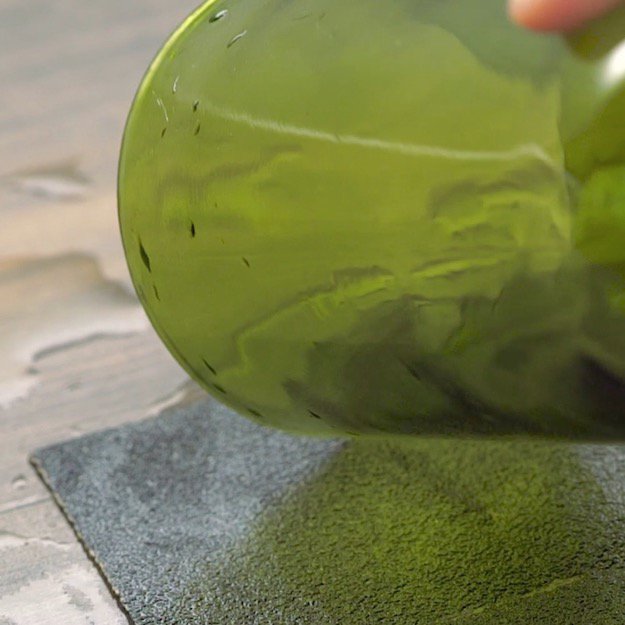
Step 8: Sand down the edges of the bottle until they’re completely smooth.
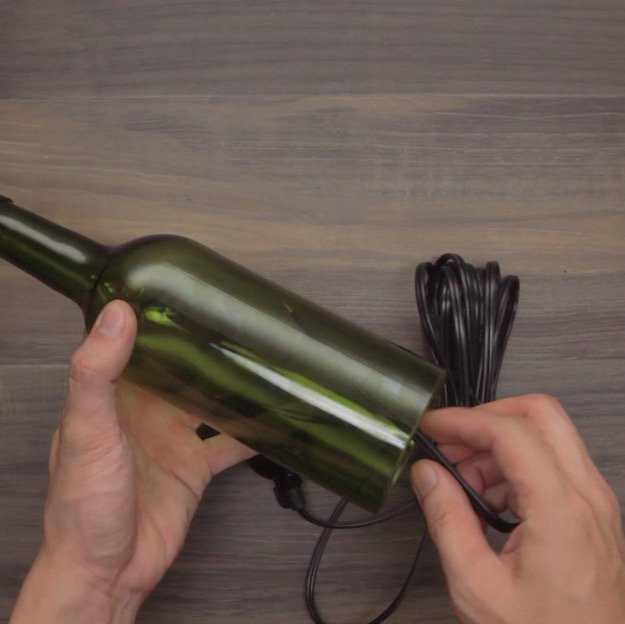
Step 9: Thread your light cord through the bottle from the bottom.
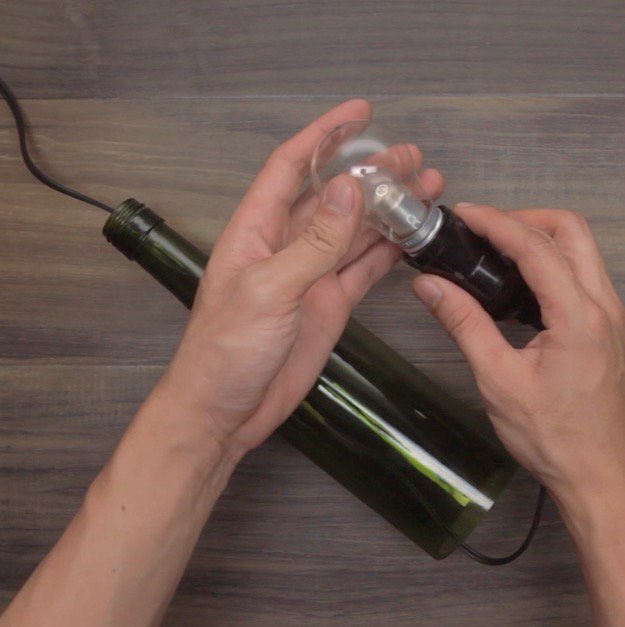
Step 10: Twist your bulb into place in the socket.
Step 11: Pull the cord all the way through from the top.
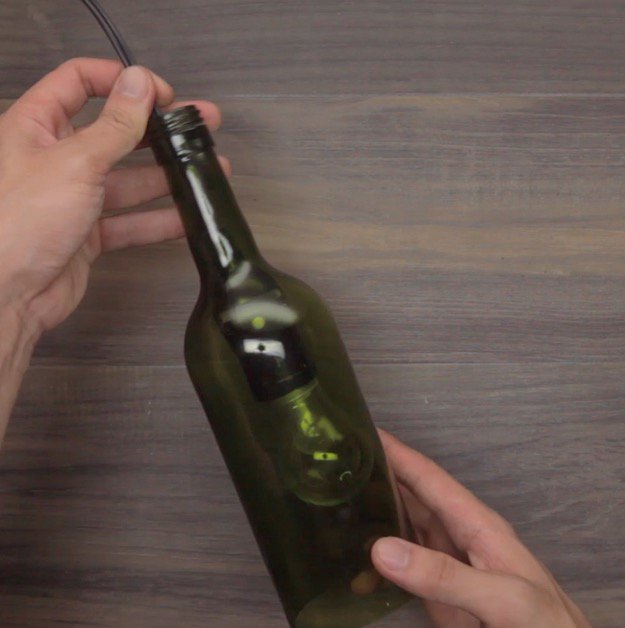
Step 12: Enjoy your beautiful new wine bottle light!
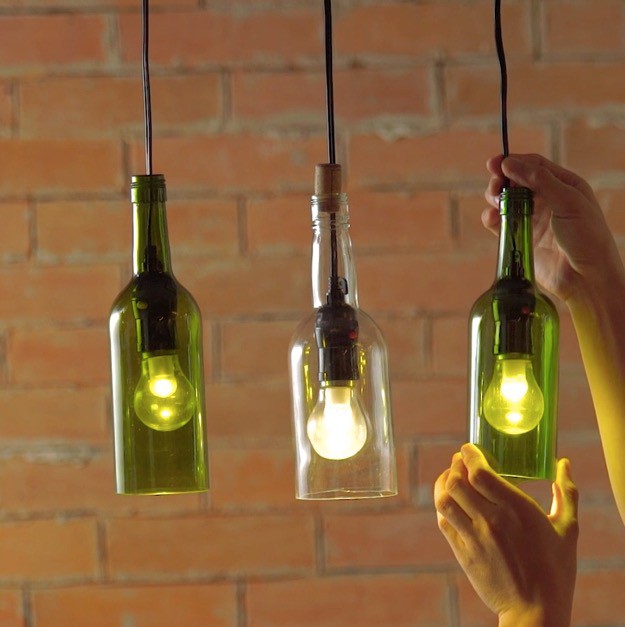
Tip: You can also drill a hole through your cork and include this in your new wine bottle light!
Check out the video below to see how this DIY is done!
Wasn’t that fun and easy? Who ever knew cutting wine bottles can be so fun. I just love how they looked when I hang them and I’m sure you’ll love them too. Let me know how it went for you in the comments below!
For more DIY and craft news, follow us on Facebook, Twitter, Pinterest and Instagram!

LIKE this? I’m sure you’ll LOVE:
24 Creative Uses for Beer Bottles 17 DIY Crafts Using Recycled Plastic Bottles
 Make Self-Watering Planters Using Wine Bottles