


Want to try out your skill at building an X-Bench? The plan below is sure to be a perfect DIY project for a weekend and sure to impress your guests!
With the proper tool, materials and a bit of your creativity, I’m pretty sure this project will give you that sense of accomplishment to boost for. So, read on and let’s start building.
Easy DIY To Build An X-Bench [Infographic]
Whether you’re a beginner or an expert DIY-ers you would simply love to try a new look for a simple bench. The X-base of this bench will offer that stylish option to a straight legs, plus upholstered benches will look especially amazing at the end of the bed or any corner of your house that needs a furniture uplifting.
A special shout out to Fix.com who’ve come up with the amazing infographic.
X-Bench Marks The Spot : Simple DIY Plans For The Perfect Stool
Structural Materials
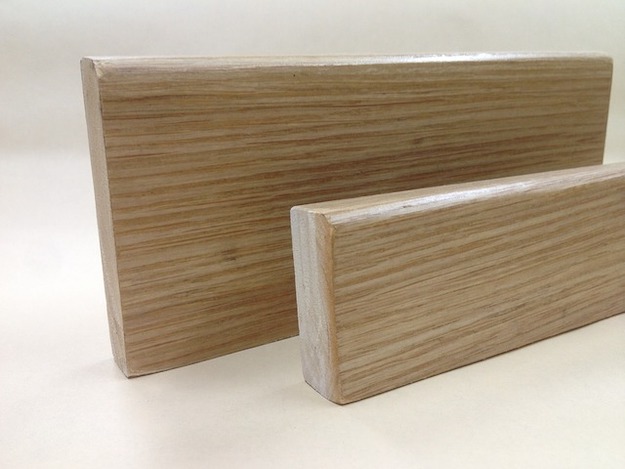
1. Two Pieces of Oak
10 feet long, ¾” thick
2. One Piece of Plywood

8 feet long, 4 feet wide, ¾” thick
3. One Piece of Solid Oak
4 feet long, 1 ½” x 1 1/2” in diameter
4. Two Wooden Dowels
1” long, ½” in diameter
Upholstery Materials
1. 1 Piece of Cotton Batting
24” square, 1/8” thick
2. 1 Piece of Foam
24” square, 2” thick
3. 1 Piece of Upholstery
24” square
Fastening Materials
1. Wood Glue
2. One Box of 1 ¼” Wood Screws
3. One Box of 1 ½” Brads
½” wide x 3/8” deep dowel hole on both X bracing centers
½” wide x 5/8” deep dowel hole with 1” dowel glued in place both ends.
Remember the plan we have is just your guide, you can definitely adjust the measurement and materials to fill whatever your needs and desires are.
Thanks for checking our Easy DIY To Build An X-Bench [Infographic] post! Did you find it helpful and interesting? Let us know in the comments section below.Stay connected with me on Facebook, Twitter, Pinterest, and Instagram!![]()
Like this? Then, you’ll LOVE!
DIY Rustic Pallet Headboard17 Adorable DIY Pillow Ideas18 Bobby Pin Hacks for Survival


