


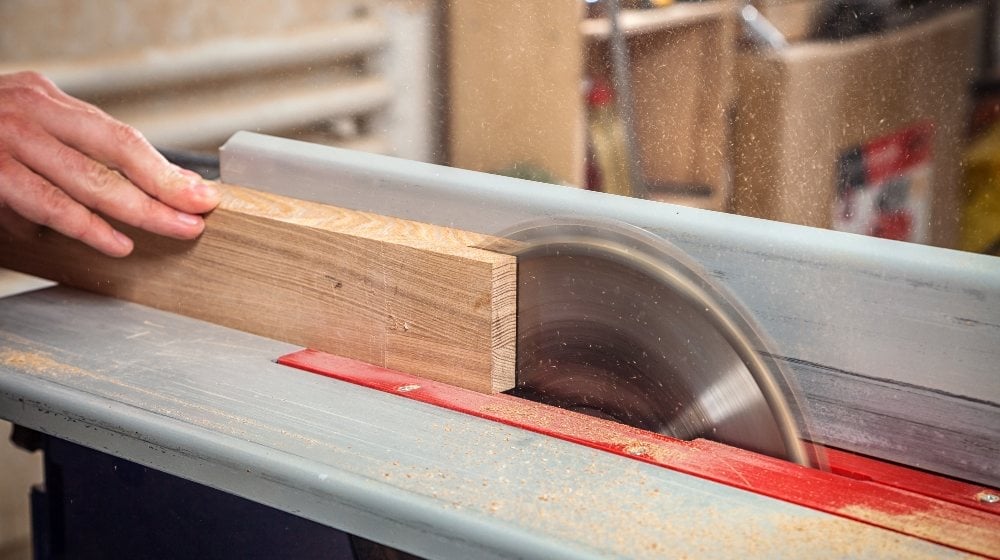

Whether you need to rip wood or make identical cuts, a DIY table saw can be your perfect companion. Check out the instructions below to create this versatile tool for your woodworking projects.
RELATED: DIY Pipe Leg Table | Workbench Plans And Rustic Furniture Tutorial
DIY Table Saw in 8 Easy Steps | a Step-by-Step Guide
What You’ll Need:
Materials:
- Circular saw
- Plywood, melamine, or board for table legs and top
- Zip tie
- Wood screws with flat head (16mm and 50mm)
- Power strip
Tools:

- Makita-built motor delivers 1,500 RPM for faster cutting
- 3-3/8" blade delivers a maximum cutting depth of 1" for a wide range of cutting applications
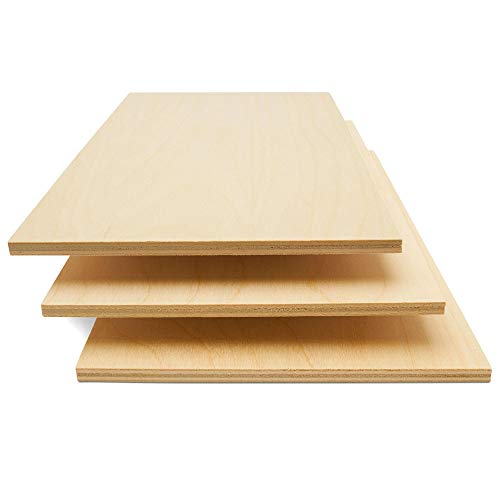
- STRONG, DURABLE, HEAVY-DUTY – These craft wood pieces of multi-coated Baltic Birch plywood offer...
- BEAUTIFUL WOOD, BEAUTIFUL PROJECT- Baltics-grown birch plywood is prized by woodworkers everywhere...

- Package Includes 100 Premium Zip Ties
- UL Rated For Indoor & Outdoor Use
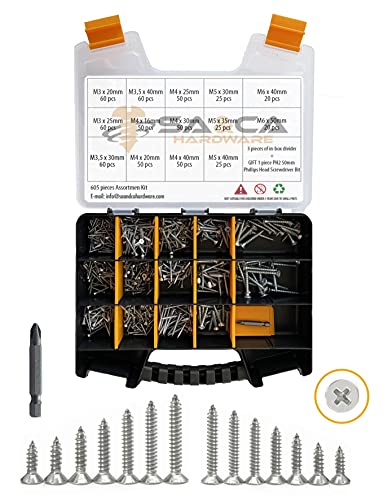
- SCREWS ASSORTMENT SET: Self Tapping Screws kit includes 14 sizes of flat head Screws (M3 x 20mm...
- WOOD & DRYWALL SCREWS: The self tapping screws includes 605 pcs phillips flat head screws. 3 Pcs...
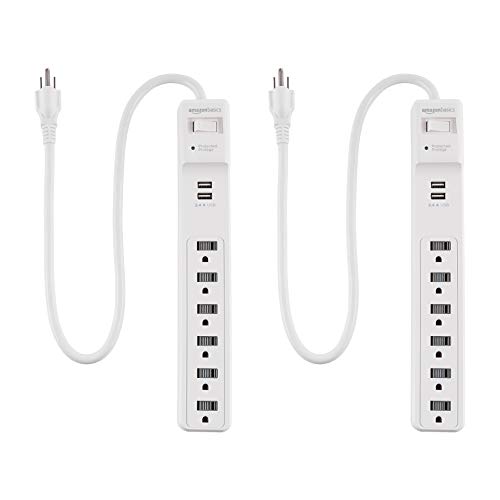
- Surge protector power strip for sensitive electronic devices (2-pack)
- Includes six outlets and two USB 2.4A ports

- 14-piece nylon spring clamp set with 3-3/8-inch clamps (x6), 4-1/2-inch clamps (x4), and 6-1/2-inch...
- Securely holds items in place; ideal for photography, woodworking, crafts, backdrops, and other...

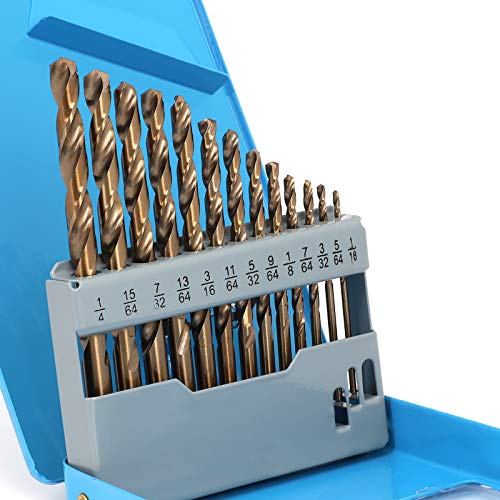
- 13 PIECES INCLUDED...
- HSS WITH 5% COBALT: Durable, Higher Heat & Abrasion Resistance.

Step 1: Drill Holes in Your Circular Saw
In the base of your circular saw, drill five holes measuring 4mm each. You’ll use these holes, later on, to fix your circular saw onto your board.
After drilling, remove the dust, and clean the holes.
Step 2: Prepare Your DIY Table Saw Top
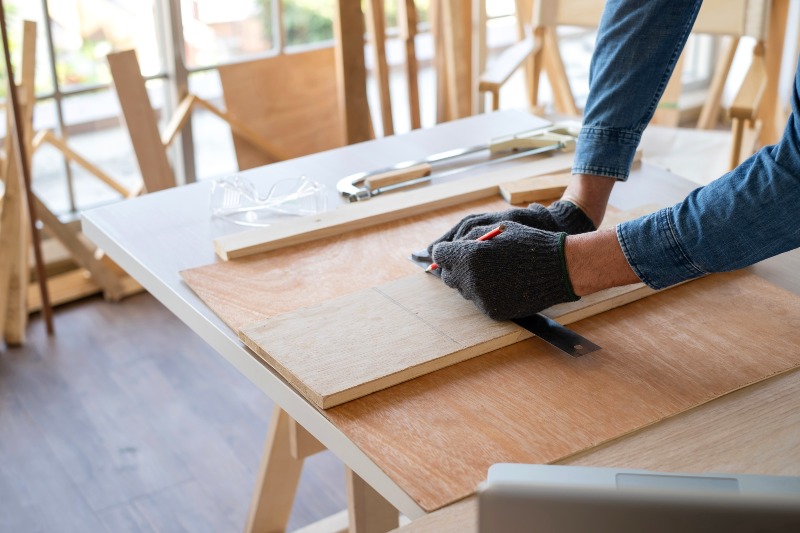
There are various options that you can choose from for your DIY table saw top. You can opt for plywood, melamine, or other types of board such as laminated particleboard. If you have an old closet or cabinet, you can also repurpose a part of it, and use it instead.
Its dimensions must be 1.8cm in thickness, 50cm in width, and 80cm in length. Be sure that the board is straight, and its edges are perfectly square.
Step 3: Position Your Circular Saw
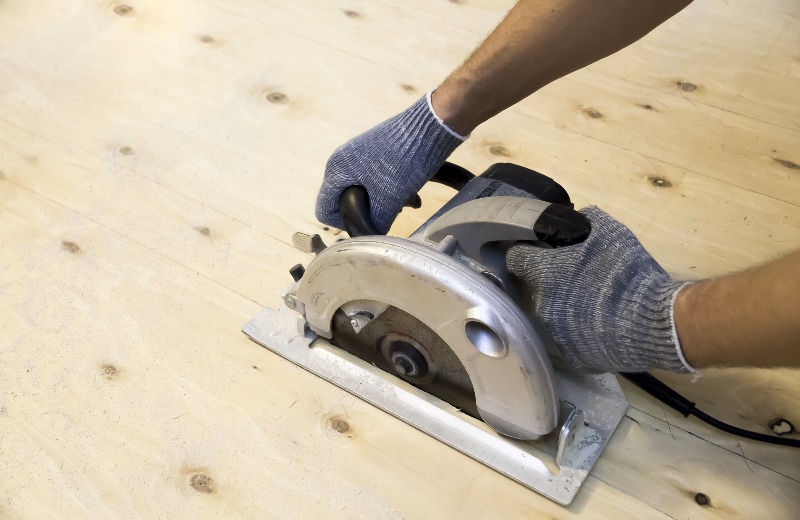
Place your circular saw in your desired area. You may leave a space measuring 30cm between the front of your board and the tip of your circular saw.
Again, ensure that everything is square as much as possible. Then, trace through the holes in your circular saw base, and put marks on your board. Remove your circular saw from your board.
Step 4: Fix Your Circular Saw

Afterward, using the marks as your guide, drill through your board. Position your circular saw on your preferred area on the board and put 16-mm wood screws.
Choose screws with a flat head since these suit the base of your circular saw perfectly. Additionally, these screws will hold your circular saw in place.
RELATED: DIY Pool Table You Can Make For Your Man Cave
Step 5: Cut Through Your Board
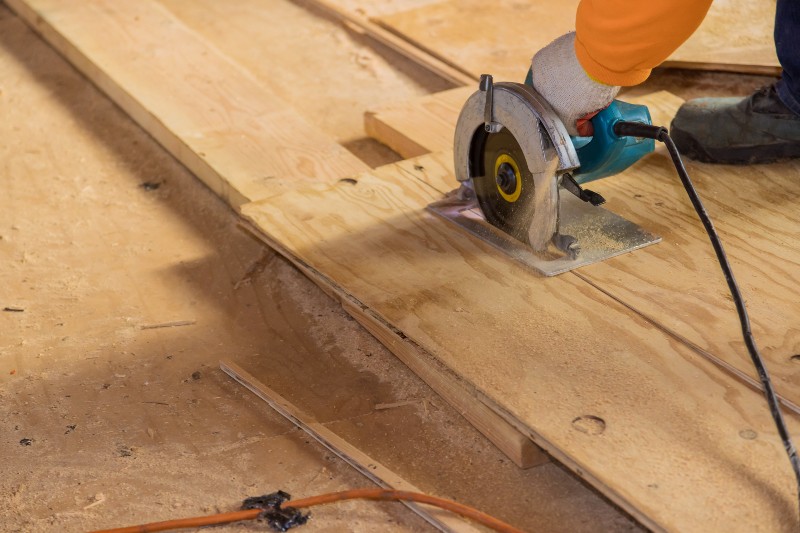
Turn your circular saw on and cut through your DIY table saw top. Then, flip your board upside down.
Step 6: Create Legs for Your DIY Table Saw

Mark the areas where you want to place the legs of your DIY table saw. Drill screws and attach two beams to the bottom of your board. The beams must measure 8cm by 4 cm.
Then, using the same type of board as your top, create legs for your table. Additionally, insert another piece of the board between these legs. Similar to your beams, drill screws onto all of them for extra support.
Step 7: Place Your Switch
Drill two holes onto one side of your DIY table saw. Insert your zip tie into these holes, and attach your power strip.
Plug-in your circular saw. This will serve as your on and off switch.
Step 8: Test Your DIY Table Saw

For the final step, try cutting a piece of wood. Once successful, you may now start using your DIY table saw.
Using a DIY table saw can entail injuries caused by kickbacks. Watch this video by Stumpy Nubs to learn how to avoid serious cuts, or worse, an amputation:
This DIY table saw can help you achieve accurate cuts, and make tough jobs easier. Follow these eight easy steps, and start cutting with confidence.
Do you have other ideas on how to make a DIY table saw? Share your thoughts with us in the comment section below!
Up Next:
- DIY Lego Table Ideas For Countless Hours of Creative Fun
- Repurposed Pallet Furniture | Make A Wood Pallet Coffee Table
- Make Your Own Fire Starter At Home | 11 DIY Fire Starter Ideas
Don’t forget to stay connected with us on Facebook, Twitter, Pinterest, and Instagram!









