


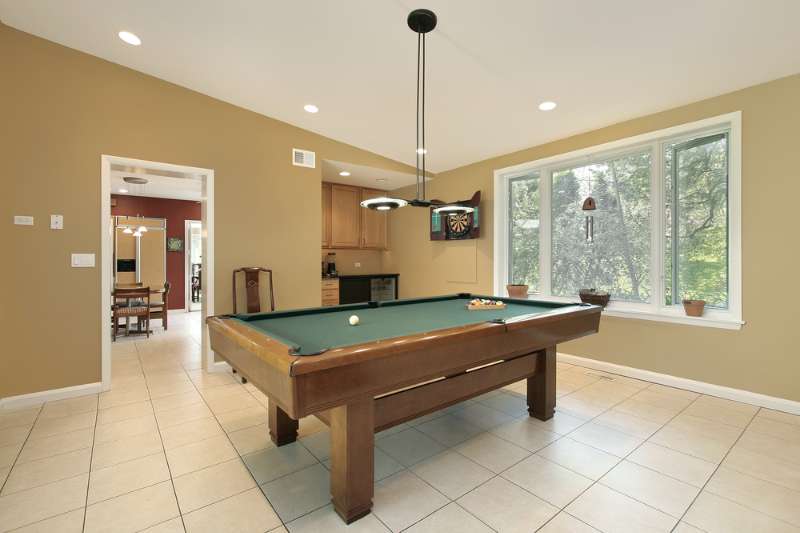
Level up your man cave with this DIY pool table. You can get all materials used in this project in your local hardware store.
RELATED: 11 Amazing Wood Carving Ideas Perfect For The Season
How to Upgrade the Man Cave with a DIY Pool Table
What You Need:
Tools:
- Table saw
- Jointer or router table
- Level
- Drill
- Electric sander
- Mallet
- Shims
- Razor Blade
- Staple gun
- Tape measure
Materials:
- Slate or medium-density fiberboard (MDF) pool table surface
- Steel brackets
- Wood glue
- Polyurethane finisher
- Varnish
- Portable clamps
- Straight-edge clamp
- Bolts
- Shims (if using slate for your tabletop)
- Pool table felt, cushions, and pockets
- Cushion end facings
1. Clear Off Enough Space
First, make sure to have enough space to place your pool table and play properly. Don’t forget to leave room for players to get around the pool table.
When designing your pool table, make sure to create it in a size that’s appropriate for the room you’re putting it in. Just make sure there is a:
- A 2:1 ratio between the length and width of your table
- A height of 29″ and 31″ between the ground and the top of your playing surface.
2. Construct the Pool Table Legs
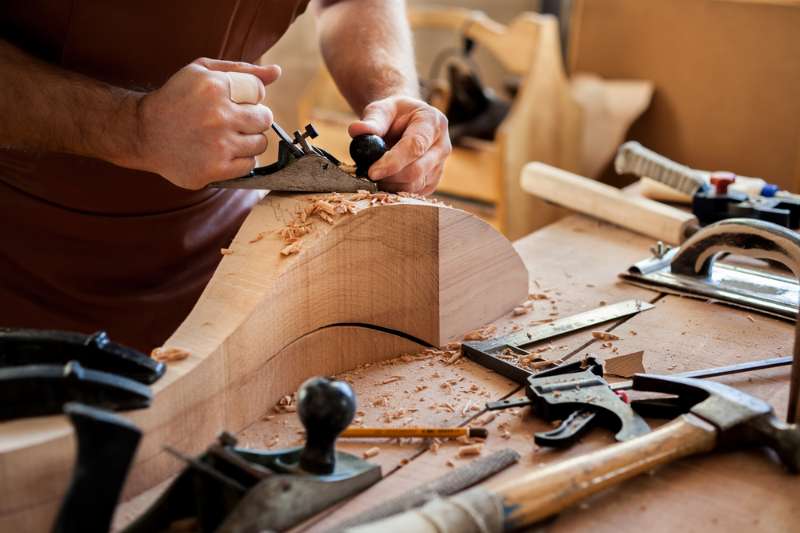
Properly constructed pool table legs make sure your pool table lays flat on the ground. You have a few options for your pool table legs depending on your skill level.
Whatever option you choose, use the lumber immediately upon purchase to avoid warping.
- Create an L-shaped frame using 2” x 10” lumber board and glue some more lumber inside to form the leg.
- Mill your pool table legs out of any type of hardwood. Make sure to mill along the grain of your lumber
- If you’re short on time or are just starting out, you can buy some leg pieces online.
Your legs should have an L-shaped inner slot where your frame will sit on.
Finish the leg pieces off with some varnish or a veneer as it will be harder to finish them once they’re bolted on the frame. Once the finishing has dried, lock them in with a coat of polyurethane.
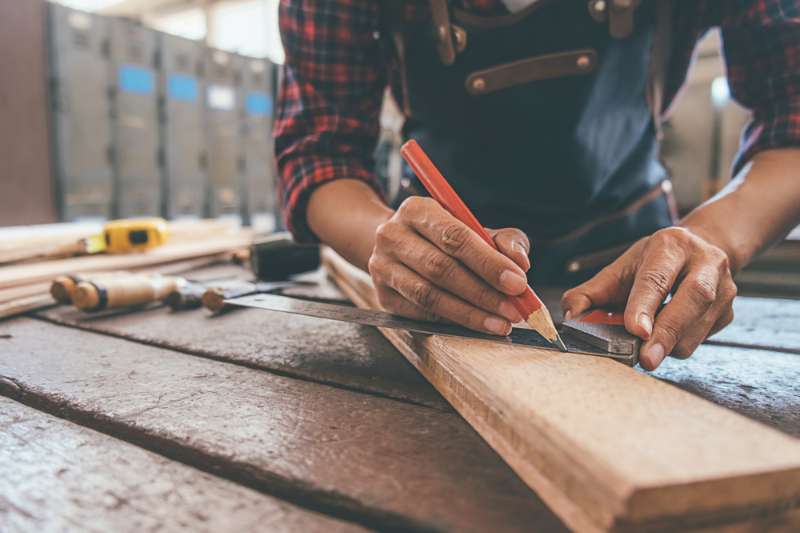
3. Create the Frame
Next, start constructing the pool table frames. This is the foundation of your pool table and connects the legs and the playing surface together.
The frame essentially looks like a grid to provide an even amount of support and covers where your surface screw holes reside. Depending on how big your pool table is, it should be between 10 and 12 in. tall.
Once you figure out the overall design, start constructing the frame:
- Cut down your wood to the appropriate size and create the dado slots to fit the wood pieces together.
- Sand off any rough edges and test your pieces to make sure they fit properly
- Once everything fits, glue your frame pieces and use clamps to keep the pieces together as the glue dries. Alternatively, you can also use screws and brackets if you want the option to disassemble the table.

- Basic Parameter: The throat depth is 2 inches, the maximum opening capacity is 8 inches and...
- Materials: Cast-iron stationary and sliding heads with an orange, powder-coated finish merged with a...
4. Install the Legs onto the Frame
Slot in each leg under your frame and attach it with bolts. Make sure to use very sturdy screws – 1 screwed straight into the leg and 2 more as support for each side.
If you decided to use pre-made legs, place the legs directly under the frame.
For extra stability, construct a sub-frame that fits the entire table with the legs installed. You can choose to install the pool table without a sub-frame, but you would need to secure the frame even more.
RELATED: DIY Wood Cutting Board You Can Make From Scrap Wood
5. Place the Pool Table Surface
Place the pool table surface on top
- For a slate pool table surface, it usually comes with a backing made of MDF that slides on top of the subframe. Slide the slate pieces and screw them into place.
- For an MDF surface, you would have to cut the pockets where the holes will go yourself. The opening of each pocket should be around 4.5 in. to 4.625 in. wide. After cutting the holes, attach the MDF with some screws.
6. Create the Railings
Next, put together your pool table’s side rails. This is where your pool balls roll on once they go into the holes.
The railings are made of 4 different parts:
- The railings.
- The featherstrips, a piece of wood you use to pinch the felt piece into place.
- The blinds, which hide the underside of the pool table.
- The bumpers, a rubber piece that gives a little bounce to the railing.
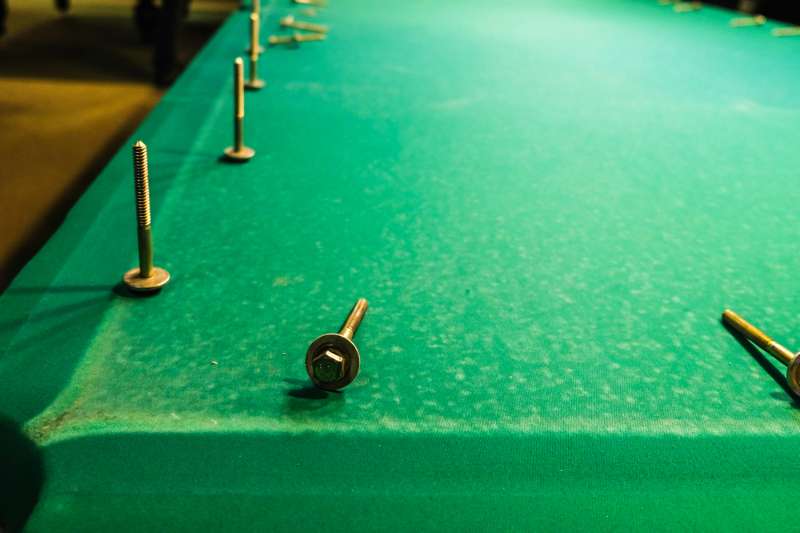
Take note of the bolt holes you need to use to attach the railings to your pool table and how to attach the pockets. Use super glue or some contact cement to attach the bumpers to the felt and make sure they’re at the correct angle.
7. Felt the Pool Table Surface
Choosing the right felt color is really up to you. Some pool tables use blue or red felt from the usual green. Choose one that fits best your man cave.
- Before you attach the railings, felt your pool table’s surface first.
- Lay your pool table felt and check both sides for any dust or holes. Give the slate or MDF a good sweep to ensure nothing will cause inconsistent tolls.
- Cut off small felt strips for your pocket liners.
- Stick on the pocket-liners with some super glue, then trim off any excess with a razor.
- Attach the felt to your surface with a nail gun. Don’t use glue as it can introduce bumps onto the pool table surface.
- Punch some holes in your fabric for the rail bolts. Use the bolt holes in the slate as your guide.
8. Add the Finishing Touches
Finally, add on the finishing touches to your pool table:
- Put bolts on your railings.
- Put the pockets together.
- Mark your table lines.
The final product should look like this:

Watch this video from Rollie Williams for other ingenious ways to build a pool table:
Putting together a DIY pool table takes some skill and a bit of elbow grease, but it’s all worth it in the end when you can cap off the night with a game of pool with the boys after a long day. We hope you enjoyed this tutorial and stay tuned in for more DIY projects.
Have you tried putting together your own DIY pool table? Let us know in the comments section below!
Up Next:
- Beautiful DIY Wooden Coasters From Hardwood Scraps
- How To Remove Rust From Tools
- 6 Easy To Make Mason Jars Craft Projects
Calling all crafting DIYhards, DIY Projects needs YOU! Click here if you want to write for us.
Don’t forget to stay connected with us on Facebook, Twitter, Pinterest, and Instagram!


