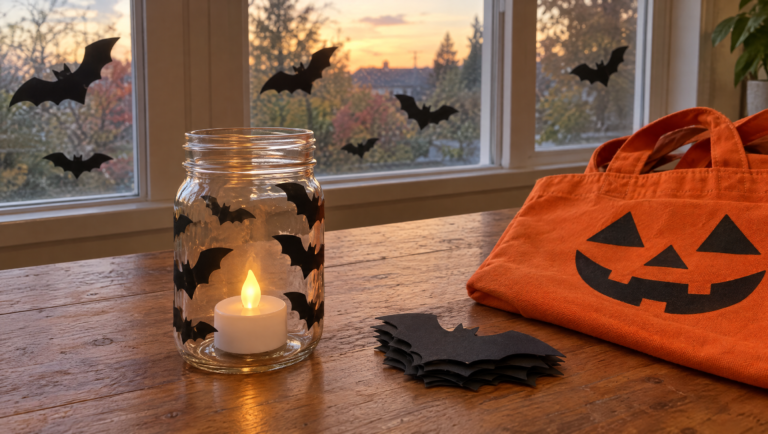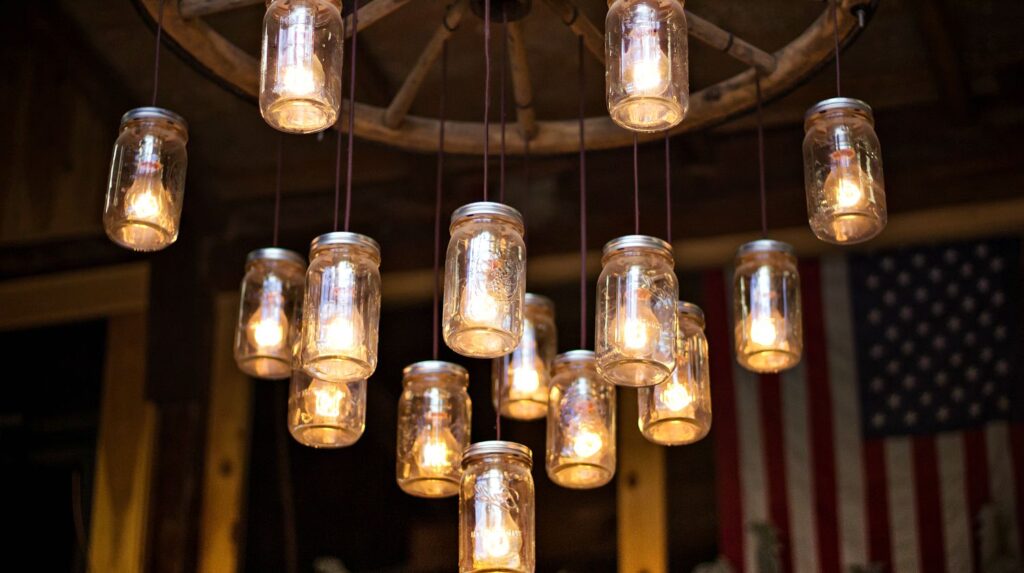

Create an enchanting and magical experience through your lighting in your garden or patio by making these DIY mason jar solar lights with little to no cost!
RELATED: Create A Prism Candle Light | DIY Mason Jar Crafts
A Quick and Easy Mason Jar Solar Lights DIY Project
What You Need to Make Mason Jar Solar Lights:
- Solar light (the stake kind) $1 each at Dollar Tree
- Mason jar with lid
- Sticky foam tape
Step 1. Remove Stake Piece of the Light
First, remove the stake piece of the solar light so you are left with the top solar panel piece. In my case, I kept the plastic casing around the light because it has a metal reflector that helps intensify the brightness of the lamp.
Next, remove the stake part of the light and it should just slide right off. You’ll be left with the solar panel and light component. I also kept the plastic casing around the LED.
RELATED: Brighten Up Your Home With This DIY Mason Jar Lights
Step 2. Slide the Solar Light Through the Ring & Keep It Snug
Now, grab the jar and unscrew the lid. Remove the lid from your jar, then wrap the foam tape around the solar light.
Next, remove the flat part of the lid and only keep the ring. The top part of the solar light should slide through the ring nicely with a little bit of snugness.
In order to make sure the light doesn’t fall down into the jar, you’ll need to put the foam tape around the top of the light. This will keep it snug.
Step 3. Squeeze the Light into the Center of the Lid
Squeeze the light into the center of the lid so it’s almost flush with the top of the jar. Once you’ve put a single layer of tape around the light, slide the light back into the ring.
Do this until the top of the solar panel is flush with the top of the lid.
Step 4. Screw the Lid onto the Jar
The last thing you have to do is screw the lid onto the jar and your first solar light is complete!
You might also want to try doing these easy DIY mason jar string lights. Follow the video tutorial from DIY Projects:
That wraps up our mason jar solar lights tutorial! I hope you enjoyed this simple and inexpensive DIY solar lights, and that you’re fired up to make more solar powered jar lights.
Set up your jars in a sunny spot during the day to charge and wait for darkness to fall. They will definitely set the mood on your patio in the evening.
They can also be used indoors—my kids actually take some of them in their rooms for night lights. Have fun creating!
Will you give these mason jar solar lights a try? Tell us how it went in the comments section below!
Up Next:
- DIY Backyard Project Ideas: Fence with Mason Jar Lighting
- Mason Jar Crafts | Creative and Useful DIY Projects
- 60 Gifts In A Jar That Are Oh So Cute And Easy To DIY
 Stay connected with us on Facebook, Twitter, and Instagram!Editor’s Note: This post was originally published on July 23, 2018, and has been updated for quality and relevancy.